Airfix 1/48 Supermarine Spitfire Mk.Vb "Build Update #1" (4.5.16).
Hello Chaps,
It's been 10 days since my last update, but because this is a quick and easy kit to build, I'm pleased to say that I managed to find a few hours here and there and completed the build. This update covers the masking, painting, decaling, weathering and final assembly; the "Ready For Inspection" thread will be released on Sunday.
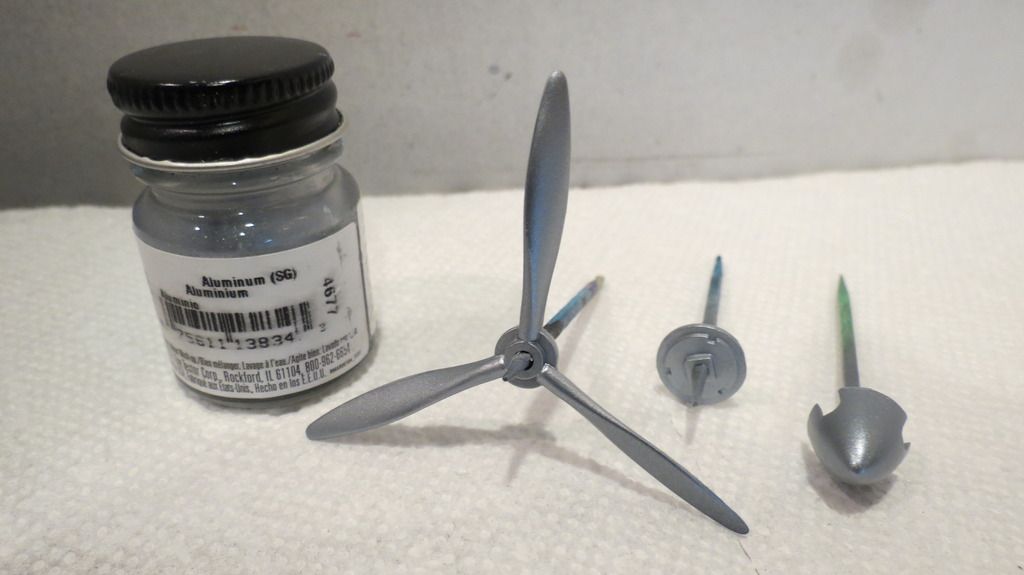
At the end of my last build update I had built the model, primed and pre-shaded her, so following on from where I left off, the next task that I did was to airbrush the propeller and spinner with aluminum paint so that it can be chipped during the weathering stage...
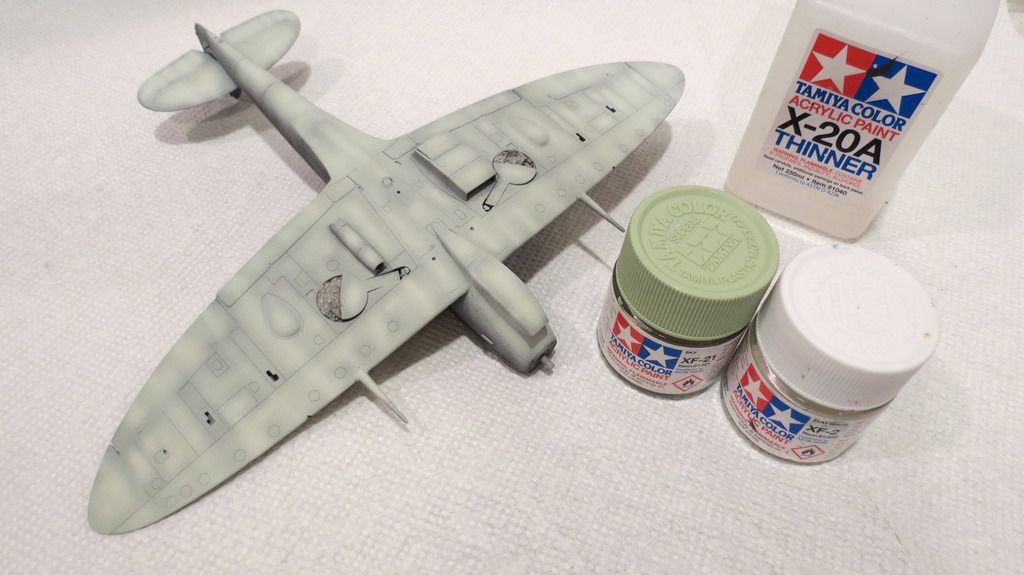
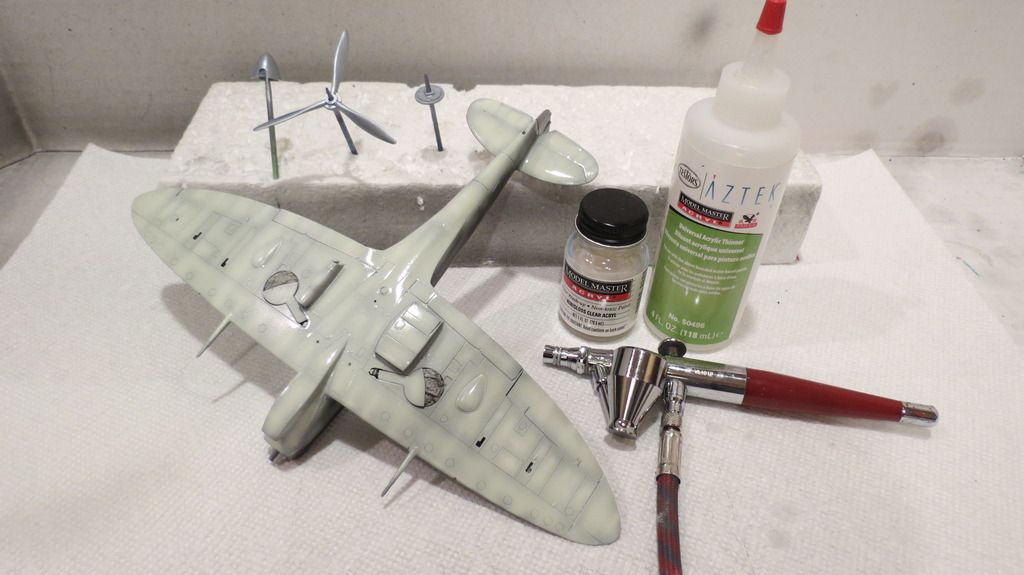
Next, I airbrushed the underside with Tamiya "Sky" toned down with flat white. When that was done, I toned the color down with more white then airbrushed some highlights. When this was dry, I sealed it with a Model Masters gloss clear-coat...
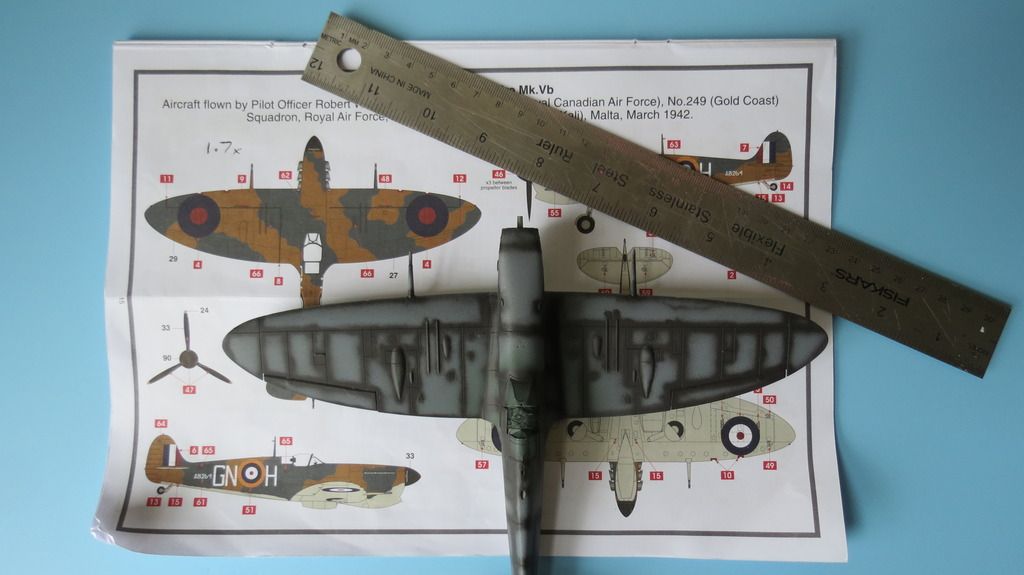
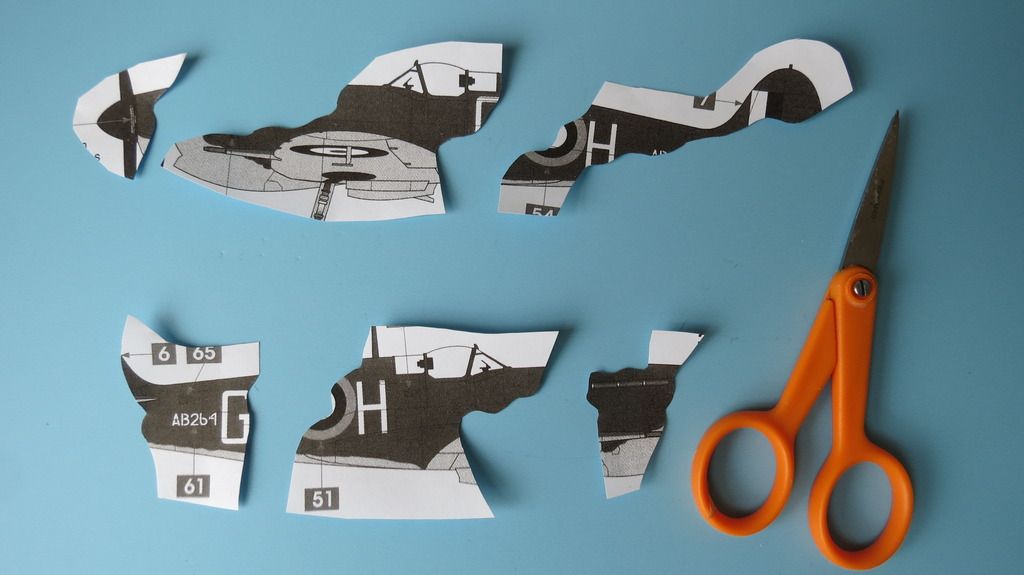
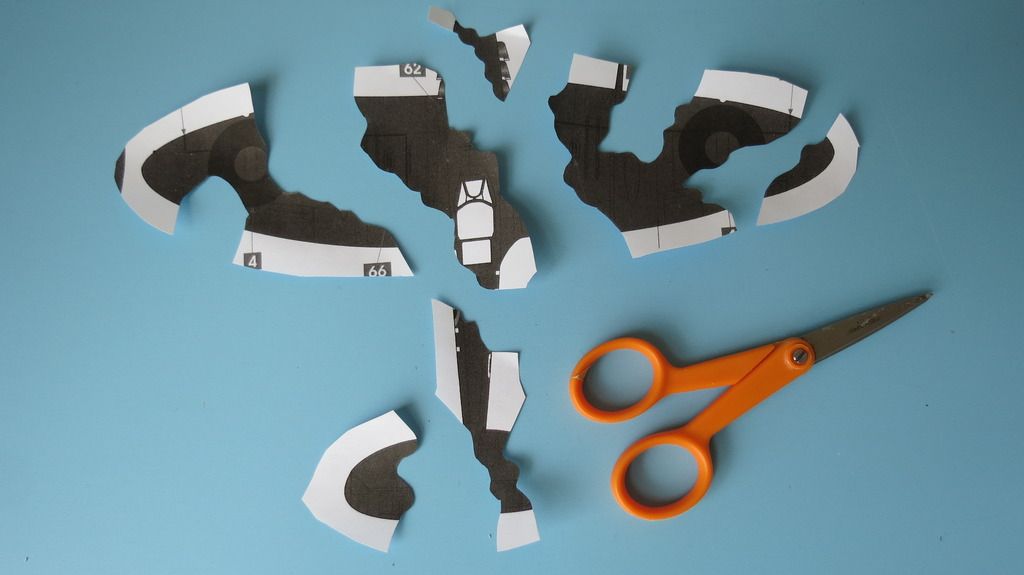
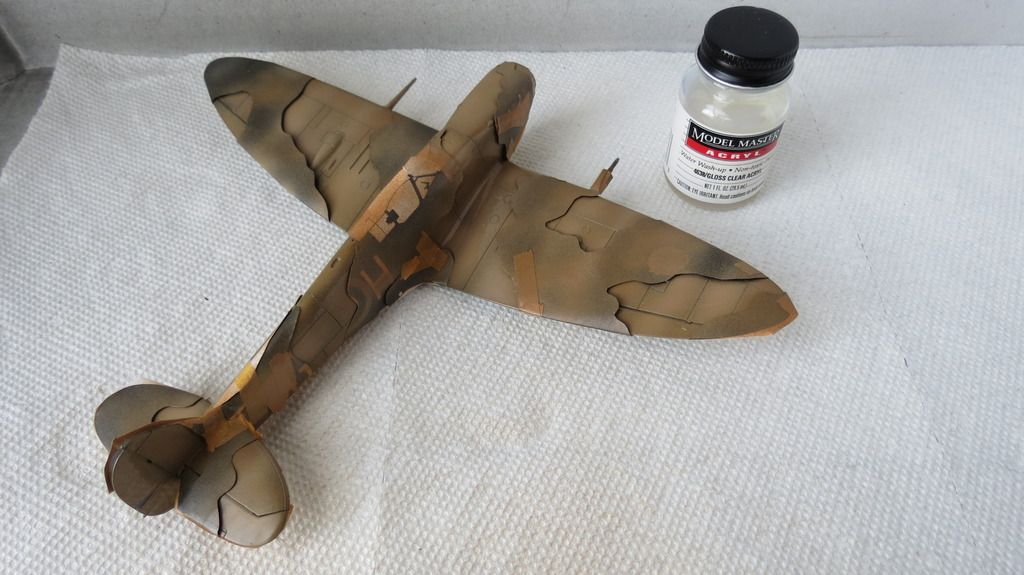
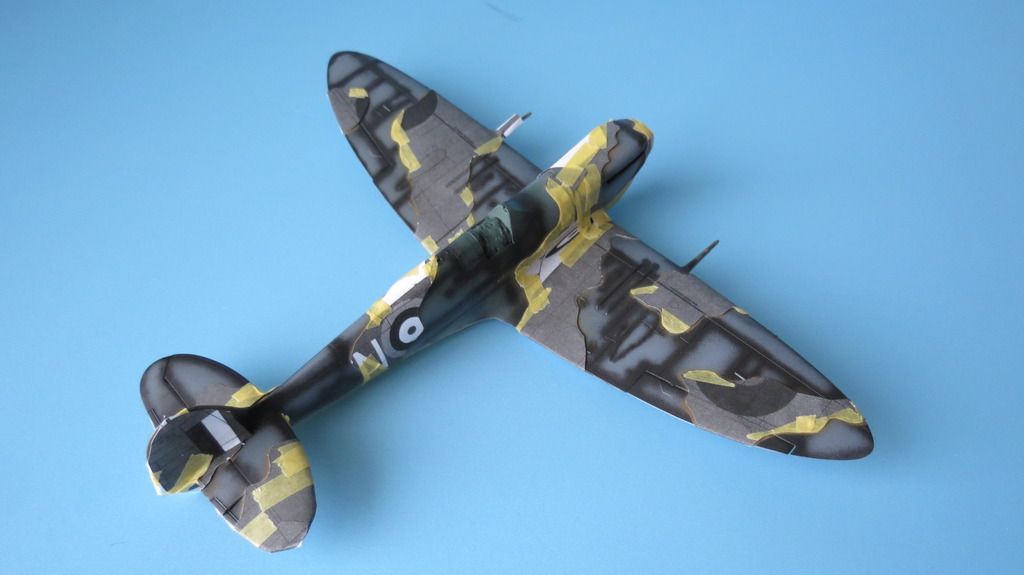
While that was drying, I prepared my home made masks for airbrushing the upper-side camo colors. My method for doing this is to use the views from the painting guide within the assembly booklet, but because they are a smaller scale than the actual model, I need to take photo-copies and enlarge them by a scale factor to get the same size as the model. To determine the scale factor, I measure the distance of the model from wing tip to wing tip, then do the same with the plan view on the painting guide. Dividing the larger number by the smaller number gave a scale factor of 1.7x, which meant that I needed to enlarge the painting instruction views by 1.7. I then produced enlarged photocopies of each of the views with the painting guide. I then cut the views out from the sheets, then cut carefully around the demarcation between the two camo colors. I put the lighter shade aside and gathered together the cut out masks of the darker shade. I then fixed these into place on the model, using the painting guide to help where their correct locations were. I used Tamiya tape folded in two to create "double-sided" tape and taped the separate masks onto the plane.
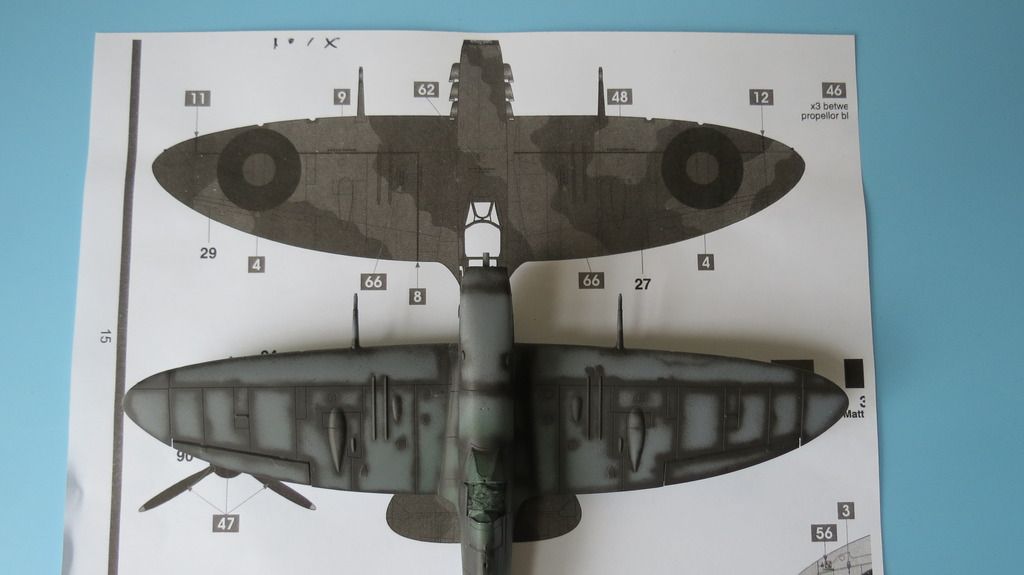
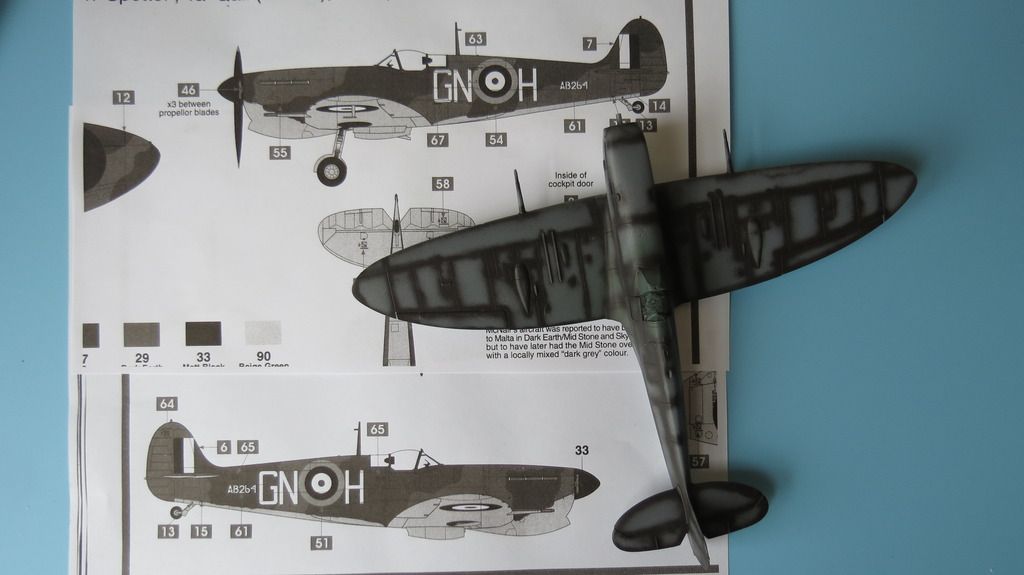
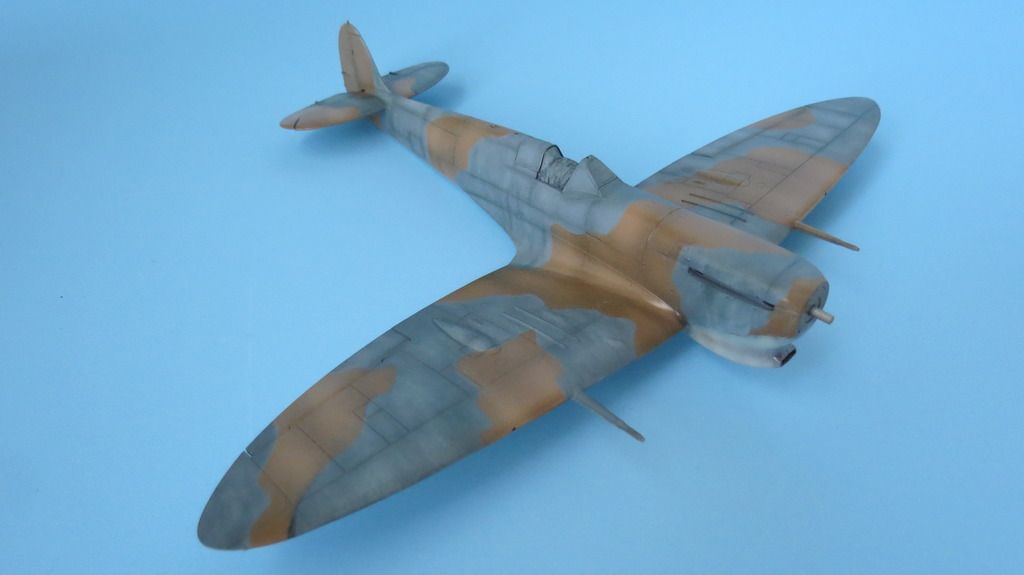
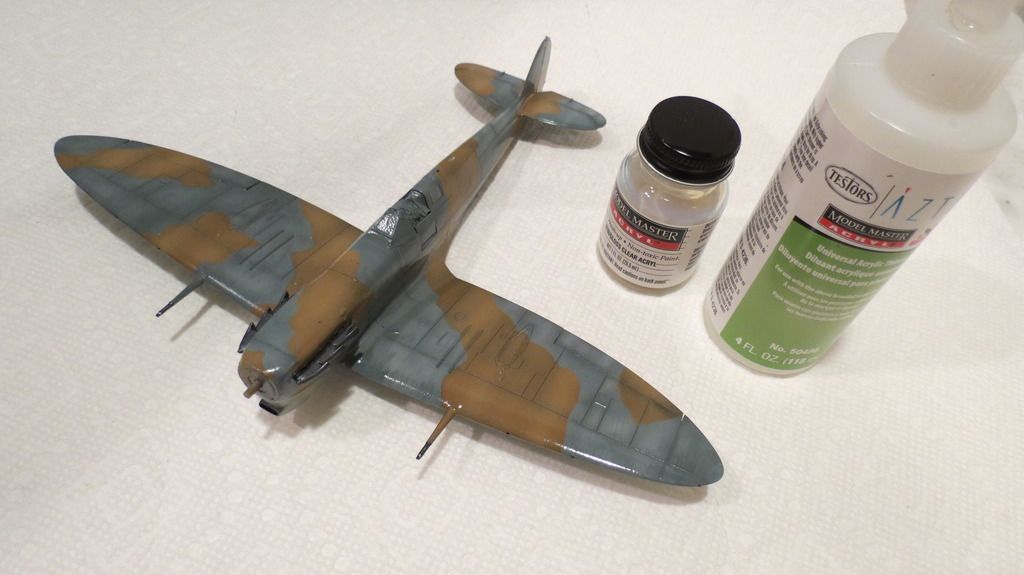
With the masking complete, I then airbrushed Model Masters "Dark Tan" onto the exposed surfaces. I then toned the Tan down with some white and airbrushed highlights. I let the paint dry for a couple of hours then sealed it in with a gloss clear coat. When that was touch dry, I removed the paper masks to see how everything looked, and, I thought it was looking okay, so, I took a couple of photos...
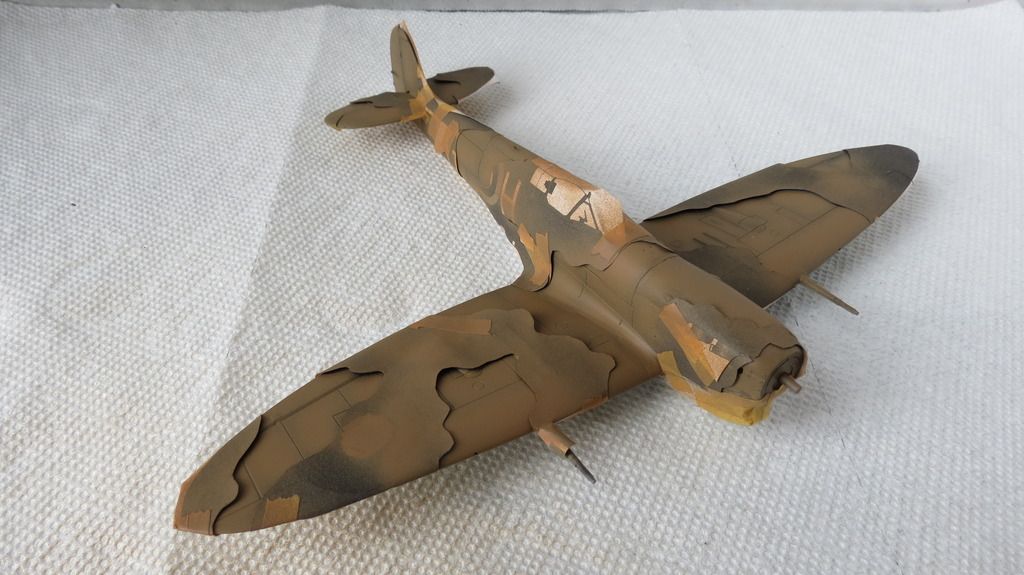
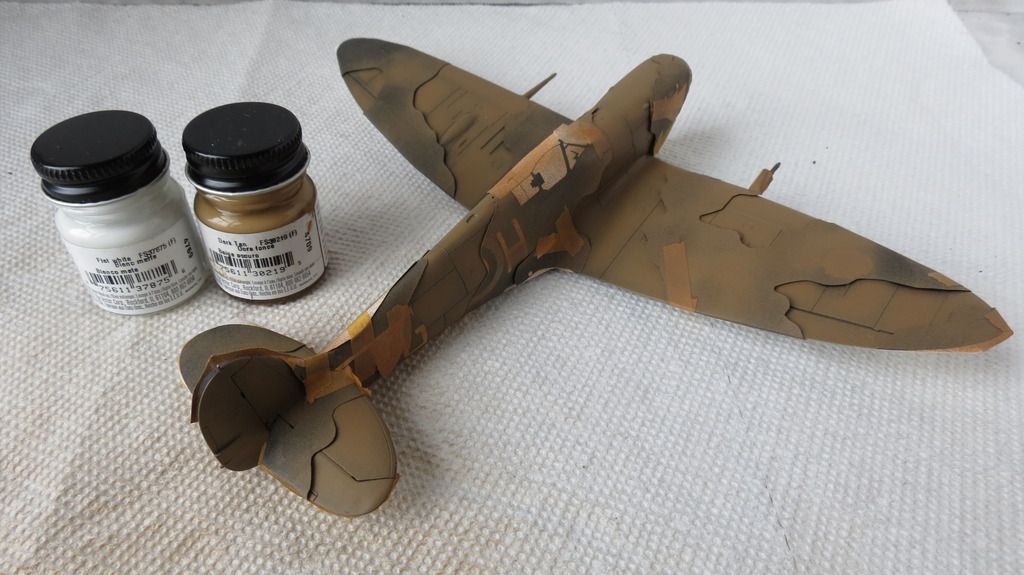
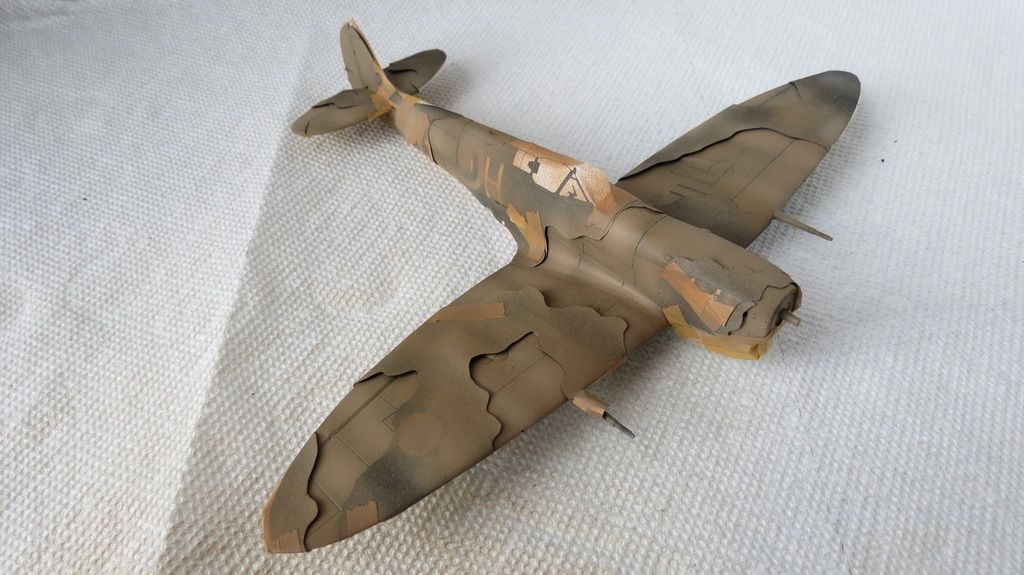
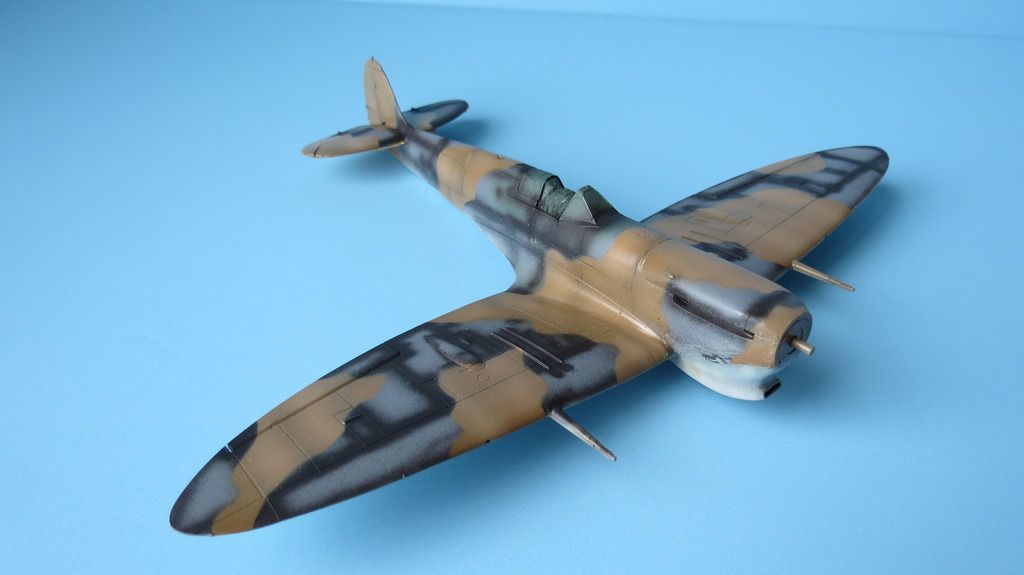
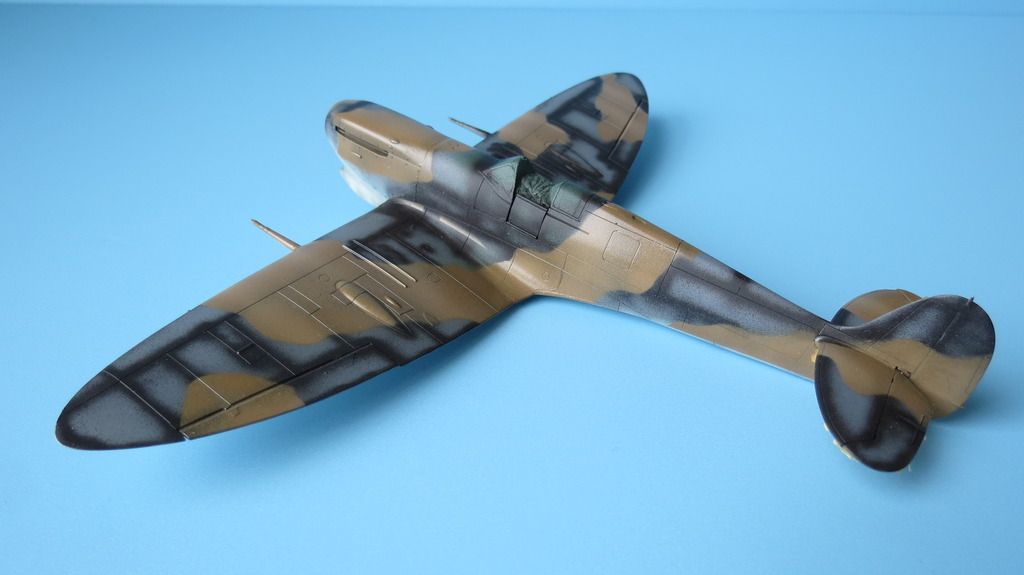
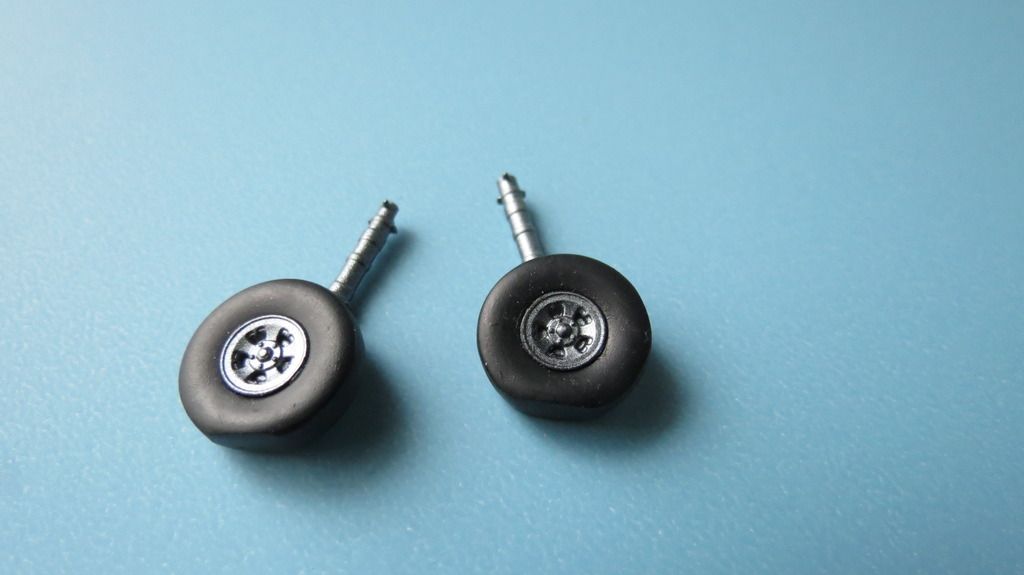
While the clear coat was drying, I moved onto painting the wheels and tires and assembled them...
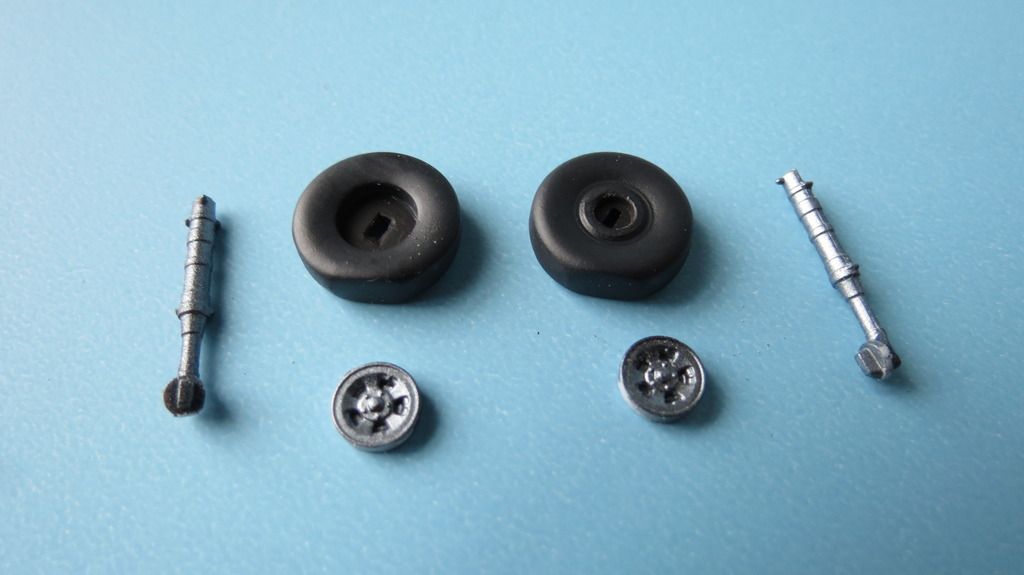
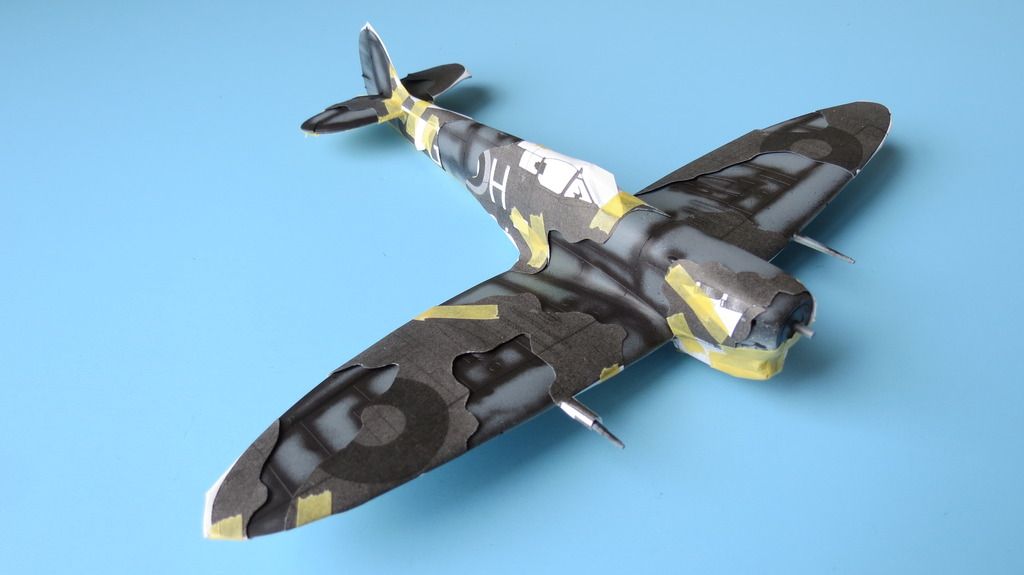
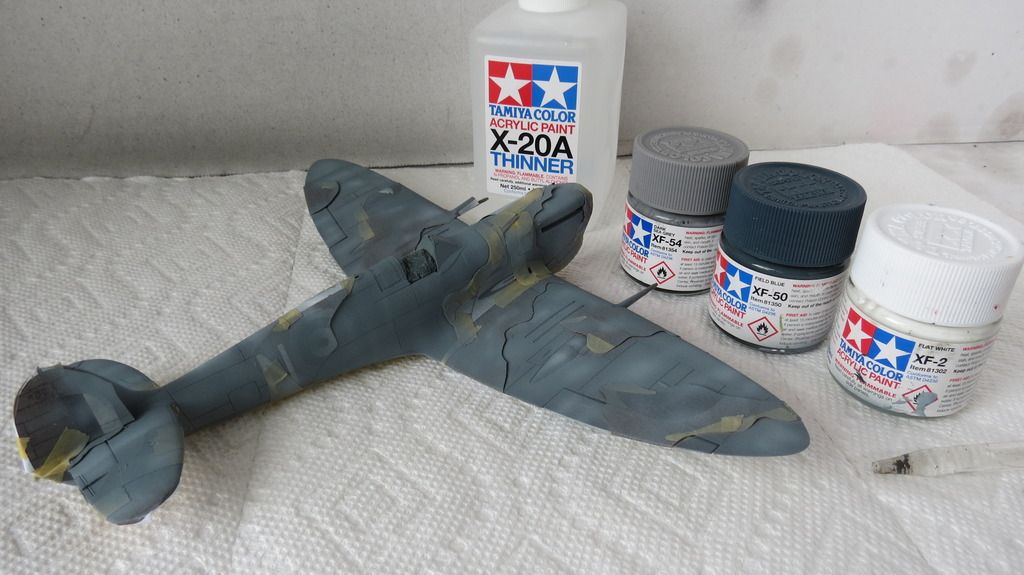
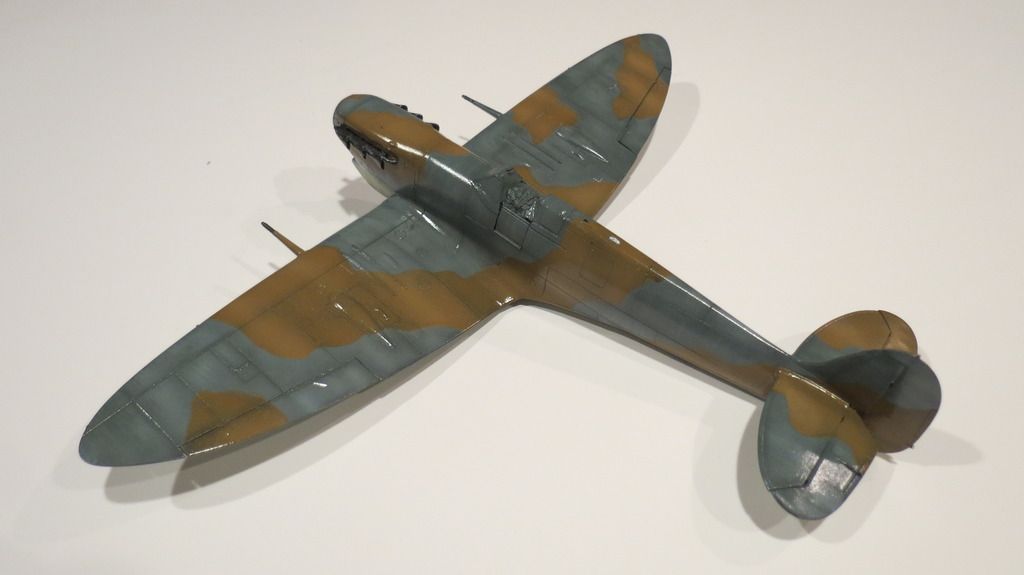
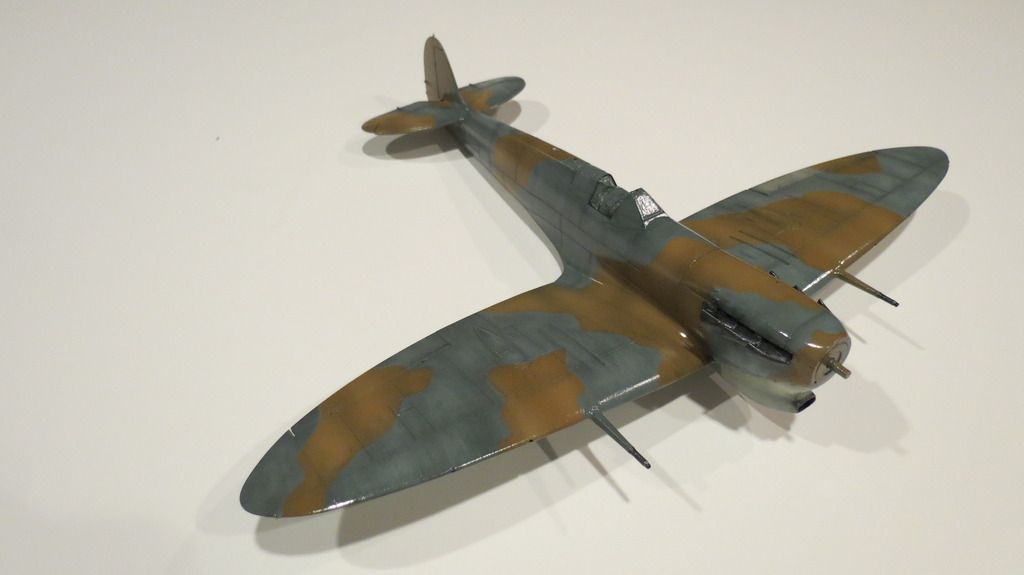
With the clear coat now dry, I applied the lighter colored masks over the top of the previously painted Dark Tan and airbrushed the "Sea Grey" onto the exposed areas. The color call out is for Humbrol 27 which I don't have, because I only use Tamiya and Model Masters paints, and so, I mixed my own shade using Tamiya "Dark Sea Gray" with a drop of "Field Blue". I airbrushed this onto the plane, then when that was done, I mixed white with the color to tone it down and then airbrushed some highlights. I then removed the masks and checked out the paint work. Again, I thought it looked okay, so, I took a few photos...
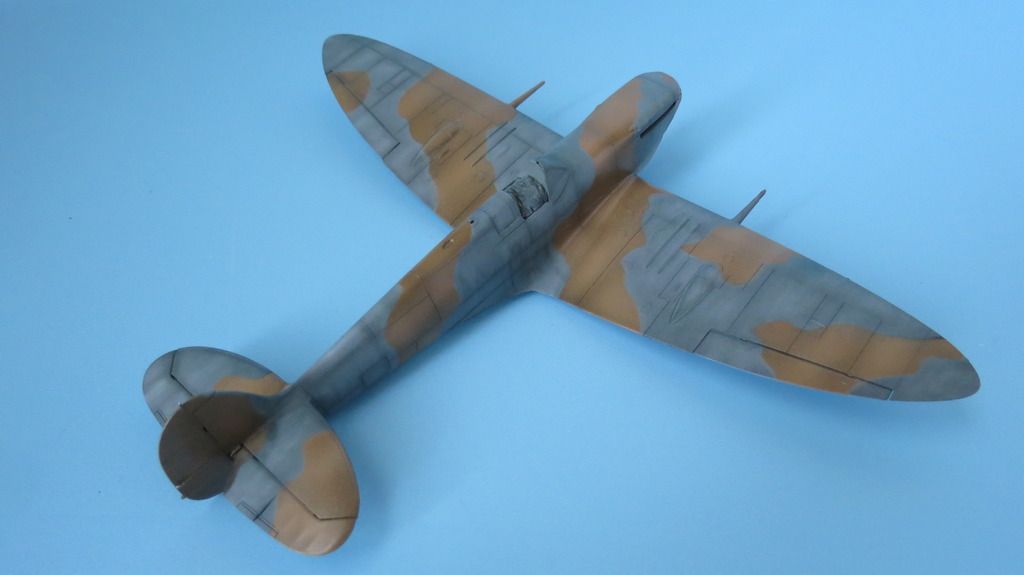
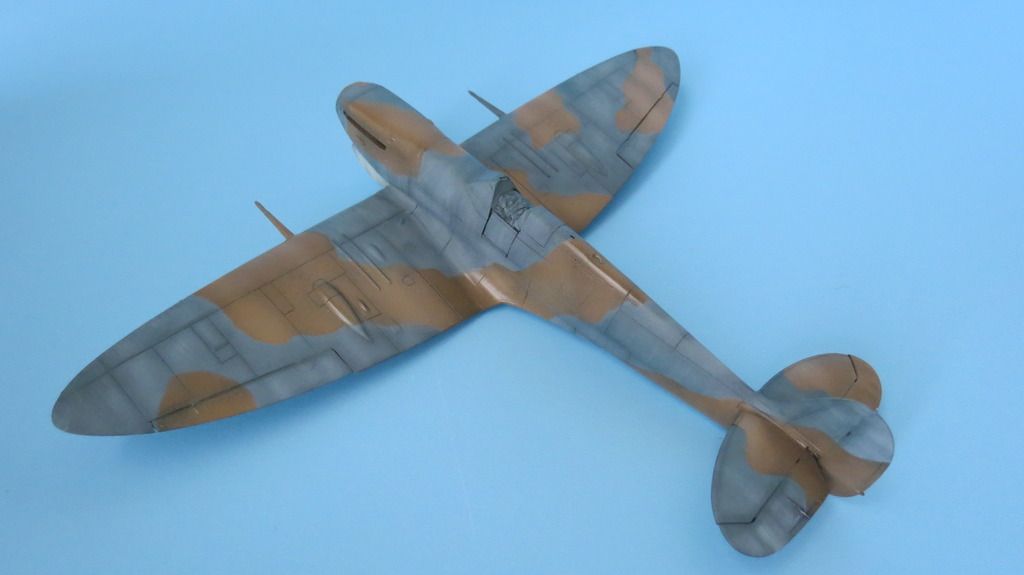
I then glued the exhaust stacks into their locations, followed by painting the propeller assembly black with yellow tips on each blade. I also did some chipping on the propeller. When the propeller was dry, I airbrushed a gloss clear coat onto it and onto the "Sea Grey" color that I had airbrushed onto the plane. This was to make everything ready for decaling...
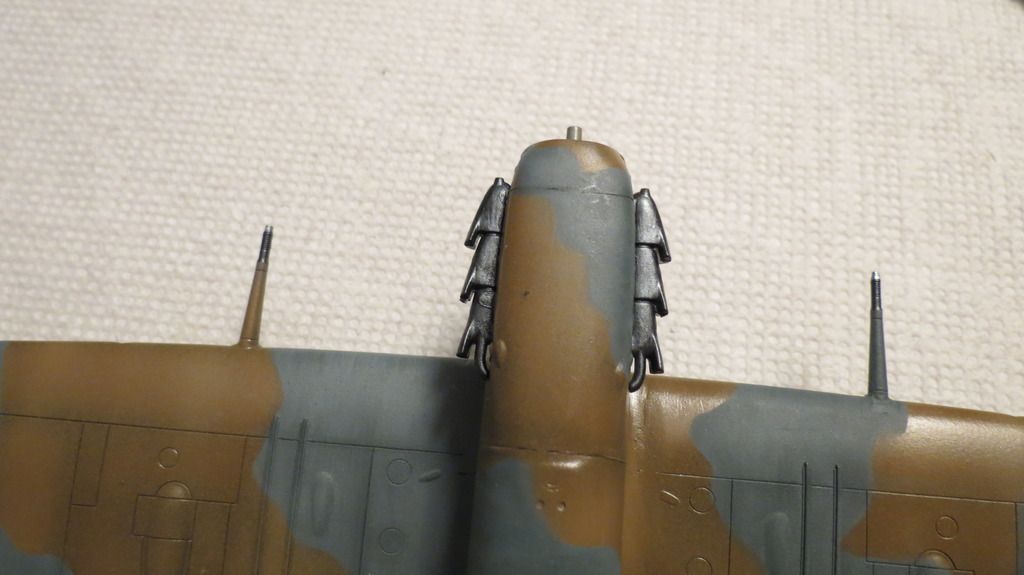
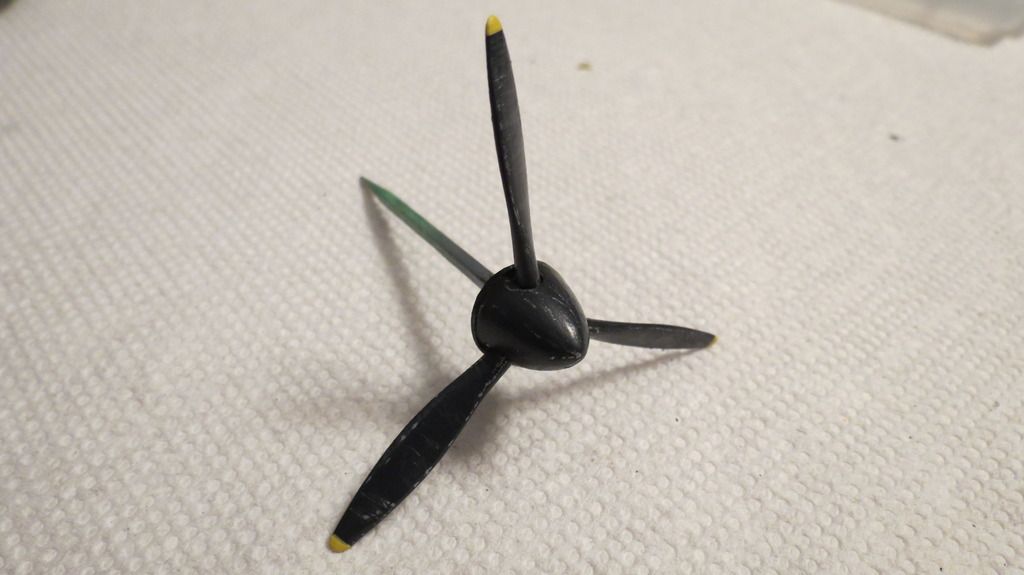
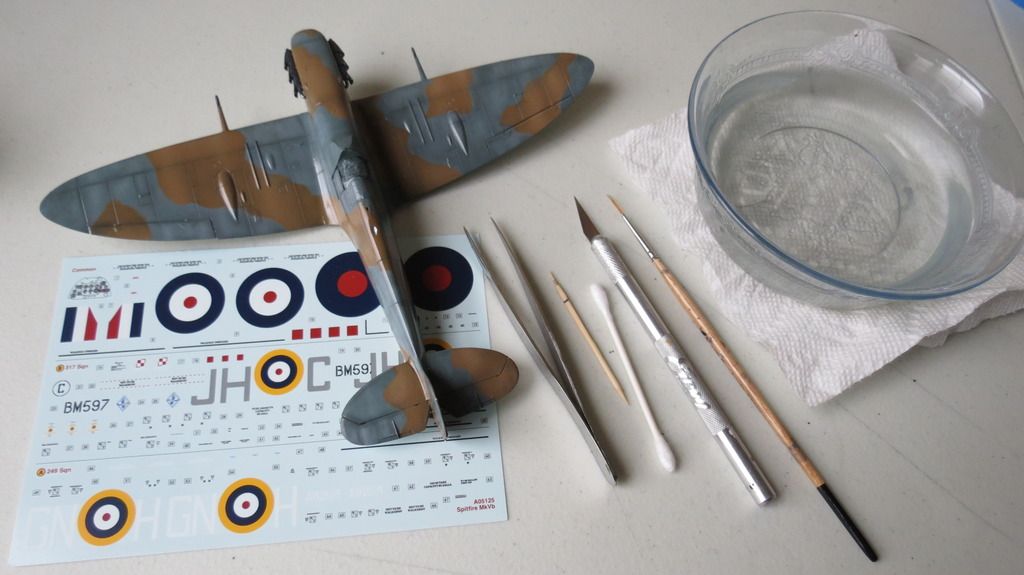
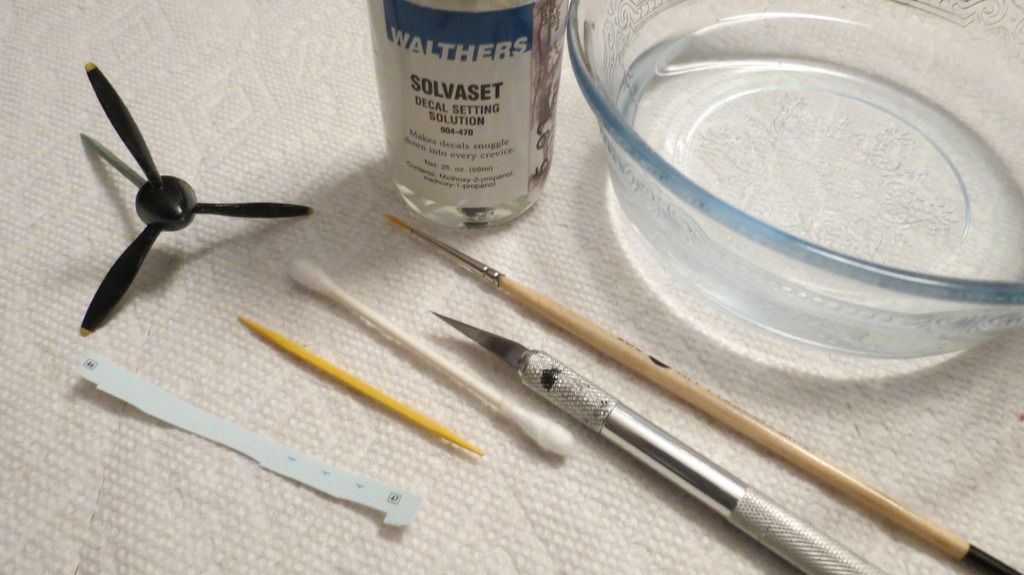
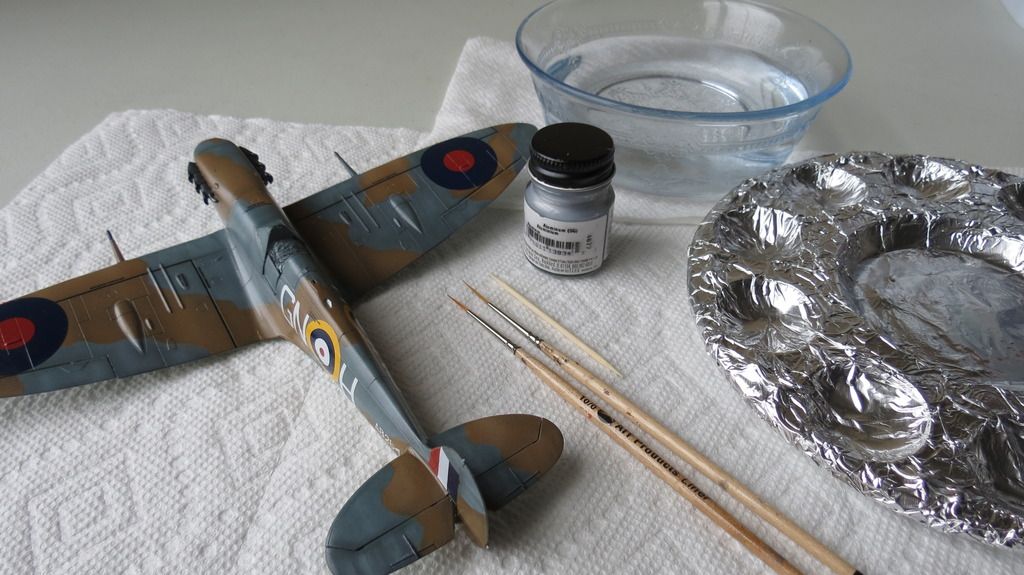
When the clear coat had had time to dry overnight, I then prepared for decaling by getting everything needed together- the decal sheet, tweezers, tooth-pick, cotton bud, scalpel, brush, bowl of water and decal setting solution. I started by applying decals to the upper-side of the wings, then the fuselage sides and top, then when the top-side was completed, I flipped the plane over and applied all the underside decals. The last item to decal was the propeller...
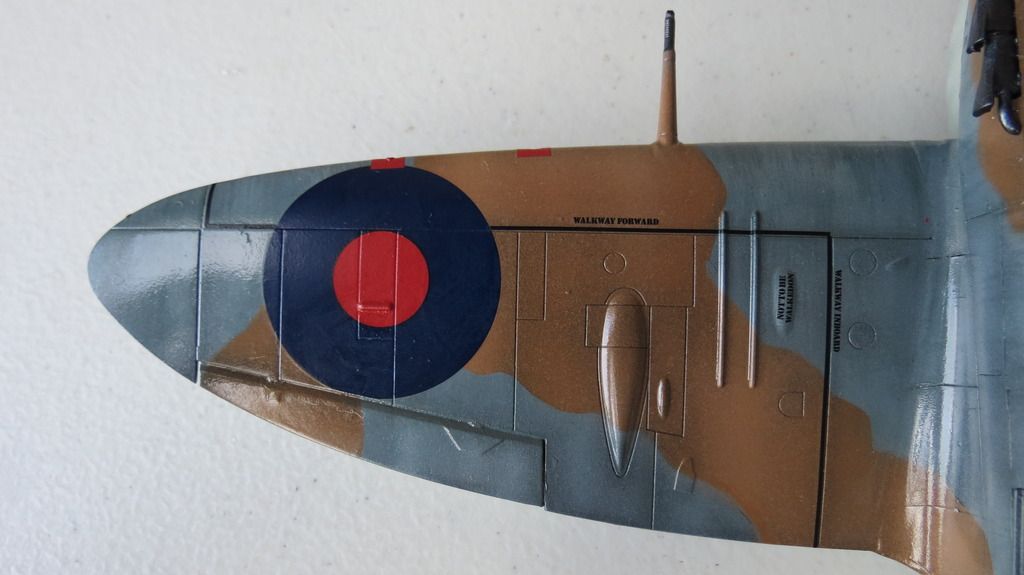
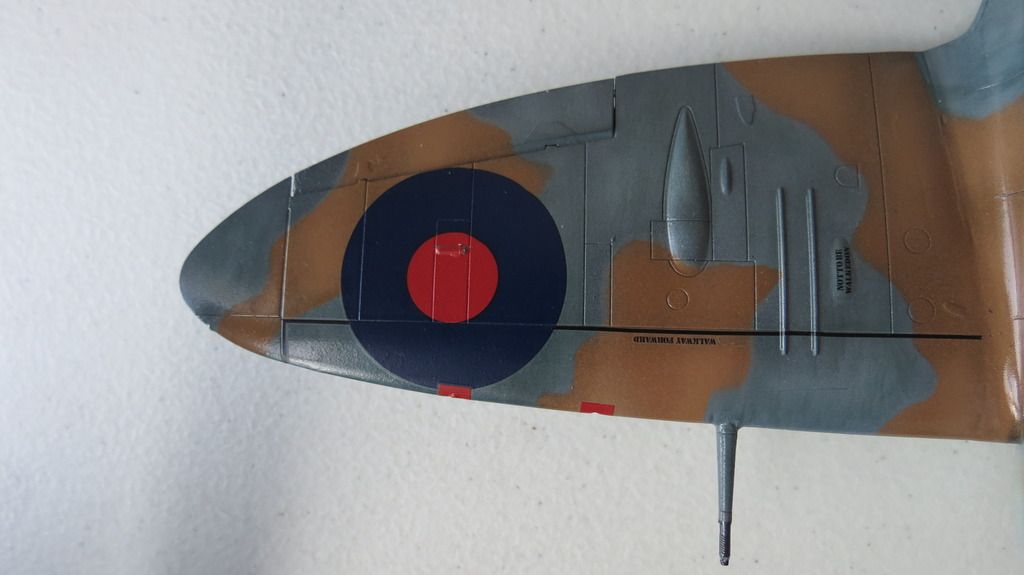
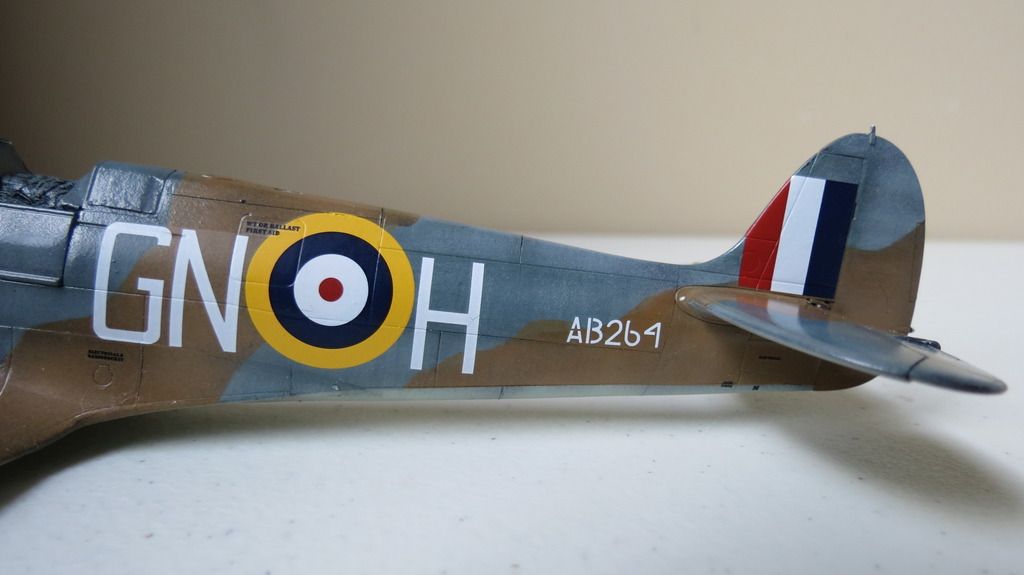
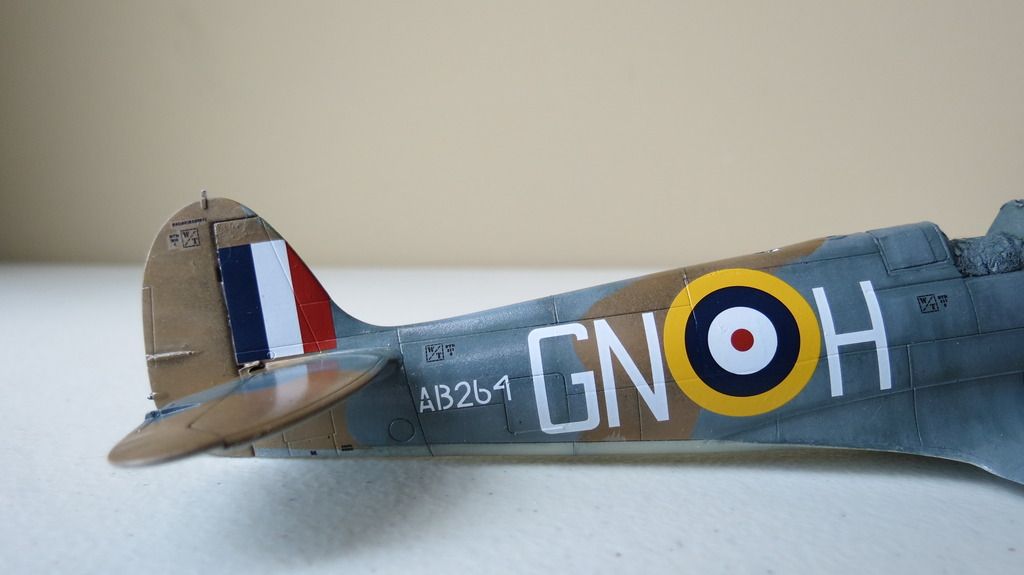
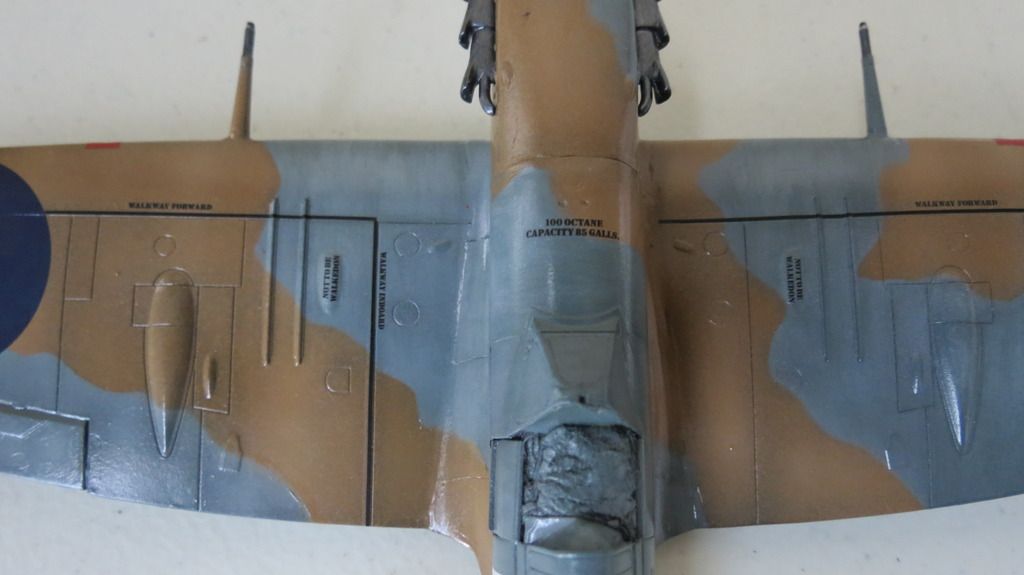
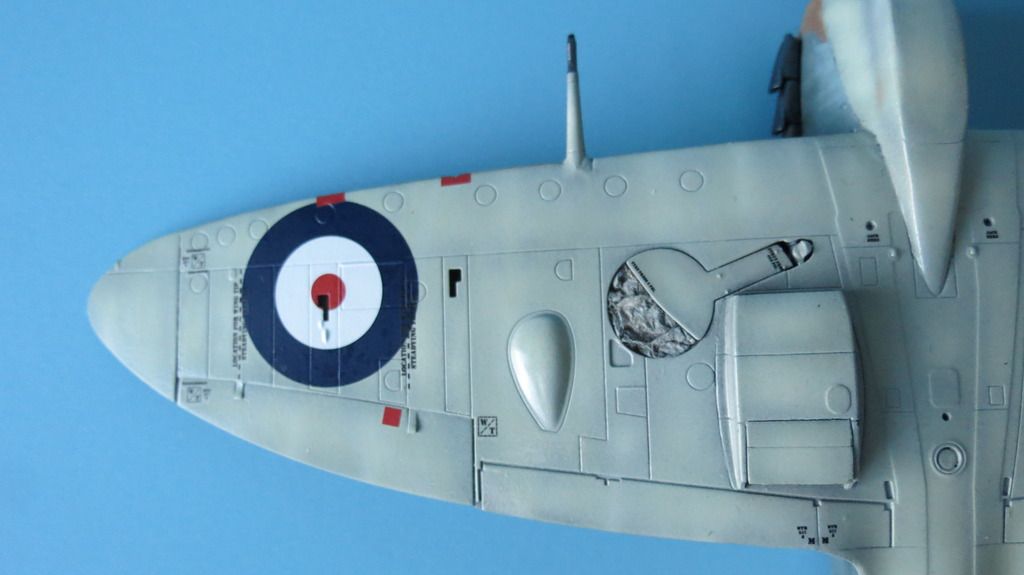
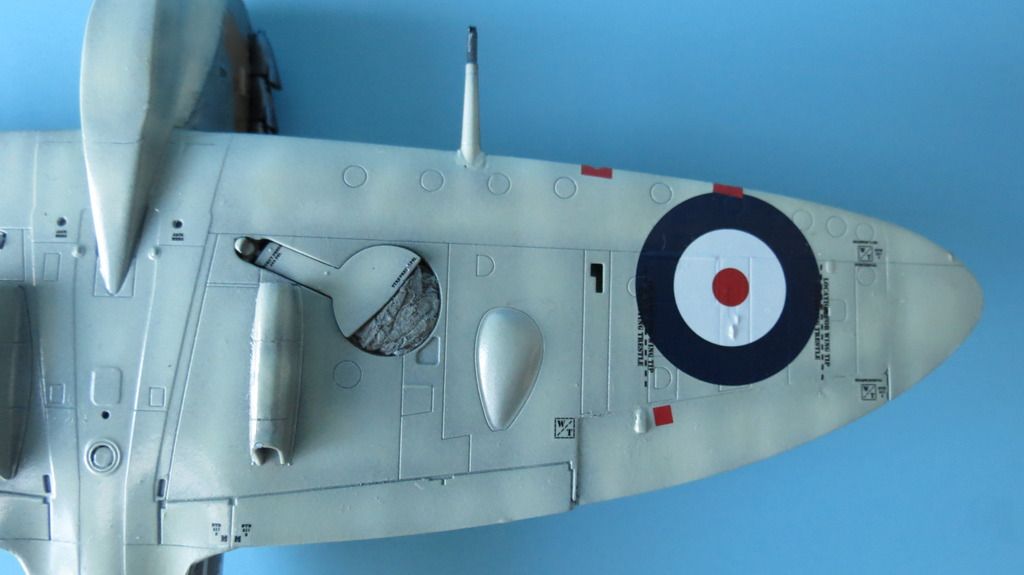
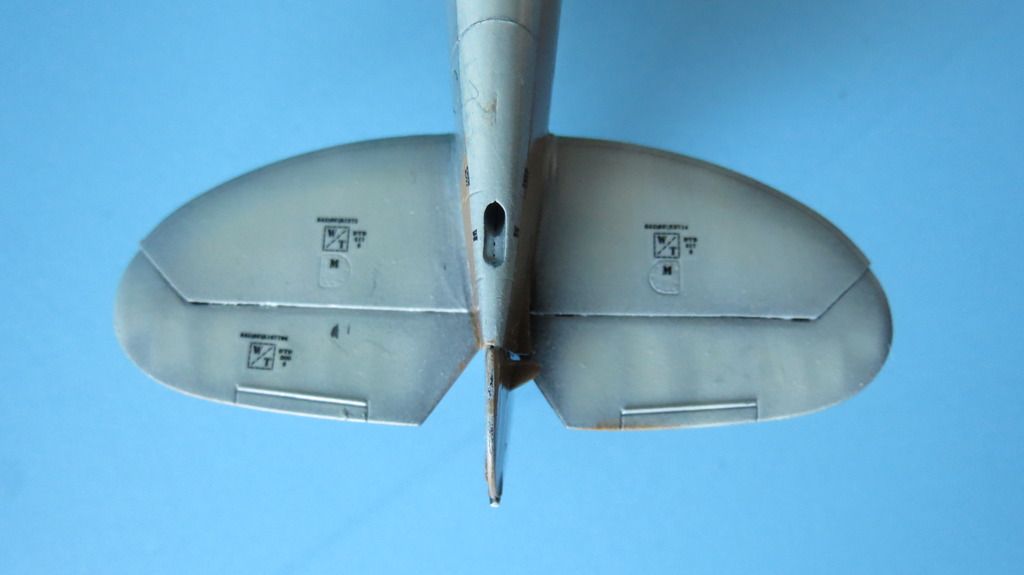
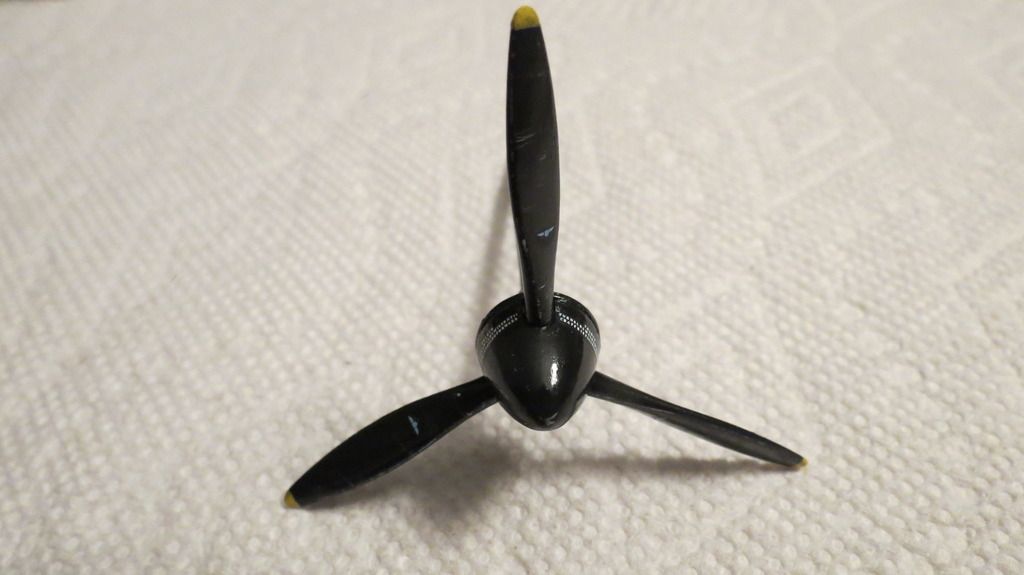
When the decals had set, I sealed them and some of the peripheral painted parts with a gloss clear coat...
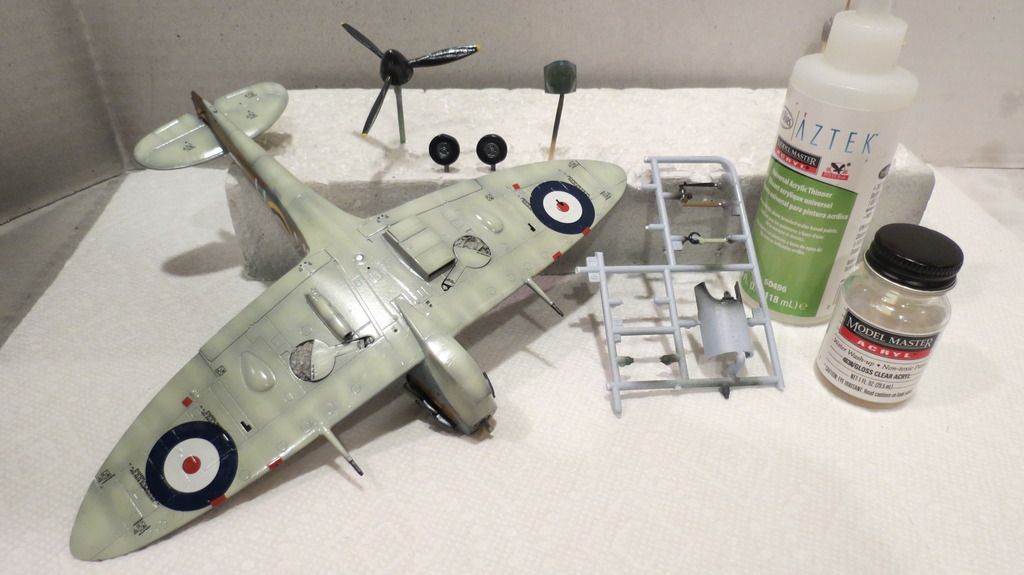
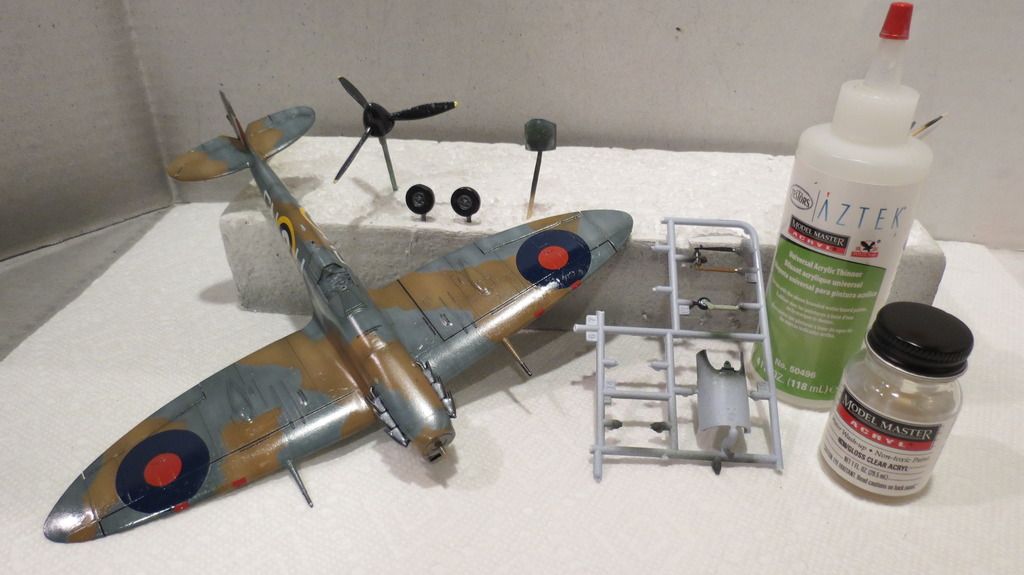
When that clear coat was dry, I moved onto the weathering stage.. I started with applying chipping onto areas that are affected by natural wear and chipping, using Model Masters Aluminum paint. I then scuffed the large decals with sanding sticks to give them a worn appearance...
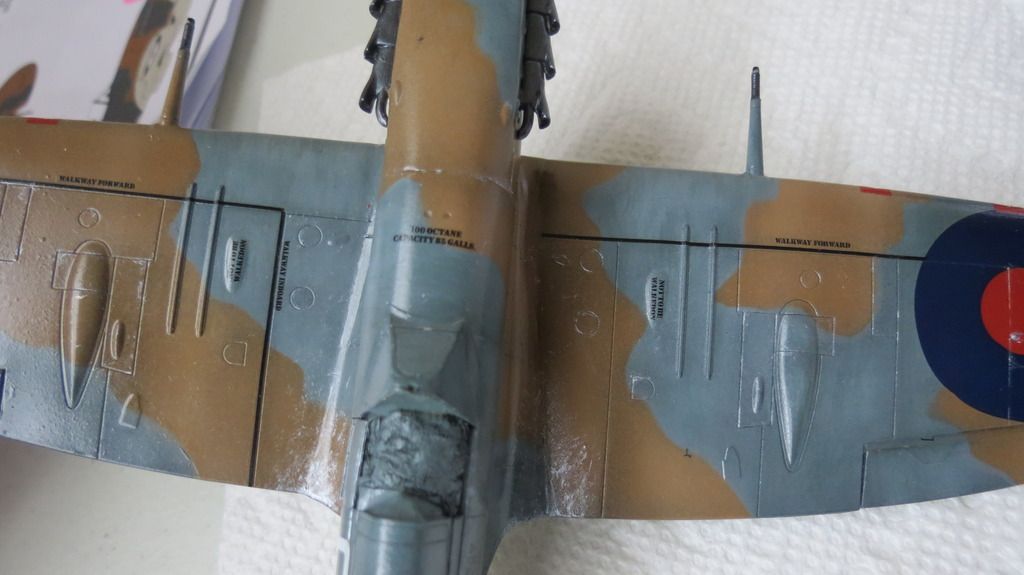
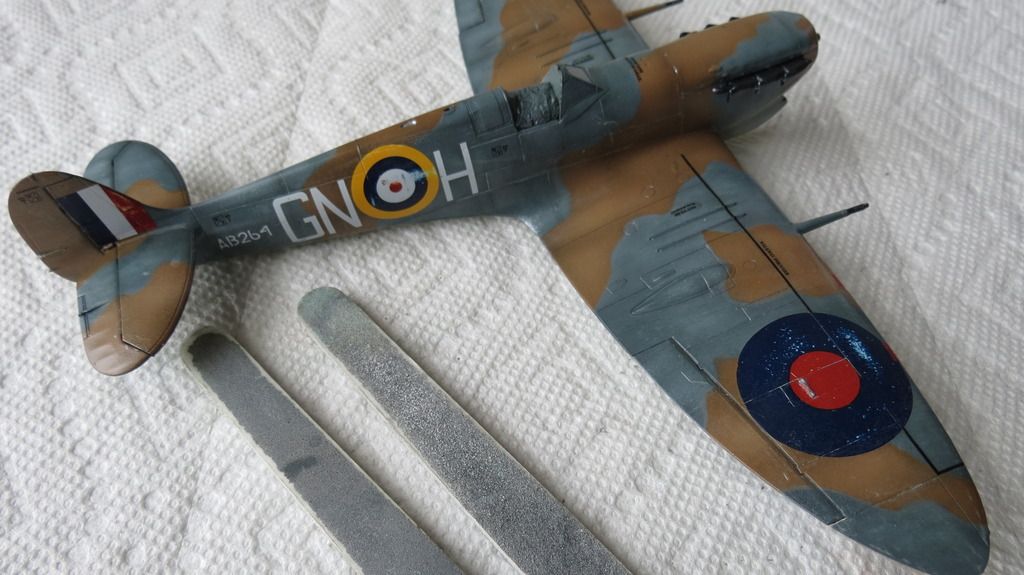
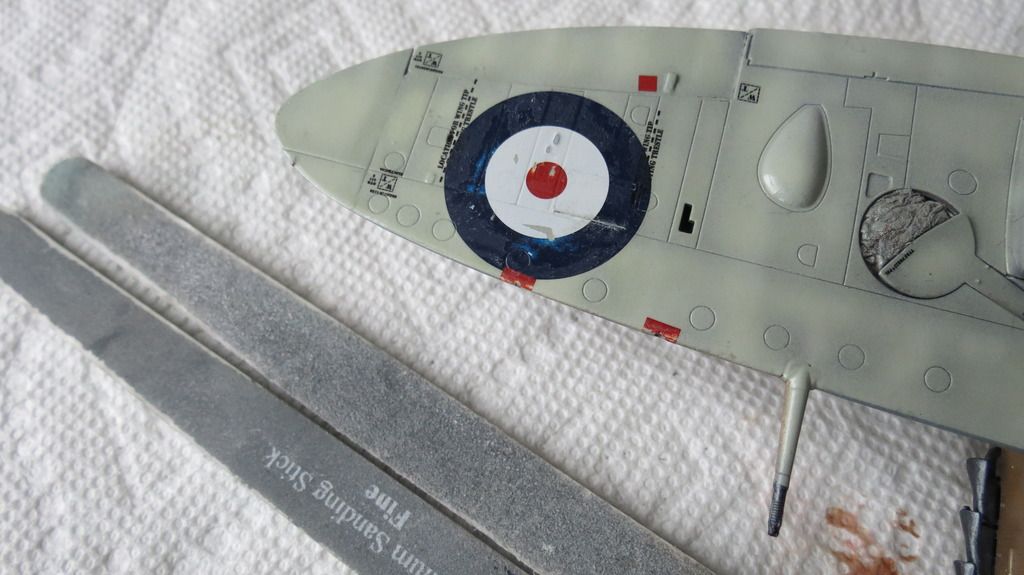
Next to be done was a dark dirt wash that I made by mixing a smidgeon of white oil paint with black and thinning it down with odorless mineral spirits. I liberally brushed this over the whole aircraft, let it dry for 30 minutes, then wiped it off with kitchen roll and cotton buds in the direction of air-flow, leaving on a subtle amount to provide some tonal variations. This also darkened the panel lines somewhat...
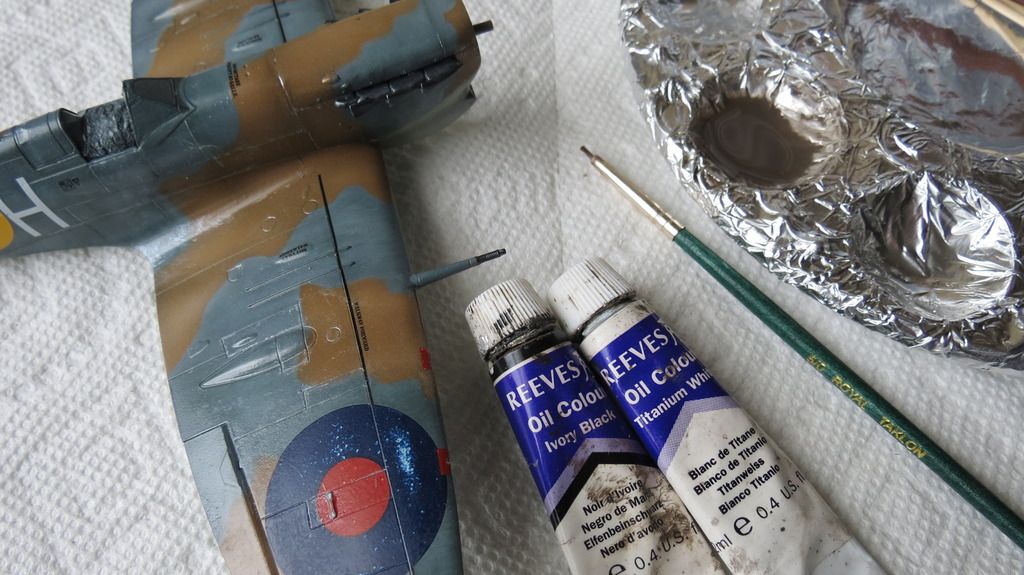
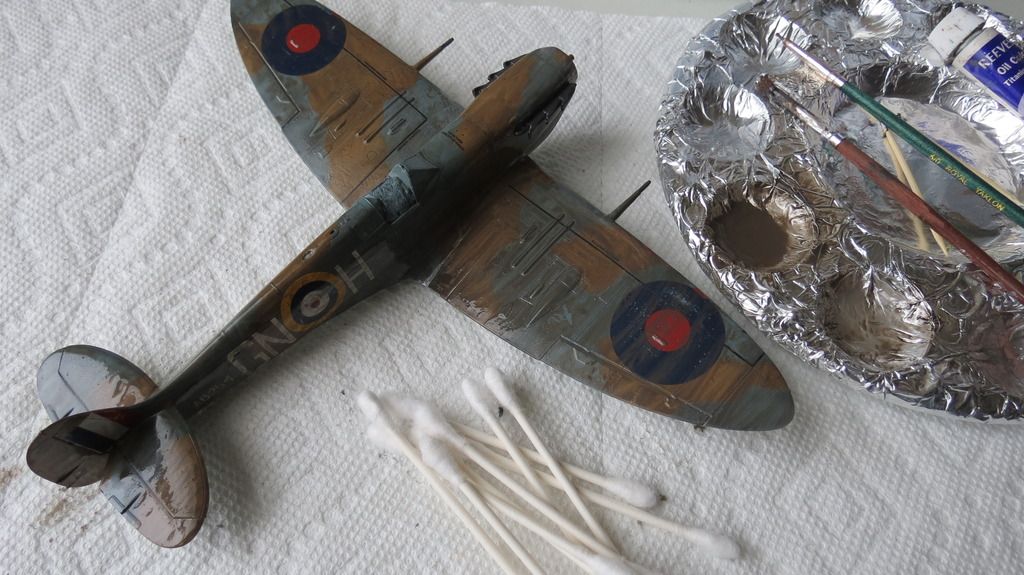
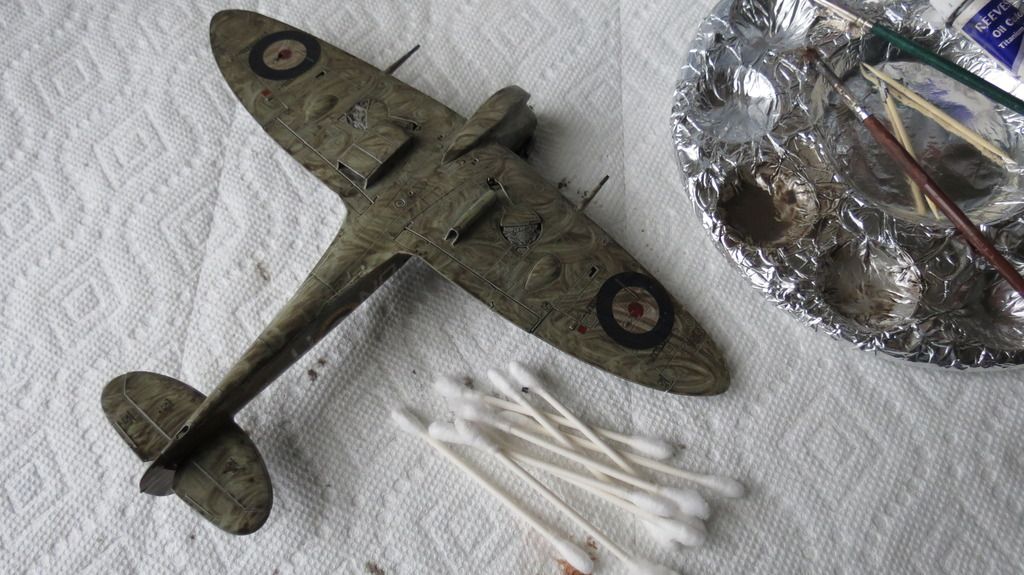
Next, I mixed some white oil paint with odorless mineral spirits and added a smidgeon of the dirt wash to reduce the brightness of the white color. This was then brushed onto the plane, the wheels and the propeller assembly and left to dry for 30 minutes. I then rubbed it off with kitchen roll and cotton buds in the direction of airflow.This application was to produce highlights and "bleaching" of the paint work...
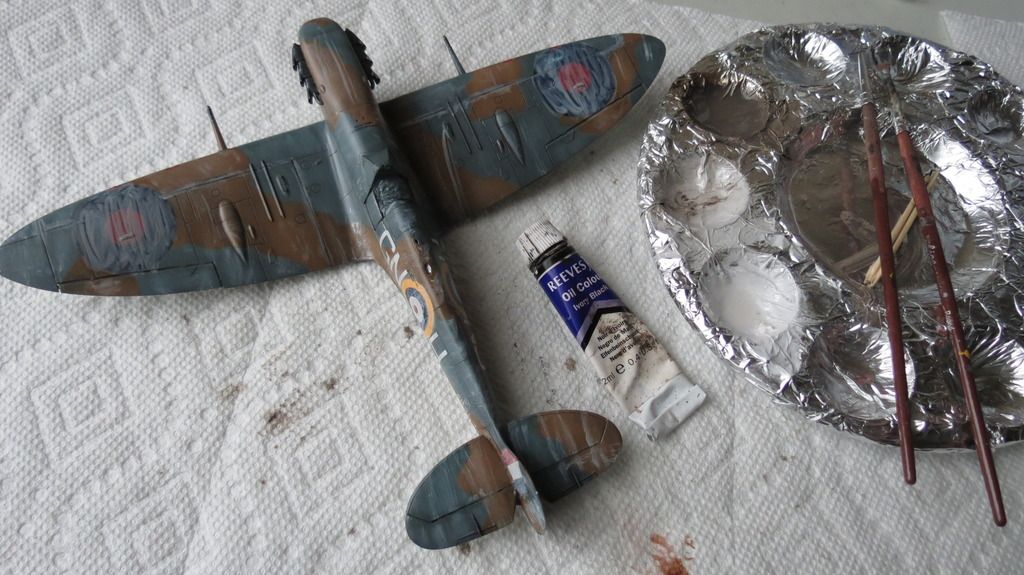
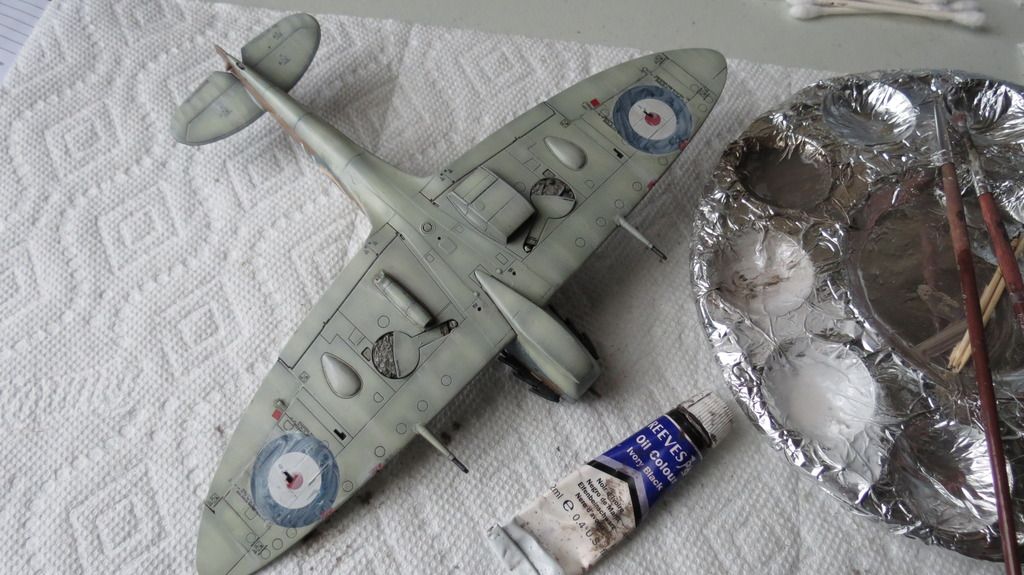
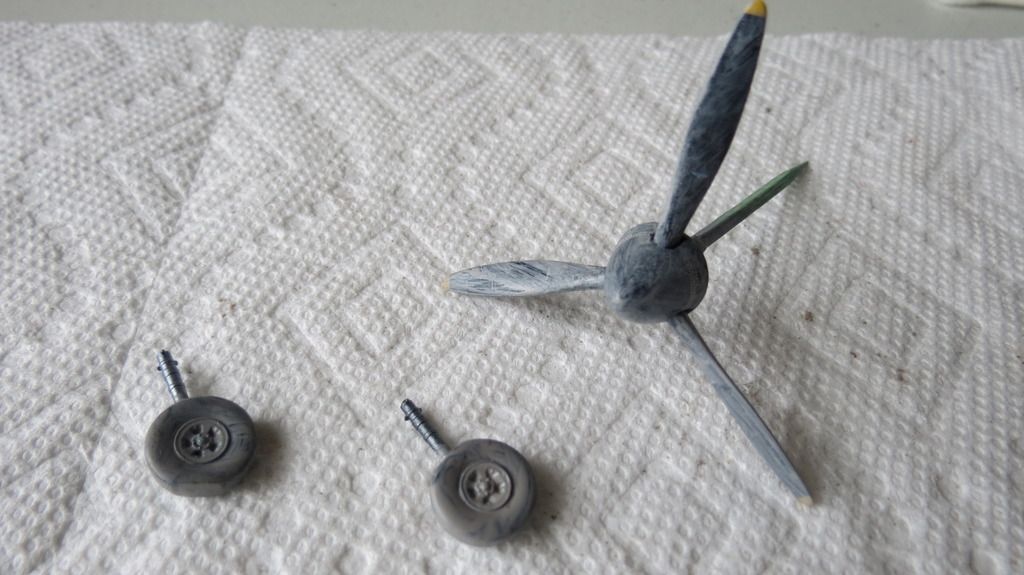
The bleaching lightened some of the previously darkened panel lines, and so, I used a panel line highlight wash to darken them back up...
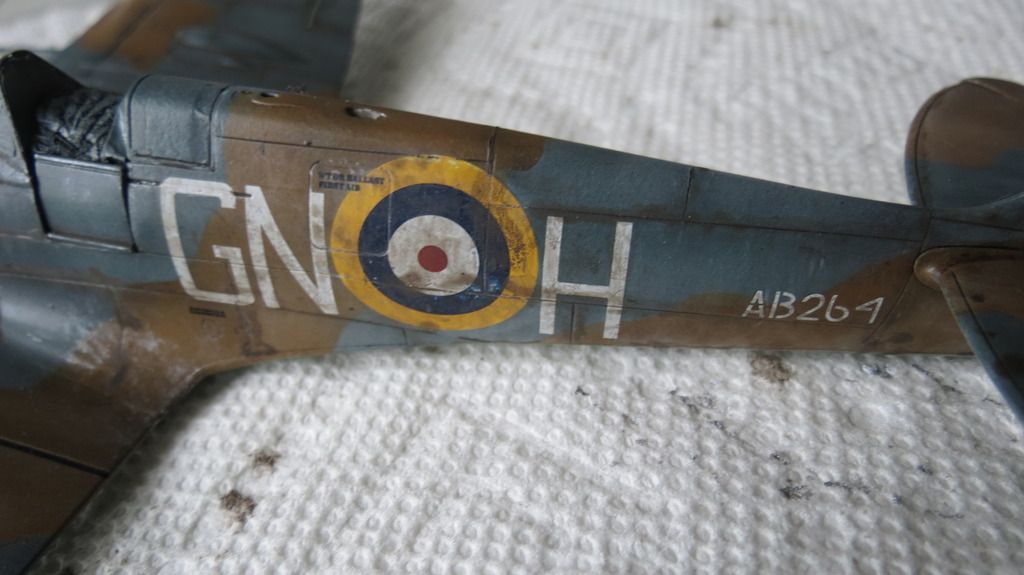
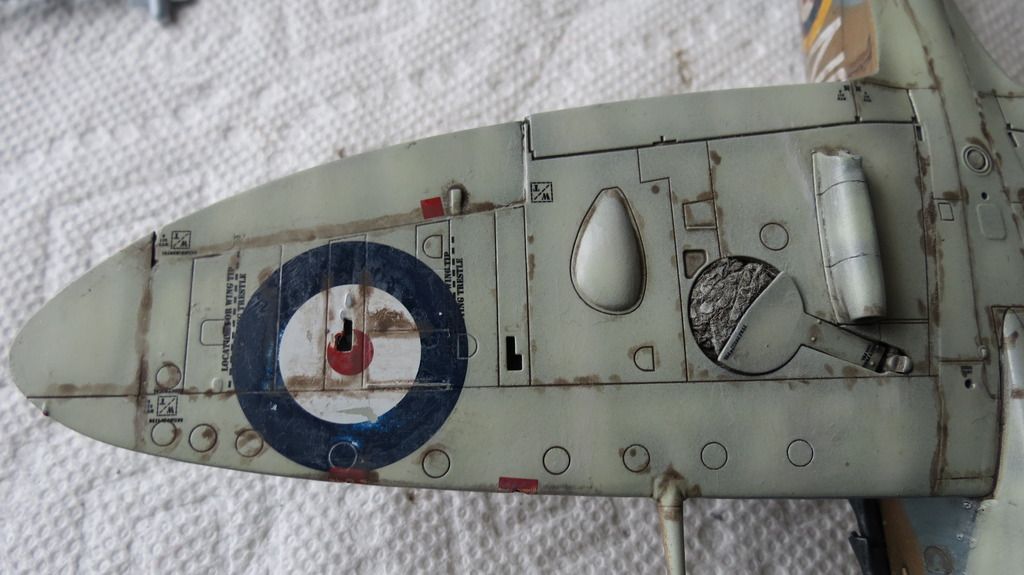
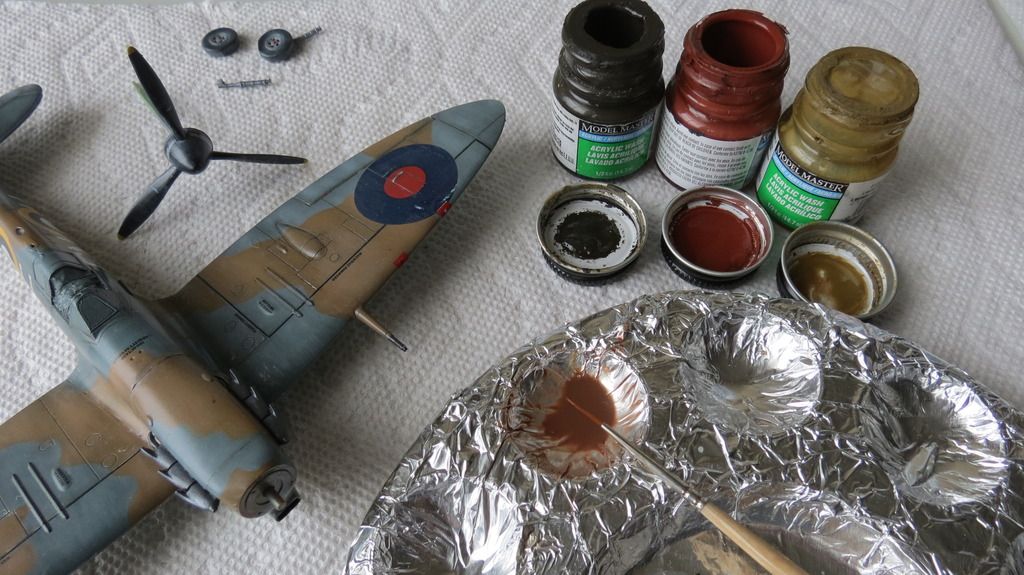
When the panel lines were complete, I then mixed a reddish-brown acrylic wash and applied some streaks and tonal variations to the model, wheels and propeller...
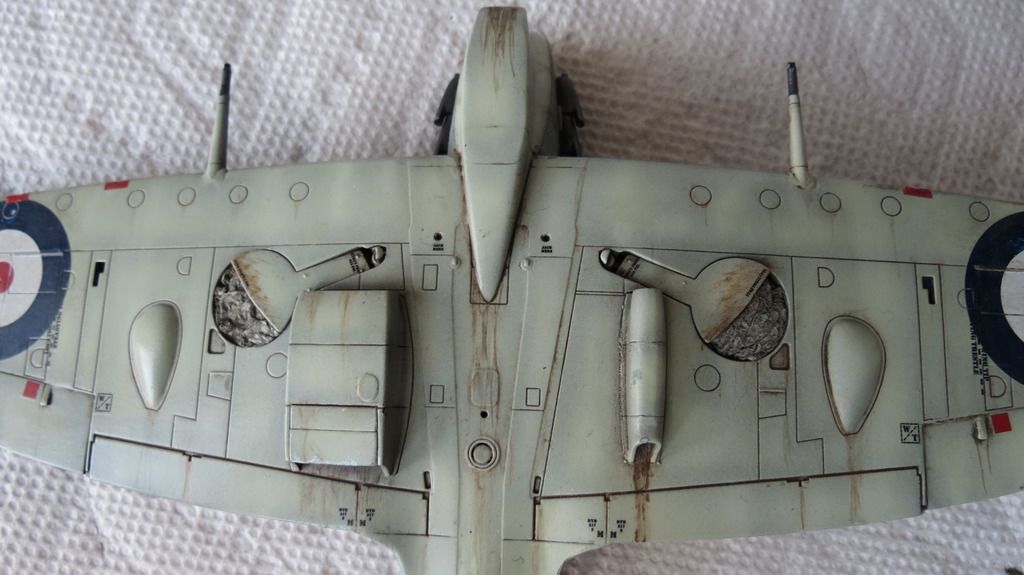
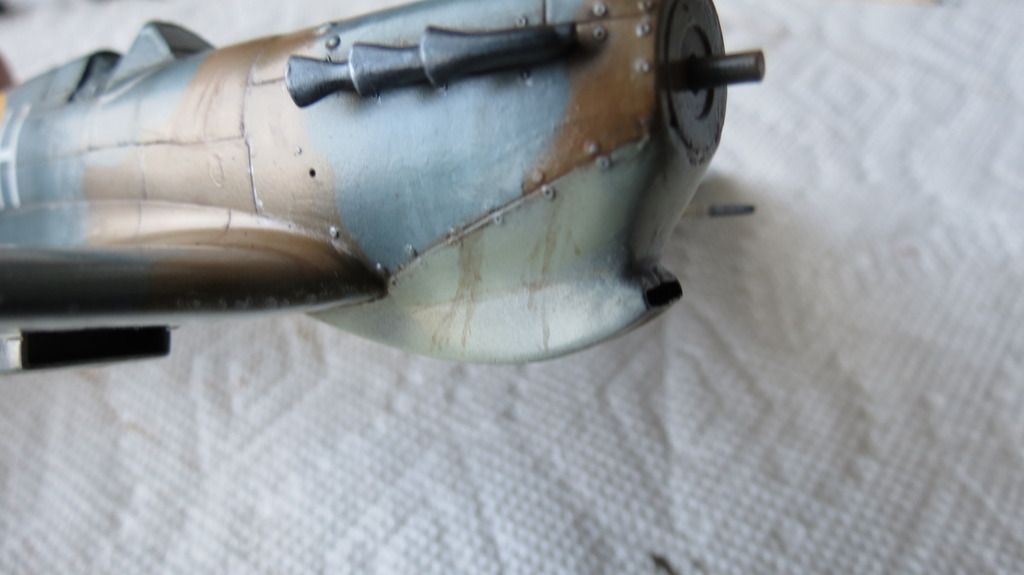
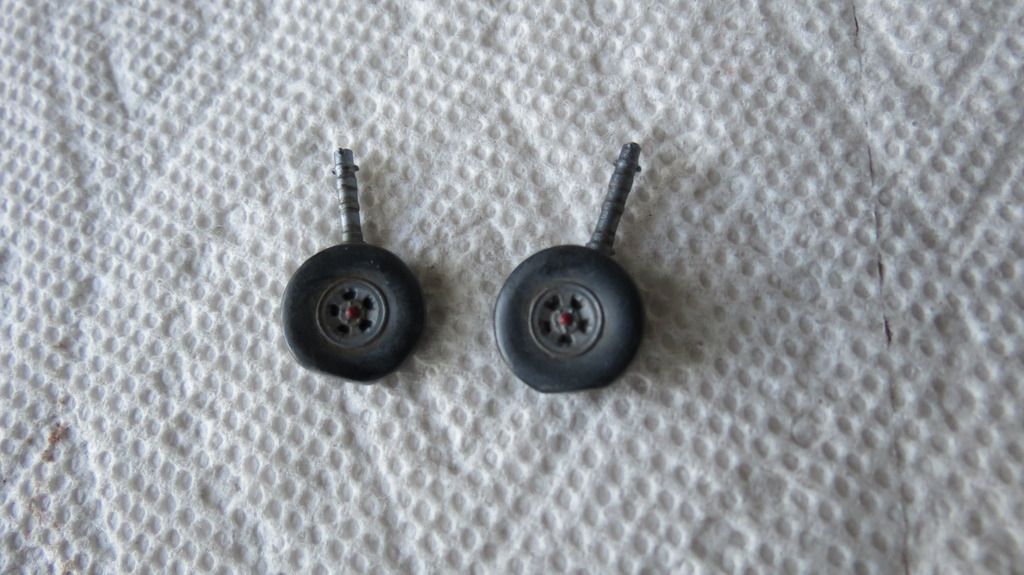
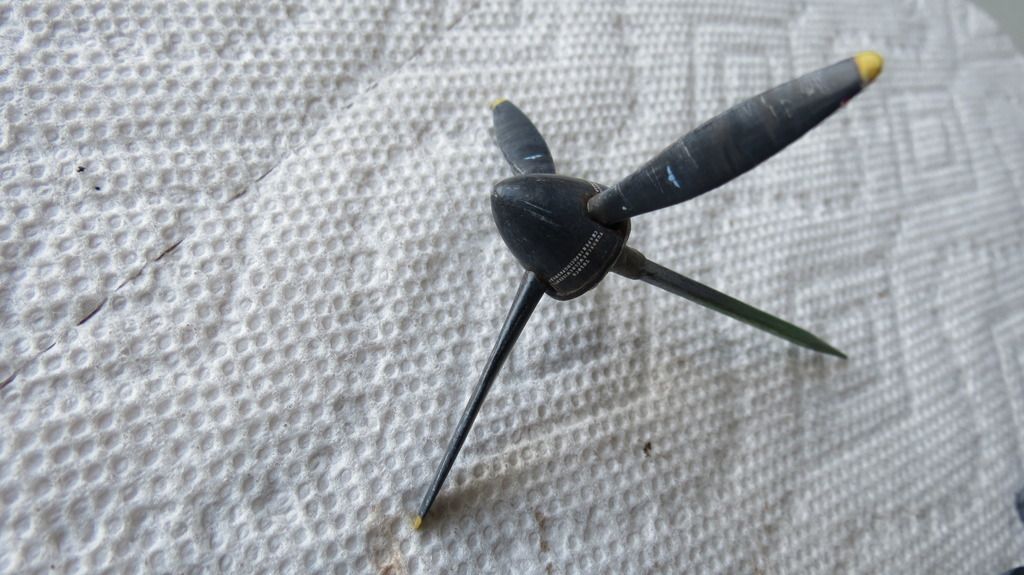
With that completed, I then sealed everything with the final matt/flat clear coat...
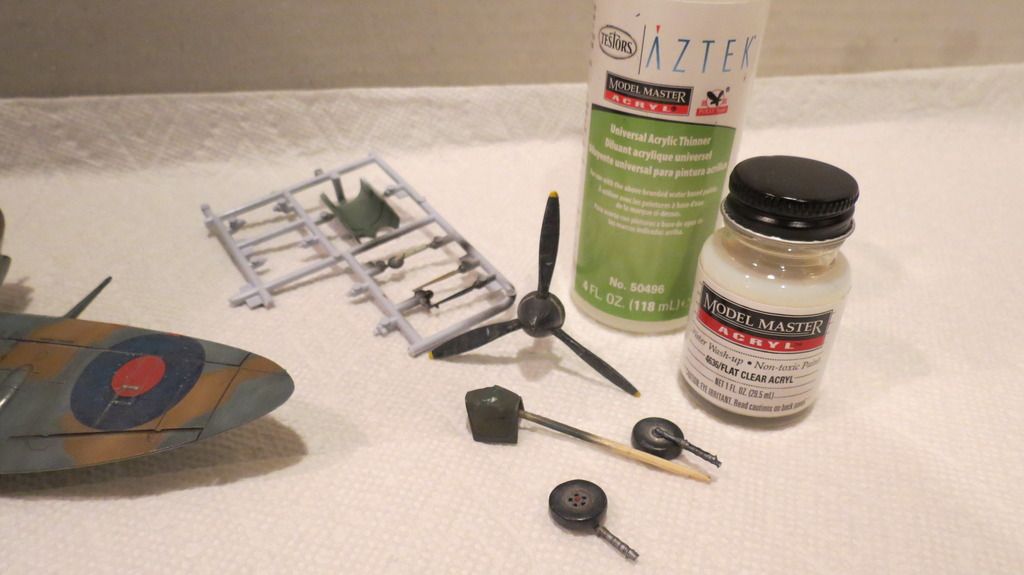
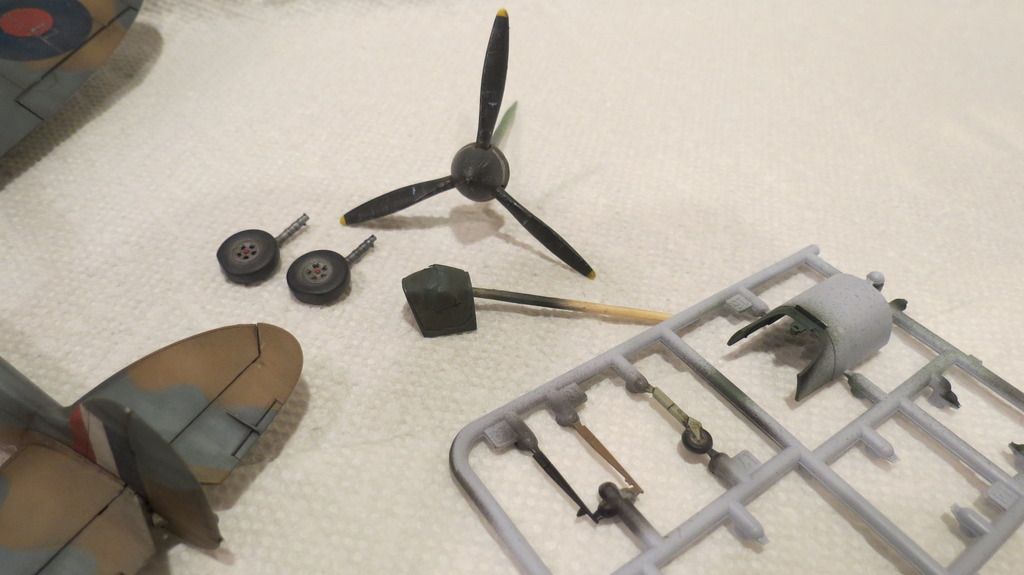
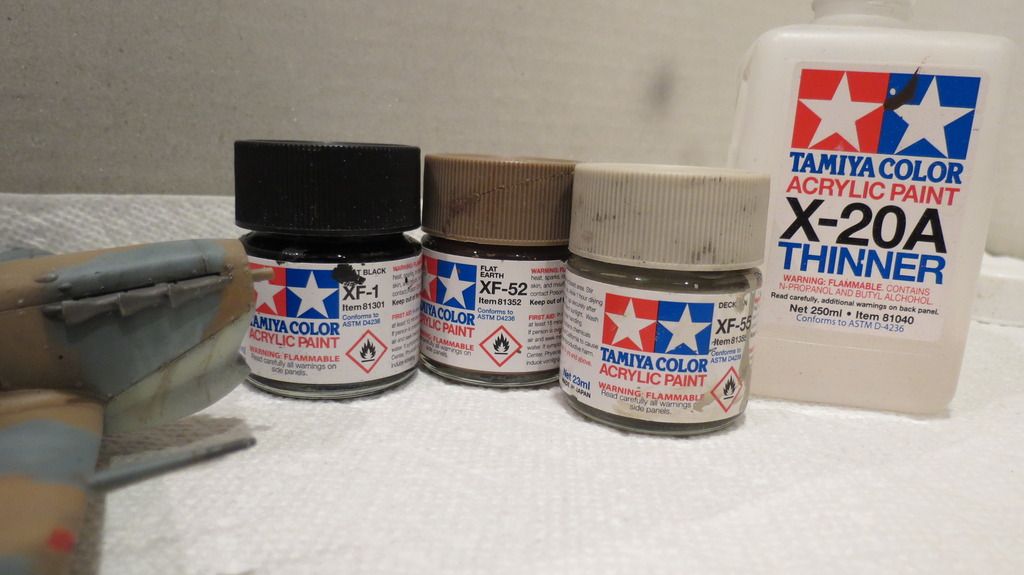
When the matt clear coat was dry, I then moved onto applying the machine gun port stains and the exhaust stains. I mixed some Tamiya Dark Earth with flat black, thinned down 80% then carefully airbrushed the gun port and exhaust stains. I then thinned down some Tamiya "Deck Tan" and airbrushed this on top of the exhaust stains to simulate lead deposits...
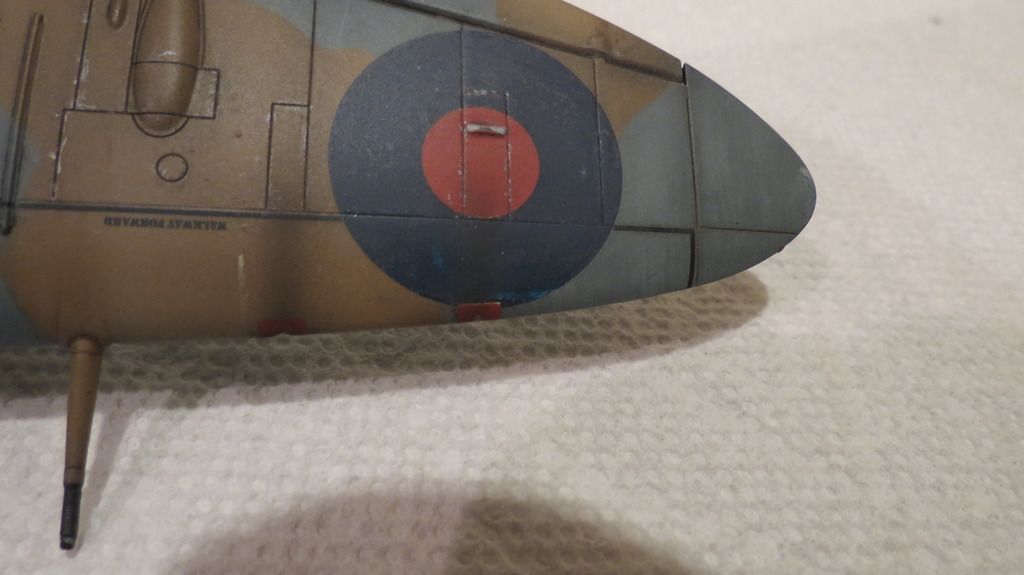
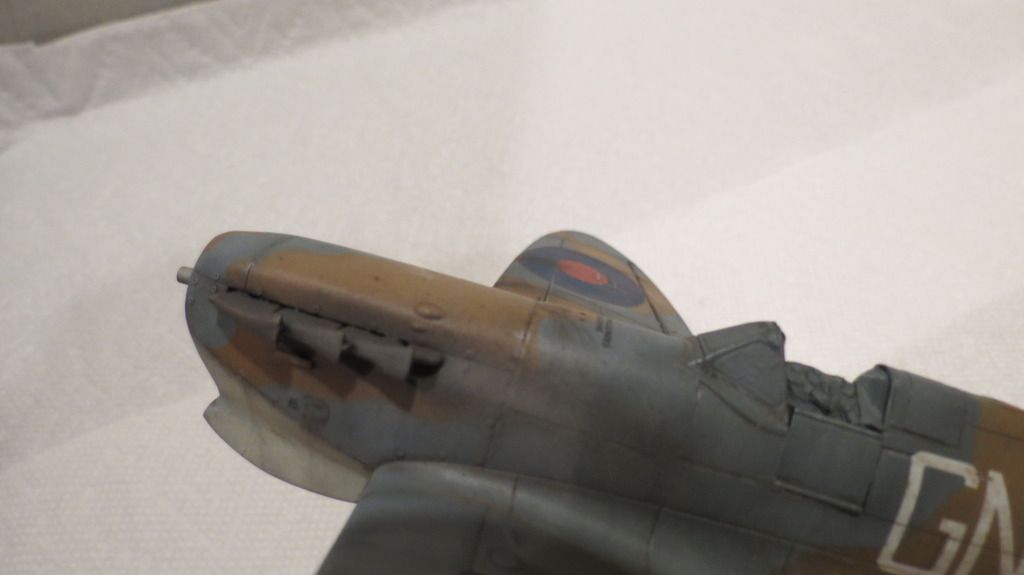
Next, I removed the masks from canopies, along with removing the damp tissue masks from the cockpit. I then glued the propeller in place followed by the Pilot's door in the open position...
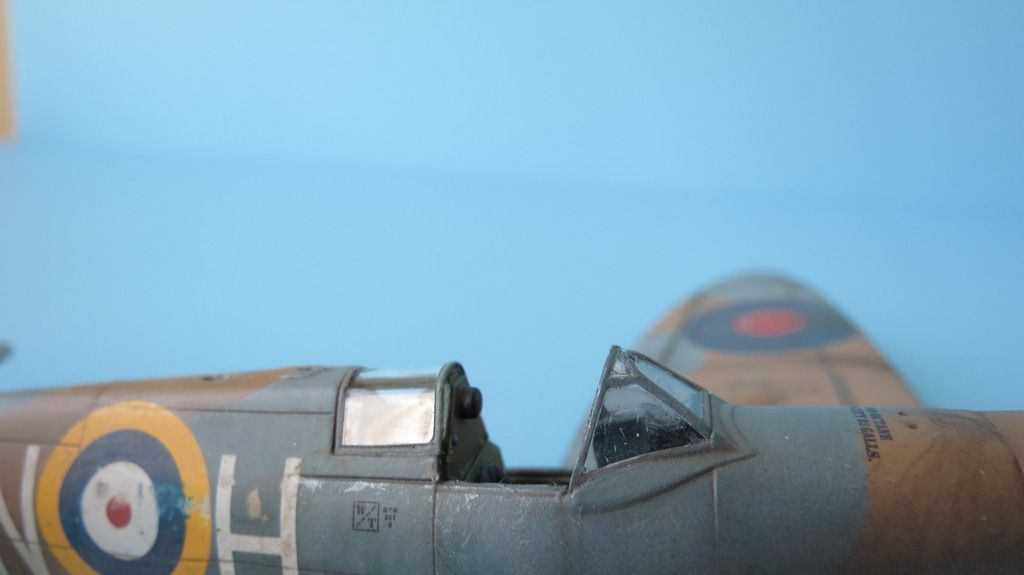
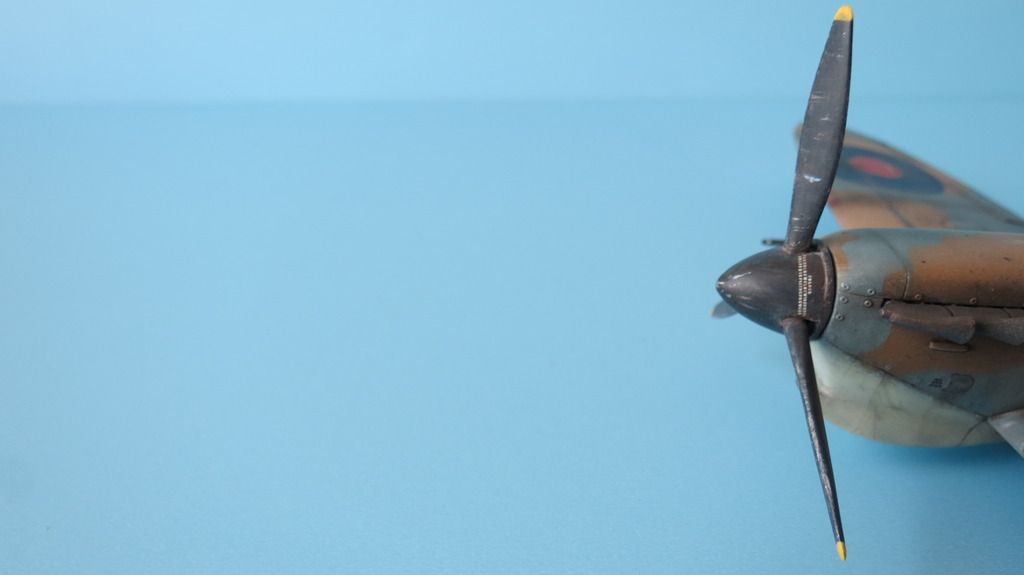
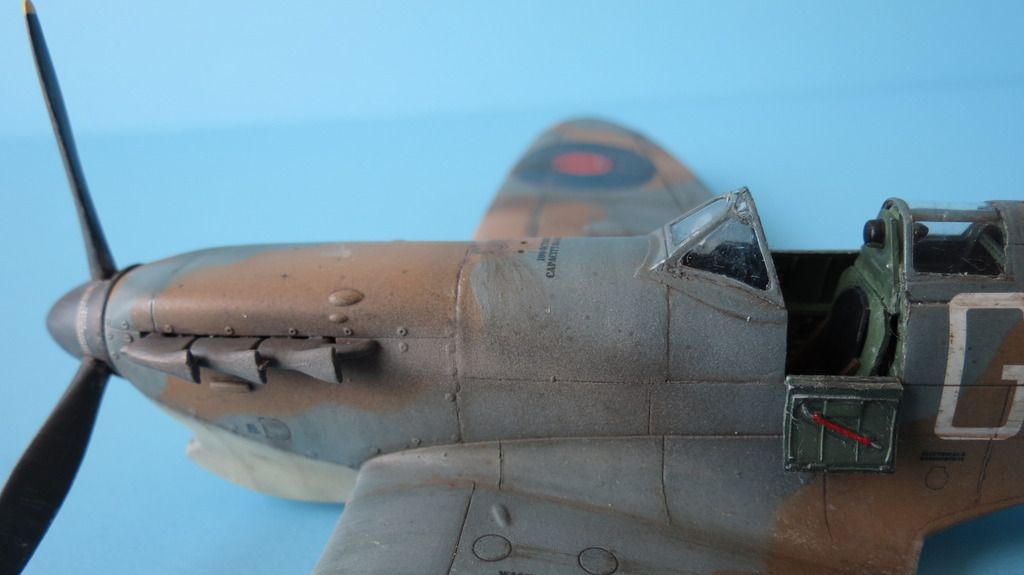
It was now time to assemble the undercarriage, wheel bay doors and rear wheel. But before I did, I removed the doors from the wheel wells, along with the tissue that were masking the insides of the wheel wells. I then applied a dark dirt wash to the insides of the doors and into the wheel wells, let it dry for 30 minutes, then rubbed off the excess, leaving on an amount that provided a dirty appearance...
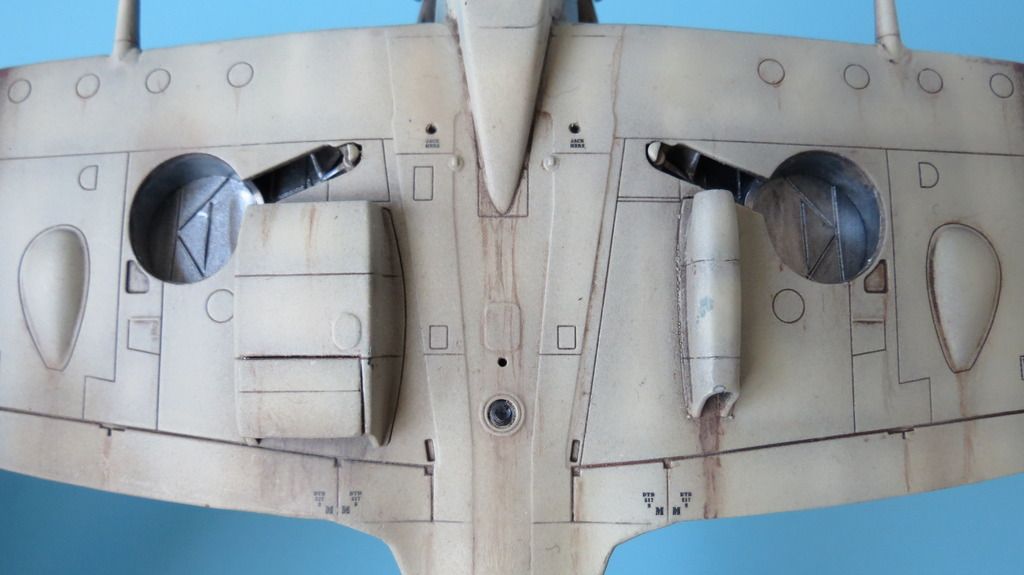
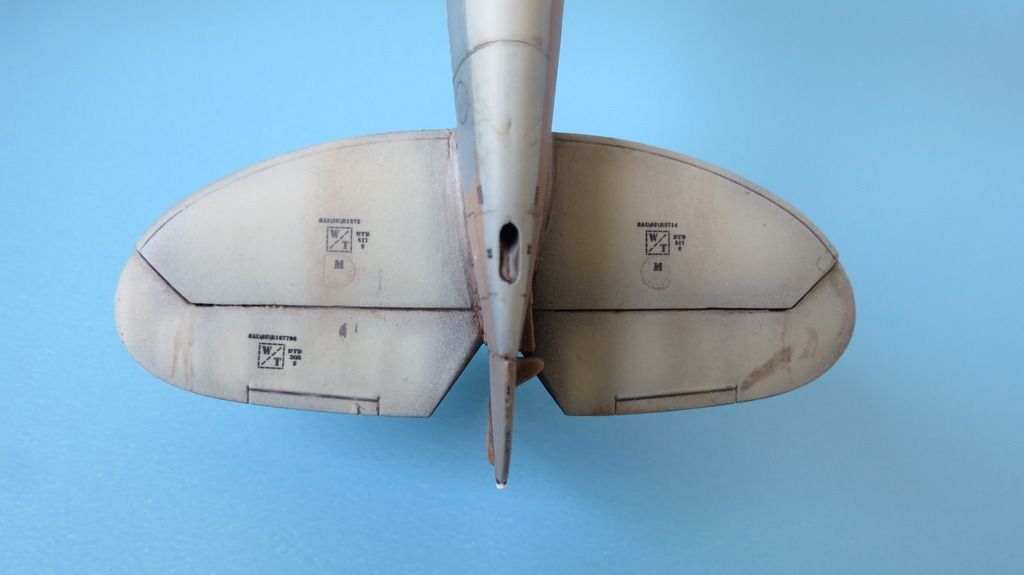
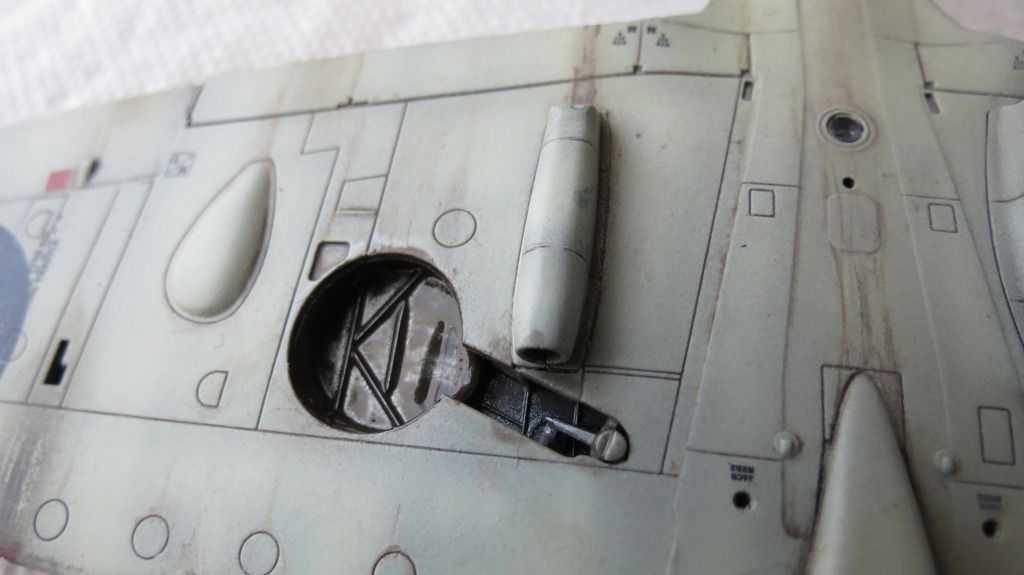
I then assembled the wheel bay doors onto the undercarriage and glued them in place, along with fitting the rear wheel, which was a nice press fit not requiring any glue...
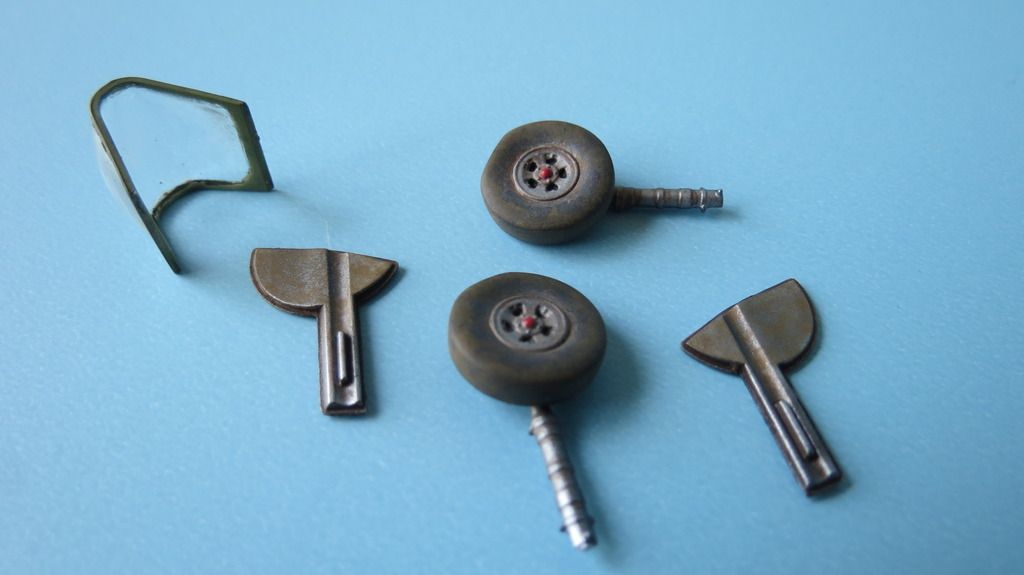
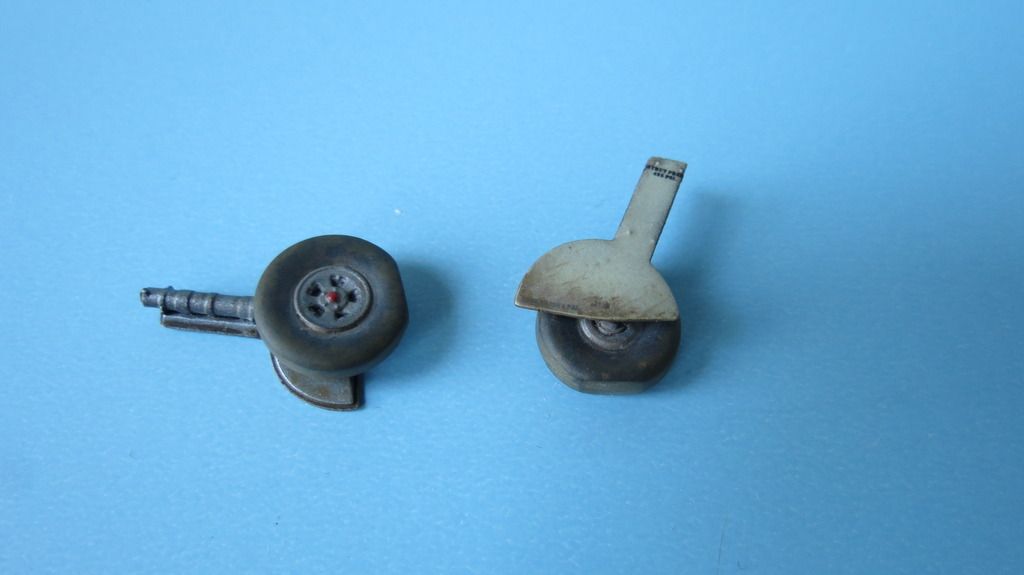
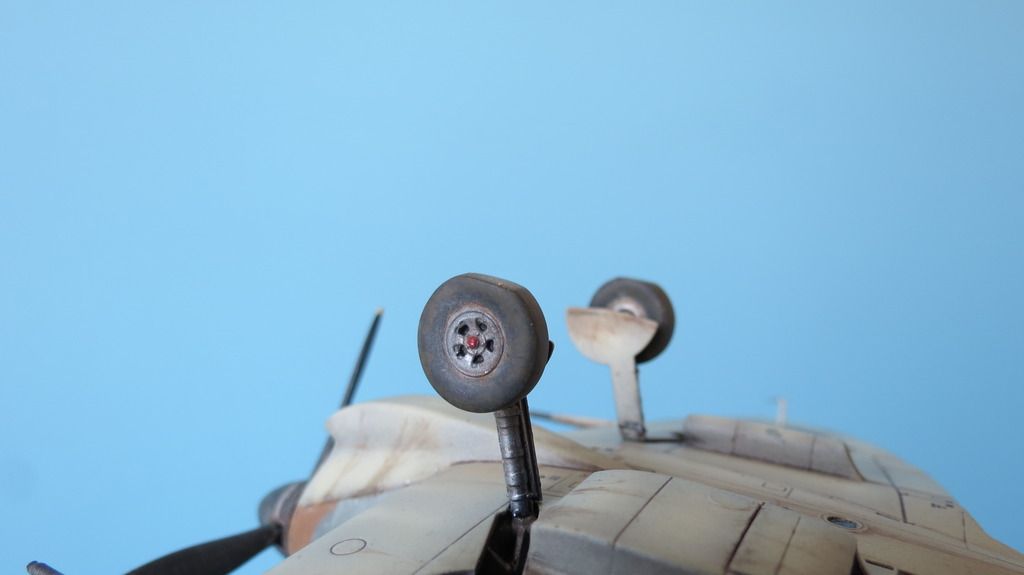
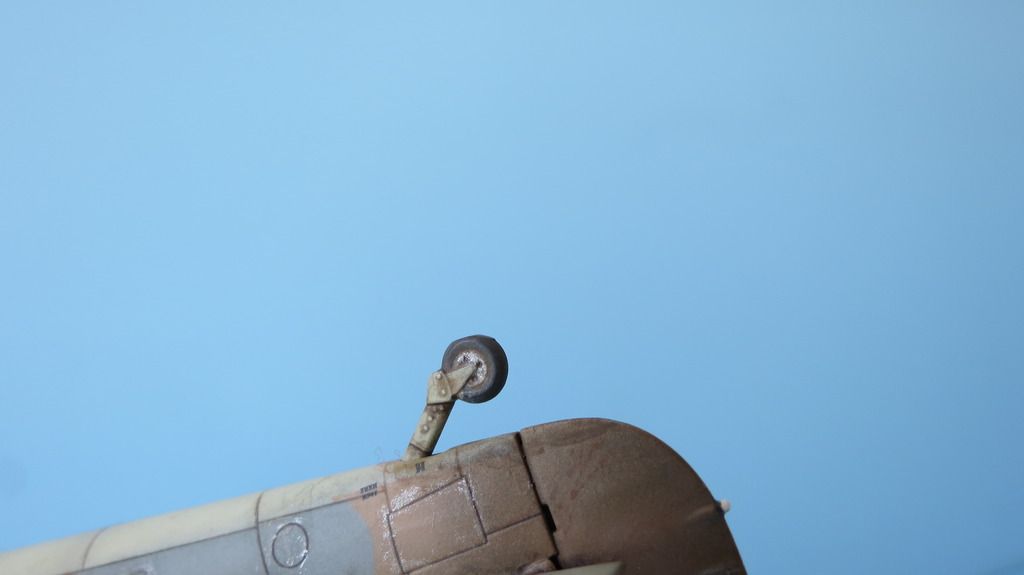
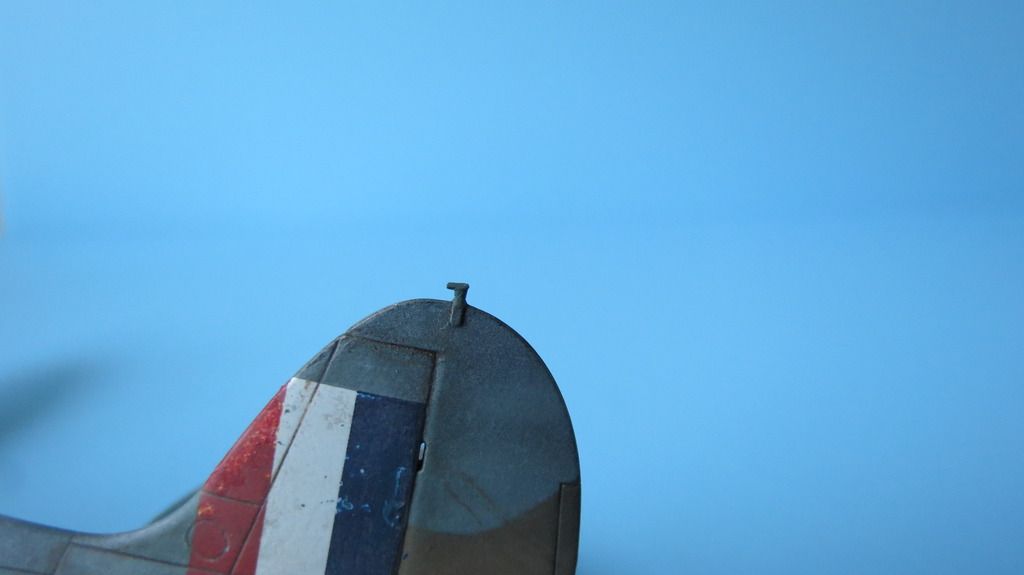
After fitting the wheels, I then glued the antenna mast into place, then carved out of plastic the antenna cable mounting point that locates onto the top of the rudder; the molded in one had broken off during the build process. I then glued the sliding canopy into the open position, followed by the Pitot tube and the upper fuselage light lens...
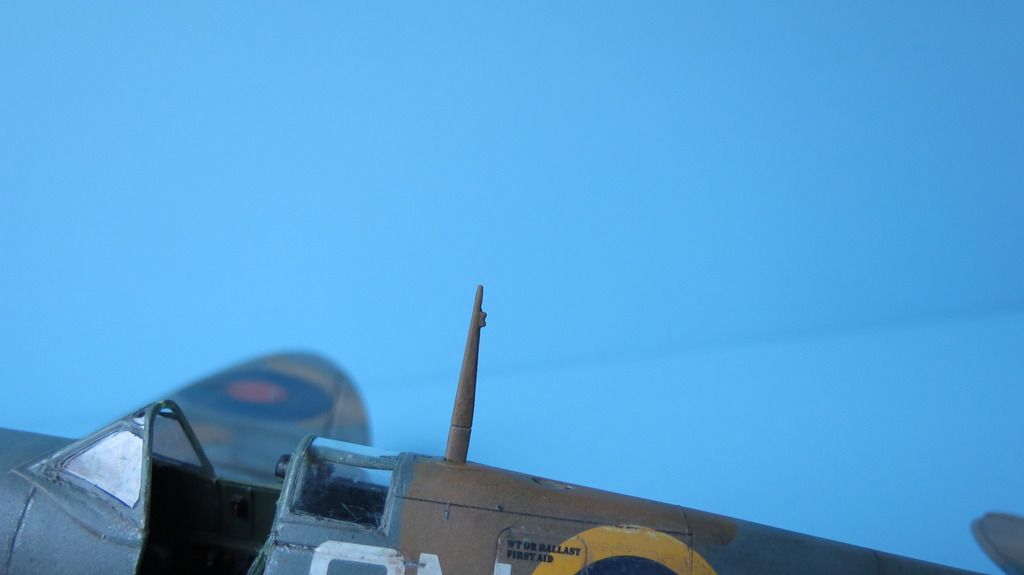
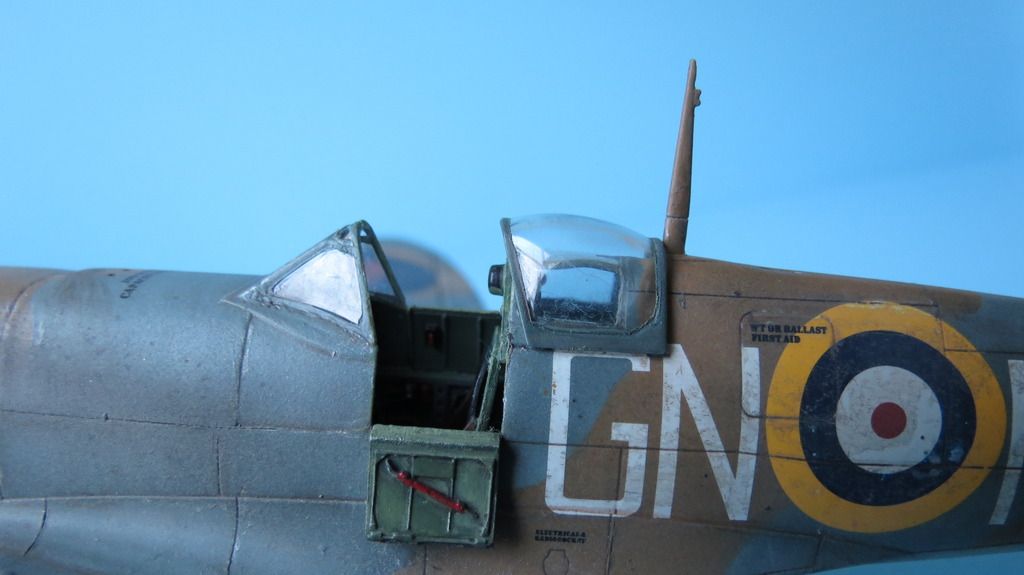
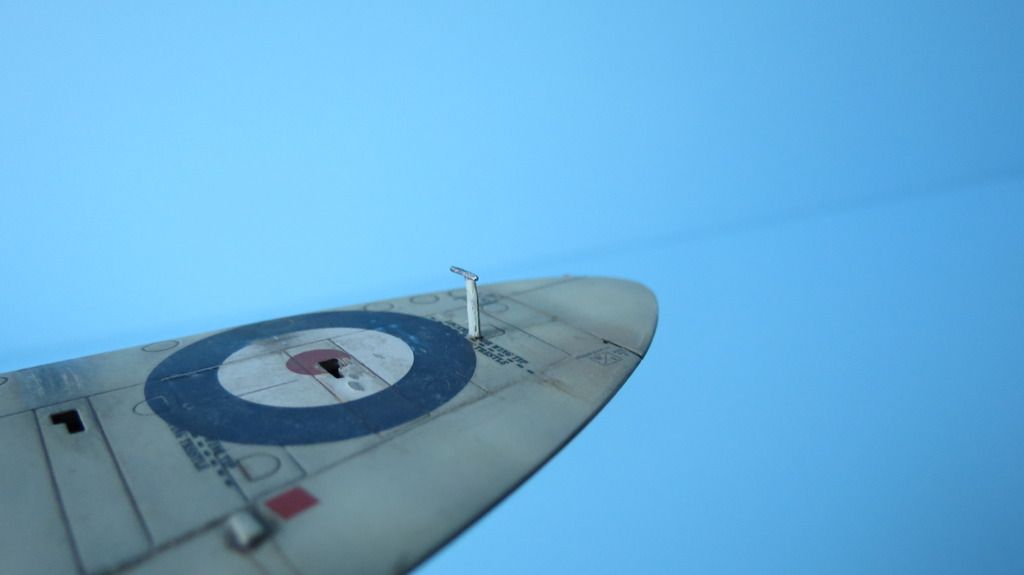
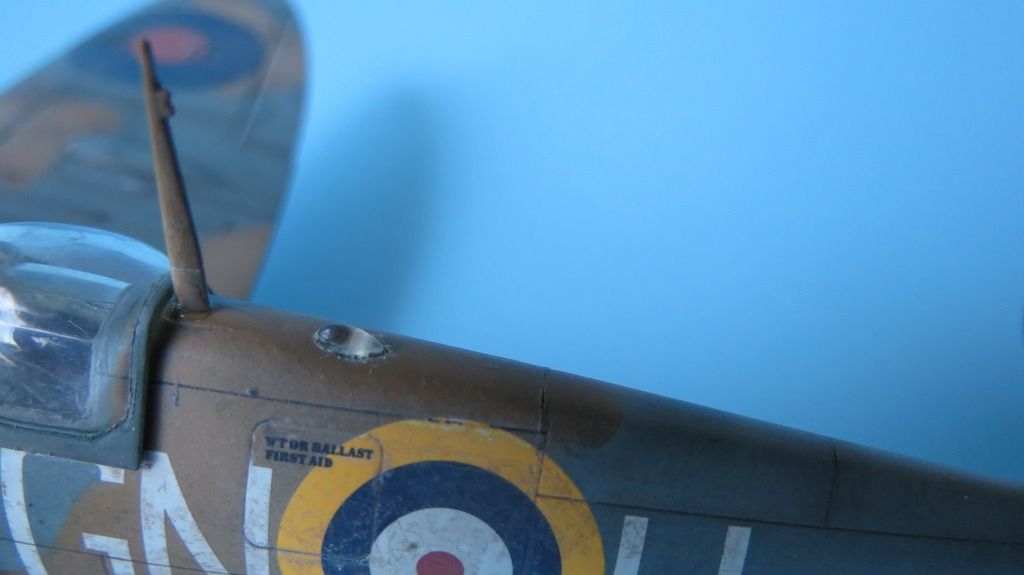
Next, I applied the decals to the inside surface of the Pilot's door and sealed them in with a flat clear coat...
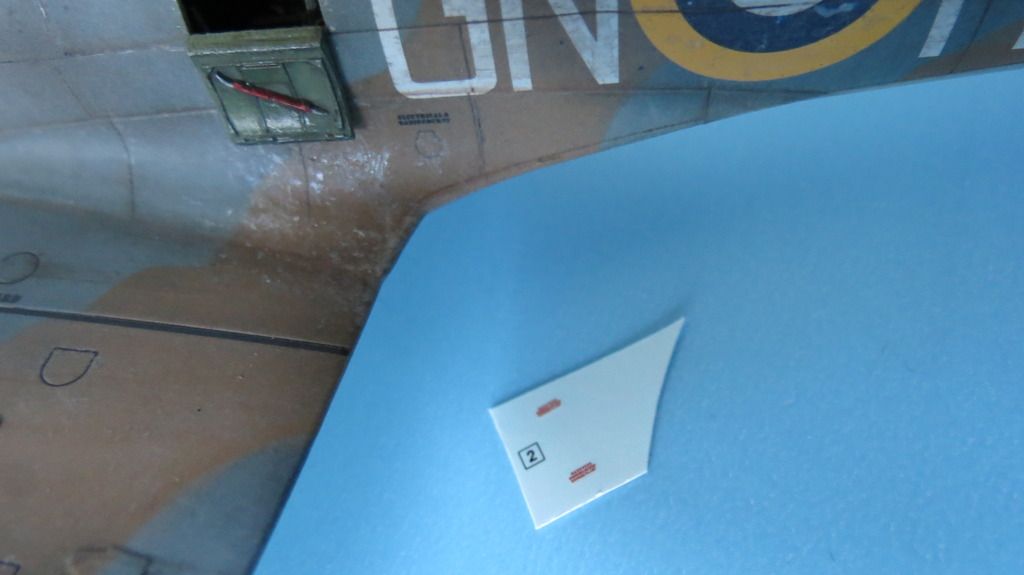
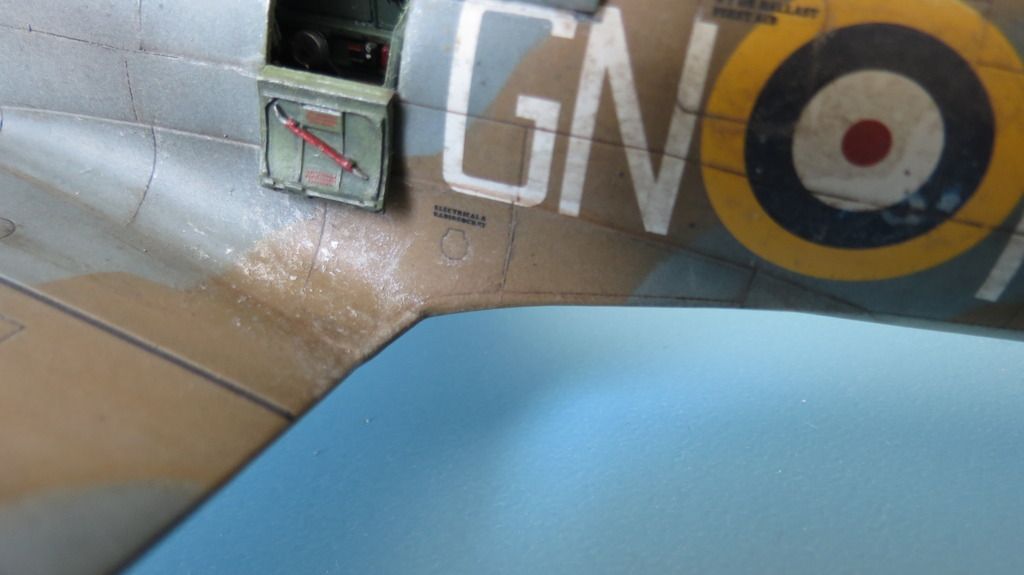
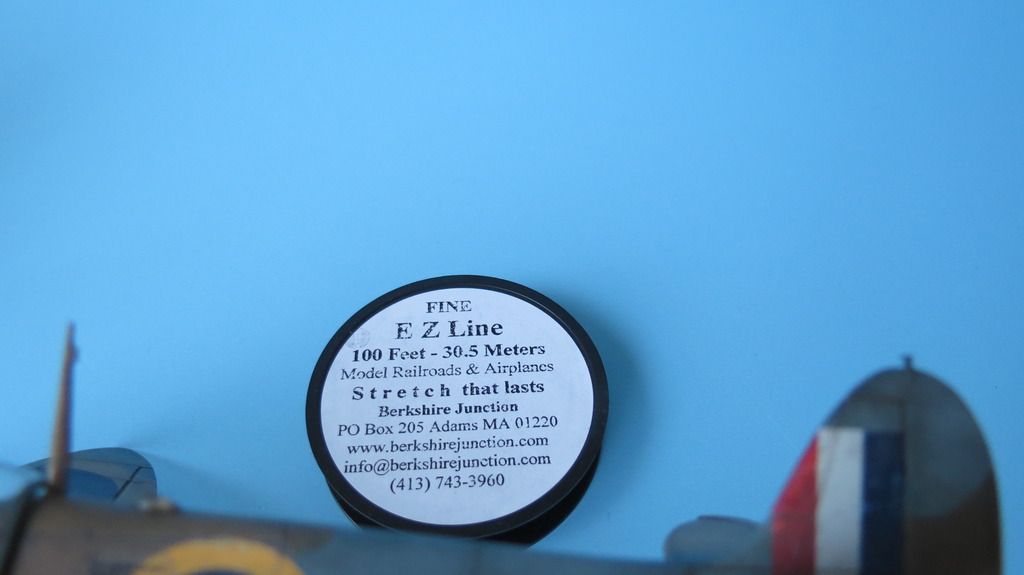
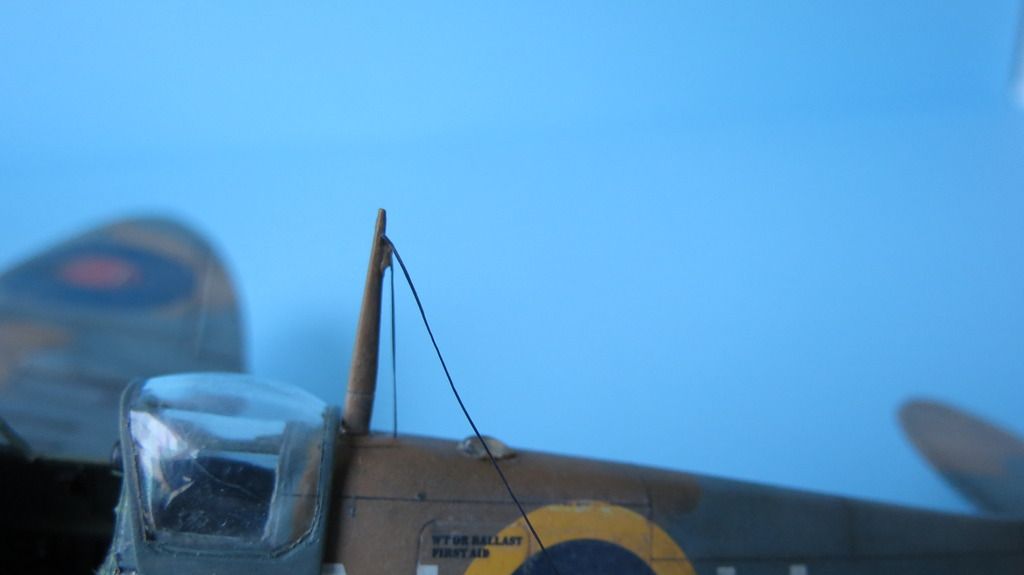
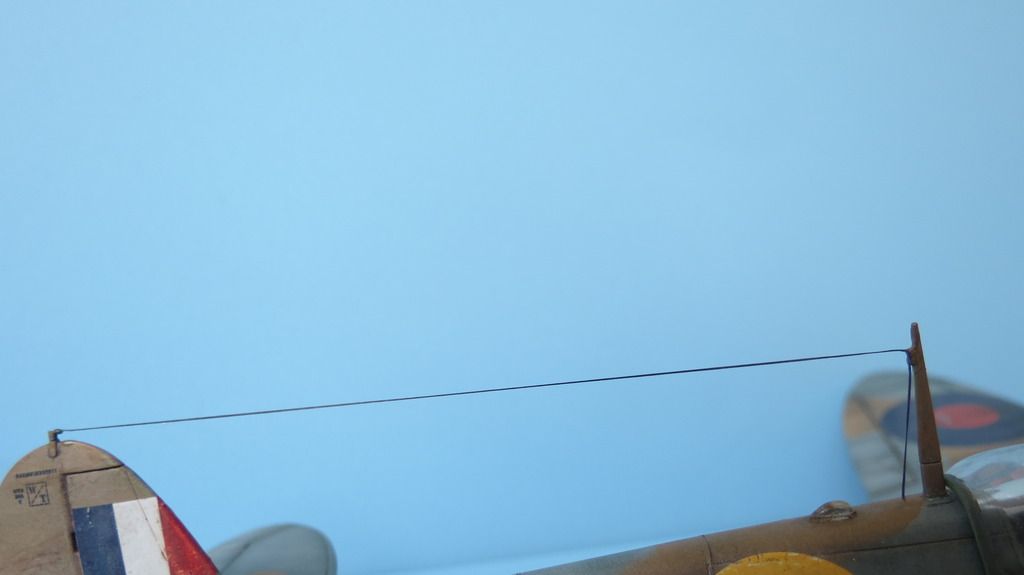
I was nearing the end of the build with just two more things left to do- the first was to glue the antenna cables into place; I used black fine 1.010" diameter EZ-Line. I started out by dipping one end of the EZ-Line into some CA glue, then letting it touch the top of the fuselage, just behind the antenna mast. After about 30 seconds, it had set solid, so, I applied a drop of CA glue to the connection point on the rear of the antenna mast and stretched the EZ-Line up to that point, pressing it against it with the tip of a cocktail stick until it had set in place. I then put a drop of CA glue onto the rudder mounting point, using the tip of a cocktail stick, then stretched the EZ-Line up to the rudder mounting point, and again, holding the EZ-Line against the mounting point with the tip of a cocktail stick until it was set in place. I then snipped off the excess to complete the antenna cabling...
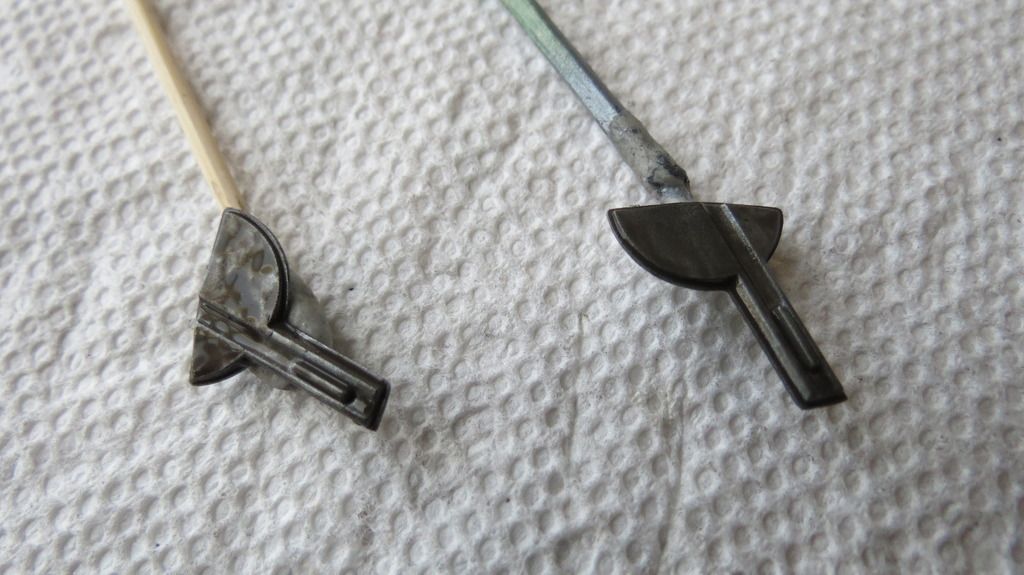
The last thing to do to complete the build, was to glue the Pilot's rear-view mirror onto the top of the windshield and paint it....
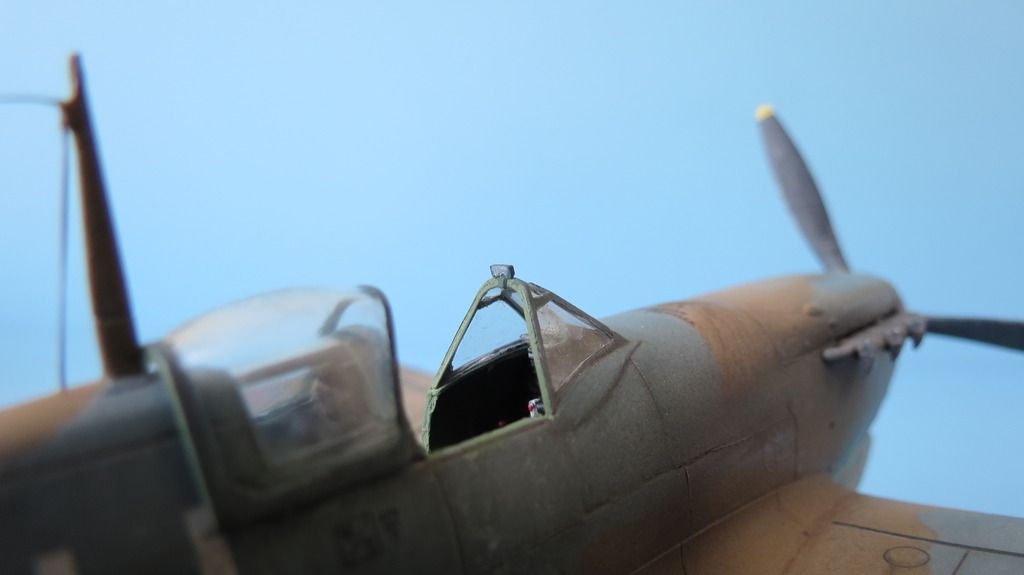
Well, that's this build all done now until my "Final Reveal"" post that will be put on here during Sunday.
In the meantime, if you'd like to watch my YouTube "Build Update #2" video for this report, then here is the link to that:
https://youtu.be/Gtc9BdqfvG8
Thanks in advance for taking a look at this post, the video and for leaving any comments, greatly appreciated! 
Until my "Final Reveal", happy modeling and have fun!
Cheers 
Martin