Thank you! Today I actually made it through without breaking anything...
The Life Color paint hasn't disappointed. It's also easy to touch up scratches since it seems to blend back nicely with the airbrushed coat when dry. It cleans up with isopropyl alcohol, but I don't thin with it. I use Testor's universal acrylic thinner for non-Tamiya paints. For Vallejo, I only use their thinner.
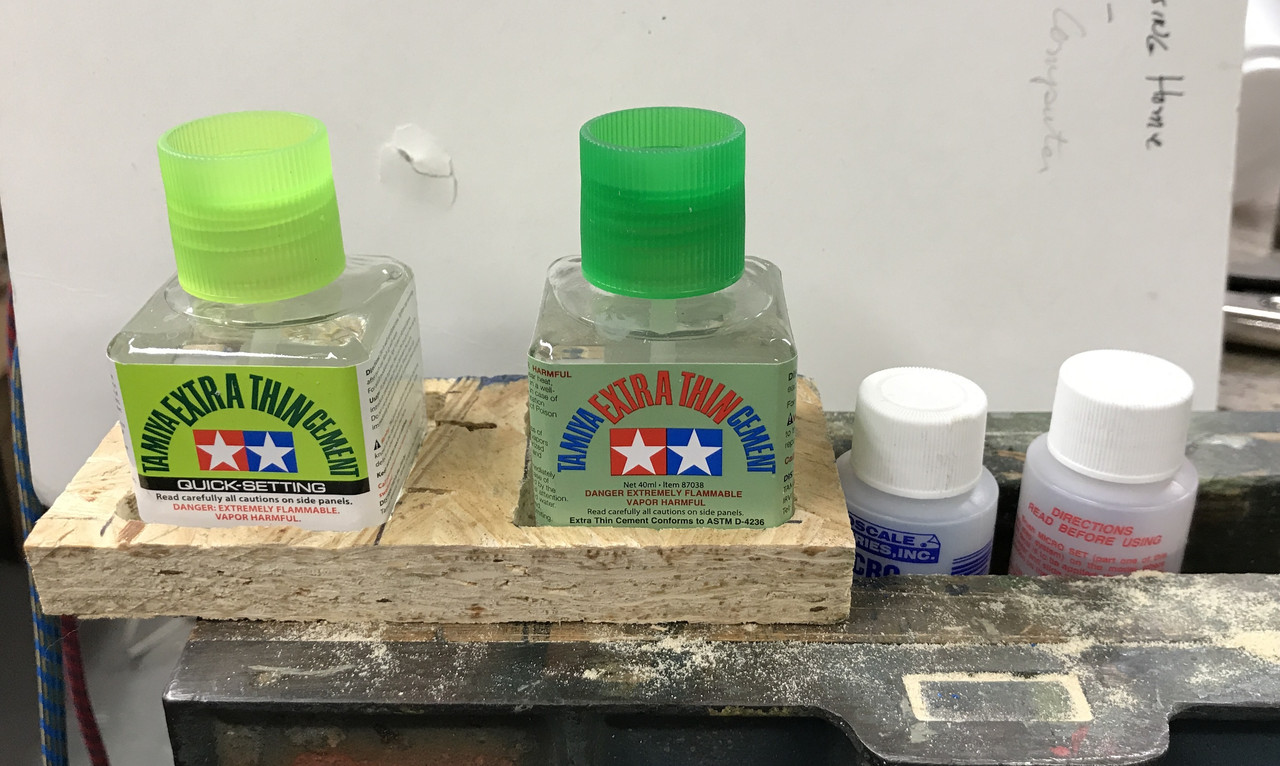
Before I discuss today's progress, I finally got a handle on spilling stuff. Even though the Tamiya glue bottles are wider on the bottom than the top, they DO SPILL and often with horrendous results (see my repair on the island of the USS Essex...). And the Microscale bottles are far, far worse. They spill even if you open them carelessly.
So for the Tamiya bottles I took a piece of scrap and routed out a cavity for the bottles and then used some servo tape to secure them into them. I could have made the plank wider, but it seems to be working. And for the Microscale decal solutions I simply clamped them into my woodworkers vise... not to tightly, but enough so they WON'T SPILL.

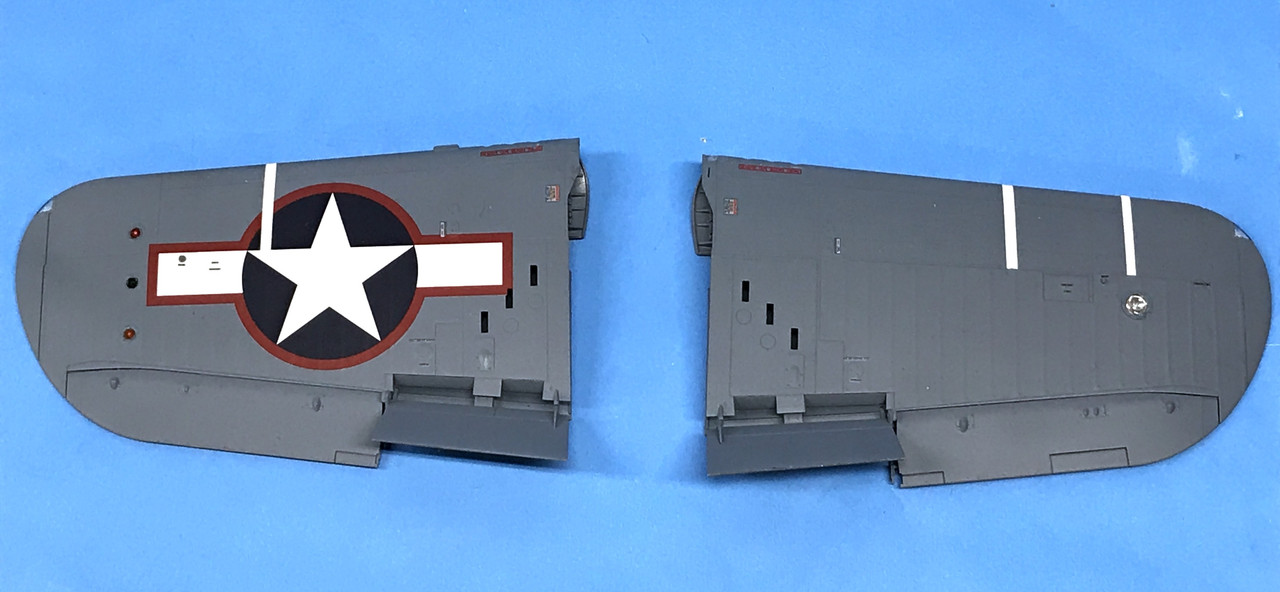
Spent the entire work session putting on decals and I'm almost done. I first coated the underside with the Testor's One-coat Clear Lacquer since I had forgotten to do it. I used the Tamiya Clear flat on the wings, and caught myself only matte finishing one nav light before I realized I had to remask them if I ever wanted to look through them again. So I stopped and quickly added liquid mask to all the wing transparent parts... and then did the flat painting. The results are good. The Tamiya flat seems to lay down more evenly than Dullcoat.

Still to be done with these is some very mild powder stains from the gun ports and ejections chutes.
I brush painted some Tamiya gloss onto the upper part of the landing gear strut to prepare it to receive the trickiest decal to apply in the whole model; an specification plate on the Oleo Strut. I let this dry and worked on getting some more stencils on the fuselage. I took the decals off their backing with tweezers and placed them on the two main struts and then used a toothpick to manipulate them to get them in place and vertical. It was finicky and my hands were very shaky. I hadn't had lunch. When I had lunch I also took a shot of some wonderful 18-year-old, single barrel Elijah Craig 90 Proof Bourbon. In about 10 minutes, my hands were much steadier. It would have been much easier to put on this decal during gear assembly, but that would have made it impossible to airbrush the entire assembly. Instead, I held off until I was doing all the other decals.

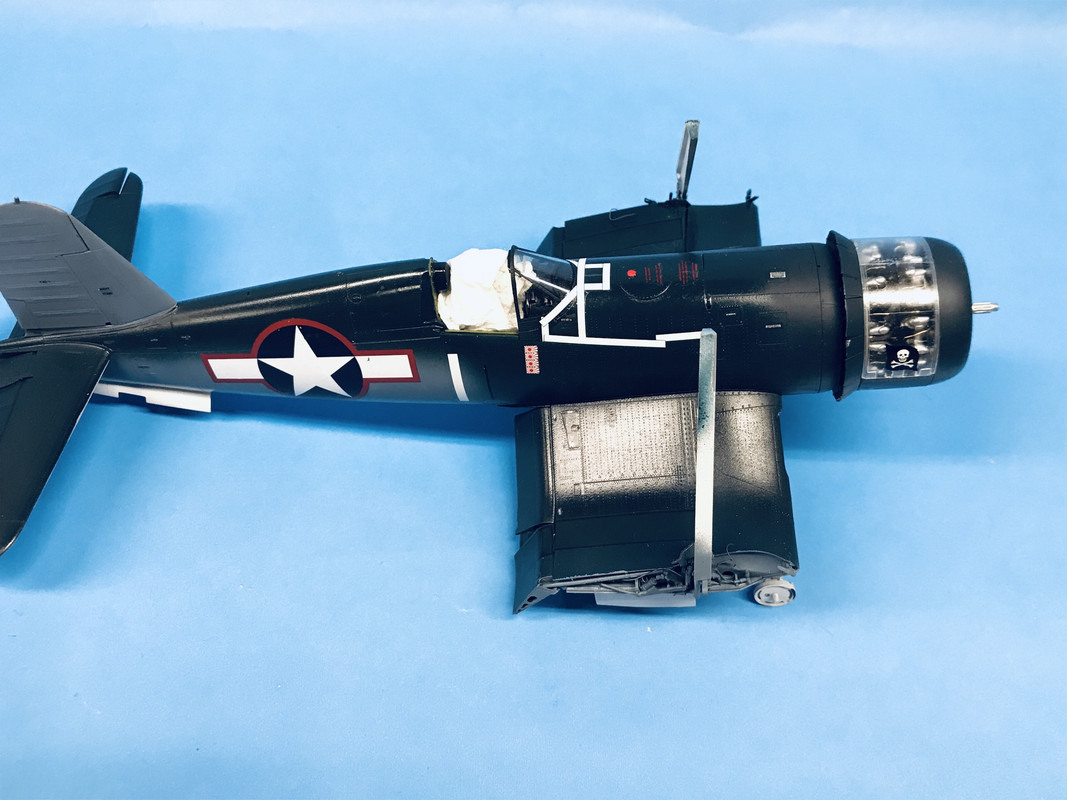
There were tons of tiny stencils on the fuselage and some big and tricky decals. I worked methodically from aft to front and held the plane in the Panavise during most of it. The big stars, like on the port side, went on nicely. I had no tearing after coating them with the Microscale Decal Film. Then I got to the white striping in front of the cockpit.
What this detail actually represents is sealing tape that was put on the early Corsairs to prevent fuel from seeping from the fuel tank compartment and fouling the windscreen. I've also read that it was to stop fumes from entering the cockpit. In later iterations, they no longer needed this taping. Until my research I thought it was some kind of identifying feature, but it wasn't... it was operational.
So I got the decal wet and then realized, after looking more closely at the positioning, that part of the decal wraps around the FORWARD CANOPY. Yikes! I wasn't planning on installing that now! And before you can put it on, you need to glue on the bulletproof glass shield and reflective surface for the gun sight. So I have an important decal sitting there all wet and I have to get the canopy on. I needed to kill the gloss on the top of the instrument panel too. I moved quickly and got it all glued in without screwing anything up.
Once I was applying the decal it went on pretty smoothly and needed a lot of setting solution since it bending around some curves.
I finished all the rest of the stencils, painted the gas cap, and got walkway strips on the tops of the mid-wings.

I flipped the plane upside down and started working on more weathering and stenciling on the belly. The Tamiya Panel Line Highlighter works much better on a sealed surface and its low surface tension lets it flow down the seams pretty easily. I used some mineral spirits to clean up excess since it is solvent based. I used some black weathering powder to add more exhaust stains. I then got all the bottom stencils in place. I added the four remaining little gear doors that close behind the extended landing gear. These too had to wait until all the hydraulic piping and detail painting was finished since they really block access to the front gear well... and blocks seeing some of the neat details too.

There are a smattering of stencils left for the horizontal stab and elevators, and then the plane's decals are done. What's left? The entire model minus the wings need to be matte coated, and I now know that the Tamiya bottle flat finish does airbrush very nicely. I have to put on the wheels and attach the tail hook. I need to paint and build the beautiful propeller, which also has some decals. The yellow tips are actually a decal in this kit. Never had that. There are two added vertical antenna masts that need to be installed and then some radio antenna wiring (E-Z Line) that I need to run. And I have to build, paint, decal and install the one piece of ordinance; a 500 lb. bomb. I can't forget the pitot tube, which should be the last thing to add since it will be the first thing to break. And the model will be finished.