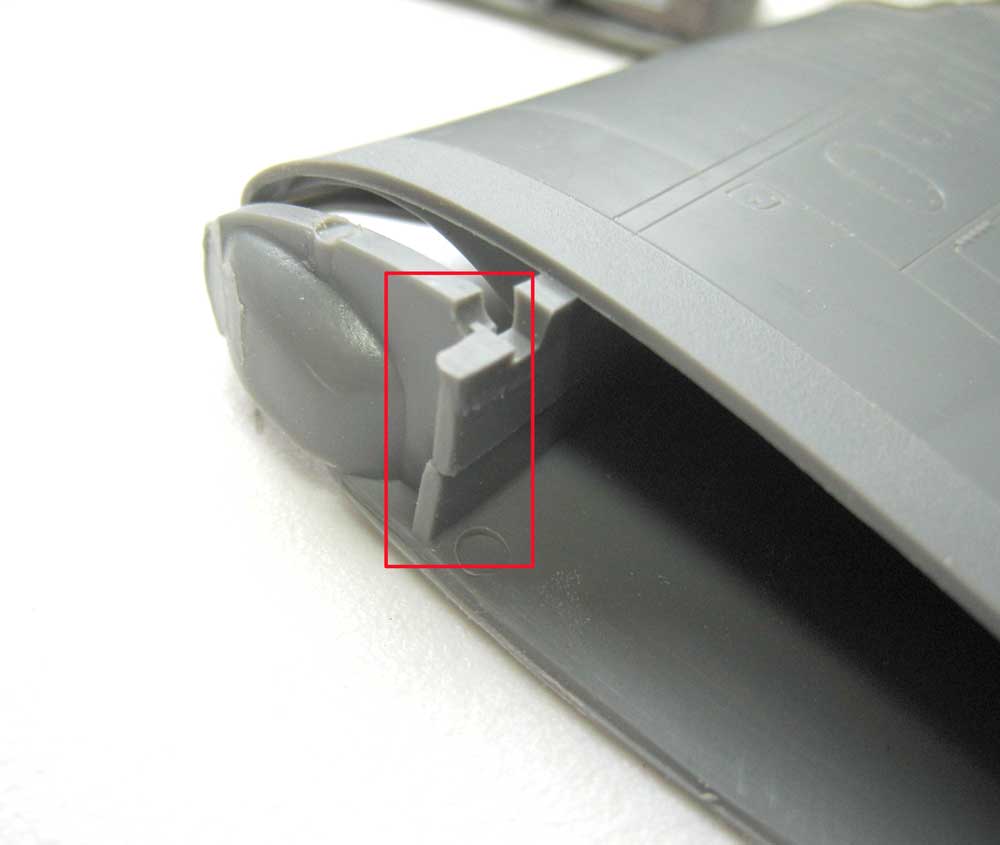
Back from my journeys- and back to that bomb bay! Here's an alert- one thing the good folks at Eduard fail to mention is this little stub spar in the wing root. Chop it out or the PE-enhanced bay won't fit!
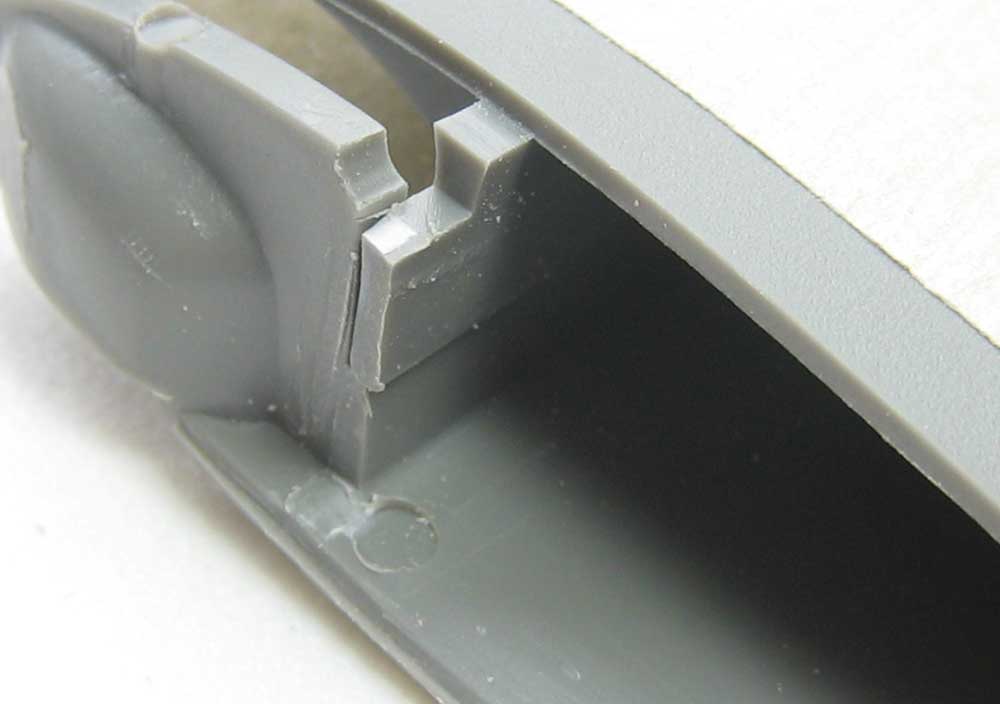
Here's what it
should look like- easy!
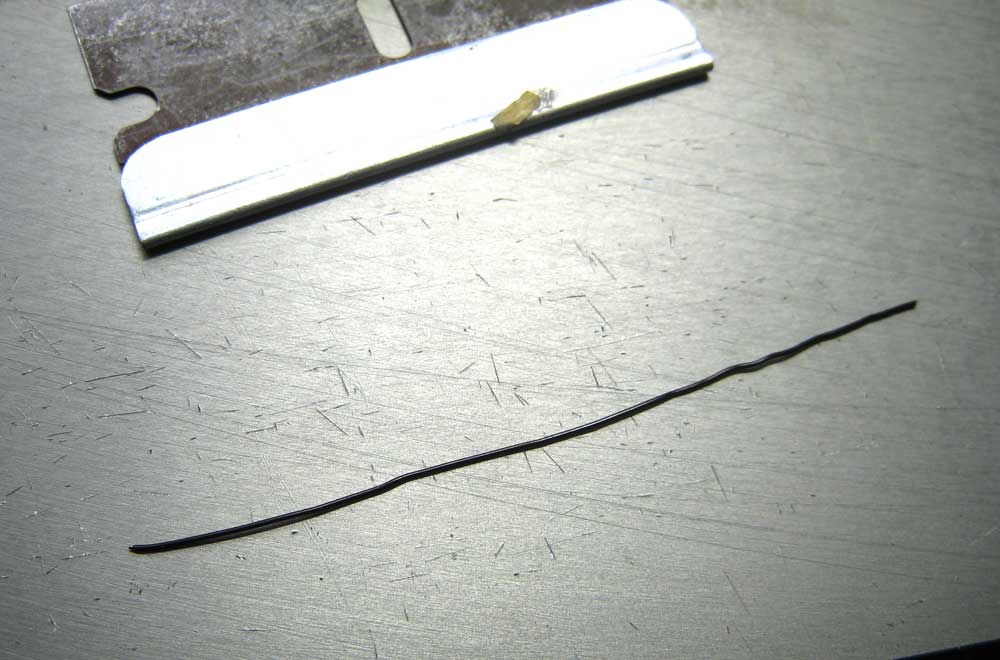
Before we go any further, here's a tip for straightening wire- even a kinked piece like this can be salvaged. Just lay it on a flat, hard surface- glass will do, but I use the base of my Mission Models Etch-Mate.
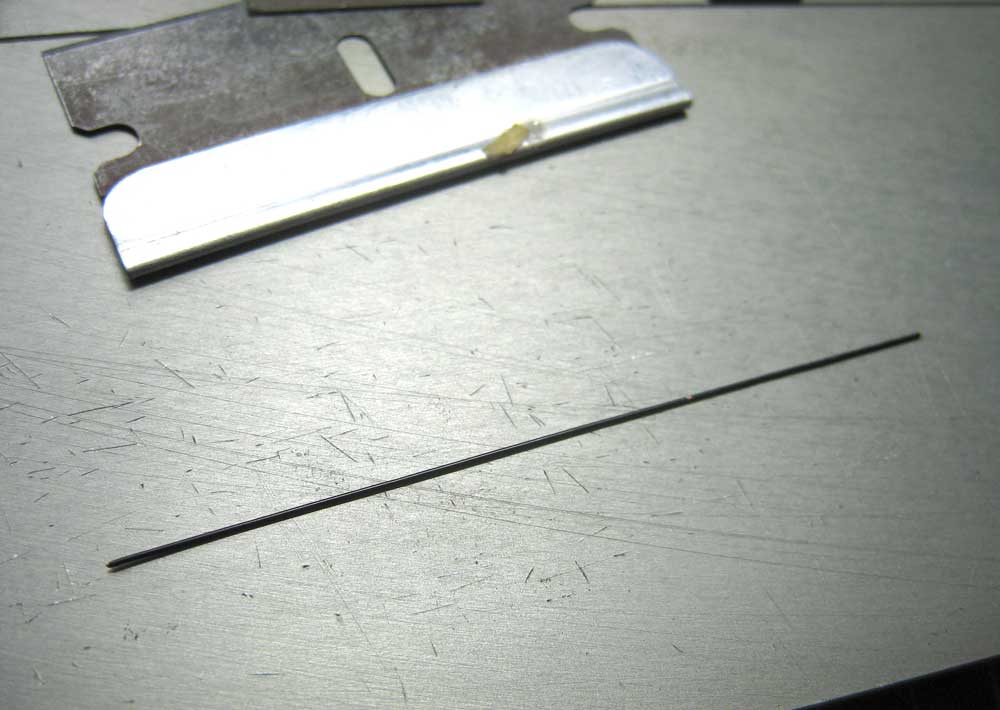
Simply roll the wire with a flat tool, like the base end of a pair of tweezers.

Hey, Presto! The wire is ready to become a simulated hydraulic line.
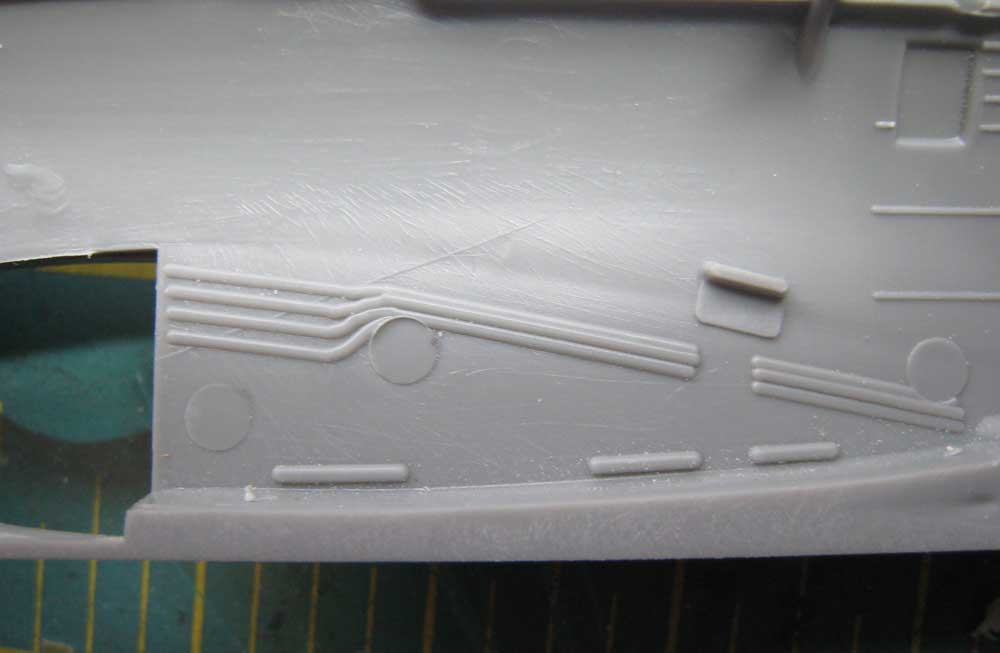
The kit wing roots display some basic engraved detail- these appear to be the continuations of the hydraulic lines in the wheel well. They've got to go- scrape 'em out!
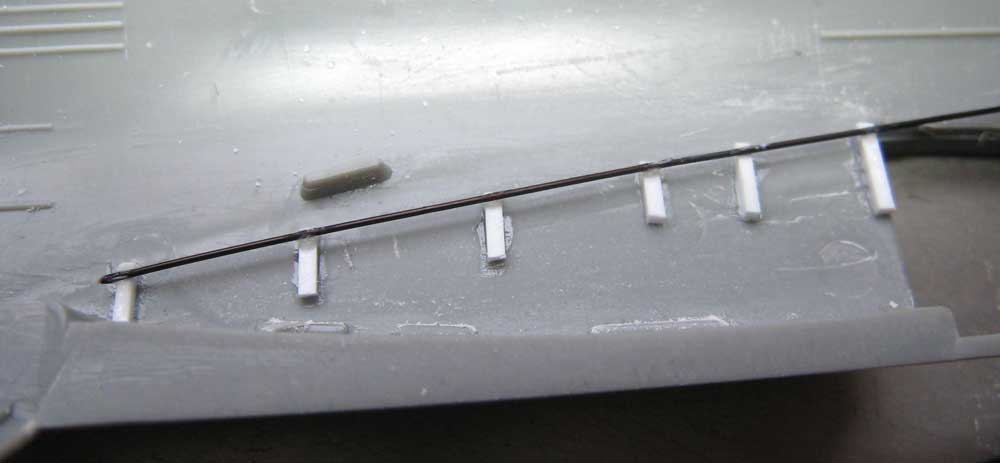
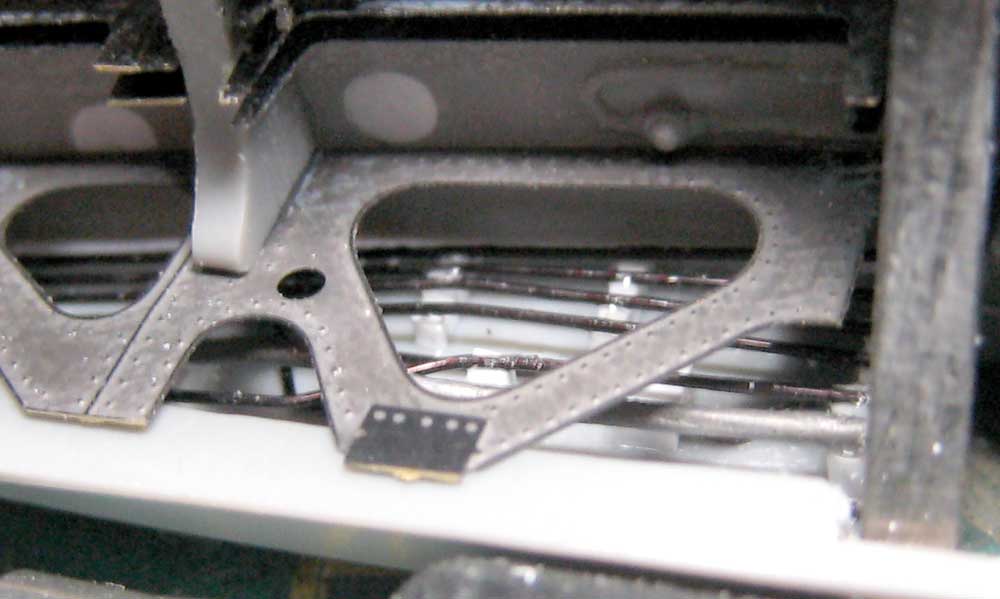
Add some spacers from styrene stock and place your first wire- it's basically straight.
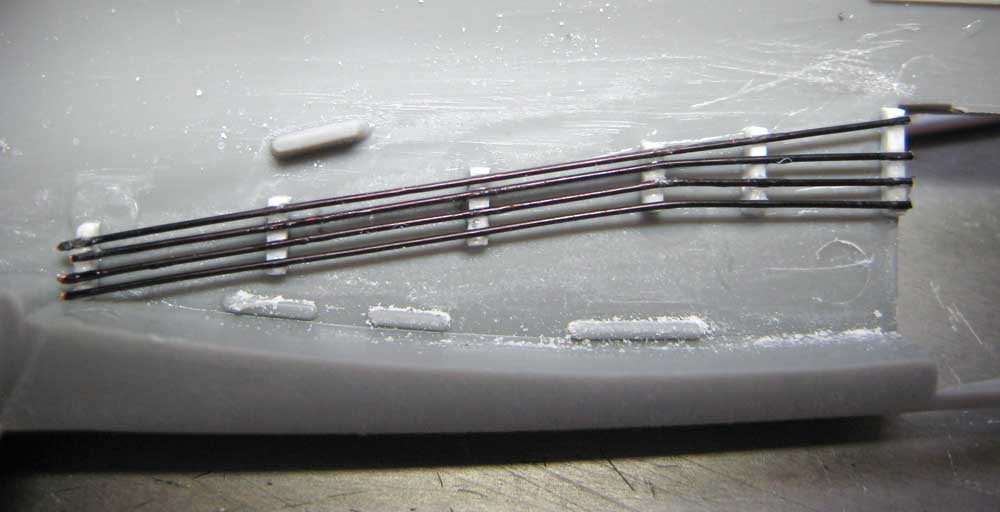
Here the rest have been added.
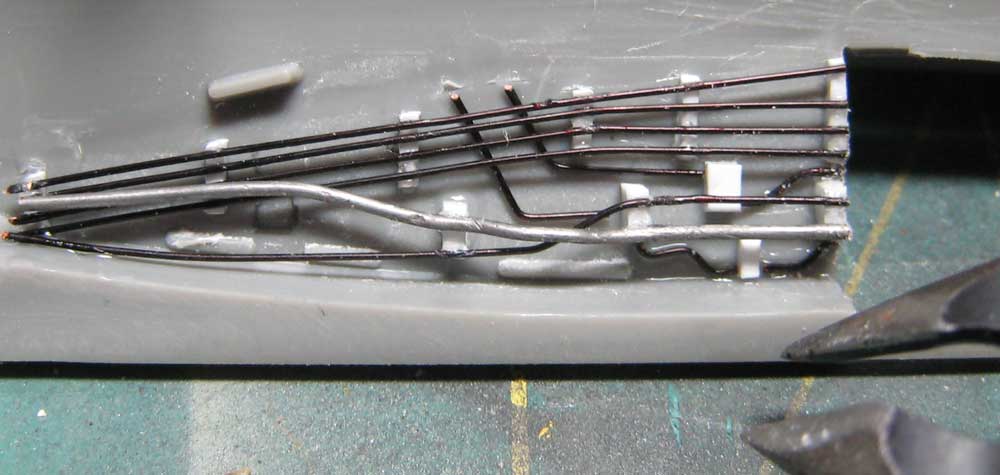
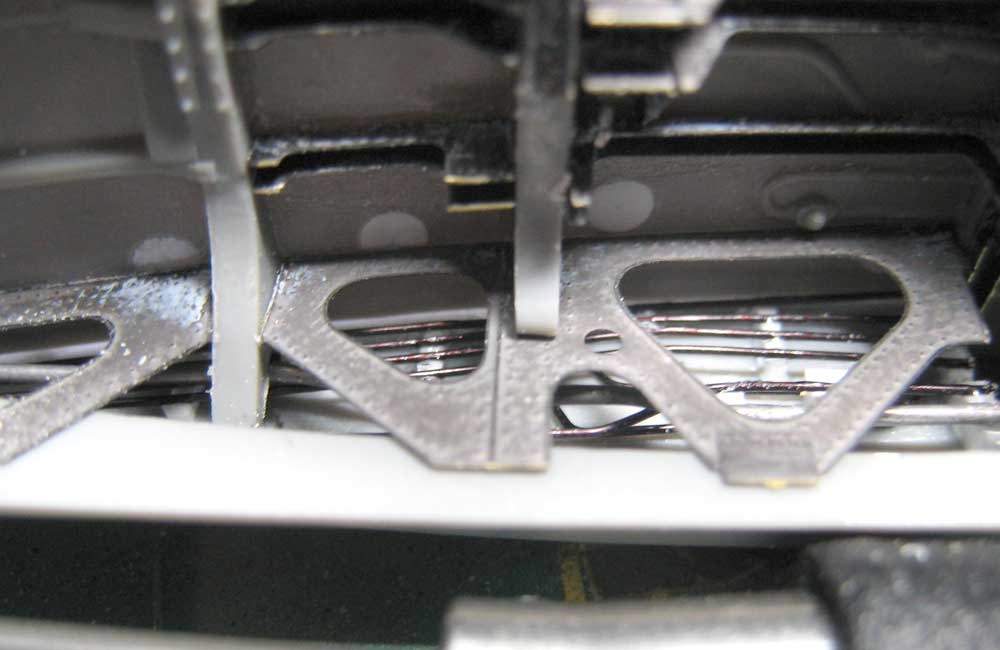
Using more spacers a second layer of piping has been put in place- not a thicker line form fine solder. I was having fun and this was going a lot faster than I thought it might, so I added a third layer, flush with the hull. Tiny blocks of styrene formed junction boxes which I linked together with neatly-bent lengths of scrap wire form the first two layers. Waste not, want not, move along quickly.
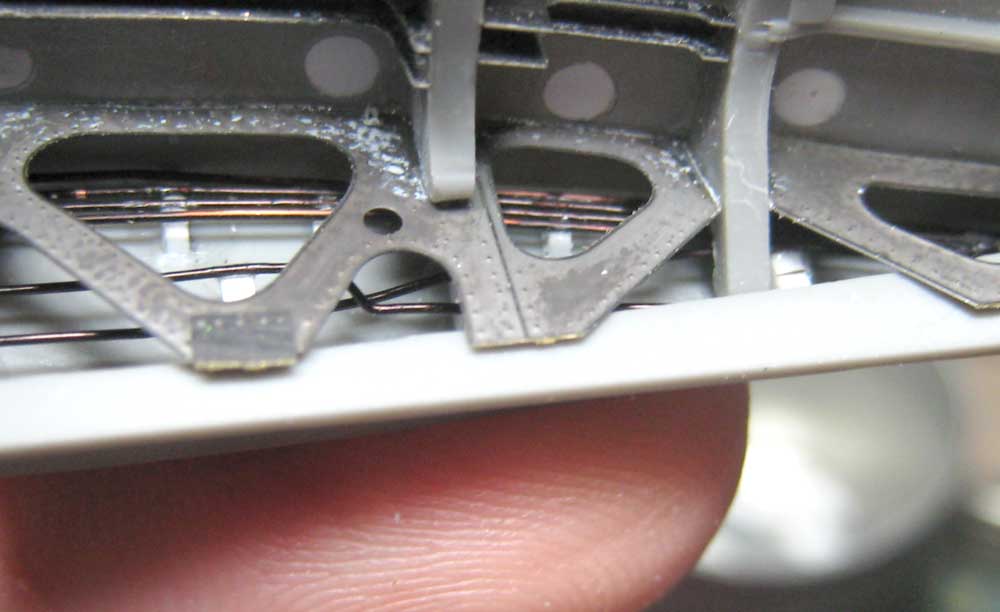
Here's what it looks like with the bomb bay dry-fitted in place.
I did the other side while I was all fired up.
Test-fitting the wings saved me from an awkward time fitting the baomb bay later, but also revealed upcoming obstacles. The fit ain't so hot, and the chord on the starboard ming seems too long for it's rroot. Oh, Woes! Not to fear- I'll let this problem percolate through my chugging cranium. Victory shall be mine!