SEARCH FINESCALE.COM

Enter keywords or a search phrase below:

Helldiver! 2/08/09 Post Script

171663 views
878 replies
1 rating 2 rating 3 rating 4 rating 5 rating
  • Member since
    December 2002
  • From: Whidbey Island, Washington
Posted by chukw on Wednesday, September 26, 2007 10:25 AM

Thanks, guys- I really appreciate the kind words- and the photos!  Big Smile [:D] Any and all pix will help, big time.

 Wing_nut: only the windshield is all soft, framing-wise.  I've discovered no aftermarket canopies, either.  Anyone else have any luck?

  • Member since
    April 2005
  • From: Piscataway, NJ!
Posted by wing_nut on Tuesday, September 25, 2007 9:06 AM
Nice work so far.  Looking forward to more progress.  Hoping it will inspire me to finishing my half built Helldiver.  The canopy was a steaming heap in my kit. How is yours?  Useable?

Marc  

  • Member since
    January 2015
  • From: Katy, TX
Posted by Aggieman on Monday, September 24, 2007 10:42 AM

Wow, this looks like an awesome build in progress.  I didn't know that piece about the tail wheel, but I've already built my Pro-Modeler kit so I'll just have to pretend that I didn't read that!

Here's a few more pictures of the same aircraft shown in the post above mine.  It's based at the West Houston CAF airfield and I believe it is the only flying example of the Helldiver left.

  • Member since
    September 2003
  • From: South Central Wisconsin
Posted by Daywalker on Monday, September 24, 2007 8:53 AM

Excellent work thus far!  I will also be looking for the next installment of this build.  I really like the explanations with the clear photos- bravo!

Not sure if any of these will help, but thought I would post them for you.  I took these at Oshkosh this year.

Frank 


  • Member since
    February 2005
  • From: Cleveland, OH
Posted by RadMax8 on Sunday, September 23, 2007 10:15 PM

Same bat time, same bat channel???

The Helldiver looks fantastic so far. You're really going all out with this build. I for one will be watching this build pretty closely. You don't see a Helldiver every day, heck I didn't even know they existed til last year! I have a question... Where did you get that chisel? It looks to be supreme at getting rid of detail... 

  • Member since
    December 2005
  • From: Alabama USA
Posted by davew6003 on Sunday, September 23, 2007 10:13 PM
This is going to be realy cool Smile [:)] Cant wait to see more.
  • Member since
    February 2004
  • From: Second City
Posted by arki30 on Sunday, September 23, 2007 9:56 PM

Killer.

I await the next ish!

Building Now:

1/48 Academy Bf-109G6 - 100%

1/48 Tamiya F4U-1A - 5%

Upcoming:

1/48 Revell F-14D

  • Member since
    December 2002
  • From: Whidbey Island, Washington
Helldiver! 2/08/09 Post Script
Posted by chukw on Sunday, September 23, 2007 9:29 PM

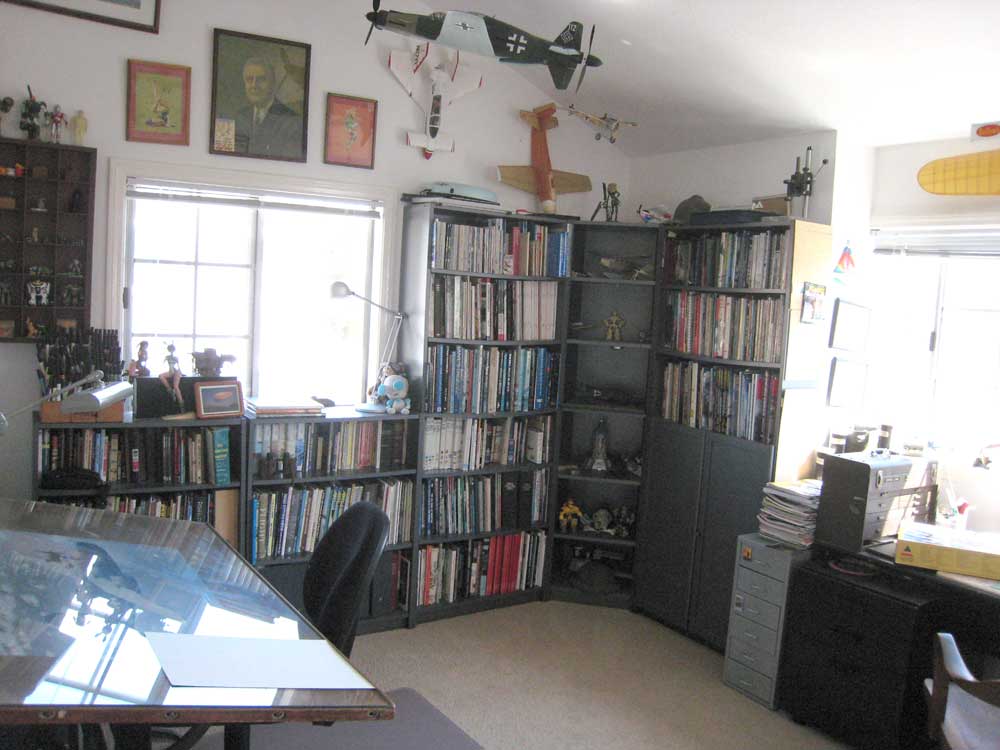
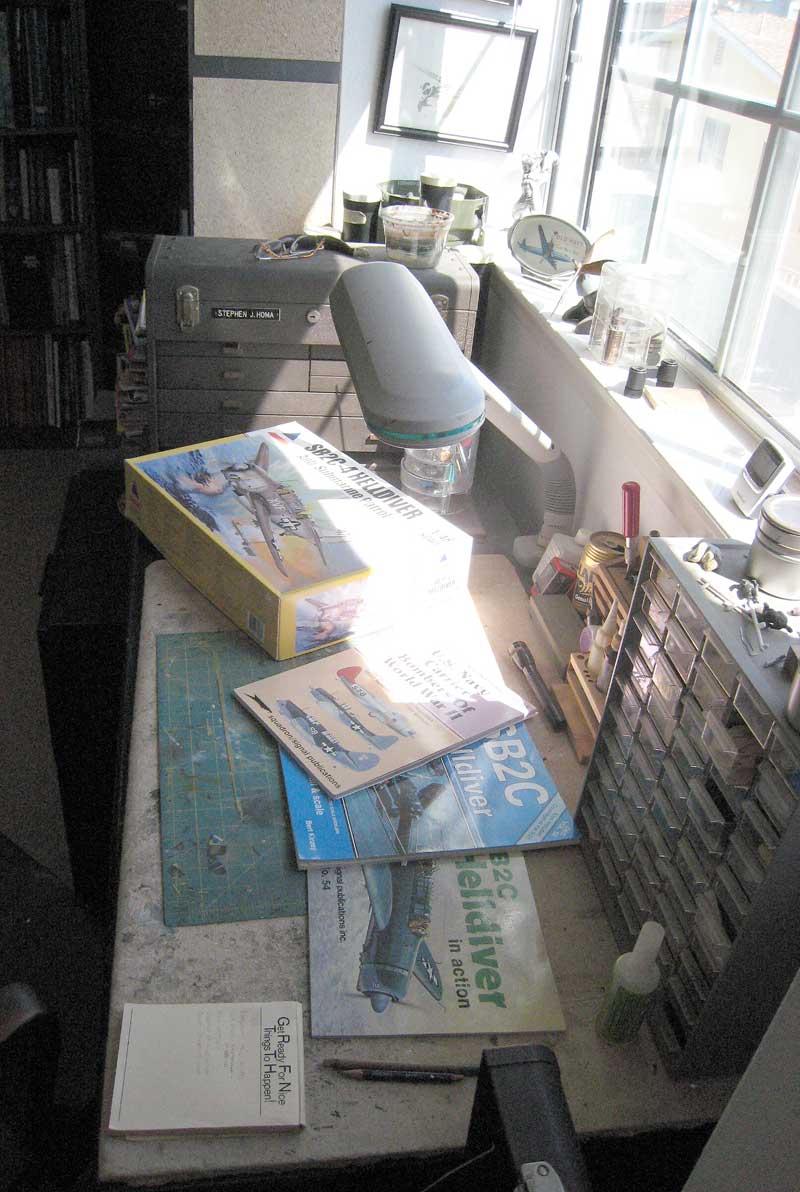
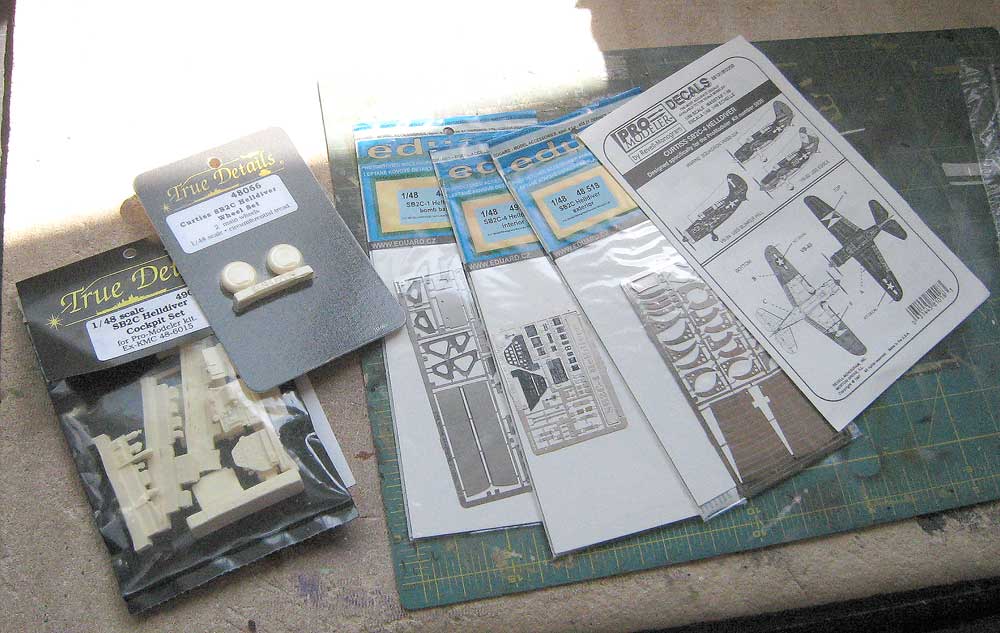
I was really glad when Accurate Miniatures re-released the Monogram ProModeler SB2C kit as the -4 variant.  I had missed it the first time around, having spent many years in the stick-and-tissue world of Free-Flight Scale modeling.  I collected reference and some choice aftermarket goodies, and have cleared my bench to start a comprehensive build.  Here's my Chamber of Models:


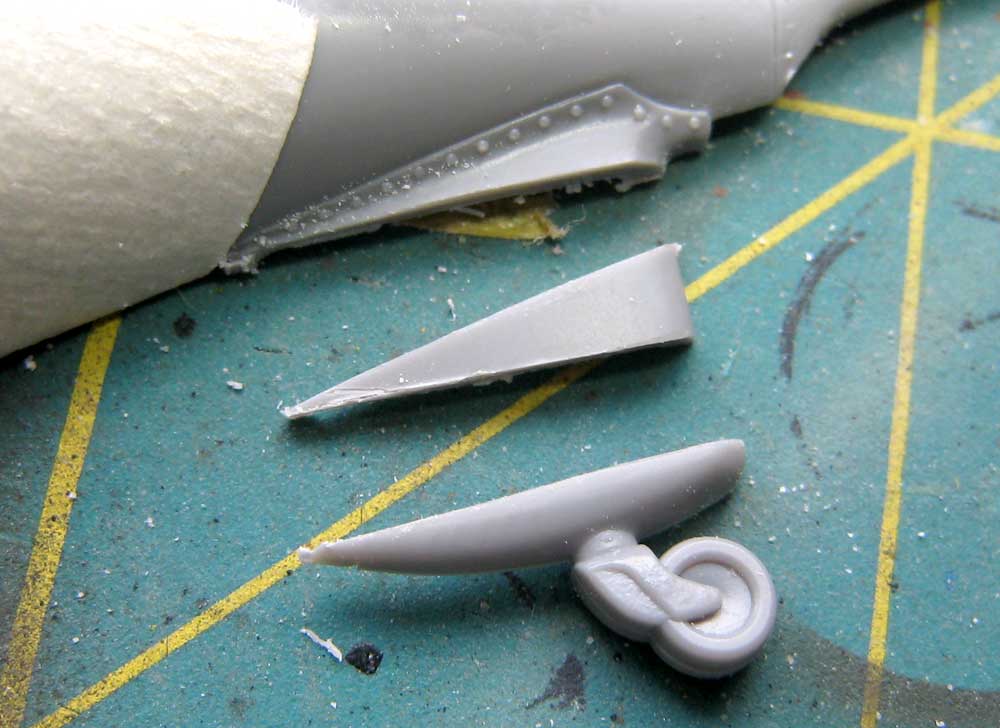
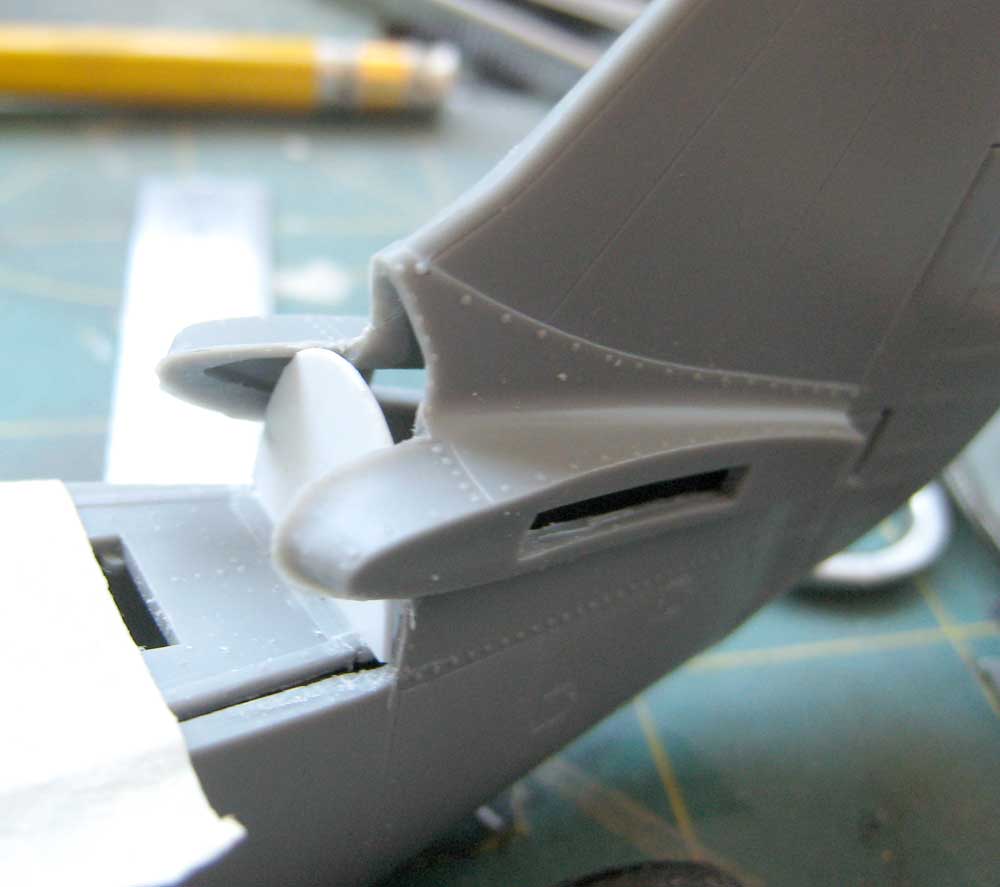
I thought I'd start at the tailwheel, just like everybody else.  The tailwheel fairing telescoped as it compressed, and while on the deck, especially when loaded, she compressed all the way.  The kit is properly molded for an in-flight posture.

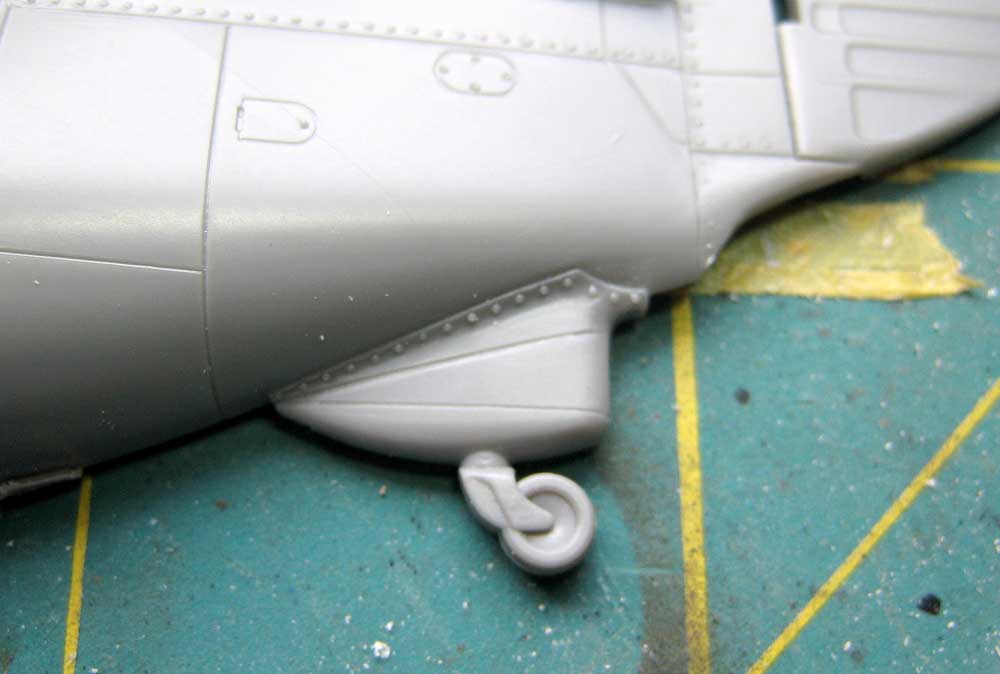
That wedge in the middle need to come out!

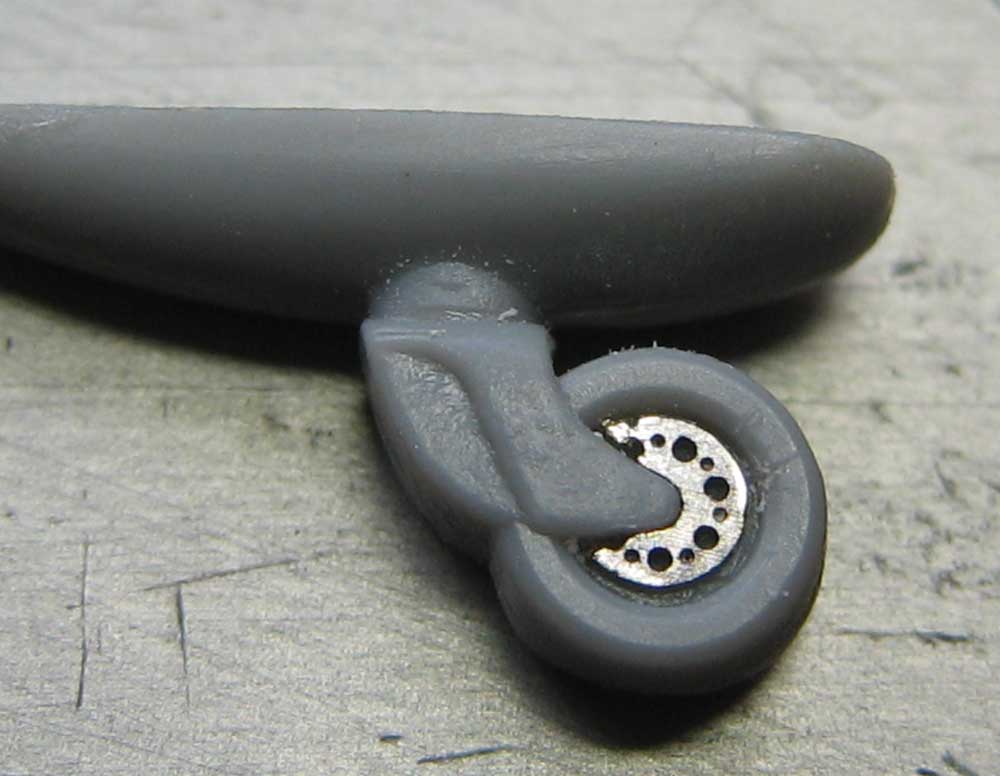
Since that hub is plain to the point of being offensive, the etchmasters at Eduard have come to the rescue:  Blinging Rims!!
 
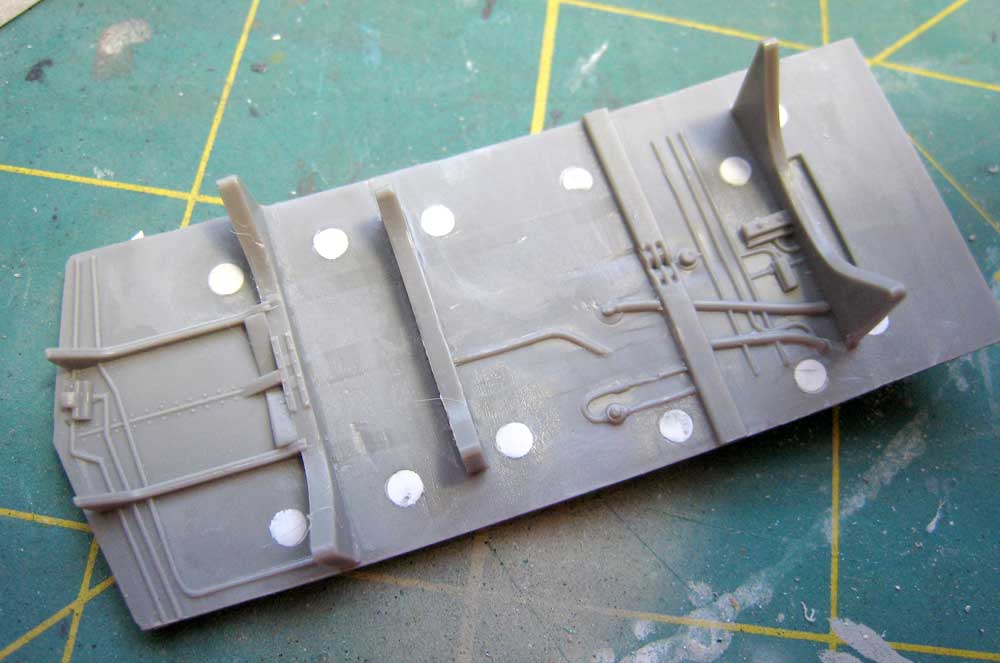
Since I'm starting out by chopping stuff up, I thought it prudent to move to the bomb bay.

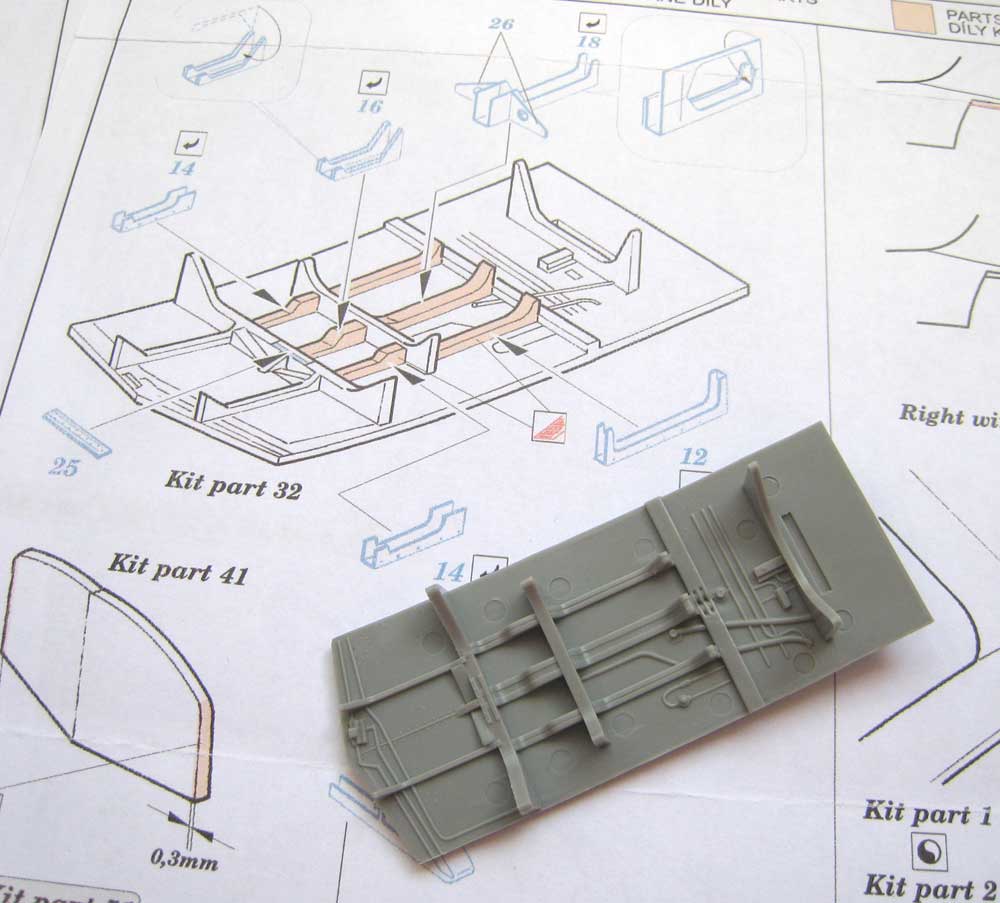
A lot of those structures had to go, so I whipped out mt Micro-Chisel from Mission Models and let fly. Note that I've also filled in the verdamt ejector pin marks with plastic discs.  

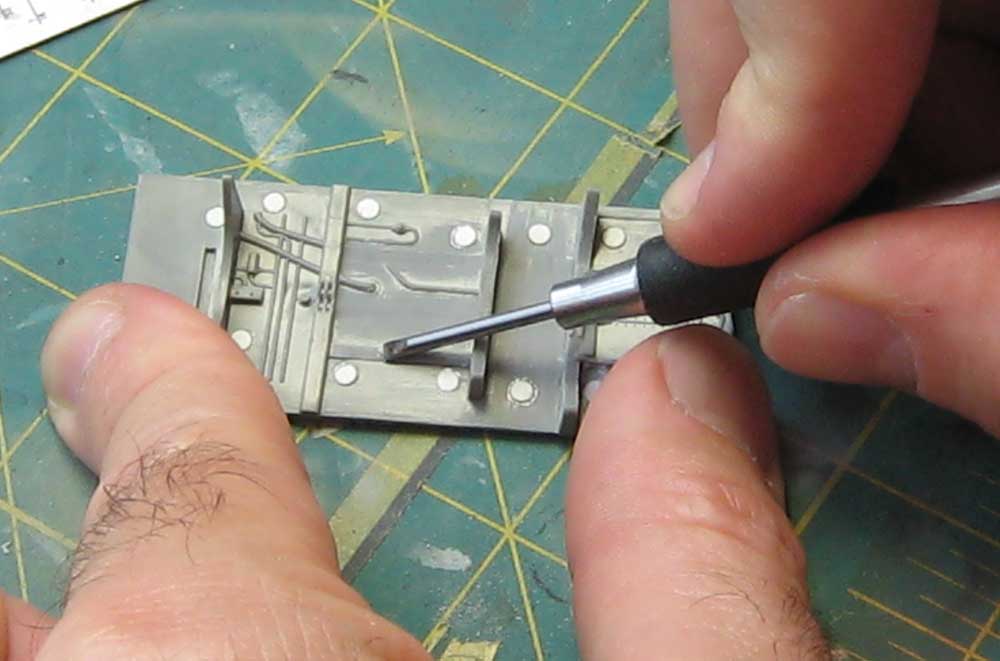
Is smooth like butt of baby!

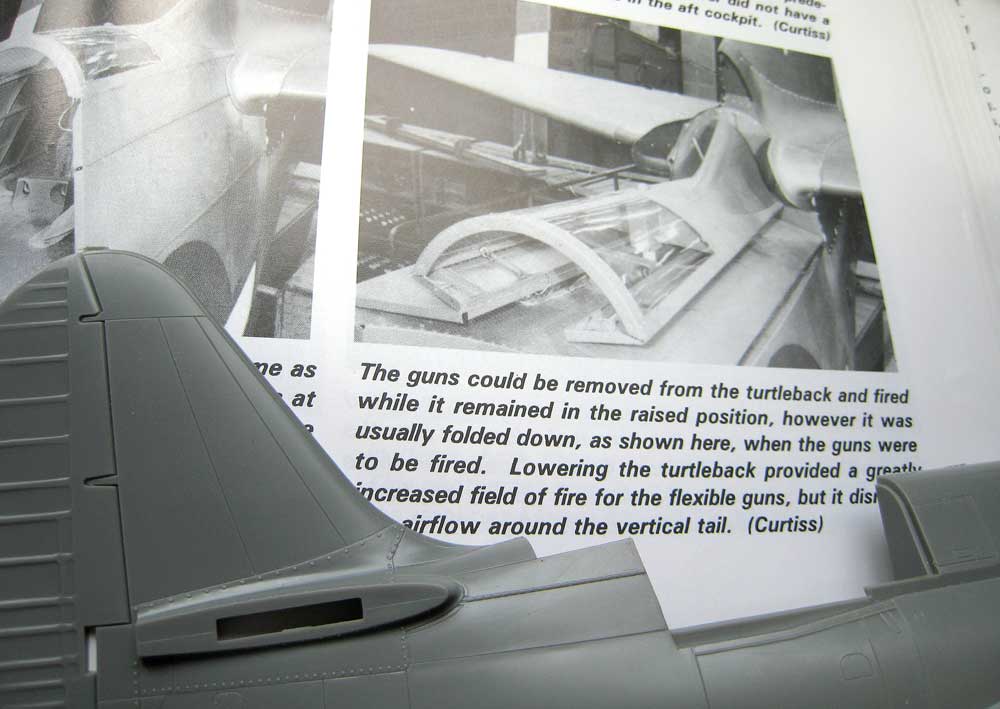
Being of unsound mind I decided to lower the turtleback.  Here's the kit, and reference photo that will haunt my dreams.  Thanks, Detail and Scale!

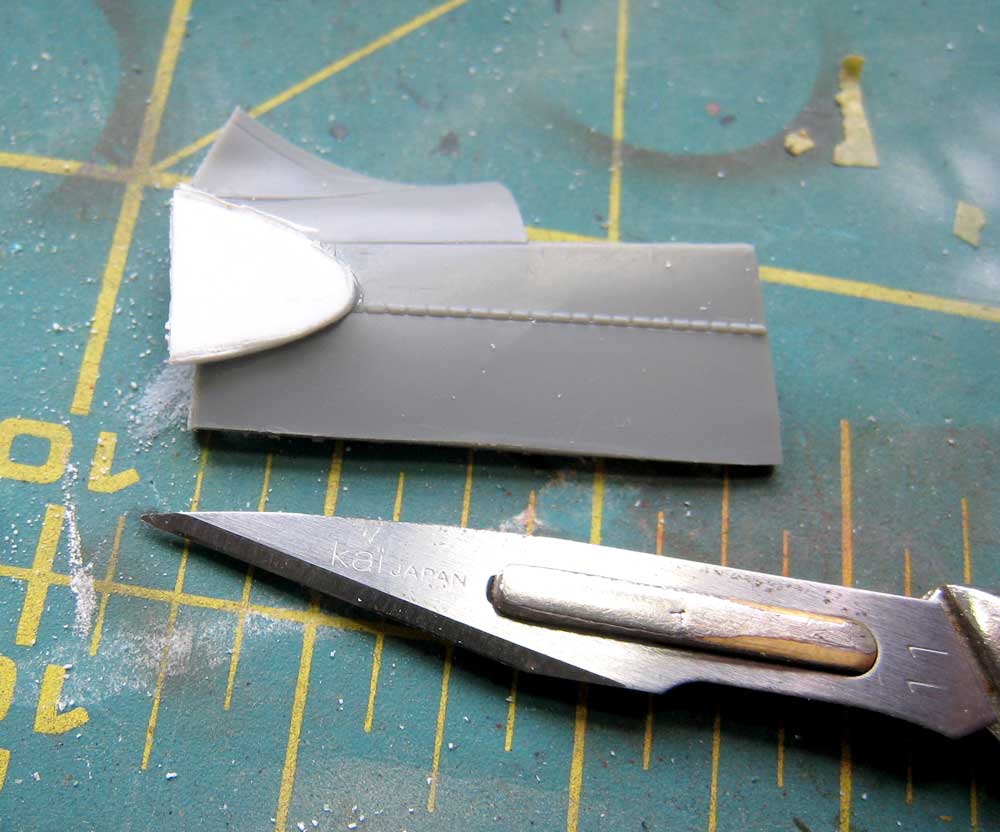
I'm using one of those European razor-sawblades- excellent!

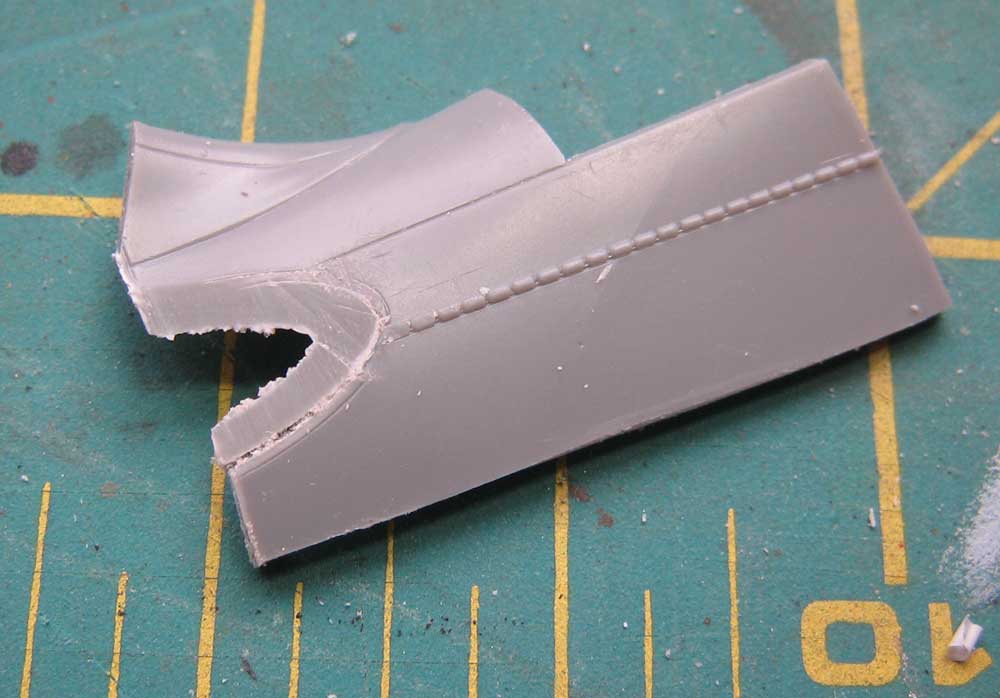
Result: a very different silhouette.

Here's the cut part:

Some styrene is glued over the scab- modeling first aid!  The doors themselves will be replaced with styrene copies- only the top fairing needs to be fixed up.

Well, now comes the fun part- you need to cut away the rear bulkhead on kit part, extend the floor and make a properly sized bulkhead.  But... look at the gap!  Whatever shall I do??  Stay tuned, bold readers!  

JOIN OUR COMMUNITY!

Our community is FREE to join. To participate you must either login or register for an account.

SEARCH FORUMS
FREE NEWSLETTER
By signing up you may also receive reader surveys and occasional special offers. We do not sell, rent or trade our email lists. View our Privacy Policy.