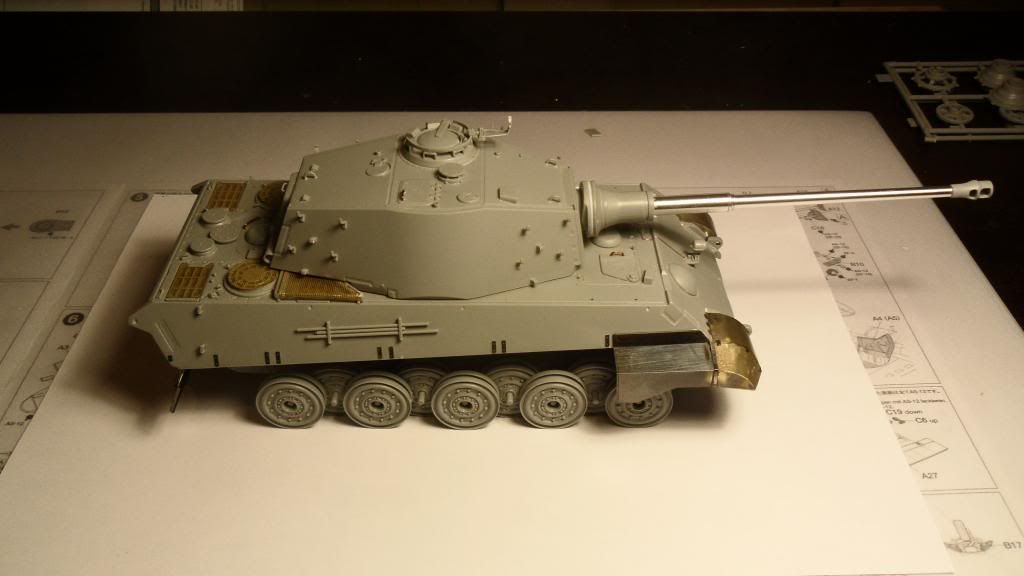
Ok gents, I'm calling construction work on this one done!
Those damn fenders took way longer to assemble than I thought...
Fenders aside, here are some pics for you:
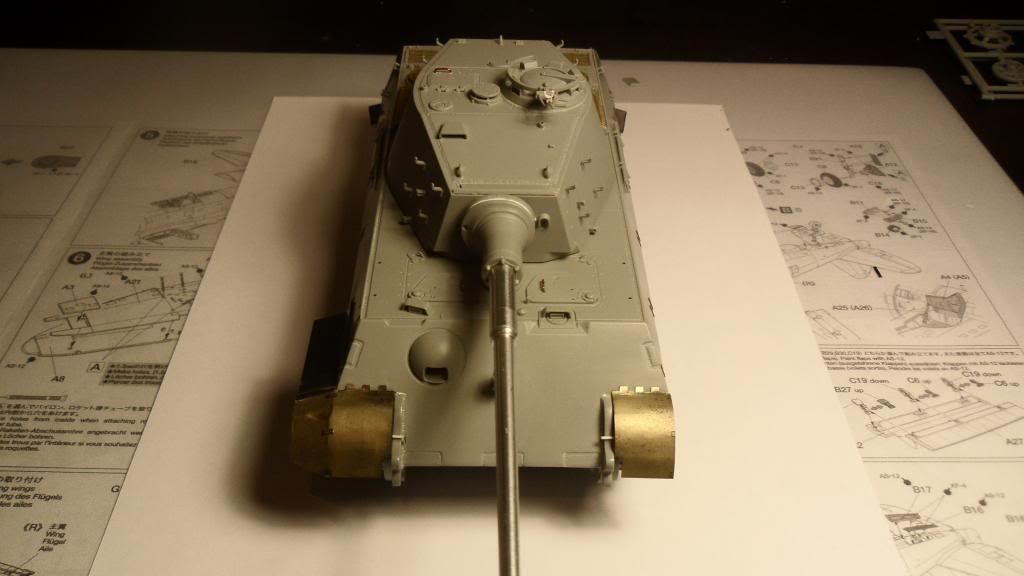
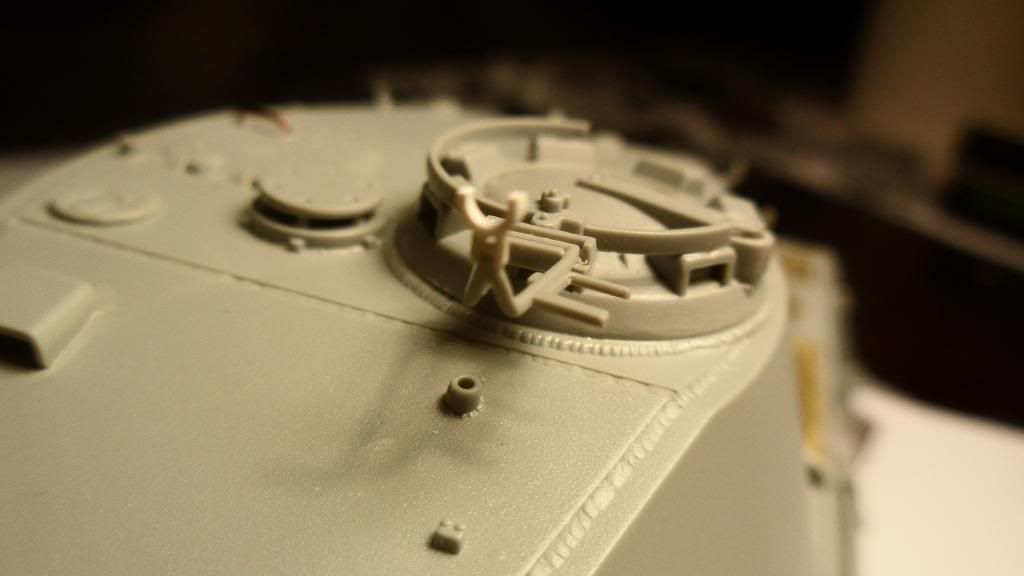
I managed to break the "tip" of the turret MG mount off and wasn't able to find it again, so I simply took some Evergreen plastic profiles (H-profile and plastic tubing) to build one from scratch. I think it actually looks a bit better than the kit part...
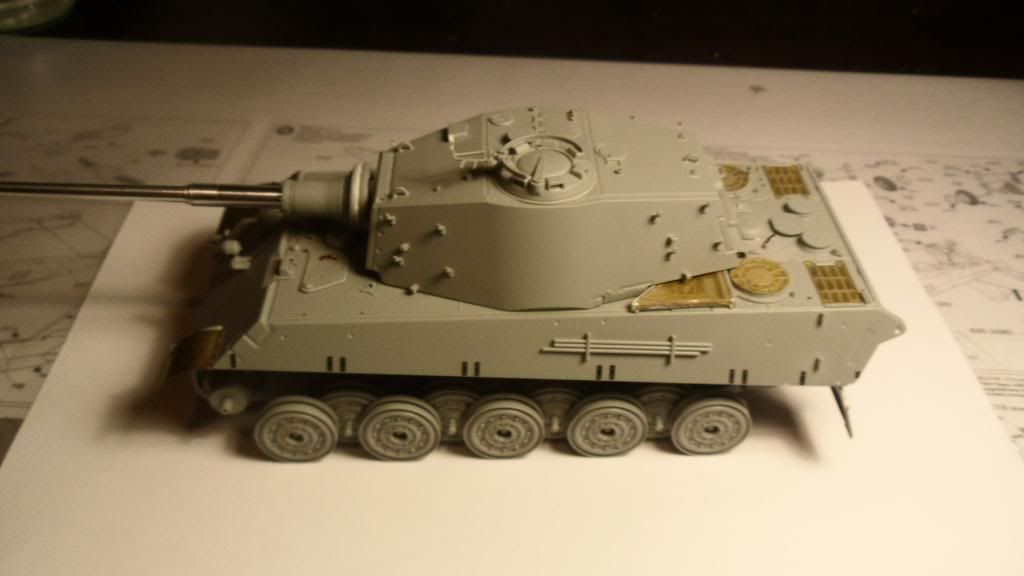
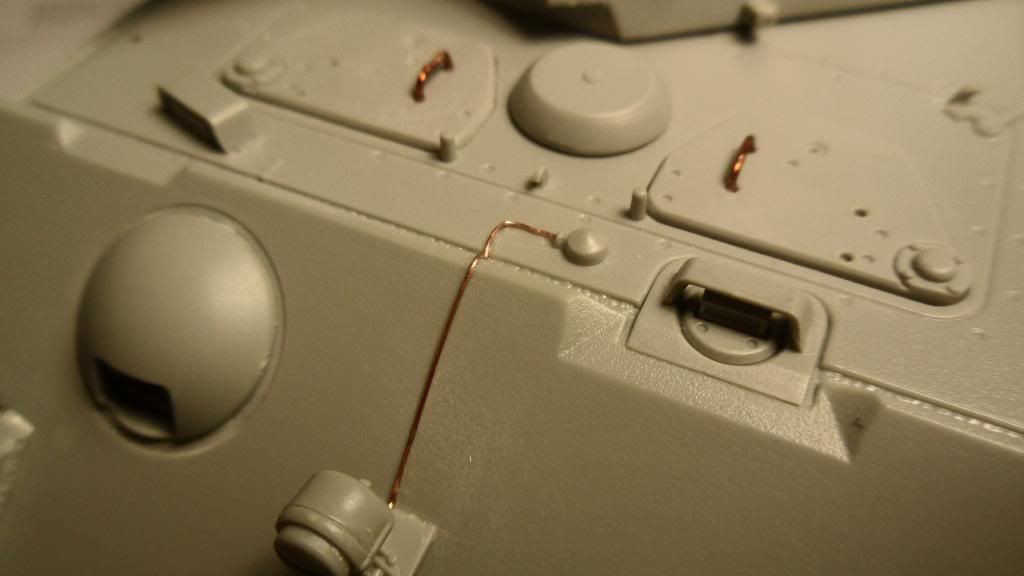
I replaced all the handles on the hatches with 0.6mm copper wire (only 4 handles in total) and adde some wiring to the headlight:
I also glued the front fenders in place:
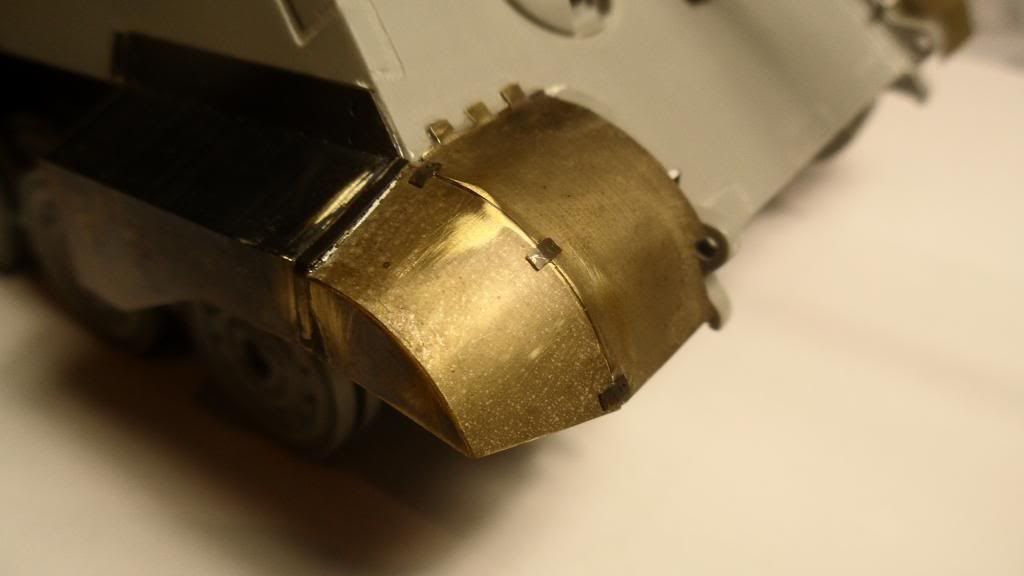
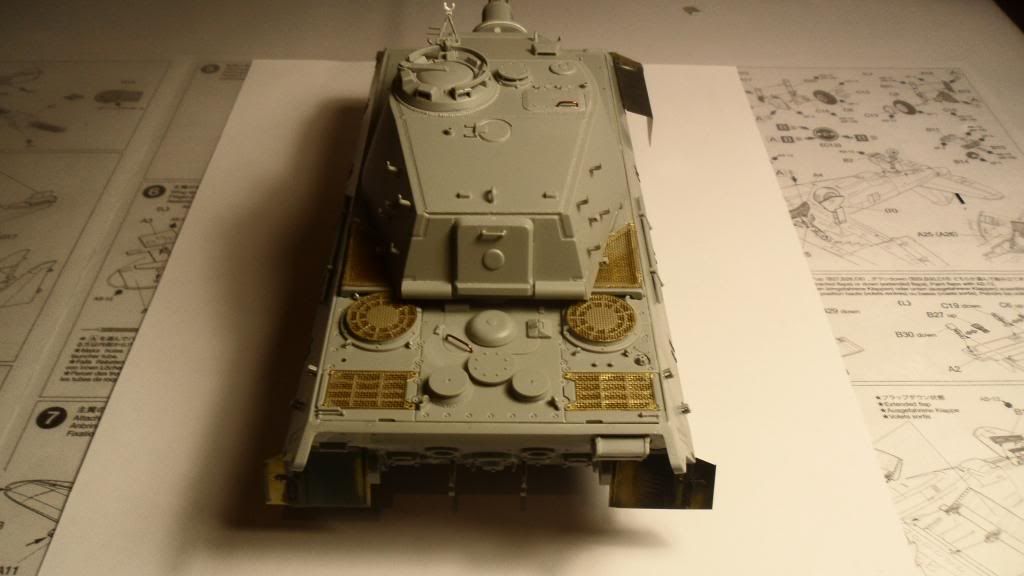
I had to glue one of the side fenders on as well, because the fit of those 2 fenders was rather poor. There was a 1mm gap between them, but I think I managed to cover that one up with the PE strips "connecting" the fenders.
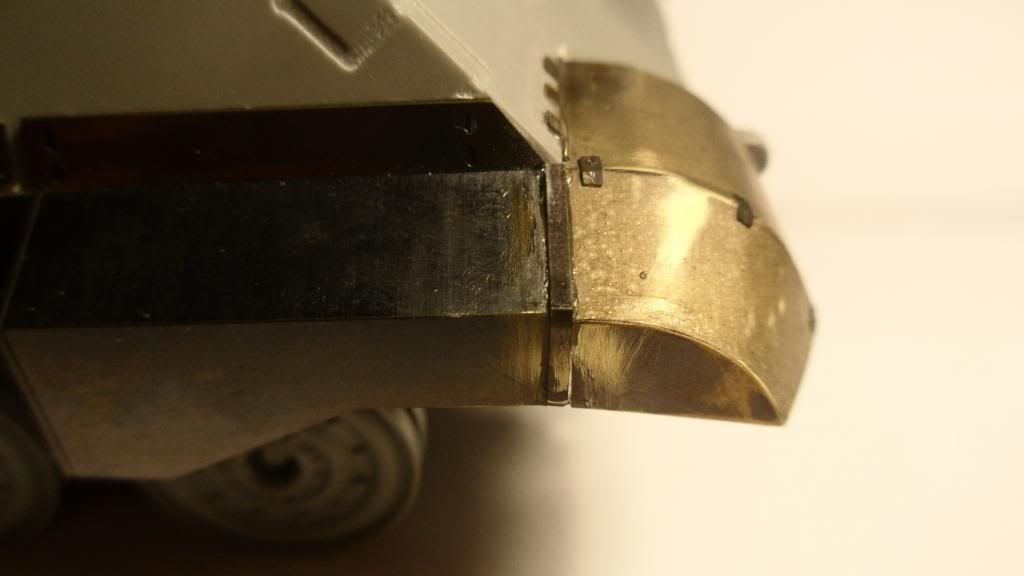
Next thing to add were the rear fenders. Those things were a royal pain to assemble, because I was restricted to superglue only. I don't have any soldering equipment and also none of the required skills...
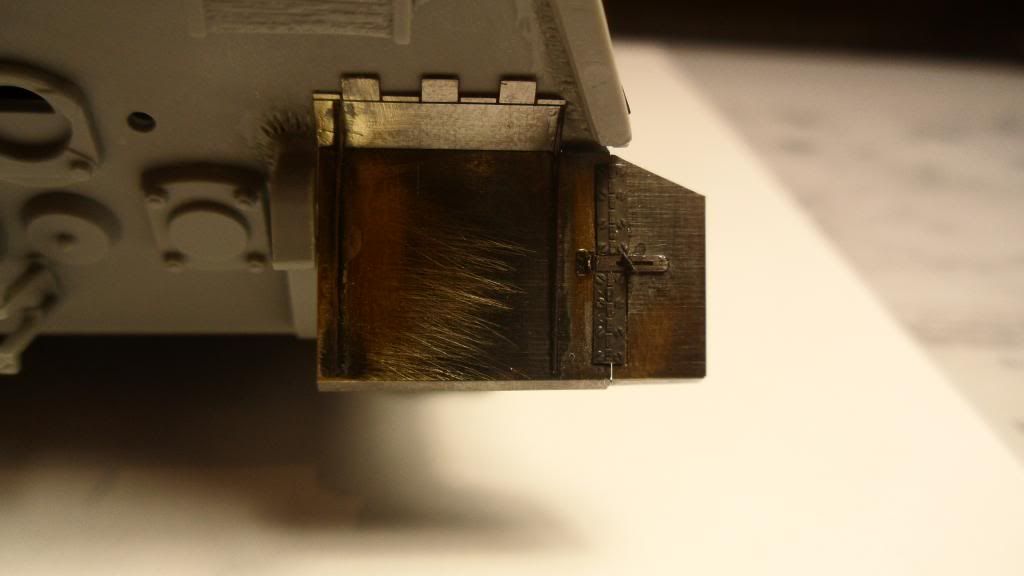
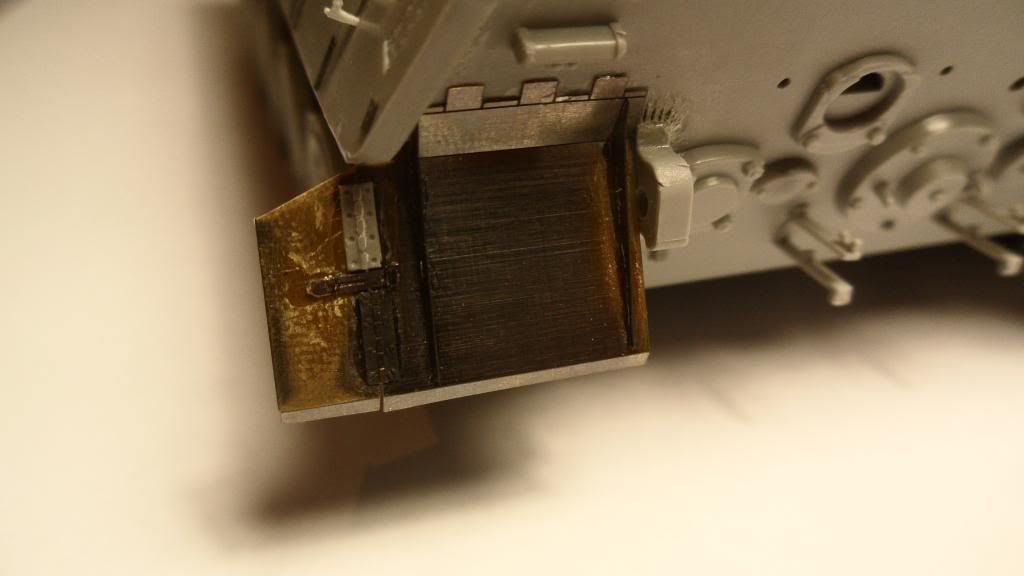
I dropped one of the PE hinges and wasn't able to find that one either (what a surprise!). I decided to shave off the hinge detail from the kit part and use that one instead of the PE hinge. I don't think the difference will be too obvious when it is painted. Most of that stuff will have at least a slight amount of mud on it, so I can hide some of that area anyway...
It's time to spray some paint on this Cat, so off I go to my bench again to get some paint in my AB! I won't post pics of the painted model today, because it's already 1 AM here in Austrai and I'll go to bed immediately after finishing this painting session. I'll post some pics tommorrow evening...
Cheers, Clemens