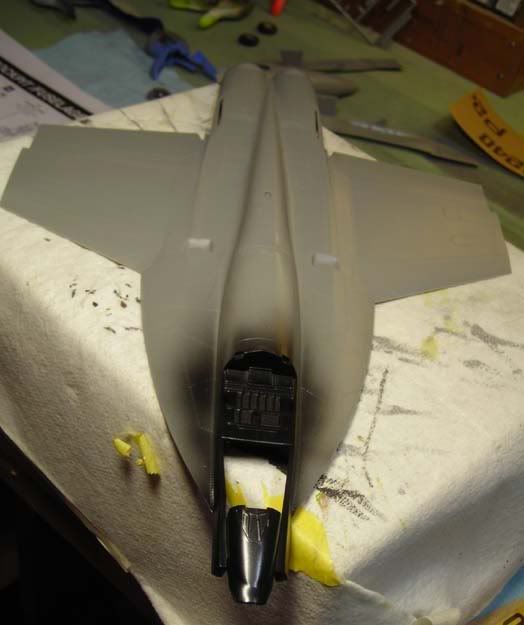
Well, i thought i'd have more progress to show by now, but i forgot I'm dealing with a Revell kit. So all i've been doing is sanding, Sanding and MORE SANDING!!! But for the most part this kit is really enjoyable, but i want more progress so i quit for the day before i got the "good enough syndrome"!! After these pics were taken i had painted the intake trunks with the 1st coat of white, put the IP in the tub and started detailing the control stick. Anyway on to the pics and as always let me know what you think......
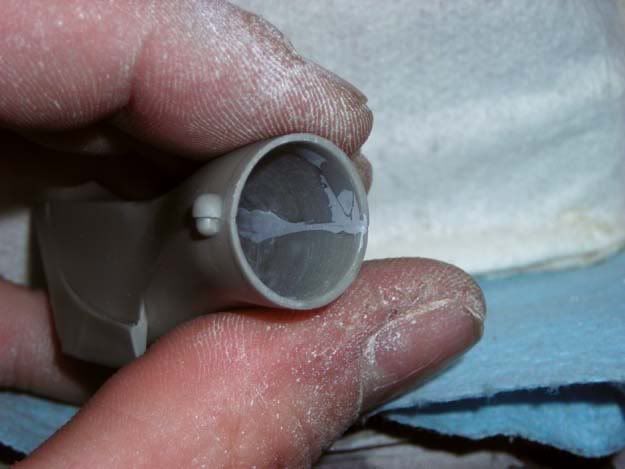
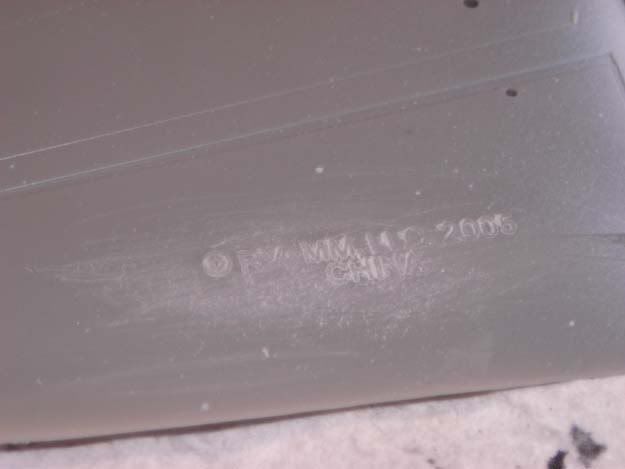
WHY DO THEY DO THIS?????
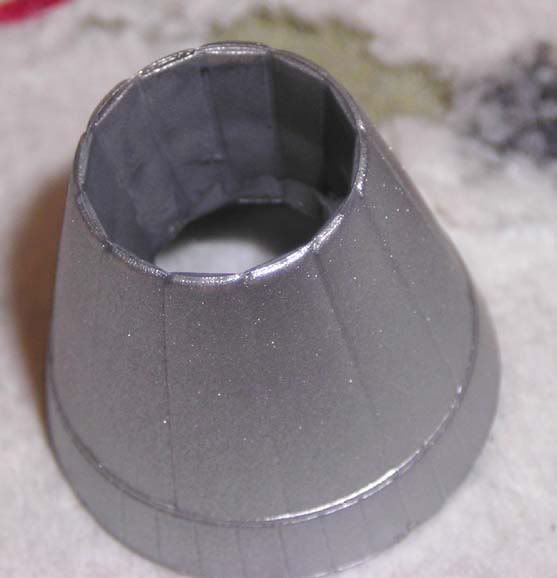
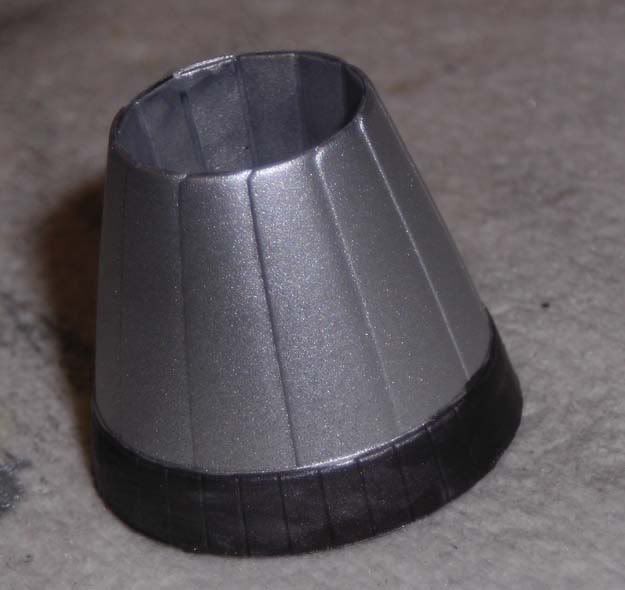
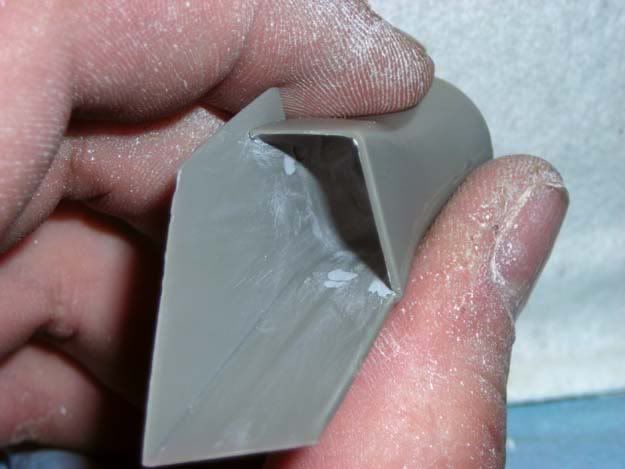
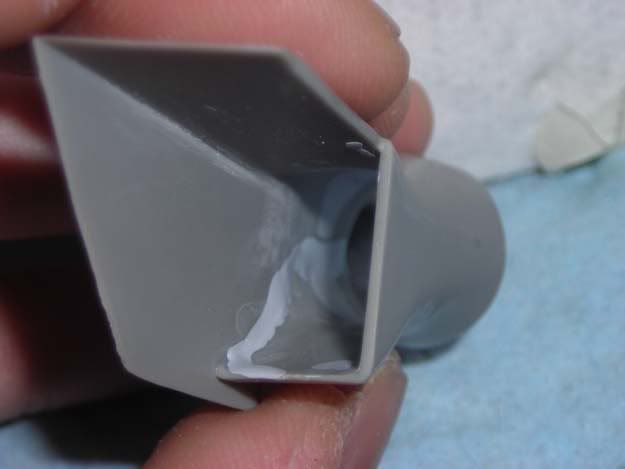
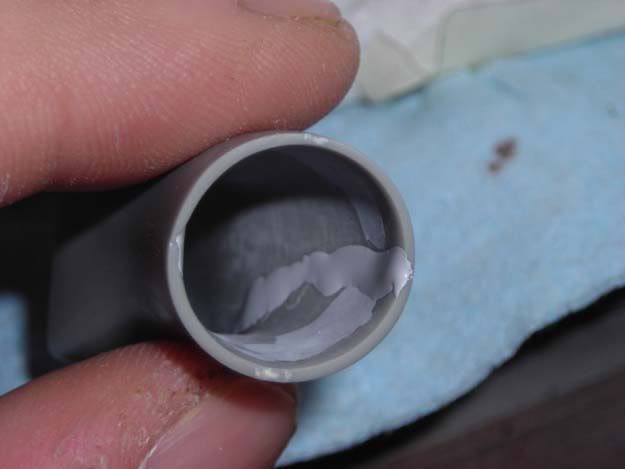
And remember when i said i'd show what NOT to do with Tenex? Well here ya go!!
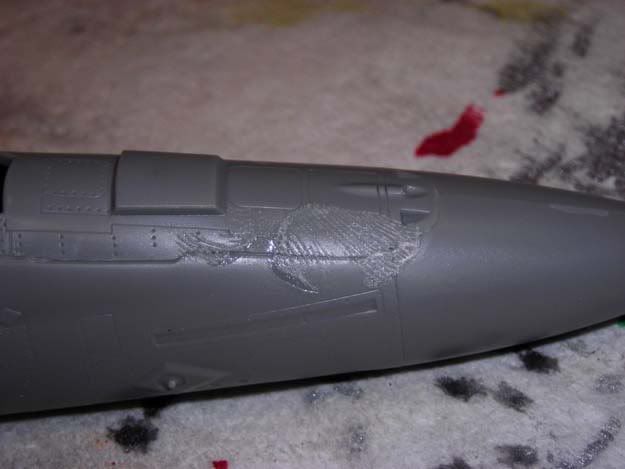
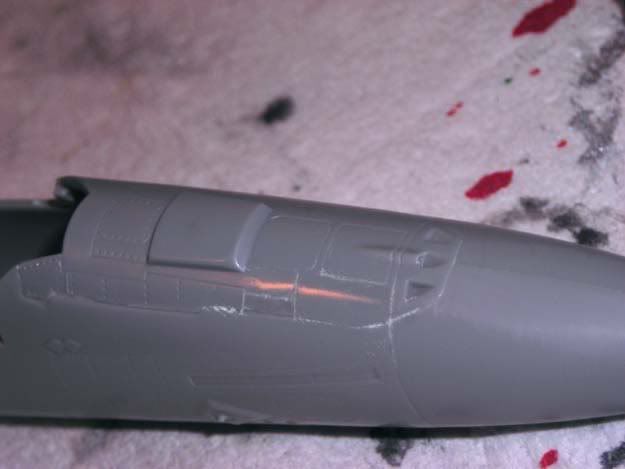
All's good but sanding that mess was a real PITA!!