SEARCH FINESCALE.COM

Enter keywords or a search phrase below:

3RD ANNUAL SECRET SANTA GROUP BUILD FOR AIRCRAFT

139672 views
1219 replies
1 rating 2 rating 3 rating 4 rating 5 rating
  • Member since
    September 2006
  • From: From Vernal UT OH YEA!!
Posted by raptordriver on Saturday, April 18, 2009 7:59 PM

Sorry I didn't post wip but here are my pics as promised. I built this in about 3-4 days so it was fast for WIP. Sorry the pics are bad also, I am new to photography.

Well here it is.Smile [:)]

006.jpg picture by Raptor94

007.jpg picture by Raptor94

008.jpg picture by Raptor94

009.jpg picture by Raptor94

Andrew


  • Member since
    September 2008
  • From: World Champions! Not anymore..
Posted by swingr1121 on Saturday, April 18, 2009 2:29 PM

Steven, glad to see that you got started!  Everything is lookin good so far.  That MiG looks like it's definitely crying out for a winter scheme..  ::ahem::   Happy that you're enjoying the kits. 


Mike


PS  Only 2 more weeks of freedom...

2 weeks with the ladies left...

Umm...   2 weeks til the wedding and 3.5 weeks til I have modelling time again..

  • Member since
    September 2006
  • From: From Vernal UT OH YEA!!
Posted by raptordriver on Saturday, April 18, 2009 12:34 PM
Hey everyone, I finished the spitfire I got, sorry I didn't post WIP, it took me only three days to finish it. Pics coming soon.

Andrew


  • Member since
    December 2002
Posted by Bossman on Friday, April 17, 2009 7:34 PM

A little bit of progress to show on the Acc Min F4-C.

The first shot is just to show off the crispy surface detail on this kit

OOoohh....   AAahhhh....    Yuummmm....   I like that very much !

More crispy detail on the topside.  Some of it will have to be replaced w/ stretched sprue over the spine.  It didn't survive the seam sanding.

I was planning to do this in the Gull Grey/White "Chuck Yeager" scheme - only to find out on the forum last week that AccMin specified the wrong color call outs and that the decals for Yeager's bird apply to the tri-color SEA scheme .  Instead, I decided to go for what is probably the most colorful scheme in the kit. It's an SEA scheme, but with a flashy red white and blue tail and wingtips in Commemorative Bi-Centennial decoration.

It brings back memories of being a school kid in 1976 - And how big a deal the Bicentennial was.  More to come...

Chris


  • Member since
    September 2004
  • From: Vernon, BC, Canada
Posted by razordws on Friday, April 17, 2009 5:23 PM
Looks like a great start on a couple of fun builds Steven.  I've heard good things about that P-39 kit (as with most eduard kits).  Looking forward to seeing some paint on them.

Dave

  • Member since
    January 2015
  • From: Katy, TX
Posted by Aggieman on Friday, April 17, 2009 10:48 AM

Great job on that Super Hornet!

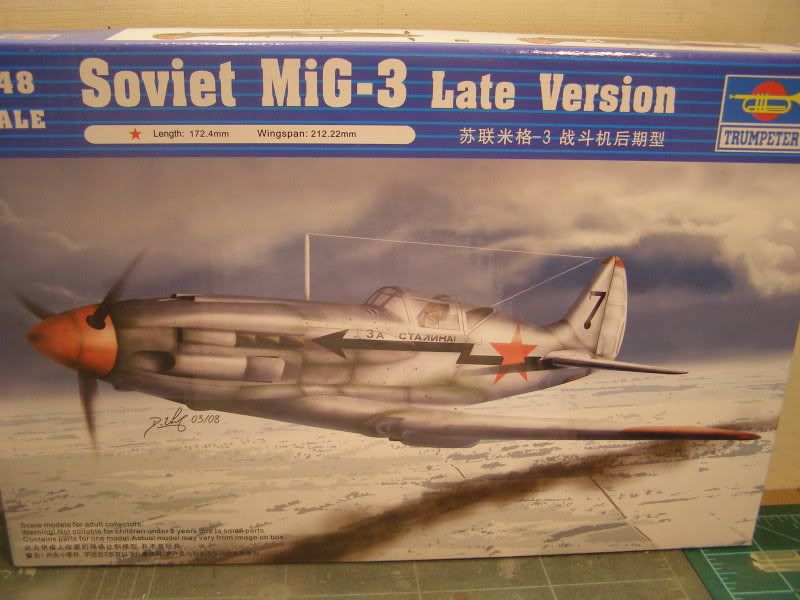
I've begun work on my twin builds for this GB, my gifts from Swingr1121 - Trumpeter's MiG-3 Late Version and Eduard's P-39Q.  I've only taken a few photos of my work in progress, but only after I have put together all the airframe parts with everything bottled up inside.  Didn't even occur to me to take pictures while I was working on the cockpits and other innards...sorry for that.

Any way, I have an issue with modeling and space, as I am currently plumb out of shelf space for any additional builds (except for the huge Tamiya F-4 Phantom II in 1/32 that I have set aside space atop a curio cabinet for, which I plan to build later this year).  Consequently I have determined that all builds will be either wheels up (unless of course the gear is fixed) or part of a diorama that I plan to do later this year.  So both the MiG and the Airacobra will be wheels up.  I've also decided that since my shelving disaster of a few years ago that took my one and only Russian VVS build, an Accurate Miniatures Sturmovik, that I will build both of these as Russian warbirds.

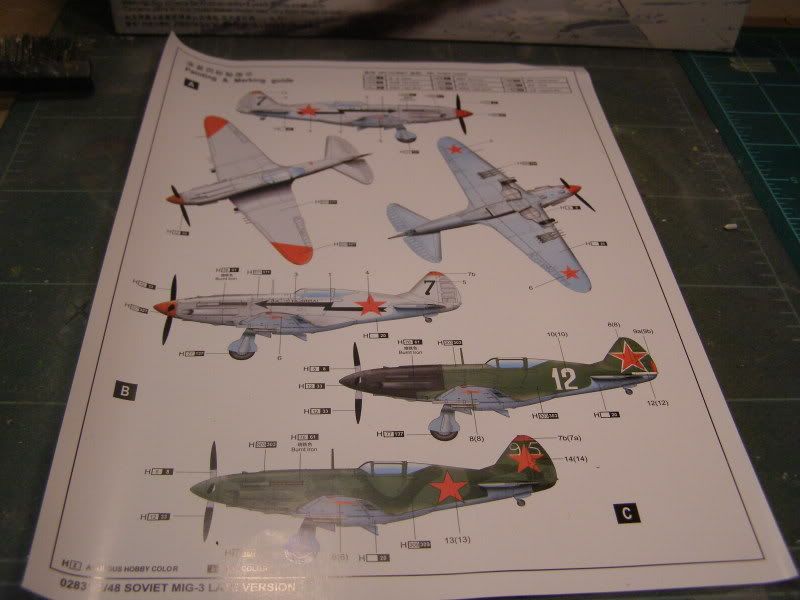
Not sure yet of the paint scheme for the MiG, but I'm leaning toward a winter scheme.  The Airacobra will be the standard US olive drab, and I'm going to attempt to render painted over American insignia with the Russian red stars painted (actually decaled) over.  I have found few references of Russian P-39s - even the Detail and Scale book I have don't have many photos, but I'll keep looking.

Any way, for the photos I do have, here goes.

MiG-3

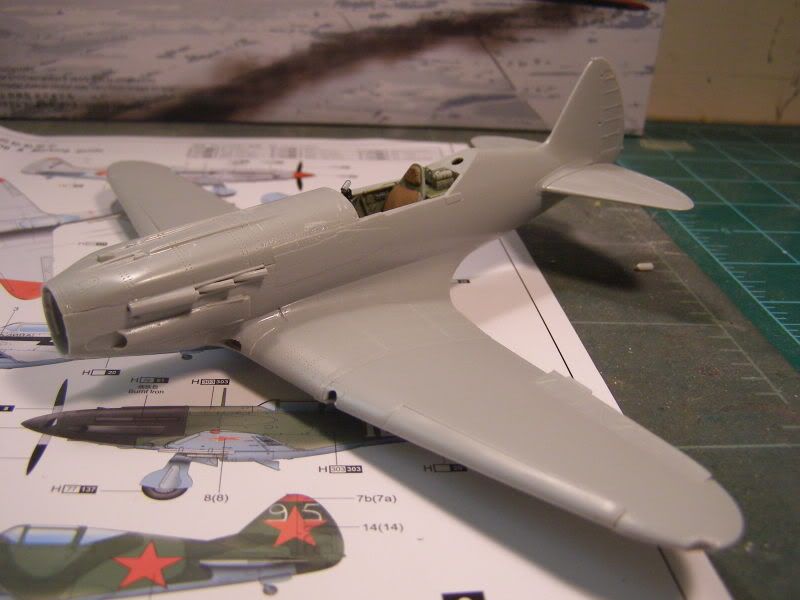
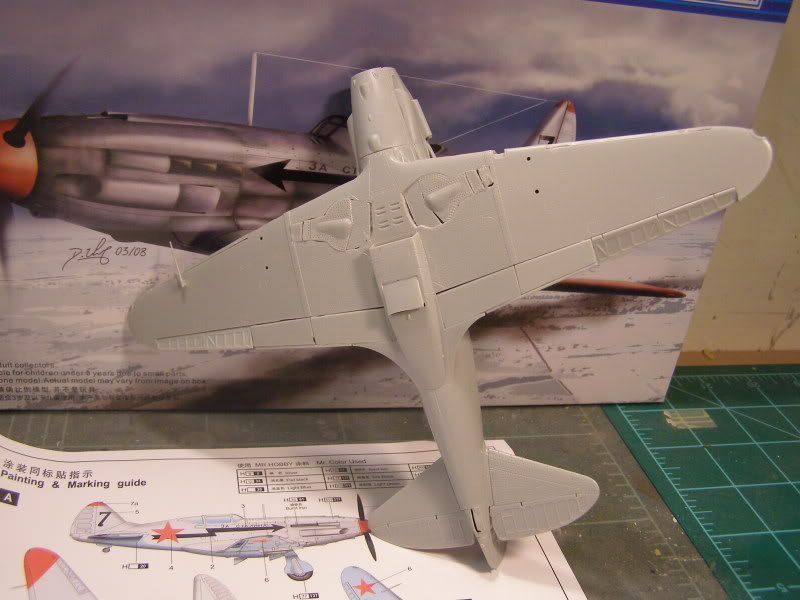
The gear doors on the Trumpeter kit were a lot like the old Monogram kits - intended for wheels down.  I had to do some surgery on the parts to get them relatively flush with the underside.  I'm not entirely satisfied with my work in this area but I think once I fill in the gaps and get this bird painted, it should look fine.

Now for the P-39Q:

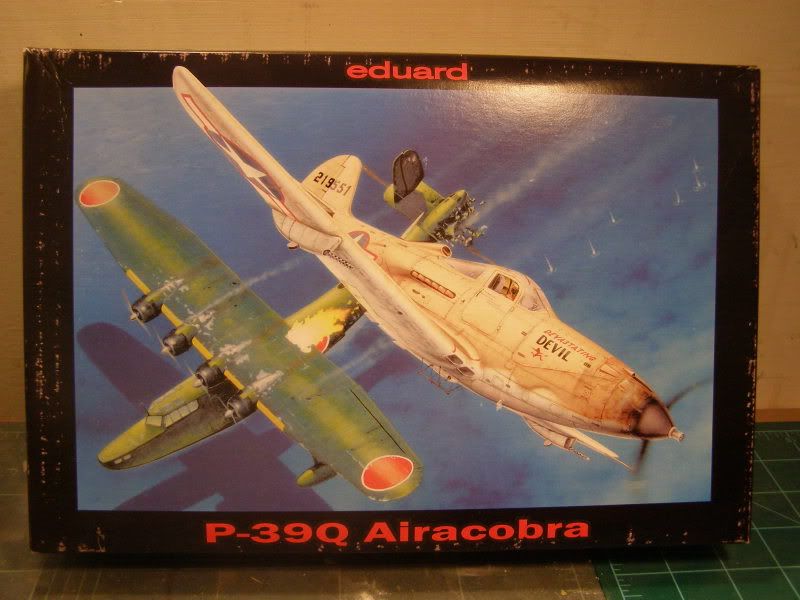
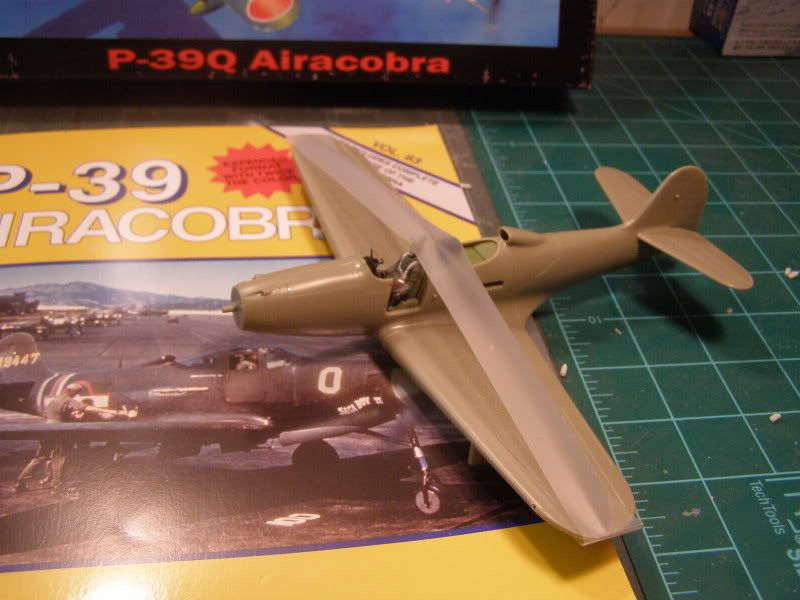
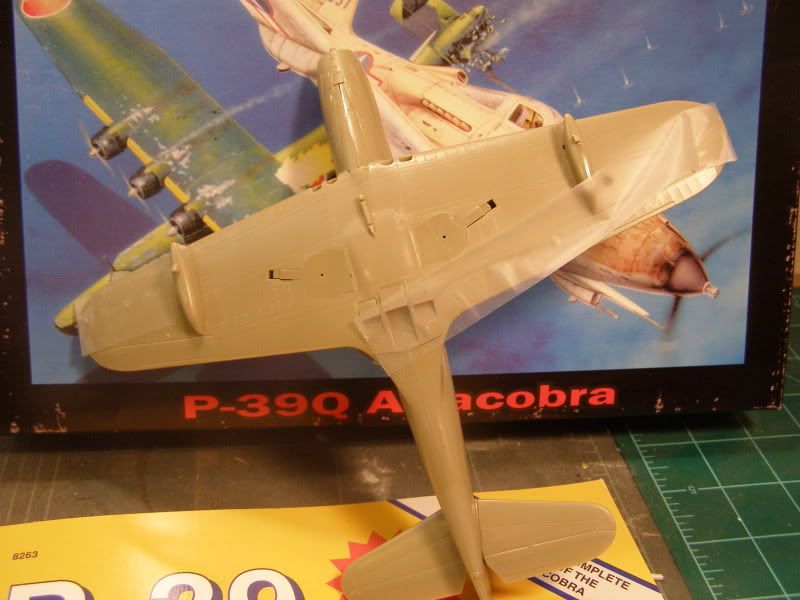
This Eduard kit is fantastic.  OOB it is pretty well detailed and goes together well, although the fuselage did require some extra incentive to mate together properly, provided by various clamps while the Tamiya liquid glue did its thing.  I feel like I did a very good job with the gear doors on this one even though they are also intended for the down position, which is why you see a gap at the top of the strut area.  The front gear doors even went in without much difficulty, which was a pleasant surprise.

  • Member since
    September 2004
  • From: Vernon, BC, Canada
Posted by razordws on Thursday, April 16, 2009 9:00 PM
 DrewH wrote:

I'm still alive - not dead - just yet. Dead [xx(]

No but I've heard you were wishing you were last week.  Hope you are feeling back to normal soon Drew.  I want to see you tackle that Italian beast.  Mischief [:-,]

Dave

  • Member since
    May 2003
  • From: Abbotsford, B.C. Canada
Posted by DrewH on Thursday, April 16, 2009 7:46 PM

I'm still alive - not dead - just yet. Dead [xx(]

 I have not done a lot of building lately, so I have not started my build. I do plan too once I clear the bench off and deal with some health issues.

 In Arnolds famous words:

I'll be back Wink [;)]

Take this plastic and model it!
  • Member since
    July 2005
  • From: Texas
Posted by painklr on Monday, April 13, 2009 9:14 AM

Thanks for all the suggestions.  I will keep you posted.

Thanks again.

  • Member since
    September 2004
  • From: Vernon, BC, Canada
Posted by razordws on Sunday, April 12, 2009 10:56 PM
The only other thing I can think of is to soak it again with the solution.  Micro set actually has directions on it for removing decals if that is what you used.  Once the decal has been softened try to rub it off gently with a q-tip or very carefully try lifting with masking tape again while it is still soft.  Good luck.

Dave

  • Member since
    July 2005
  • From: Texas
Posted by painklr on Sunday, April 12, 2009 10:44 PM

Maybe I should of mentioned that I placed the decal about a month ago with decal solution.  It's on there pretty good.  Any other suggestions??

  • Member since
    September 2006
  • From: From Vernal UT OH YEA!!
Posted by raptordriver on Sunday, April 12, 2009 10:17 PM
Painklr, glad to see your building, I agree with razor, it should work.

Andrew


  • Member since
    September 2004
  • From: Vernon, BC, Canada
Posted by razordws on Sunday, April 12, 2009 8:08 PM
 painklr wrote:

AAAARRRRGGGGHHHH!!!!!!!!!!  What a day...  I was working on my JAS Gripen and after some time working on the weapons, the cockpit I just find out that there is a piece of the fusalage missing.  Must of been when they made the kit.  Unbelievable....  So I begen to work on my typhoon to finish it off and the left shark mouth decal falls apart.  So now I have to remove the right side.  What is the easist way to take this off? I began to scrape it off but stopped so that I will not create any more work for myself.  Please, some one help me!!!

Have a nice day...

Try using masking tape.  Just place it over the decal and peel it off and hopefully the decal should come with it.  Start with low tack painters tape and if that doesn't work and doesn't pull up the paint try some stickier tape.  HTH.

Dave

  • Member since
    July 2005
  • From: Texas
Posted by painklr on Sunday, April 12, 2009 7:10 PM

AAAARRRRGGGGHHHH!!!!!!!!!!  What a day...  I was working on my JAS Gripen and after some time working on the weapons, the cockpit I just find out that there is a piece of the fusalage missing.  Must of been when they made the kit.  Unbelievable....  So I begen to work on my typhoon to finish it off and the left shark mouth decal falls apart.  So now I have to remove the right side.  What is the easist way to take this off? I began to scrape it off but stopped so that I will not create any more work for myself.  Please, some one help me!!!

Have a nice day...

  • Member since
    December 2002
Posted by Bossman on Friday, April 3, 2009 11:21 AM

Nice job Mist !

Nice detail - right down to the ordnance - very crisp.  And like I said before - all the work on those intake trunks looks like it paid off.

Chris

  • Member since
    May 2003
  • From: Abbotsford, B.C. Canada
Posted by DrewH on Thursday, April 2, 2009 10:08 PM
Great build and excellent finish Jim Big Smile [:D] Well done!
Take this plastic and model it!
jwb
  • Member since
    February 2006
  • From: Parkton, NC
Posted by jwb on Wednesday, April 1, 2009 7:03 AM
Very nice work on the F-18! That looks great!

Jon Bius

AgapeModels.com- Modeling with a Higher purpose

"For I know the plans I have for you," declares the Lord, "plans to prosper you and not to harm you, plans to give you hope and a future." ~ Jeremiah 29:11

  • Member since
    October 2006
  • From: Iowa
Posted by Mist086 on Monday, March 30, 2009 8:27 AM
 sidure wrote:

Jim, great job on the F-18. As per your usuall standards it turned out great. Very nice job and I like the way it turned out. I have the same kit in my stash and look forward to building it soon. What are the main issues if any that you found in the kit.

Steve

 Thanks for the words guys!  It's encouraging, and to answer your question Steve the issues, while few, are pains.  The Front Fuse needs to have the lip shaved down so it will fit into the main fuselage


Once that gets filed down it fits, but there is a gap but the cool thing is the front canopy covers it.


THe 2nd thing is the intake trunks. They are a 4 piece combo and be prepared to sand, fill, sand, fill, ad nausem!

THe only other thing is that the lip at the end of the intakes gets glued to the fuselage which leaves a nasty step that needs sanding, but becareful because there is a lot of panel lines there that will be wiped out.  


All in all it was a fun build.  You'll enjoy building it Steve, I guarantee. Thanks again to Day for picking it for me.

  • Member since
    June 2003
  • From: Caput Mundi
Posted by Avus on Monday, March 30, 2009 1:10 AM

Great work on that F-18, Jim!

Klaus

Thanks to ImageShack for Free Image Hosting

  • Member since
    July 2003
  • From: waynesboro va, via Ireland
Posted by sidure on Sunday, March 29, 2009 10:48 PM

Jim, great job on the F-18. As per your usuall standards it turned out great. Very nice job and I like the way it turned out. I have the same kit in my stash and look forward to building it soon. What are the main issues if any that you found in the kit.

Steve

  • Member since
    December 2003
  • From: Los Angeles
Posted by dostacos on Sunday, March 29, 2009 6:51 PM

well I am getting ready to start my kit I am just finishing up the "mancave" I also do R/C model boats so my wife calls it the "POOP DECK" since she allowed me to convert one of the bedrooms to a modeling area I guess she can call it what ever she wants.

I have my computer, TV a small fridge for sodas {and some adult beverages} and modeling bench/storage. Last to go in next week is my paint booth and air compressor, and a coffee pot.


my old spot was so tight I could not finish last year's model {B 17} so now I should be able to hit both

Dan support your 2nd amendment rights to keep and arm bears!
  • Member since
    September 2003
  • From: South Central Wisconsin
Posted by Daywalker on Sunday, March 29, 2009 5:42 PM
Well done Jim!  You have done a spectacular job on this one.  I am so glad you liked the kit, I was a little worried at first as the fit seemed to be quite challenging in places.  Kudos to you, on a phenomenal build! Approve [^]

Frank 


  • Member since
    October 2006
  • From: Iowa
Posted by Mist086 on Sunday, March 29, 2009 5:39 PM

ANd as promised, Here is the Super Hornet of VFA-143 THE Pukin' Dogs!!  This was a trying build as alot of seams tested my abilities but i think i did ok.  I really like these revell kits as they really keep your mind on the modeling!.  THanks to my SS for this and with the aftermarkets he also provided.  I added a True Details seat and the superscale decals.  1 hint for you about the superscales tho, what the instructions!!  THey have the wrong call outs and i didn't notice until after the glosscoat.  Enjoy


  • Member since
    October 2006
  • From: Iowa
Posted by Mist086 on Saturday, March 28, 2009 7:25 PM
Well got the final flat coat on just now, so tomorrow i will post pics of the finished Rhino.  Got to put the pitot tubes on and paint the metallic parts then she is DONE!!!  I think this is my best one since getting back into the hobby.  I really took my time on this.  Thanks to my SS for this.  I've always been a Tomcat guy, but since this i added 5 more Hornets to the stash.  See ya'll tomorrow
  • Member since
    November 2006
  • From: Bedfordshire, England
Posted by ollie on Sunday, March 22, 2009 2:19 AM
My appologies for no more progress from me so far.  Life has been getting in the way somewhat. Ive been having great fun with trying to find a job, lots of interviews but no offers yet. Some dont even get back to me. Im also having fun learning to drive, that is an interesting experiance. Also our house is a building site at the moment and i have nowhere to spray as the space i normaly use is occupied by some concrete blocks. To top it all off my partner has not been well and i have been spending as much time with her as i can.
 
Rest assured i will get around to this model some time though. The little  modelling i have done recantly has been trying to finish off various half finished models and tidy up ones i built a while ago. 
 
As for the Zero, i have not abandoned it. She is awaiting me to pluck up the courage to paint the crosses on her. I have finaly found out what colour they should be and brought the tinlet but i cant find it now. Doh.
www.overthefencephotography.co.uk - aircraft photos.
  • Member since
    May 2003
  • From: Abbotsford, B.C. Canada
Posted by DrewH on Friday, March 20, 2009 7:30 PM
 hkshooter wrote:
Congrats on moving into the man cave, Drew! You going to break a bottle of bubbly on the door jam before you enter?Thumbs Up [tup]


I hope next weekend!!!!!! No bubbly, but may take a few beer with me Laugh [(-D]

Take this plastic and model it!
  • Member since
    December 2002
Posted by Bossman on Wednesday, March 18, 2009 11:27 AM

John,

Very nice job.  The canopy glass turned out great - must've taken some patience for that greenhouse. 

Mist,

The 18 is coming along nicely.  Good to know that all the work that went into those intake trunks will be visible.  Very nice indeed.

Me ? - I'm getting bogged down in finishing up some detail work on the monster 1/24 Hurricane I started back in July - so my work for this GB has taken a back seat.  I'm tring to finish up the Hurri for a local show in April - so after that I should be able to get back to the Phantom.

Chris

  • Member since
    June 2003
  • From: Caput Mundi
Posted by Avus on Monday, March 16, 2009 2:29 AM

Great work on your Dornier, John: it looks great!

Mist086, you're proceeding very well.

Klaus

Thanks to ImageShack for Free Image Hosting

  • Member since
    March 2007
  • From: Carmel, CA
Posted by bondoman on Sunday, March 15, 2009 11:09 PM
 firesmacker wrote:

Very Nice John!Thumbs Up [tup]

So what? It's you and me so far? Come on you slackersWink [;)]

Well I'm still working on SSII!! Wouldn't want to hurt Chris' feelings.
  • Member since
    December 2002
  • From: Northern California
Posted by jeaton01 on Sunday, March 15, 2009 8:59 PM

Yeah, Jeff, it seems to be just me and you, Atlas and the Atlas II holding up the great weight of this GB so far!  Well, we better recognize Troy too, since he is the guy with the gun.Shock [:O]

I''m sure all of the other guys will be here soon....

And thanks to all for the comments, even though Jeff's or Troy's airplanes will win the beauty contest every time.  That Do-17 is one bug-eyed monster, no matter how you build it!

John

To see build logs for my models:  http://goldeneramodel.com/mymodels/mymodels.html


JOIN OUR COMMUNITY!

Our community is FREE to join. To participate you must either login or register for an account.

SEARCH FORUMS
FREE NEWSLETTER
By signing up you may also receive reader surveys and occasional special offers. We do not sell, rent or trade our email lists. View our Privacy Policy.