SEARCH FINESCALE.COM

Enter keywords or a search phrase below:

ME-262: Reich Defender II 10/09-7/10

392909 views
1854 replies
1 rating 2 rating 3 rating 4 rating 5 rating
  • Member since
    July 2004
  • From: Northern KY
Posted by mucker on Wednesday, February 10, 2010 10:06 PM

Woo Hoo! Looks like I am done...oops, need to add the wing tip lights...

If I had to do it all over again I would have paid closer attention to the canopy piece, which is noticeably out of position, but otherwise I really like this kit, decals and all. The RLM 74/75/76 scheme is a mix of Polyscale, Gunze and Color of Eagles acrylics. I hear that it's best to stick withthe same brand for a more cohesive scheme, so I've ordered several more Gunze paints for future Luftwaffe builds. I wish Color of eagles paints were still around. I really liked these.

Once again, Tamiya makes a great kit. All errors and flaws are strictly user error on this one.


  • Member since
    September 2003
  • From: South Central Wisconsin
Posted by Daywalker on Wednesday, February 10, 2010 8:56 PM

Mike- Looking very good there, even if the camera is dodgy.

As for your Future and set/sol query, I use that same combo.  The set will turn the Future a bit milky if left on in large puddles, but it goes away overnight.  The sol can attack it a little, so to be safe I always try to keep the sol on the decal surface only, and not smear it all over.  A little bit around the edges to soak under the decal is OK though.

Frank 


  • Member since
    July 2004
  • From: Northern KY
Posted by mucker on Wednesday, February 10, 2010 8:32 PM

Booo!!! Phone pics, booo!!!

Just kidding. They still came out pretty good. The build is looking great, Spike. I like the deep tones in those greens. Which paint line are you using?

  • Member since
    March 2009
  • From: Wirral. UK
Posted by Spike190 on Wednesday, February 10, 2010 5:44 PM

Mucker and Steve, great work and it looks like the finishing post is getting close. Cant wait to see yours unveiled Steve, it's gonna look great.

I'm not far behind and I've a couple of phone pics to show, I will get the proper camera out this weekend.

Sorry about the dodgy quality, the iphone aint got the best camera and it's even worse at 11pm with no light. I'm doing a few touch ups and also trying to get a few different tones into the paint and then I shall gloss coat for the decals.

I'm planning to use future for the first time, could someone tell me if I will be ok with micro set/sol, anything I should know?

Cheers....


Mike  Toast


  • Member since
    July 2008
  • From: USA California
Posted by vetteman42 on Wednesday, February 10, 2010 11:15 AM

Bish and Steve they are beautiful builds !! Hope mine comes out half as well as yours are.

Randy So many to build.......So little time

  • Member since
    July 2004
  • From: Northern KY
Posted by mucker on Wednesday, February 10, 2010 8:13 AM

Excellent, Steve! I like how the panel lines came out on yours...it really gives it life. I'll do my best to mimic that. Nice job on the mottling, too.

  • Member since
    September 2007
  • From: Truro Nova Scotia, Canada
Posted by SuppressionFire on Wednesday, February 10, 2010 5:28 AM

Steve Looking great! The decals really set off the tri - grey color scheme.

Bish Agreed! The 'Red 13' Soviet Mig 21 is irresistable! Gotta have one.

http://i6.photobucket.com/albums/y211/razordws/GB%20Badges/WMIIIGBsmall.jpg


  • Member since
    December 2002
  • From: Bury St Edmunds, Suffolk, England
Posted by Bish on Wednesday, February 10, 2010 5:19 AM

sidure, mucker great looking builds there guys, those paint jobs are excellent. Am i correct in thinking they are both 1/48th kits.

Red 13 is one of my favorite looking Me 262's. I am going to get another Academy kit to do that one.

I am a Norfolk man and i glory in being so


On the bench: Airfix 1/72nd Harrier GR.3/Fujimi 1/72nd Ju 87D-3

  • Member since
    July 2003
  • From: waynesboro va, via Ireland
Posted by sidure on Wednesday, February 10, 2010 12:52 AM

Yeah Mucker, its looking great and that red 13 really stands out and makes it pop. We are at exactly the same spot on the builds. I have just finished gloss coating mine also and may have dullcoated it except I am out at the moment. Might be a few days till I get some more done as I am on a road trip for a couple of days. Get to see my fav hobby shop though and will stock up on dullcoat. Heres where I am.

hope to get more done or even finish this weekend

Steve

  • Member since
    September 2003
  • From: South Central Wisconsin
Posted by Daywalker on Tuesday, February 9, 2010 9:22 PM

Nice looking work there Charles, beautiful!  Colors look spot on and the decals appear to have gone down rather nicely.

Frank 


  • Member since
    July 2004
  • From: Northern KY
Posted by mucker on Tuesday, February 9, 2010 8:05 PM

OK, I've got a WIP to share. This is post-decal and future seal-in. Next up is panel wash and flat coat. With any luck I'll have her ready to go by the weekend.

Despite my self inflicted delays this has been a fun kit and near early jet to build.

The gap around the gun bay is because I've chosen bot to attach it so i can show it off and still keep the nice lines of this beauty.

  • Member since
    July 2003
  • From: Bicester, England
Posted by KJ200 on Sunday, February 7, 2010 3:01 PM

You guys have been doing some serious building!

Very impressive.Yes

Suppose I need to extract digit and start building a 262!

Just have to finish the Raiden and an E100 first.Confused

Karl

Currently on the bench: AZ Models 1/72 Mig 17PF

  • Member since
    July 2004
  • From: Northern KY
Posted by mucker on Saturday, February 6, 2010 9:04 PM

Good stuff, Spike!

I've not been slacking TOO badly guys. Tonight is decals with some pics to follow on my 262a-1a


  • Member since
    December 2004
  • From: Yokosuka, Japan
Posted by luftwaffle on Friday, February 5, 2010 8:04 AM

Hey guys, been out of town the past few weeks so no time at the bench for me, but everyone's builds are looking great!

I'm hoping I can get started on my Nachtjager soon, got a Ju 88C-6 I need to get off the bench first though.


aka Mike, The Mikester My Website

"He has all the virtues I dislike and none of the vices I admire."   -Winston Churchill

  • Member since
    March 2009
  • From: Wirral. UK
Posted by Spike190 on Thursday, February 4, 2010 11:22 AM

Dirk I really like your camo, it's gonna look great when finished.

Jason, really great idea on the diorama, I like it alot.

Steve, sorry to hear of your mottle problems but it looks like your making good progress, I look forward to more.

Just a couple of pictures. I've done the preshade and hope to get the 76 on tonight. Sorry about the poor pictures, done in a hurry this AM on my phone.

I've left the tail until the mottle is sorted.

Cheers everyone...

Mike  Toast


  • Member since
    September 2003
  • From: South Central Wisconsin
Posted by Daywalker on Thursday, February 4, 2010 9:24 AM

Crap...

I see you're onto us Steve! Embarrassed

Frank 


  • Member since
    July 2003
  • From: waynesboro va, via Ireland
Posted by sidure on Wednesday, February 3, 2010 11:20 PM

Very interesting display and fi nish. well done.

Dirk, love the squiggles thats going to look cool when finished.

I got the rlm 74 down and gloss coat done and when dry its onto the decals and panel wash. I messed up a bit on the motteling and made it worse when tried to fix it.

and this pic is for Frank and all the other wise guys who think I am falling for the big penny thingy, I have one too.

Hope to be on the home stretch soon

Steve

  • Member since
    July 2004
  • From: Northern KY
Posted by mucker on Wednesday, February 3, 2010 8:45 PM

Jason, Too Cool! Those dio's are awesome!

Dirk, that's fantastic mottling!!! Holy cow!

  • Member since
    September 2003
  • From: South Central Wisconsin
Posted by Daywalker on Wednesday, February 3, 2010 8:29 PM

Dirk- Good to see you, great work on that 262!  I bet you're seeing squiggles on everything you look at now, aren't you?

Jason- Very cool display, I like the originality!  Thanks for sharing the pics.

Frank 


  • Member since
    September 2007
  • From: Relocating
Posted by Mobious on Wednesday, February 3, 2010 5:31 PM

Very cool Jason, the smoke trails are neat. Nice work on both the Kettenkrad and the 262.Yes

"It's a problem of applied physics" Roy Brown

  • Member since
    October 2007
  • From: Rhode Island
Posted by jmabx on Wednesday, February 3, 2010 4:38 PM

Surprise Wow... that's a really cool display!


Yes

Jeremy    Propeller


  • Member since
    September 2007
  • From: Truro Nova Scotia, Canada
Posted by SuppressionFire on Wednesday, February 3, 2010 2:11 PM

Heh everyone!

Took some completion pictures of the entire display.

http://i6.photobucket.com/albums/y211/razordws/GB%20Badges/WMIIIGBsmall.jpg


  • Member since
    September 2007
  • From: Truro Nova Scotia, Canada
Posted by SuppressionFire on Wednesday, February 3, 2010 4:20 AM

Dirkpitt289 Excellent work on your Me-262! Thats a lot of squiggly worm camoflage lines to free hand airbrush. I can't wait for more pictures and really curious to see 'big cannon' version.Cool

http://i6.photobucket.com/albums/y211/razordws/GB%20Badges/WMIIIGBsmall.jpg


  • Member since
    March 2008
  • From: New Jersey
Posted by Dirkpitt289 on Tuesday, February 2, 2010 9:02 PM

Brush Hmm

Dirk

On The Bench:

B-17F "Old 666" [1/72]

JU-52/53 Minesweeper [1/72]

Twin Me 262's [1/72] Nightfighter and Big Cannon

  • Member since
    October 2007
  • From: Rhode Island
Posted by jmabx on Tuesday, February 2, 2010 8:45 PM

Dirk - Nice work! Yes That's going to be a killer paint job. How are you painting the 74 on the fuselage? With a brush or an airbrush? It looks really cool. Cool

Jeremy    Propeller


  • Member since
    March 2008
  • From: New Jersey
Posted by Dirkpitt289 on Tuesday, February 2, 2010 8:27 PM

Hi guys, its been a while since I was here but I have been working. Here are some picures to prove it.

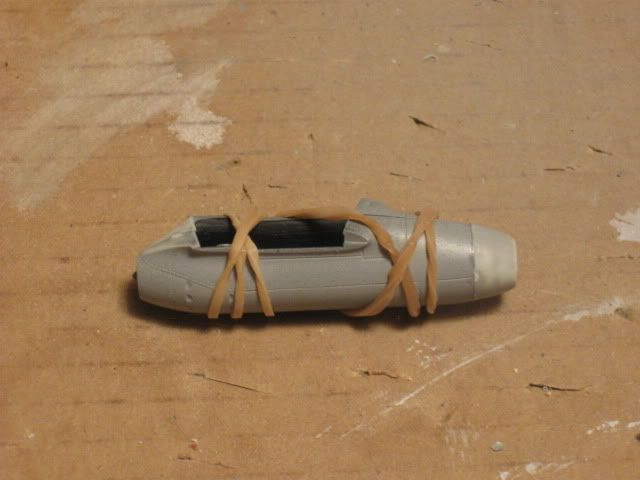
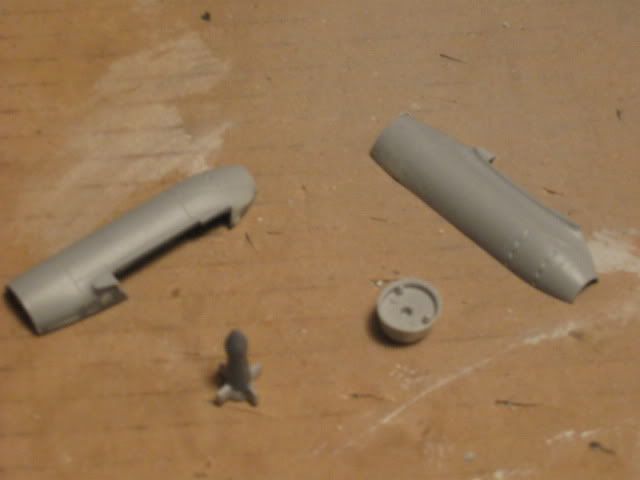
These four parts make up the Junkers Jumo 004 Engines.
 

Here you can see the second cockpit. As you can see the seat pad is a different color. That's because I didn't like the color of the first one and went out and bought some brown paint. I think the back seat looks better. As for the color mismatch that's ok because apart from these photos it will never be seen an cushions wear differently and by the time this aircraft was serviceable uniform parts were hard to come by. They would use whatever they had.


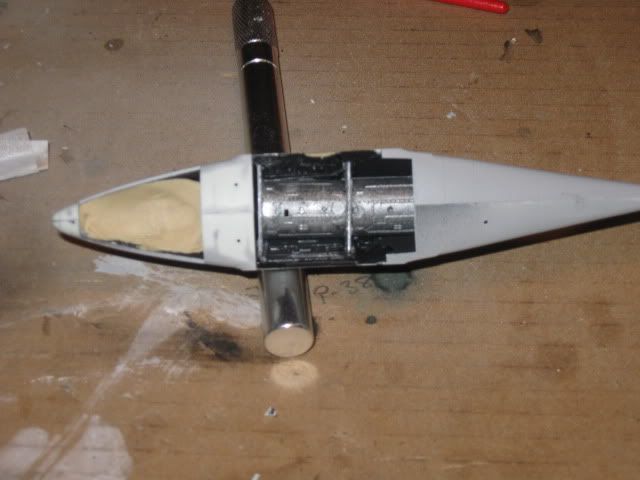
I filled the front wheel well with plumbers putty for ballast to keep the nose wheel on the ground. I hope its enough.  Confused

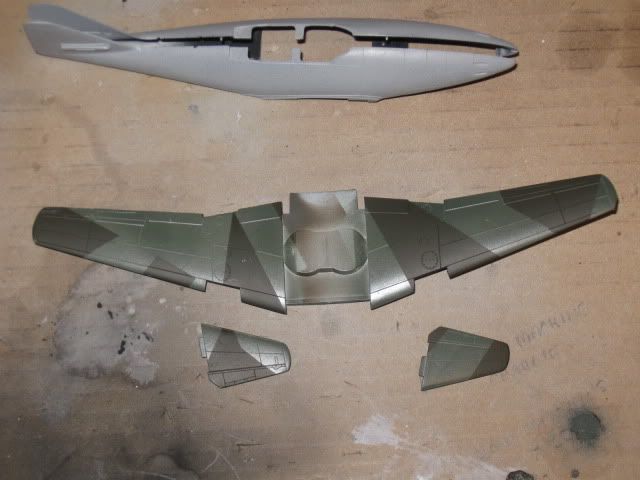
Model Master RLM 82 was used as the base for the wings.
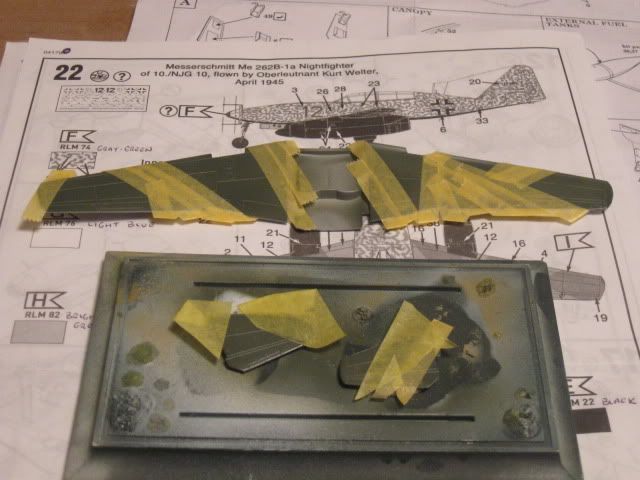
 Model Master RLM 81 Splinter pattern was then applied
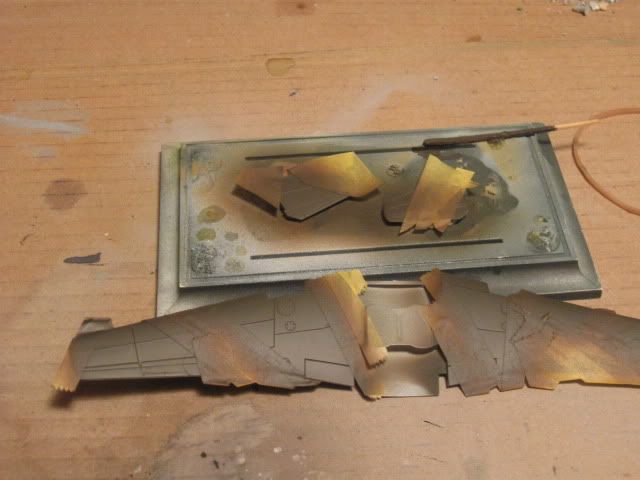
Model Master RLM22 was applied to the bottom of the wings and the engine nacelles. Eventually the belly of the fuselage will also be black
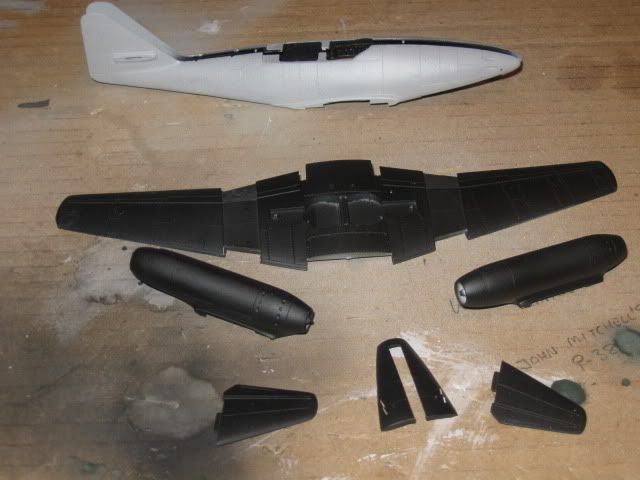
 

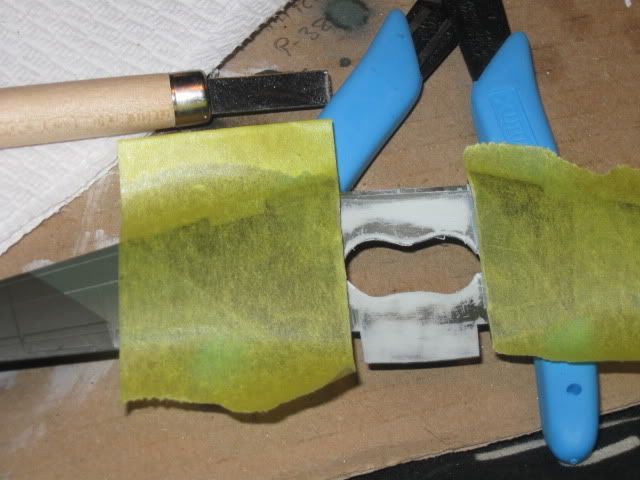
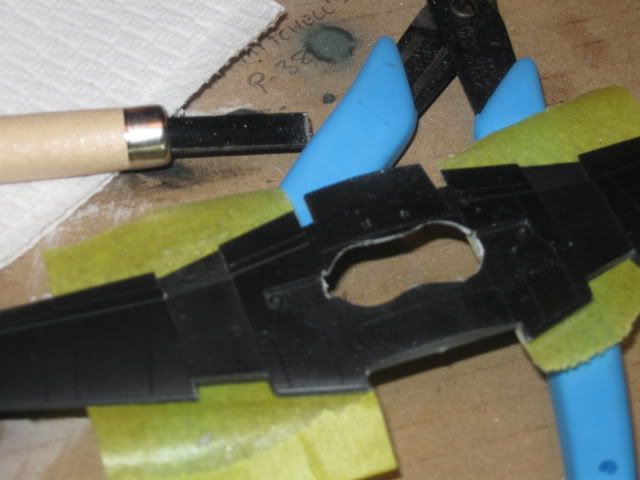
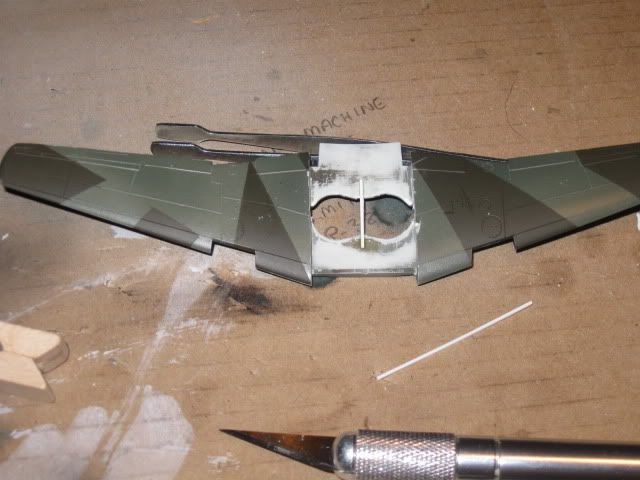
Then came the realization I never cut out the wheel wells. Super Angry


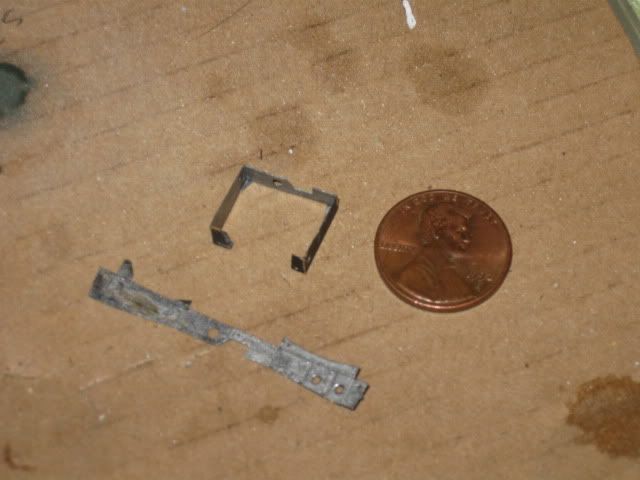
 Here is the PE Wheel Well walls


Model Master RLM 76 was used for the base coat for the fuselage
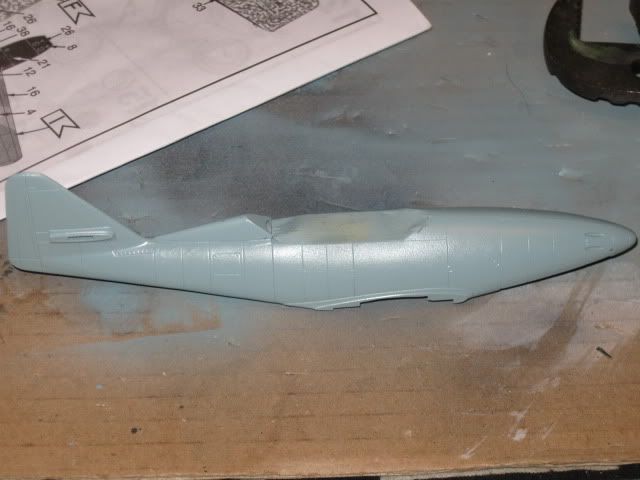
 For the fuselage camo pattern I used Model Master RLM 74. This process has been extremely tedious
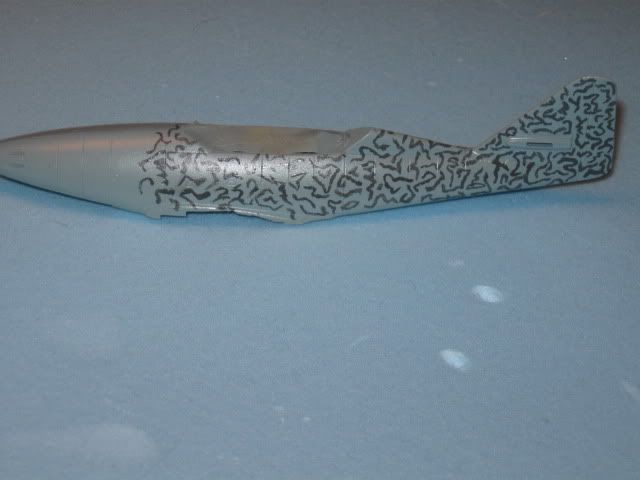
I still have a long way to go before the camo pattern is done. As tedious as its been I have to say I like it a lot.
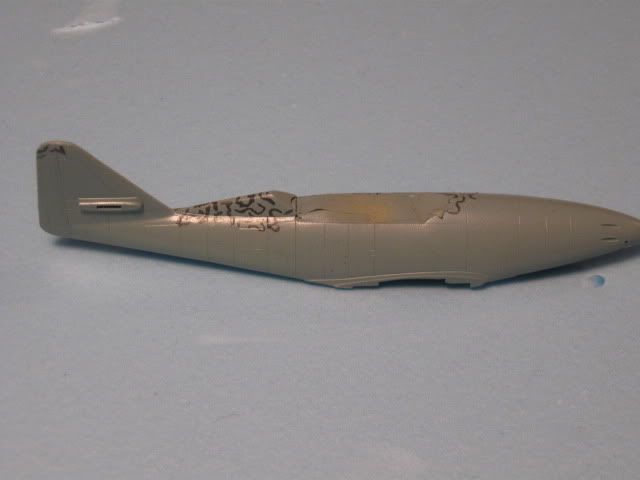
Till next time, Keep em flying!  


Dirk

On The Bench:

B-17F "Old 666" [1/72]

JU-52/53 Minesweeper [1/72]

Twin Me 262's [1/72] Nightfighter and Big Cannon

  • Member since
    November 2003
  • From: Naples, FL
Posted by tempestjohnny on Tuesday, February 2, 2010 11:45 AM

Wow there are some killer builds here.  I really must get going on the Mistel.


  • Member since
    March 2009
  • From: Wirral. UK
Posted by Spike190 on Tuesday, February 2, 2010 11:23 AM

Thanks everyone for your comments, all masked now so will be priming very soon.

Randy, I just used washes on the cockpit and wheel well followed by brush painting the highpoints to really try and give a sense of depth. I've used the airbrush to preshade my Hellcat cockpit but didnt bother on this one. I will preshade the exterior with the airbrush, I really enjoy that bit and usually I'm pleased with the results.

Frank, I also have an A8, should be with me in a day or two. Gonna get that D9 though...... it's calling me....

Cheers....

Mike  Toast


  • Member since
    September 2003
  • From: South Central Wisconsin
Posted by Daywalker on Tuesday, February 2, 2010 12:14 AM

Thanks fellas, I am quite happy so far with the Trumpeter kit.  Not quite Tamiya, but very nice indeed.

Steve- I like your work very much, very smooth paint there!  Can't wait for more pics.  As far as RD III is concerned, I was thinking of a start date around 7/1/10?  This GB runs through May, so that gives everyone a little time between them.  I will be sure to let you know personally as soon as we know the start date.

Mike- Bummer about the clear bits, but great save nonetheless!  Honestly, I can't see any damamge in the photos, so as far as I am concerned, it's good to go!

Randy- Thanks buddy, glad to hear you are go on this one!  We'll be watching for those pics soon.

Troy- You are too kind, but I gotta be honest when I say that the SR-71 you built a while back is one of my all-time favorite builds.  What I wouldn't give to have that model in my display case. Bow Down

Frank 


  • Member since
    July 2003
  • From: waynesboro va, via Ireland
Posted by sidure on Monday, February 1, 2010 11:58 PM

Mike ice work on the windshield and on the build overall its comming along nicely

Thanks for the comments gents I had been going back and forth with what to do with the clear section, hope it comes out as I see it in my mind.

Frank, I have a 190A-8 on the bench for my next build for the SSGB so im in for the next round, any idea when that is going to kick off

Steve

JOIN OUR COMMUNITY!

Our community is FREE to join. To participate you must either login or register for an account.

SEARCH FORUMS
FREE NEWSLETTER
By signing up you may also receive reader surveys and occasional special offers. We do not sell, rent or trade our email lists. View our Privacy Policy.