Gamera thanks!
Ernest great painting tips thanks for sharing!
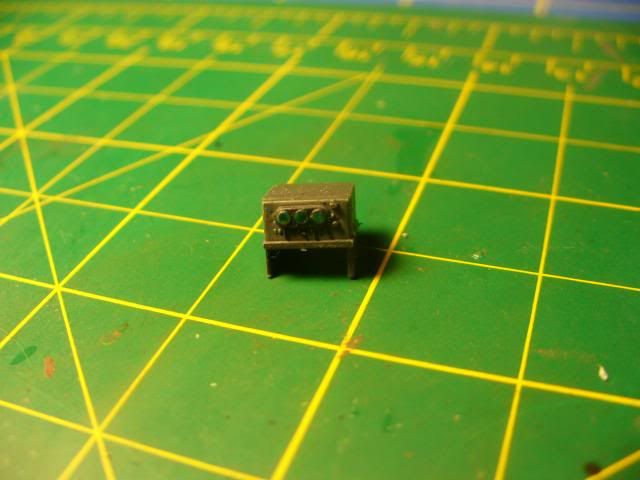
I got a move on the 189 ,here is the office
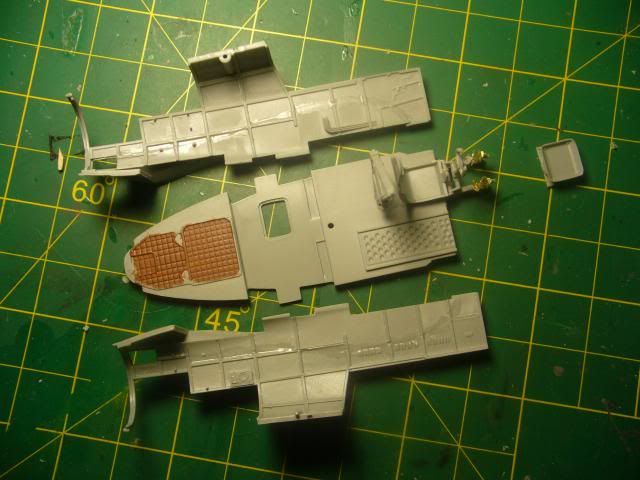
since the camera wo'nt be used I figured the hole would've been covered by a panel, I used 3 layers of 3m masking tape
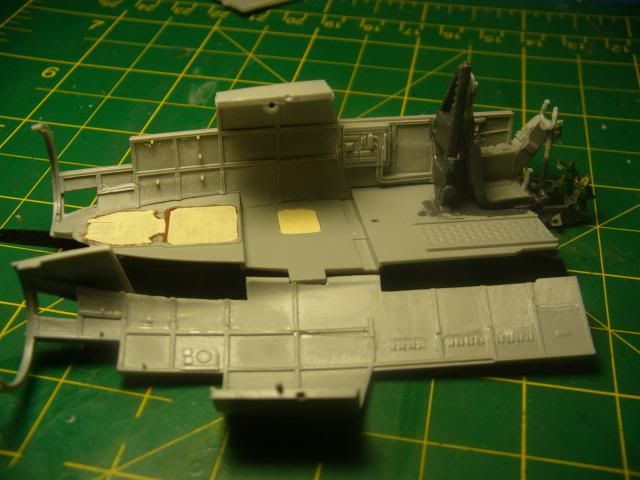
almost ready to button it up
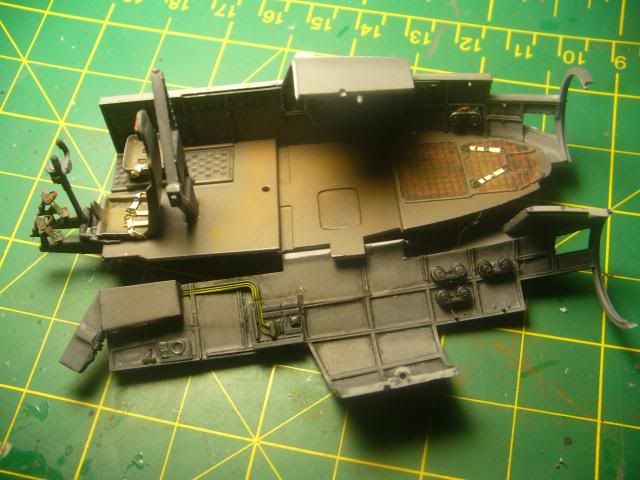
I ca'nt locate any interior pics for this variant so a lot of it will be a swag. I need to decide where the radar panel would be located inside ,any ideas?