SEARCH FINESCALE.COM

Enter keywords or a search phrase below:

(A)SW GBII - CLOSING

82445 views
560 replies
1 rating 2 rating 3 rating 4 rating 5 rating
  • Member since
    October 2008
  • From: italy
Posted by bsyamato on Sunday, October 30, 2011 1:38 PM

Magnific kit kermit!! wishing to get one later Cool 

Seems that ww2 subs offers more oppurtunity for modelling than modern .

Then i post last updates for the gannet before take final pictures:

Just as information the scratched torpedo:

i'll suspend it because i resolved the weight in another way !! Toast

Two leads pieces that will covered from the front gear doors uncutted (often these two doors are closed when the plane is on the parking)

The engines:

the 3 air tubes in the top are from plastic rods drilled Dead dunno how i performed the holes without break it..

then the engine after aluminium and silver cure, left only the weathering and some black or steel differenced parts

and final shot of the rest, rigged , antennas on, arrestor hook on etc.. . Left only some additive weathering on last parsts added

that's all Bow Down


  • Member since
    June 2009
  • From: Netherlands
Posted by kermit on Sunday, October 30, 2011 2:48 AM

Bsyamato,

Thank you! I guess EUR.23,= isn't that bad... my LHS has always stocked it at 19,95... A good price in my opinion.

The U99 version that is about 3cm larger (1:150) at the same price is less good than this one i must say and this kit has its drawbacks too. Some molding seams...ejection marks.... but nothing too bad if you take your time.

Fun thing about most submarine kits is the fact that they build up alot like tanks.. Not much painting to do at first, just cleaning parts and gluing them, which is exactly what i was wanting at the moment. Once you do get to painting you can really open up all registers and make it as rusty and worn as you want. I do love a sub every now and then for exactly those reasonsSmile

But anyways...on to the model

After one late afternoon and evening of work i have assembled the hull, rudder, dive planes and  guns and am getting ready to start on the conning tower and deck fittings:

Looking at these pictures you can see there are some seams to remove but nothing too bad. Also i realized just now i have made a mistake with the periscope setup... the main periscope (the larger rear one) is supposed to sit above the smaller one.. will take a look at thatWink

Looking at the painting/ decal options i have chosen U-201. This submarine has large camouflage bands on the hull and tower, making it look even more agressive. The first time i built this kit about a year back i chose the more famous U-96; the one from the Das Boot movie (my all time favourite movie).

Richard

"Success is the ability to go from one failure to another with no loss of enthusiasm." - Sir Winston Churchill

  • Member since
    October 2008
  • From: italy
Posted by bsyamato on Saturday, October 29, 2011 1:27 PM

Many thanx for the comment Kermit i appreciated it, lots of troubles involved these details choice i did, but even lots of fun and earned lot of experience for next works involving engines etc Beer wil be good for incoming (? 2012? Hmm) greif that have two twin engines like the gnnet. 

I hope to close the engine gannet question this weekend, finally i satisfied from the level of added tubes etc and already primed, tomorrow a second primer hand to ensure the seal of metal parts Big Smile

Waiting to see the work on this type VII too Stick out tongue i see on my customer at 23€ 

  • Member since
    June 2009
  • From: Netherlands
Posted by kermit on Saturday, October 29, 2011 4:47 AM

Bsyamato,

Looks like your gannet will loose the fight between modeller and modelWinkYes. I know this has been both a joy and a cause for headaches for you but you can be very proud of this Gannet!! Looks great to me and the detailing on this scale has been absolutely stunning to watch.

And now that you are mentioning it...

It has been a bit of a concern to me too to see that this year there has been little interest in the ASW corner of modelling... hope this will change along the way b ut i can do my part at least and build this one:

Right now i am working on two demanding builds, complete with PE... i felt it was time to have a fun and easy build i can focus on in between. At the same time it would bring slightly more life in my little GB...

Will start on her soon and am looking very much forward to another type VII on my shelf!Big Smile

Richard

"Success is the ability to go from one failure to another with no loss of enthusiasm." - Sir Winston Churchill

  • Member since
    October 2008
  • From: italy
Posted by bsyamato on Friday, October 28, 2011 4:58 AM

Thanx Rob , lots of kits here again to finish, don't think you're so easy alone here Hmm also i'm again on with the seabat.

Eventually i'll try also to add some little sub (1/350-1/700) if get one 

waiting for VIIc updates Beer

  • Member since
    September 2008
  • From: Ancaster, Ontario
Posted by maxfax on Wednesday, October 26, 2011 10:20 PM

BSYAMATO: excellent work-the plane is looking great! Pretty soon I' ll be the only guy here[:P]. More delays with the VIIc- I've decided to create a texture on the pressure hull by grinding it with a Dremel bur, then sanding to create an irregular slightly pitted surface in contrast to the oil canned areas. I'm also replacing the weld seams at the same time, followed by replacing lost rivets. Hopefully I can get an update photo in the next week or so.

Rob

On the bench:  Revell 1/72 HCMS Snowberry


  • Member since
    October 2008
  • From: italy
Posted by bsyamato on Wednesday, October 26, 2011 6:33 PM

few updates

finished the capopies with no decals, i prefered to paint the little yellow stripes on the lower corners, withoth dispense some blasphemy all around. After experience these little decals on the corners are only a waste of time.

Before to glue it i take a shoot to view the gannet with closed canopies

The flaps support lost was replaced with one scratched, i used 3 layers (4 in some zone) of really tiny plastic sheet. Easy to cut in this way, thenn , after get the desired shape i glued other layers using the first as dime.

the support on the right, like other two was breaked nd repaired Sad

after first paint

then i glued even the weapons by doors , canopies, main gear doors and the extracted flaps (alignment of these are not perfect )

added also more pieces on the engines and brushed the front bulkhead with aluminium... and the windshield wiper, this one scratched

the millimeter from the ground!

flaps down

Remains to glue from original pieces  only five antennas/pitot etc and the front gear doors Toast

Also started one of torpedos with some bomb picked from the pieces magazine

I will finish before halloween???

  • Member since
    October 2008
  • From: italy
Posted by bsyamato on Saturday, October 22, 2011 8:00 PM

Detailing engines finally

more gearbox details added and fixed the starting part of air (cooler?) conduct

bended with flame aid a plasticard piece on a rounded surface

i'm convinced that if i cut the two piece specular i will obtain the two specular pieces needed but the specular turn i forget ... then obtained two exact pieces non speculr Crying

then bended one again with flame in correct way

then bended one again with flame in correct way, and fixed even other pieces on the two engines

cables again

also in the picture above you see the modified housing for the front gear.

Other pieces added on the front bulkhead, i can say this part don't need more pieces Coffee


Also not in pictures resolved the canopy in the middle seams question: a water sanding with fine sandpaper and a layer of gloss coat was enough to fix it. 

Another fine thing in this kit, the lights and the headlights on the wing are in clear plastic with convexity simulated in Yes another good point for this revell kit

Main work needed are just on the engines, i'm counting tomorrow to add latest pieces into engine section and start final stage Toast

.... the torpedoes and the broken flaps support !!! Bang Head i forget about .

Really i want to try the whole thig if work even without torpedos Tongue Tied i hope so


  • Member since
    October 2008
  • From: italy
Posted by bsyamato on Friday, October 21, 2011 9:58 AM

maxfax

Nice fix. I have only built tail-draggers- so I never had to worry about weighing the nose down. Still working on the helicopter?

Rob

then no p-39 or he-219 in you collection Smile  sabat is waiting, want to finish the gannet before and secure it to the GB (this was the first  GB i joined) and clear the great area that all the gannet pieces occupied again Black Eye

I lost lots of time when i build cockpits ,  gears and inner detail, so the seabat will not require too much time to finish, just some extra work on the rotors to add some realistic actuator, some external wire etc.

Vance only on eof these pilots can put down the gannet on the front gear Big Smile (and molded in lead not in white metal)

  • Member since
    February 2003
  • From: Rothesay, NB Canada
Posted by VanceCrozier on Friday, October 21, 2011 9:42 AM

bsyamato

Thanx for comments guys Bow Down

Vance you've in mind something like that?

http://cdn.buzznet.com/assets/users7/fuzzylogic/starwars/rebel-pilots--large-msg-1114486493-2.jpg

don't think is an actual 1/72 metal figures with appropiate weight to put dow tha gannet Whistling

No, nothing at all comes to mind, it just sounds like a fun option!! Stick out tongue

On the bench: Airfix 1/72 Wildcat; Airfix 1/72 Vampire T11; Airfix 1/72 Fouga Magister

  • Member since
    September 2008
  • From: Ancaster, Ontario
Posted by maxfax on Friday, October 21, 2011 9:07 AM

Nice fix. I have only built tail-draggers- so I never had to worry about weighing the nose down. Still working on the helicopter?

Rob

On the bench:  Revell 1/72 HCMS Snowberry


  • Member since
    October 2008
  • From: italy
Posted by bsyamato on Wednesday, October 19, 2011 6:35 PM

heres the resolutive weighted propellers

also started the detailing of front bulkhead


  • Member since
    October 2008
  • From: italy
Posted by bsyamato on Wednesday, October 19, 2011 9:50 AM

This afternoon i finished to put lead ( not without break something Embarrassed ) in the propellers cover, after glued the two props blocks. IT WORK!!!!! Pirate now need to find a safely way to melt the lead for the torpedos body.

Vetterman i see your little racer , really nice and tiny work YesYes

  • Member since
    October 2008
  • From: italy
Posted by bsyamato on Wednesday, October 19, 2011 5:26 AM

Thanx for comments guys Bow Down

Vance you've in mind something like that?

don't think is an actual 1/72 metal figures with appropiate weight to put dow tha gannet Whistling

  • Member since
    February 2003
  • From: Rothesay, NB Canada
Posted by VanceCrozier on Tuesday, October 18, 2011 2:10 PM

bsyamato.... how about a white-metal pilot figure?!? Stick out tongue

On the bench: Airfix 1/72 Wildcat; Airfix 1/72 Vampire T11; Airfix 1/72 Fouga Magister

  • Member since
    July 2008
  • From: USA California
Posted by vetteman42 on Tuesday, October 18, 2011 1:56 PM

Maxfax man that IP is awesome ! Its too bad they dont offer others in 1/8 scale.

The oil canning on your sub worked out great, it looks like you are sure goin all out on this build. Eats The archer rivits and weld seems are going to add hugly to it too. I have seen them used a few times and find them very very realistic looking.

Bsyamato what can I say your Gannet is surely going to be a show stopper YesYes I do hope you can solve the weight problem, thats a real bummer. But I am sure you will come up with a fix for it.

Randy So many to build.......So little time

  • Member since
    September 2008
  • From: Ancaster, Ontario
Posted by maxfax on Tuesday, October 18, 2011 10:47 AM

Yeah! Just got in the mail the Archer Fine transfers to replace the welds and rivets. I will only replace the rivets lost due to sanding after oil canning, but I plan on replaceing all of the weld seams- they are on the large size. Here goes and extra month of detailing!

Rob

On the bench:  Revell 1/72 HCMS Snowberry


  • Member since
    June 2009
  • From: Netherlands
Posted by kermit on Tuesday, October 18, 2011 10:27 AM

Maxfax,

Again, WOW! That IP is gorgeous. Just like bsyamato i thought you were building the entire eduard Bf110.... Never knew they had a 1:4 scale IP... Looks awesome m8!Yes

Bsyamato,

Censored.... Looks like you got your hands full with that problem... But i think hollowing out the propellor hubs is your best bet as it is the farthest forward... Will be watching with interest. The Gannet looks absolutely first class my friend!YesYes

Richard

"Success is the ability to go from one failure to another with no loss of enthusiasm." - Sir Winston Churchill

  • Member since
    October 2008
  • From: italy
Posted by bsyamato on Tuesday, October 18, 2011 10:05 AM

nope, i try to avoid a base fixing.... in this way all the under details added going to prost... 

this afternoon i started to carve the propellers to obtain another lead bay Whistling

these are previous updates

the test with engine , torpedos simulated weight and the normal weight props.

not clear in the picture but the front gear don't touch again the ground, also want to mold the front torpedos with melted lead in a sort of mold. also the two greater front well doors can be used to put more lead Embarrassed

All these works because i want to leave the option to remove the engines block to show the others details..

If all work good i can tell the gannet my best work till now Propeller and replace the typhoon on my badge!

  • Member since
    September 2008
  • From: Ancaster, Ontario
Posted by maxfax on Tuesday, October 18, 2011 8:57 AM

Bsyamato: Are you going to put this plane on a base? Perhaps tack it down on a tarmac base.

On the bench:  Revell 1/72 HCMS Snowberry


  • Member since
    October 2008
  • From: italy
Posted by bsyamato on Tuesday, October 18, 2011 4:38 AM

WOW i was thinkin the bf-110 whole kit you buid Indifferent is just like the real one YesYes

Nice work on the sub!!!

Yesterday i did the parking wedges, did some stability  test with the engine and again fail!!! the front gear remains again at a millimeter from the floor even with a simulation of torpedoes weight, the problem is these weight are too near the mass center. I'm thinkin to glue the two propeller and carve it insine to put more lead here... becaume more under weight will come with opened flaps.... what mess Ick!

this afternoon i'll post the updates

  • Member since
    September 2008
  • From: Ancaster, Ontario
Posted by maxfax on Monday, October 17, 2011 8:42 PM

Here's a photo of the BF 110 instrument panel. Fairly simple kit- I just painted the panel, and the rest was just the coloured plastic.

Finally finished oil canning the starboard hull- very laborious but looks cool. I've started to detail the hull- starting with the vents at the bottom of the saddle tanks using PE from Yankee Modelworks. The mesh is so fine that you can't see details behind it- so none will be done. I rebuilt the frame with stock strips. The vent behind these was different- the screen is large and can easily be seen through. I created a box out of stock styrene, and used a wheel hub from an aircraft kit- kinda looks like a valve. I won't glue in the screen until I have painted this valve section. I'll slowly tackle the rest over the next week or so. I'll wait until the hull detailing is done before I post again- it has been awhile and wanted to let everyone know I'm still working on it!


On the bench:  Revell 1/72 HCMS Snowberry


  • Member since
    September 2008
  • From: Ancaster, Ontario
Posted by maxfax on Monday, October 17, 2011 7:56 AM

Bsyamato: Man, that is looking good! You are just plugging away at that plane! I've been struggling. After a needed mental break, I was back at it this week-end. Finally finished oil canning the hull and started detailing the hull. I'll post some WIP in a day or two.

Rob

On the bench:  Revell 1/72 HCMS Snowberry


  • Member since
    October 2008
  • From: italy
Posted by bsyamato on Monday, October 17, 2011 6:08 AM

more updates on the gannet!!

refined the weapons bay doors

also started to paint it

well ... i fixed the gears with some adaptation for the front gear and a washing of mixed black and light brown enamel was done in all wells, gears and weapons bay:

some retouch needed and also more cables to come after.

Also fixed other munor pieces and exhausts. And a black drybrush added. Not see any pictures of real plannes with flames signs near the exhaust, the i left ... clear for now

canopies on the paint stage

and then... the truth moment after fixed the control surfaces:

the plane sitting down Bang Head and now?? theres 4 ways to try fixing

1) scratch two lead torpedoes and put in the weapons bay

2) Put on the main wheels the parking wedges to move the plane center of gravity more back

3) don't cut the two front larger well doors and put in the front well more lead Ick!

3) all three above points together Propeller

  • Member since
    October 2008
  • From: italy
Posted by bsyamato on Tuesday, October 11, 2011 8:57 AM

Thanx for compliments Richard but italian styrene stallion sounds a little excessive Big Smile 

I had three day constrained to stay out of workbench ; something strange occurred to my elbow, a buldge was formed Crying and i can't bend the left arm regularly withouth blaspheme something. Just now returned to check the situation but again not totally cured (the curse of the gannet Alien ).

  • Member since
    June 2009
  • From: Netherlands
Posted by kermit on Sunday, October 9, 2011 12:10 AM

Bsyamato,

Man! That model must be getting heavy by nowBig Smile I think you must have doubled the number of parts.... It is looking gorgeous thoughYes Very keen eye on detail you have my friend.

I shall call you...... the Italian styrene stallion!Toast

Joking.... i am really a bit jealous with your skillsStick out tongue Wish i had the eye for it.

Richard

"Success is the ability to go from one failure to another with no loss of enthusiasm." - Sir Winston Churchill

  • Member since
    October 2008
  • From: italy
Posted by bsyamato on Saturday, October 8, 2011 9:03 PM

so i continue on the gannet and the seabat.. also more troubles i did

...

the seabat is four blade copter ... find you the little incident occurred
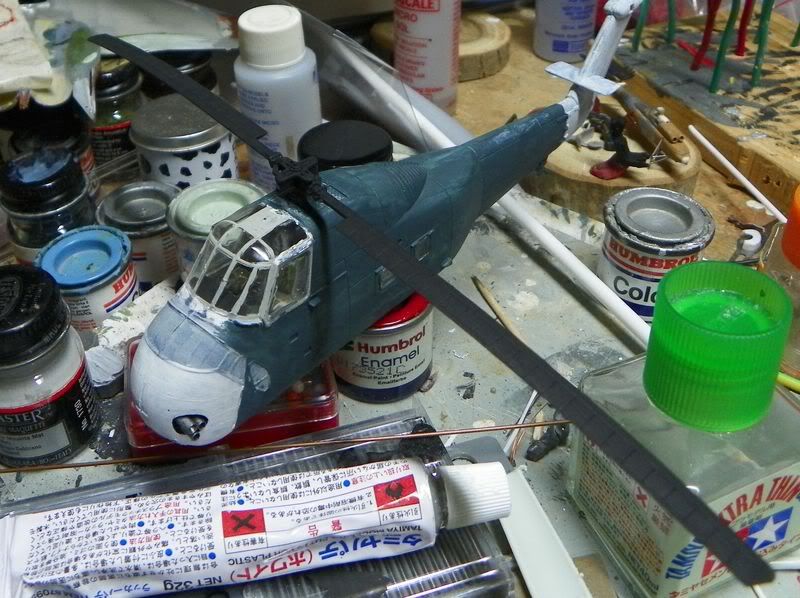
i painted part of the gray triyng to not invade the white areas, rotor was glued and painted two days after the kit comes, but sleeping in the gannet garage i probably put it accidentaly on the rotor (and the gannet have a good weight really Bang Head )

so on the gannet i found lots of pieces is again on the sprues (whitout counting scratched pieces the kit comes with 115 pieces) 

the arrestinng hook comes already broken in the middle (not my fault this time), a piece of plastic rod replaced the central pieces
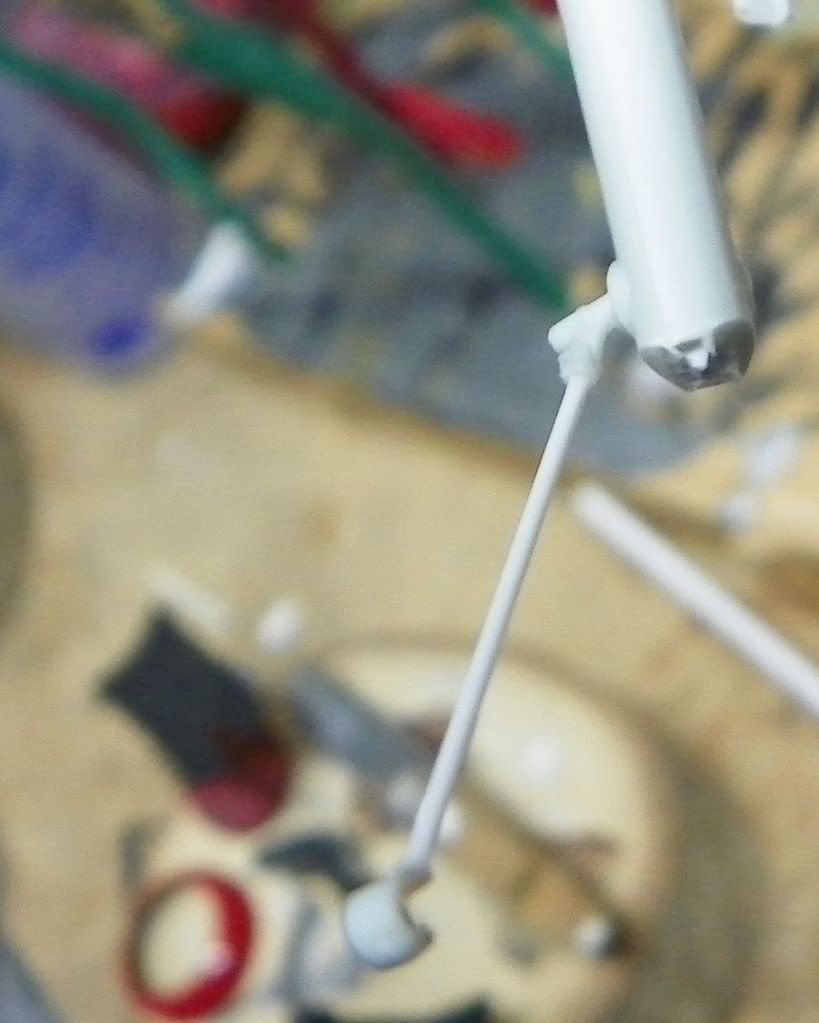
on the main gear doors i drilled a recess as present on the real 
parts of remaining pieces passed with black ,these pieces will be in alluminium, lots of pictures says that these pieces and the wells will be in the same light sky as the bottom of the planes but lots of others says these inner parts in alluminum . Unfortunately i don't found specific pictures of the "UA 106" i chosen
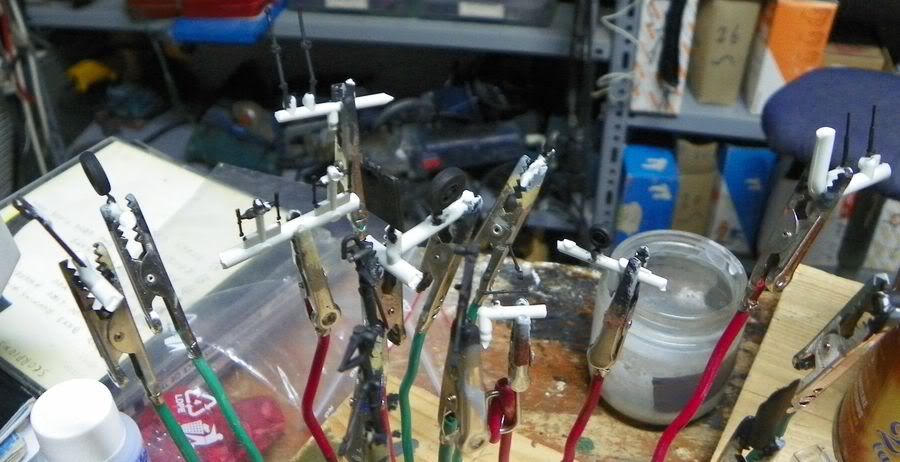
then started the last scratch out of engines zones (at least if don't break more finished pieces Whistling )

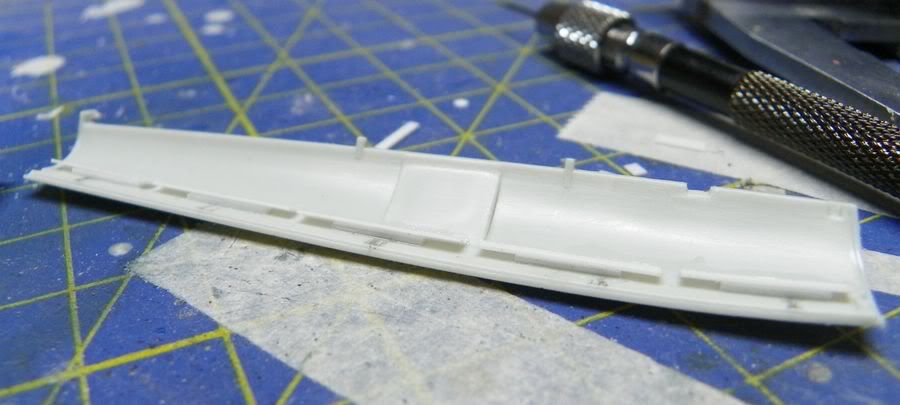
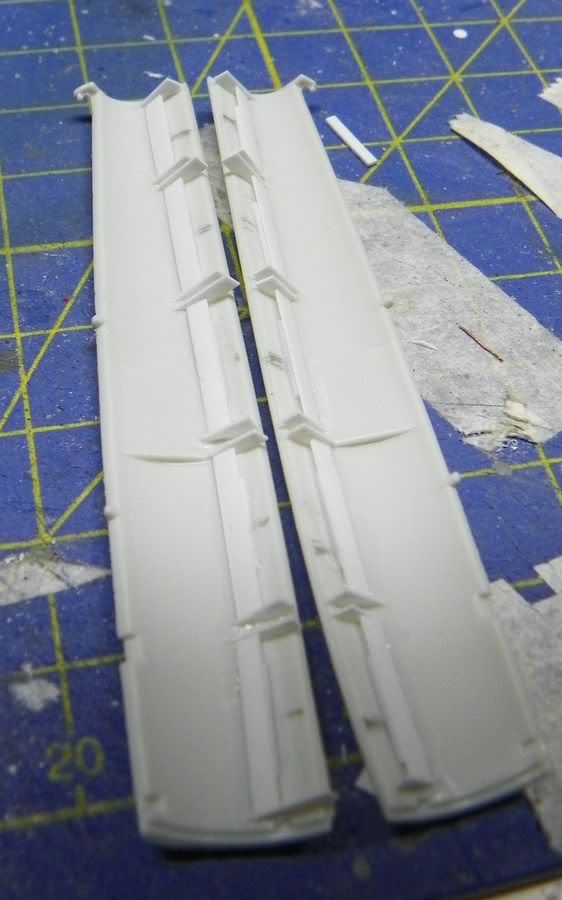
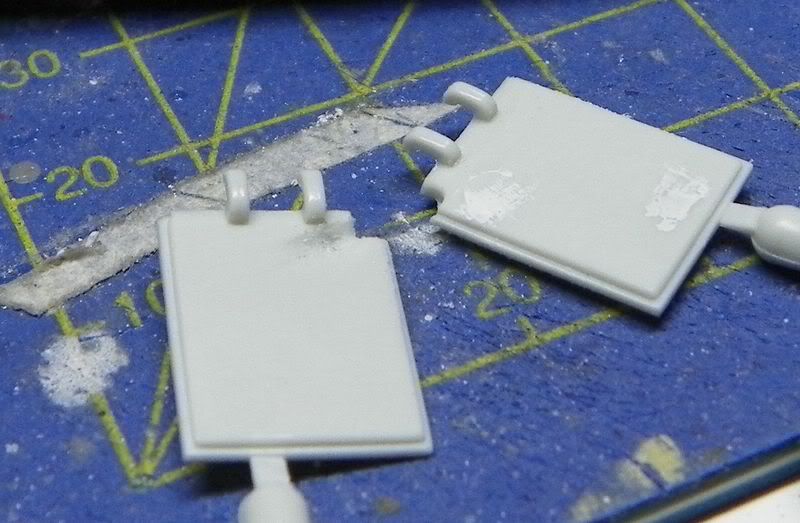
the weapons bay doors;:

after consulting lots of referecnces and seen pictures of aftermarket kits i planned so:

both doors have a sort of structural box, 5 per dors located at the center of bay when closed, probably to secure the torpedos during flight
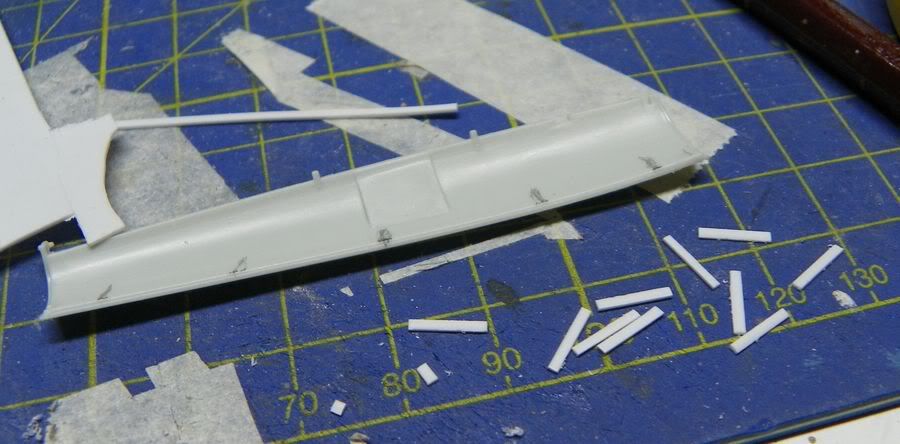
these pieces was cutted from styrene sheets, without usinsìng ready profilates, before to cut the first ten pieces i shapen one of sides to obtain an upper anle when glued
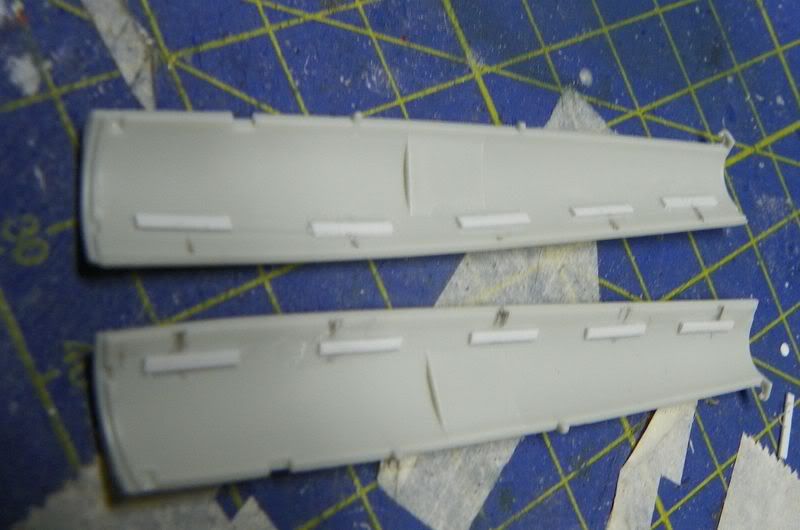
then larger pieces (10+10)
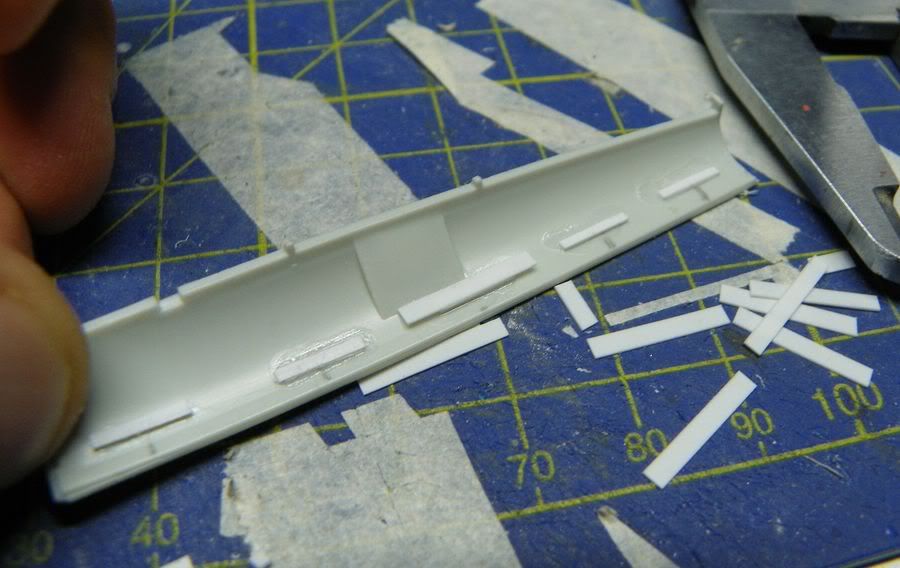
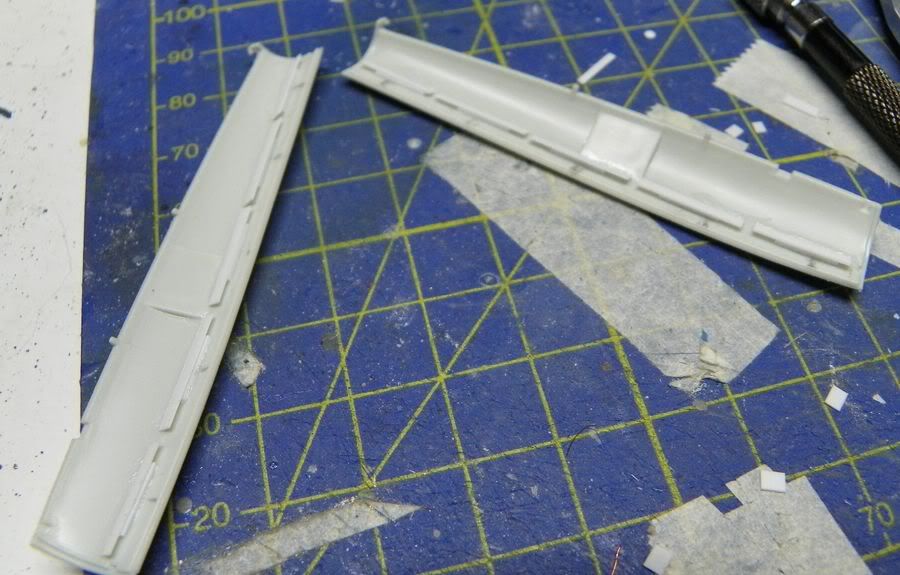
then the lateral walls to close these boxes, only a side left opened as the real
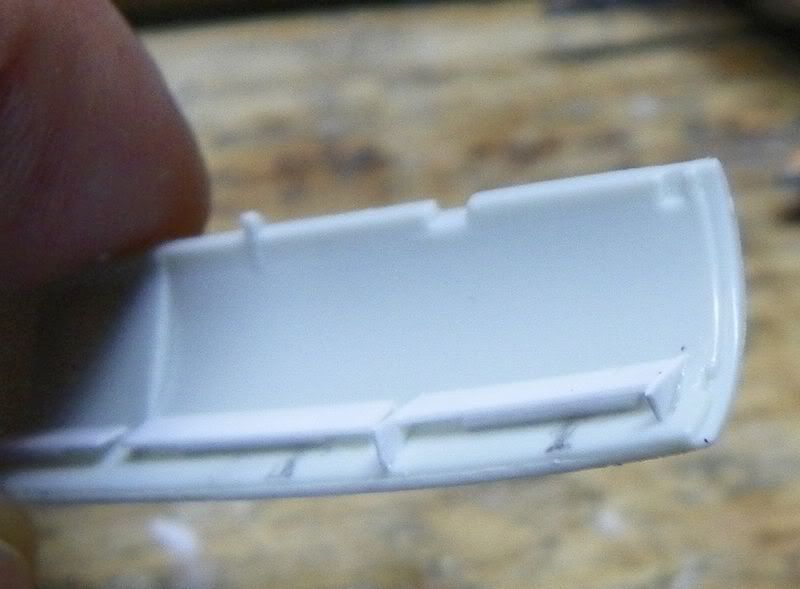
not see in pictures cables for the doors, only the actuators and the hinges from the kit need to be added, then just waiting the glue perfect dry and i'll refine the pieces with a new x-acto blade .

So other 40 pieces was added Tongue Tied really tedious this part but the result pay this spended time Toast


  • Member since
    October 2008
  • From: italy
Posted by bsyamato on Friday, October 7, 2011 8:08 PM

De havilland hope you get soon the decals .. but you can see the delivery  tracking of tracker decals  ? Whistling

after this i can change work..

long night on the gannet and on aother plane, same day for decals and ,this time, same night for panel lining :

i used a light brown/earth this time instead of black

2 or 3 steps was needed before an acceptable looking lines.

After final excess cleaning

same process on flining surfaces and.. Bang Head one of flaps hit the ground and one of retraction compass was lost!!!! (lesson learned :ALL the little fragile pieces must be glued only when i'm sure about their safety Black Eye )

Also workin on the seabat, just done the white under the reds paint zones, but no pics.

that's all for the night, leaving at least a whole day for perfect dry will work on others pieces.


  • Member since
    October 2008
  • From: italy
Posted by bsyamato on Wednesday, October 5, 2011 8:30 AM

Bow Down tanx for comments guys it's time to finish this little one wishing me too to see it finish Beer (and check if are a tail sitting ..)

and need to see some more wips here Toast

  • Member since
    September 2008
  • From: Ancaster, Ontario
Posted by maxfax on Wednesday, October 5, 2011 7:54 AM

Bsyamato:  That's a great result so far! I just have to get my butt in gear....

On the bench:  Revell 1/72 HCMS Snowberry


JOIN OUR COMMUNITY!

Our community is FREE to join. To participate you must either login or register for an account.

SEARCH FORUMS
FREE NEWSLETTER
By signing up you may also receive reader surveys and occasional special offers. We do not sell, rent or trade our email lists. View our Privacy Policy.