SEARCH FINESCALE.COM

Enter keywords or a search phrase below:

Made In USSR GB

61748 views
430 replies
1 rating 2 rating 3 rating 4 rating 5 rating
  • Member since
    October 2008
  • From: italy
Posted by bsyamato on Saturday, February 2, 2013 4:37 AM

Wow, excellent tanks Waynec!

Dre
  • Member since
    June 2007
  • From: here, not over there
Posted by Dre on Monday, January 28, 2013 2:20 PM

Those new ones look much, much better although a couple look to be in danger of sliding off.

I'm terrible at making these things myself...

  • Member since
    April 2006
  • From: Denver, Colorado
Posted by waynec on Monday, January 28, 2013 1:26 PM
i didn't really like them either. halved the size of the sandbags. here are some closeups and 2 new glamor shots.

Никто не Забыт    (No one is Forgotten)
Ничто не Забыто  (Nothing is Forgotten)


Dre
  • Member since
    June 2007
  • From: here, not over there
Posted by Dre on Monday, January 28, 2013 8:42 AM

That's right sharp, Wayne.   Beat up, grungy and ready for more- just the way armor ought to be.

I'll agree that a re-do on the sandbags may be in order- they do look a little funky.

Keep trying and I'm certain that you'll get them sorted out in time.

I watched a video the other day of a Syrian tank getting brewed up...  not very pretty.

  • Member since
    April 2006
  • From: Denver, Colorado
Posted by waynec on Sunday, January 27, 2013 10:29 PM
another russian. this is an tamiya older kit. it is built as a syrian tank, golan heights OCT73. the syrians put sandbags over the fender mounted external fuel tanks. the rear brackets are for external fuel drums for extended operations, something not necessary in the syrian plans for northern israel. this is probably the most beat up, weathered vehicle i have done. it's dinged up with engine gray and metallic gray, washed with MMA black wash, and powder weathered on top of that. i may redo the sandbags. they look a little big but i used the tamiya plastic ones as a template. they are made of modeling clay, roughed up with a toothbrush and painted IDF khaki (irony). they were held on with wire but i haven't found any mesh the right size.

Никто не Забыт    (No one is Forgotten)
Ничто не Забыто  (Nothing is Forgotten)


  • Member since
    October 2008
  • From: italy
Posted by bsyamato on Tuesday, November 27, 2012 4:15 AM

fortunately the mess about the additional hole is not visible when all is close :D

Dre
  • Member since
    June 2007
  • From: here, not over there
Posted by Dre on Monday, November 26, 2012 11:44 AM

I wish I had mentioned it sooner so you wouldn't have had to fix it after the fact... glad you got it fixed though.

  • Member since
    October 2008
  • From: italy
Posted by bsyamato on Monday, November 26, 2012 11:38 AM

the huge beast!!!!!

Dre you're right Embarrassed the Mig was need a weight on the nose.. even instructions shows; as i totally scratchbuild the cockpit i totally forget to check about ...

I resolved aniway, i make an hole on the back on the front fuselage ang inserted two long lead pieces and filled with PVA glue and fixed the problem Toast

Thanx for the advice in time!

Dre
  • Member since
    June 2007
  • From: here, not over there
Posted by Dre on Monday, November 26, 2012 9:04 AM

It occurred to me that this model belongs to this GB, not the others where I've been showing it.

This is almost finished-just a few more decals and the breakables to go before I load the missiles.

  • Member since
    October 2008
  • From: italy
Posted by bsyamato on Saturday, November 24, 2012 6:26 AM

Dre

I hope that doesn't need nose weight!   Fantastic work as usual, Bsyamato.

...... totally forget to check for a needed weight!!!

Dre
  • Member since
    June 2007
  • From: here, not over there
Posted by Dre on Tuesday, November 20, 2012 1:28 PM

I hope that doesn't need nose weight!   Fantastic work as usual, Bsyamato.

  • Member since
    October 2008
  • From: italy
Posted by bsyamato on Tuesday, November 20, 2012 12:58 PM

Few works on russian these days ,just glued the front section and lots of sanding, also put in some plastic costrainer to avoid fuselage jokes

a mummy

At the next Toast

Dre
  • Member since
    June 2007
  • From: here, not over there
Posted by Dre on Monday, November 19, 2012 11:33 AM

Looking better, Wayne.   That wash adds some pop around the details.  I know I never have gotten the hang of weathering armor- it's something that only experience can master and I hate messing up a perfectly good paint job.

  • Member since
    April 2006
  • From: Denver, Colorado
Posted by waynec on Sunday, November 18, 2012 6:25 PM
MMA has a couple of washes that are new so i tried the brown dirt one. here are the results. many times it takes a camera or a new eye to point out suggestions for improvement. that and getting away from it because you are tired and want to start something new and think it looks good enough.

Никто не Забыт    (No one is Forgotten)
Ничто не Забыто  (Nothing is Forgotten)


  • Member since
    April 2005
  • From: Australia
Posted by taxtp on Thursday, November 15, 2012 9:09 PM

I agree with the comments on the good looking SU 100.

I might put in a 1/72 Hasegawa Su 33 for this GB please.

Thanks

Tony

I'm just taking it one GB at a time.

  • Member since
    April 2006
  • From: Denver, Colorado
Posted by waynec on Thursday, November 15, 2012 4:12 PM
thanks all. the base is generic, primarily for photographing warwheels. it is actually too narrow for modern tanks and my 8x8 CENTAURO. so that's why it doesn't "fit" better and there are no track marks. try this. i used the new MMA dirt wash, water, q-tips and paint brushes.

Никто не Забыт    (No one is Forgotten)
Ничто не Забыто  (Nothing is Forgotten)


  • Member since
    October 2008
  • From: italy
Posted by bsyamato on Thursday, November 15, 2012 5:31 AM

good Su-100 Wayne Yes

Last night tryied to finish the mig-31 cockpit to finalli glue some piece but some more work needed.. also painted moredetails on the ejection seats 

on the Su-34 only some more paint on seats Sad will receive more works tonight

At the next

Dre
  • Member since
    June 2007
  • From: here, not over there
Posted by Dre on Wednesday, November 14, 2012 5:19 PM

That looks pretty good Wayne.   I'd add a dark pin wash to the details and then a greyish dry pigment to tie it with the base.  Those SU-100's are a neat machine that look like they mean a world of hurt.

  • Member since
    April 2006
  • From: Denver, Colorado
Posted by waynec on Wednesday, November 14, 2012 4:45 PM
this is the reissued tamiya SU-100 with weathering powders. it is an old mold, motorized but went together well. it represents the post ww2 export model. only problem was with the seam on the ends of the external fuel tanks. very difficult to clean up and hide. ended up with some grinding followed by mr surfacer and white glue. still rough but passable. tracks are pinned down at 3rd road wheel. arab numbers are hand painted and, while they may look a bit rough, most of the pictures i have seen aren't any better. added some tubing for exhaust pipes and cut some of the solid hand rails away and replaced with wire. generic base. painted in MMA armor sand which is my egypt color. NOTE: british gulf war sand is my syrian color. weatherd with powders. have to put the green camo on my syrian T-62 and it will be close to finished. than i can get back to some warwheels.

Никто не Забыт    (No one is Forgotten)
Ничто не Забыто  (Nothing is Forgotten)


  • Member since
    October 2008
  • From: italy
Posted by bsyamato on Monday, November 12, 2012 4:55 PM

little progress, a dark brown washing on both cockpits before to continue details painting 

  • Member since
    October 2008
  • From: italy
Posted by bsyamato on Wednesday, November 7, 2012 5:44 AM

Here more work on the su-34

Two layers of black humbol

first step of paint on the instruments and cockpit details

worked hard on the foxhound too

A green tone on the inner canopies, from pictures seems to be an isolation mateterial Surprise

a snake!

started to paint cockpit details, lots of work again to do

Last picture withouth flash, trying to show the real color

at the next!

  • Member since
    October 2008
  • From: italy
Posted by bsyamato on Saturday, November 3, 2012 7:18 PM

few updates on the 34.. i returned slow Dead

Added some roughness to the walls with cigarettes box inner paper 

Used one of xtracolor dedicate lanker colors for the cockpit ; the x603 blue gray, the picture have an unreal green tone , dunno why .. in reality no green tone is visible ,just a ligh blue grey

imperfection on the canopy will be removed before to close all Embarrassed

On the mig-31 i worked to add inner frames to the canopies, now left just to add curtains on the rear one, but after the paint

At the next

  • Member since
    October 2008
  • From: italy
Posted by bsyamato on Sunday, October 28, 2012 6:13 PM

more about the su-34:

Draw ,sanded and added inner frames structures 

  • Member since
    October 2008
  • From: italy
Posted by bsyamato on Sunday, October 28, 2012 2:25 PM

here more about the 31, the walls in upper fuselage detailed ,primed and added rudder pedals (i forget!!) 

Cloches are from the kit just refined

The su-34 too!!

Primed and dded the original cloches refined and added three buttons on both

Macro picture are really usefull to find incorrections that is hard to see with eyes Embarrassed

now workin on the canopy to add inner structures, pictures to follow 

  • Member since
    October 2008
  • From: italy
Posted by bsyamato on Friday, October 26, 2012 5:44 AM

Thanx friends Bow Down i really enjoy to scratch cockpits :D

Yesterday put on the mig-31 the original cloches and primed both cockpits but no pics

  • Member since
    July 2004
  • From: Sonora Desert
Posted by stikpusher on Monday, October 22, 2012 2:50 PM

BSY, you are a Maestro with plastic!!!


F is for FIRE, That burns down the whole town!

U is for URANIUM... BOMBS!

N is for NO SURVIVORS...

       - Plankton

LSM


Dre
  • Member since
    June 2007
  • From: here, not over there
Posted by Dre on Sunday, October 21, 2012 10:05 PM

That's still awesome scratchbuilding, Bsyamato.

  • Member since
    October 2008
  • From: italy
Posted by bsyamato on Sunday, October 21, 2012 6:01 PM

Some update on the foxhound, added more instruments and lateral walls on the front cockpit

On the Su-34 added rudder pedals

at the next

  • Member since
    October 2008
  • From: italy
Posted by bsyamato on Friday, October 19, 2012 7:32 PM

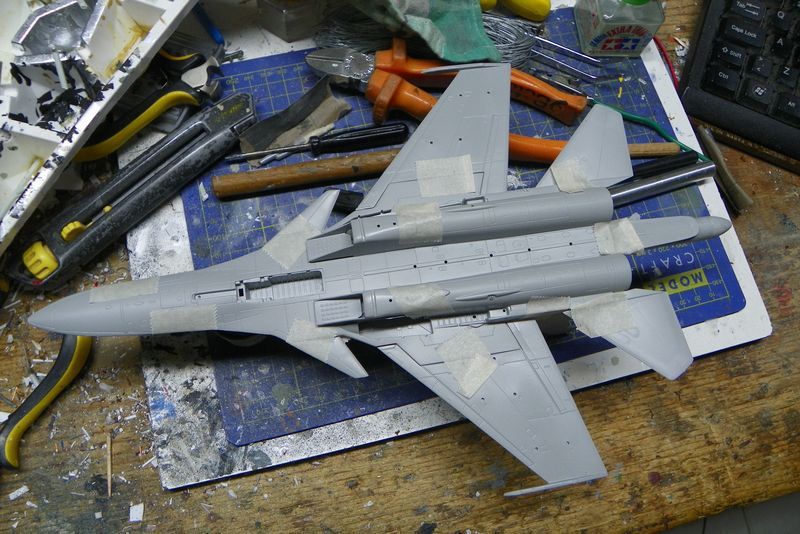
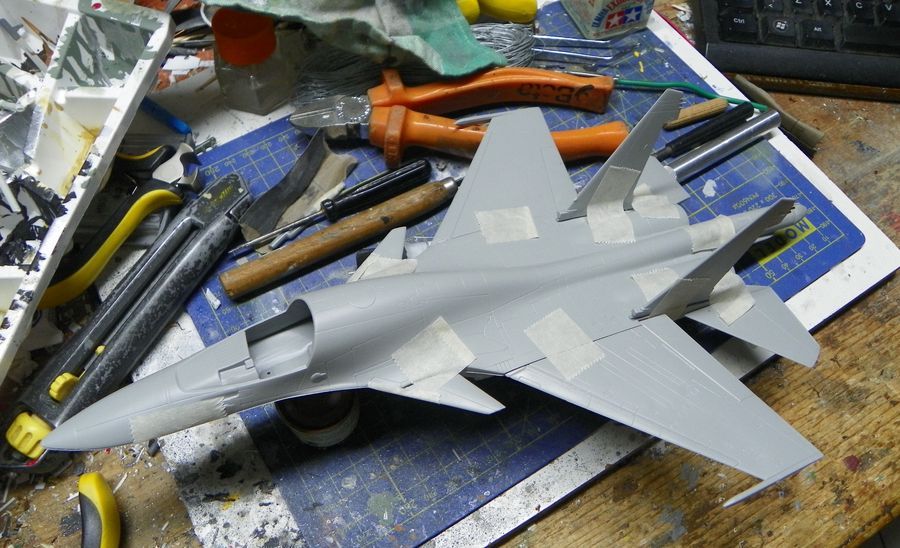
Introducing in the GB the su-34!

A little summary of the previous updates:

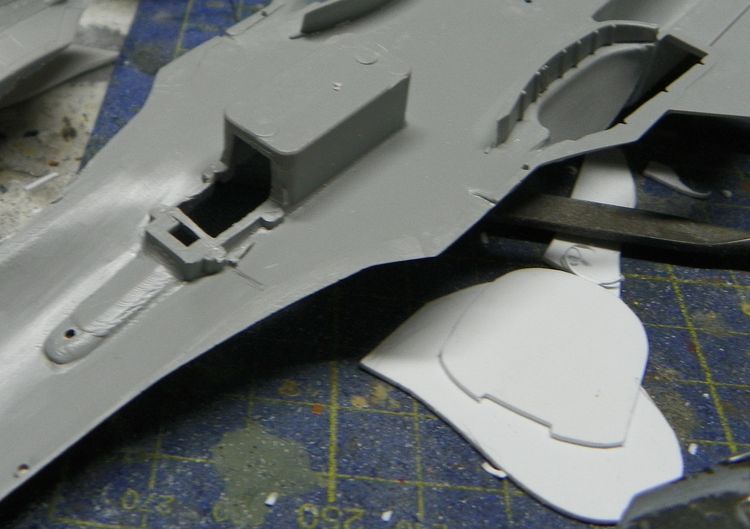
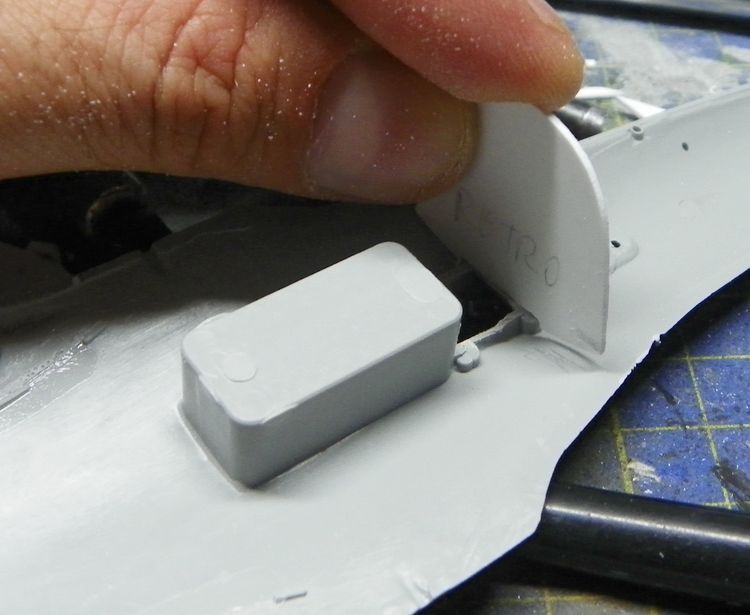
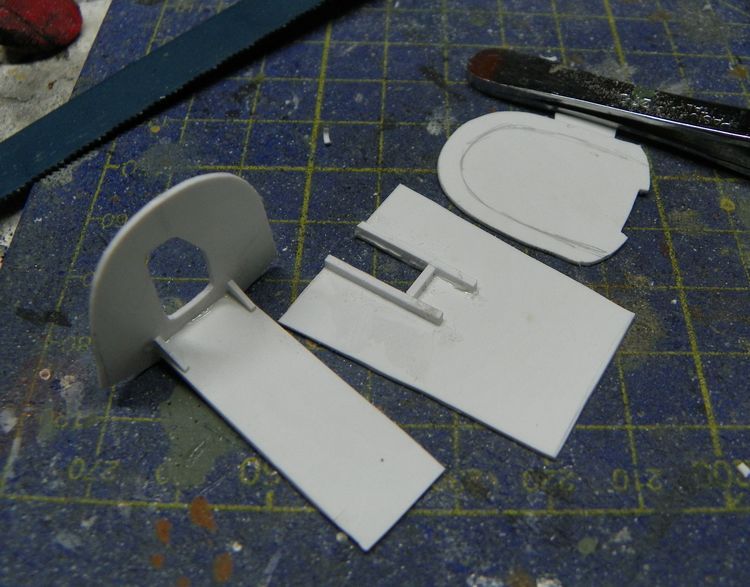
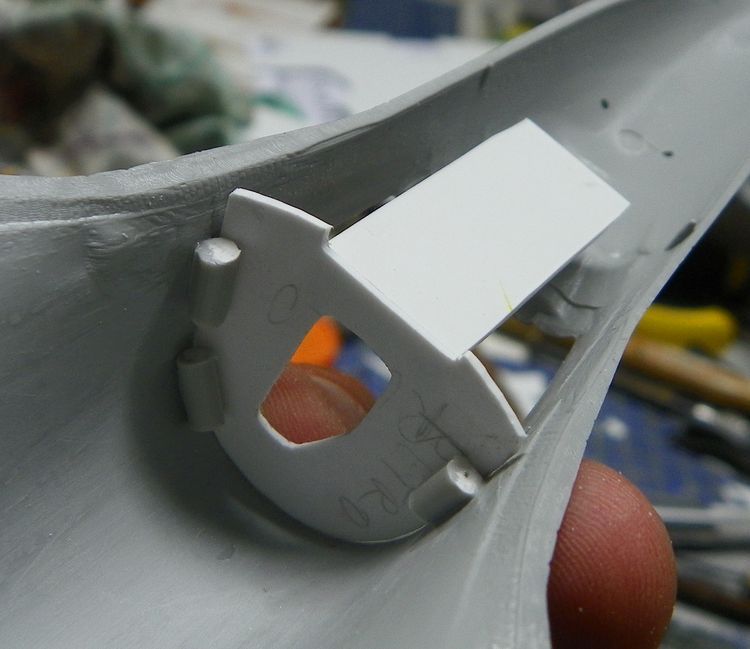
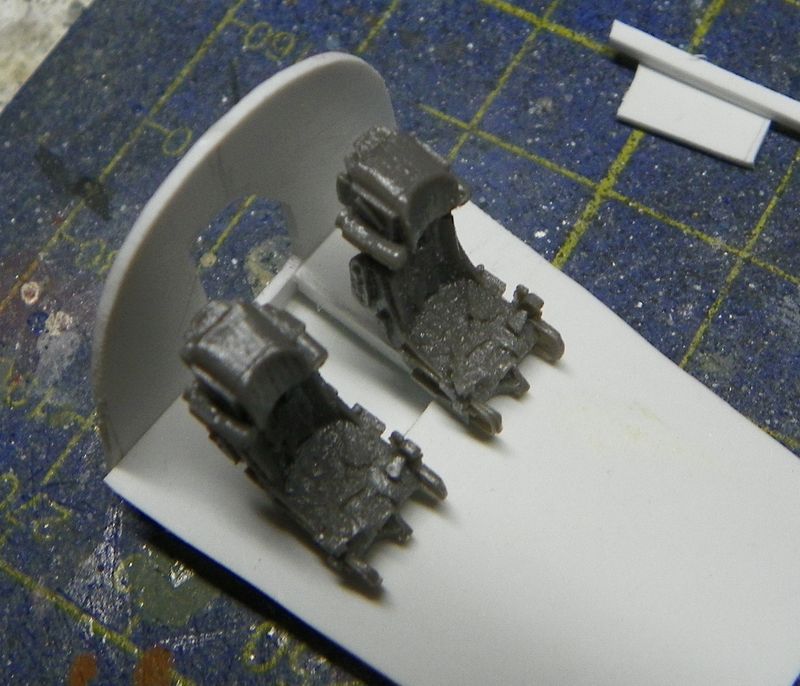
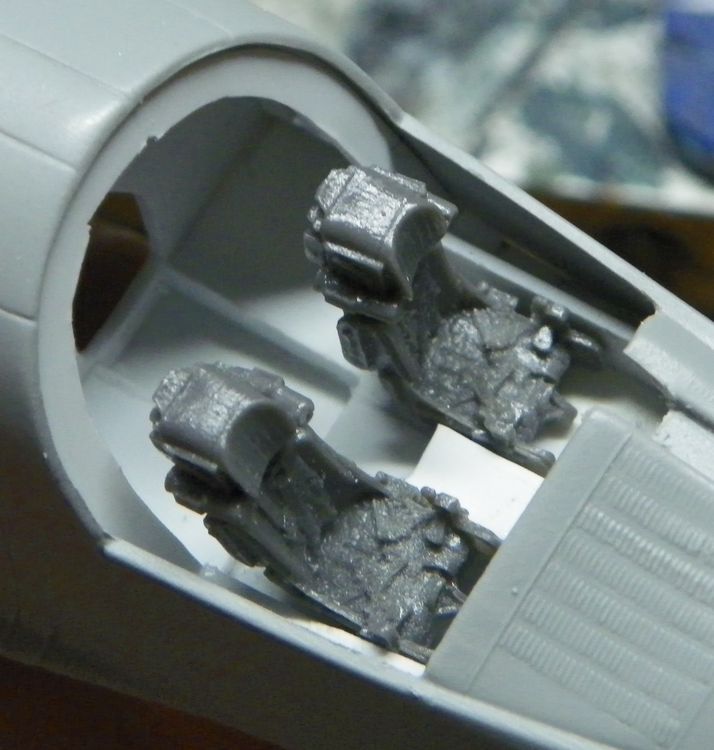
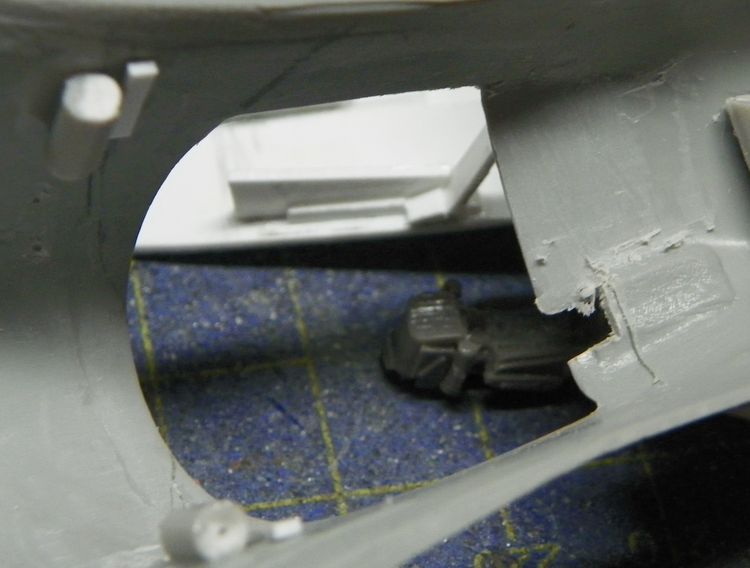
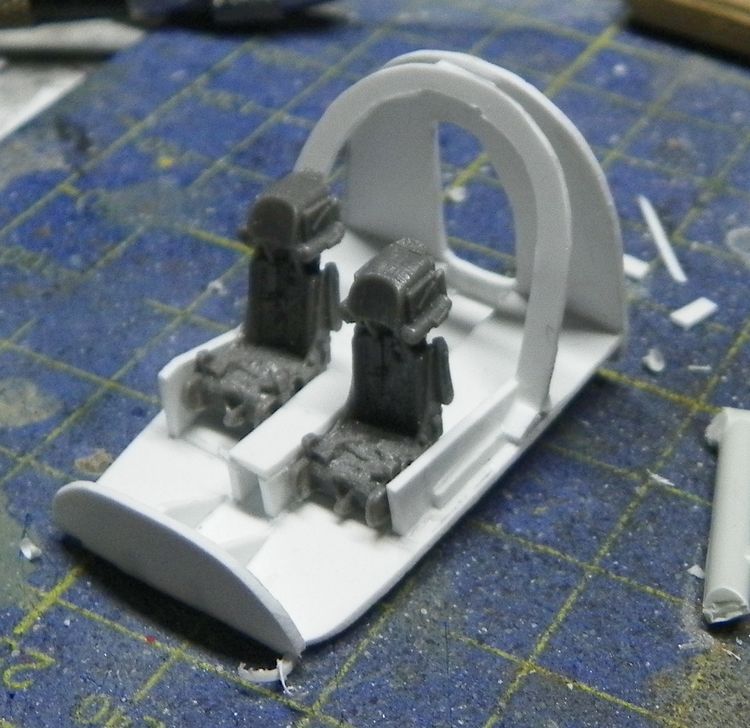
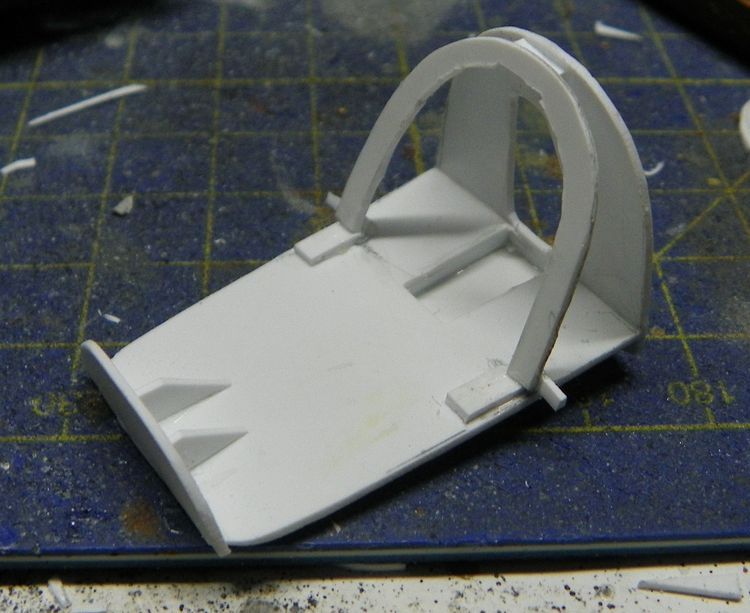
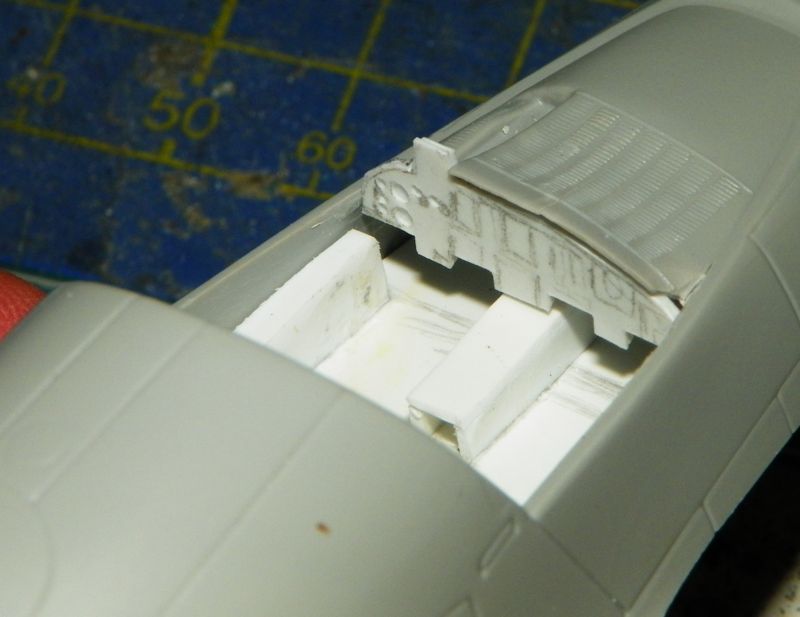
On the kit will completely scratchbuild the cockpit except ejection seats as on the mig-31 and other detail works again to define .

test fitting
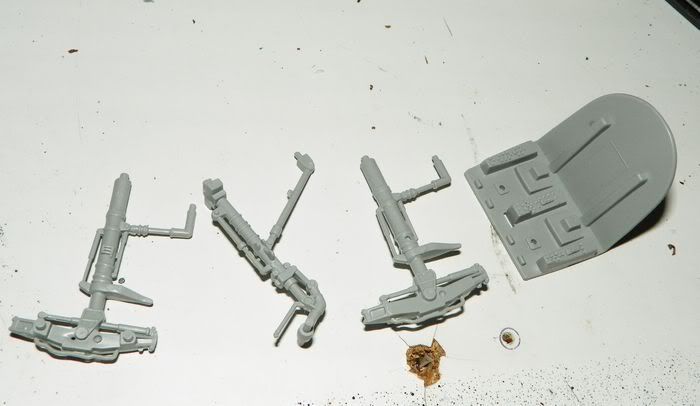
original cockpit and gears
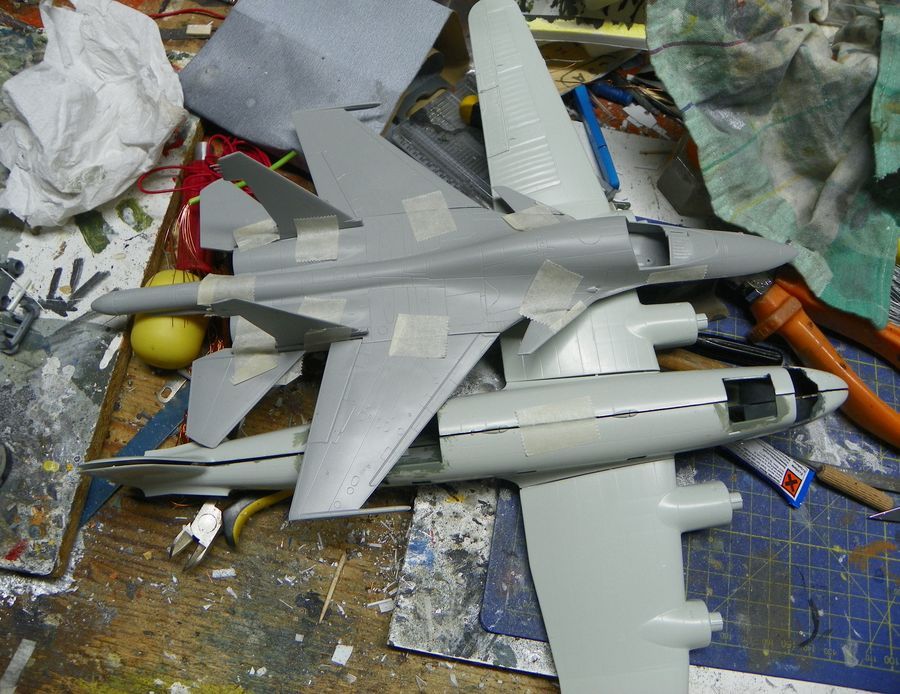
a little comparing with the four engine condor in the same scale!!
And start to build the cockpit block with evergreen sheets
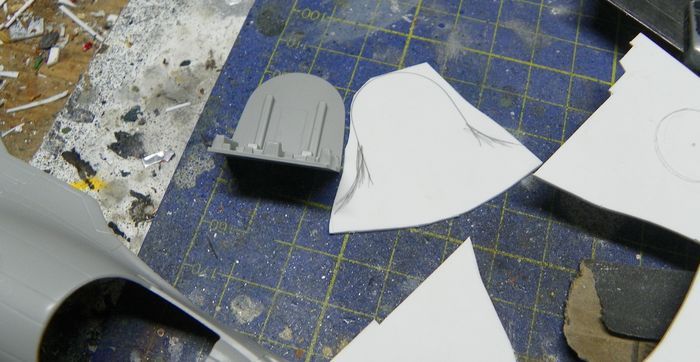
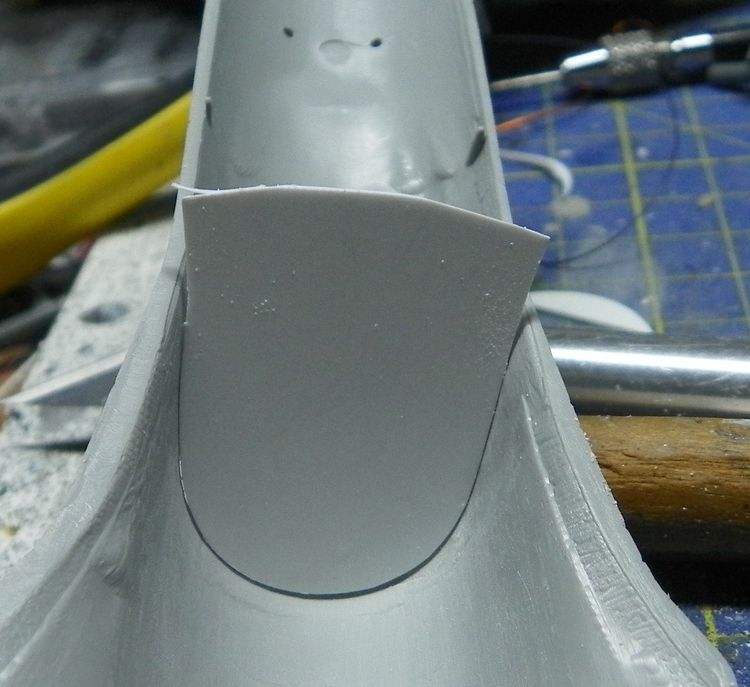
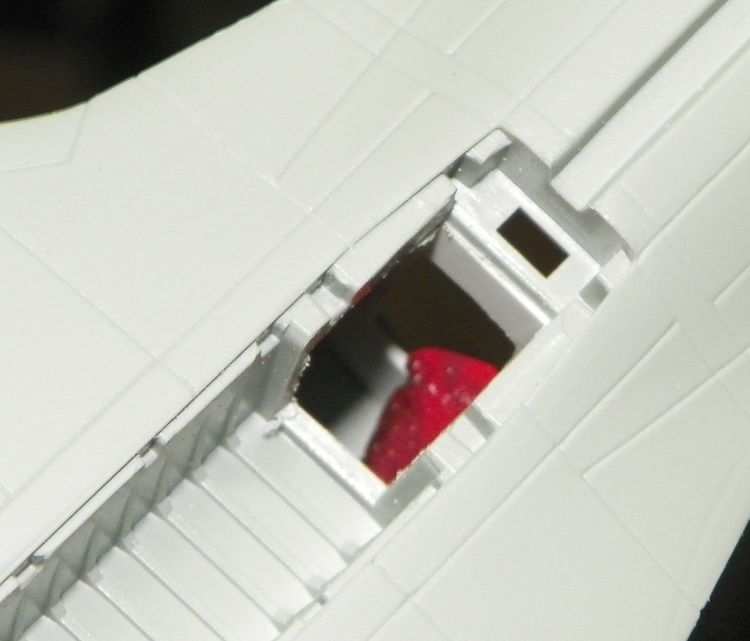
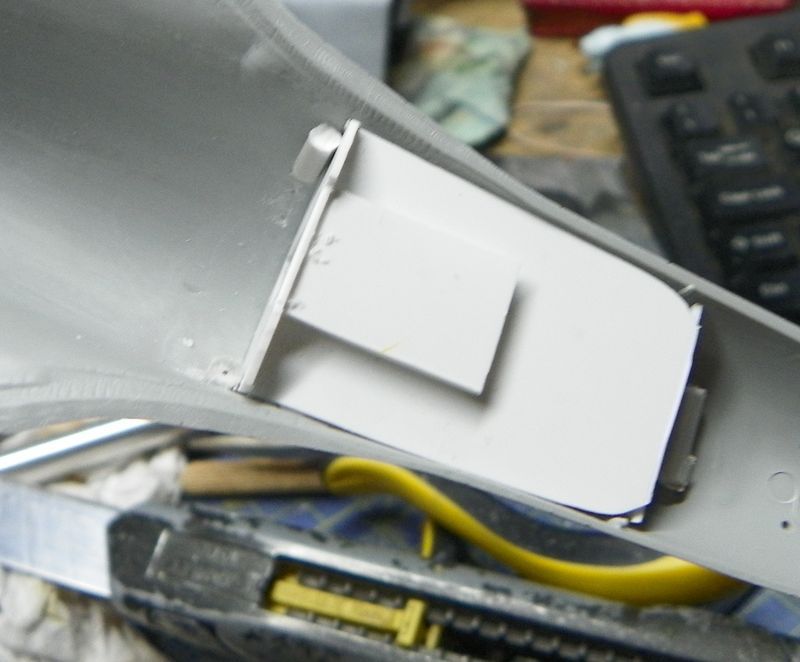
also the pilots access ladder from the front well will be scratchbuilded (at least i try so Embarrassed ) the hole done 

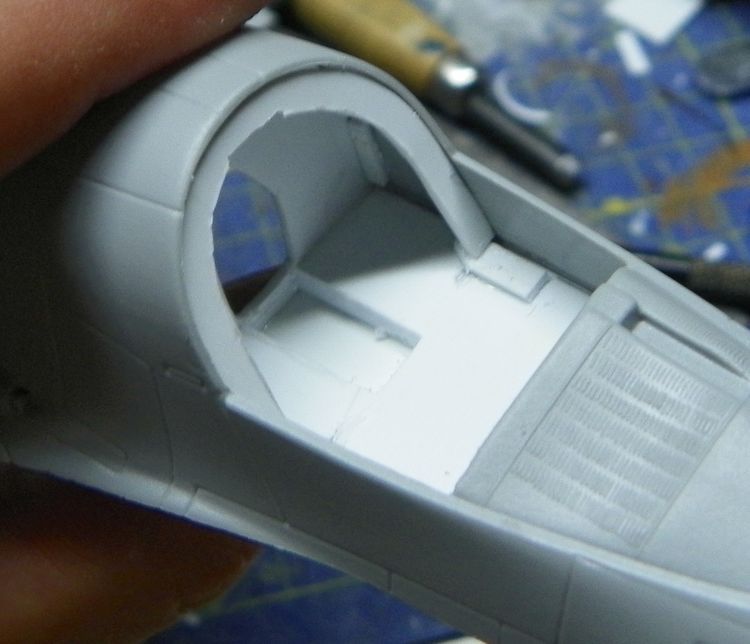
And the various steps to build the cockpit block
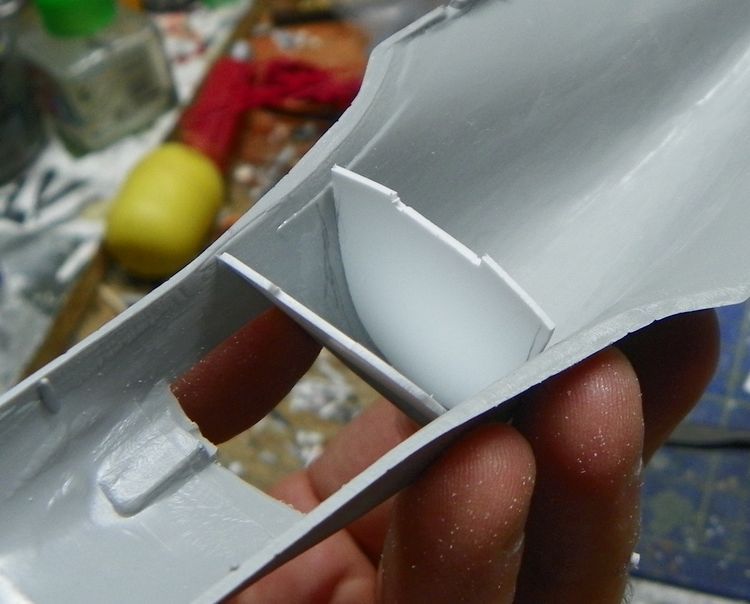
the door hole
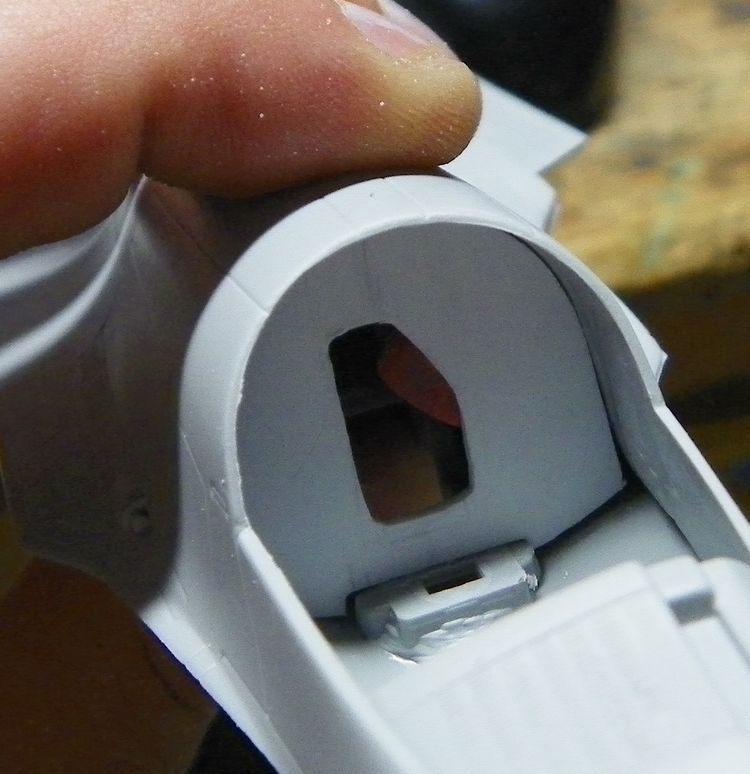
so .. these was the works before tonight, here the real update:

Some bending and break on the ip cover was performed Embarrassed too low the eightness of it, also the crude ip on it
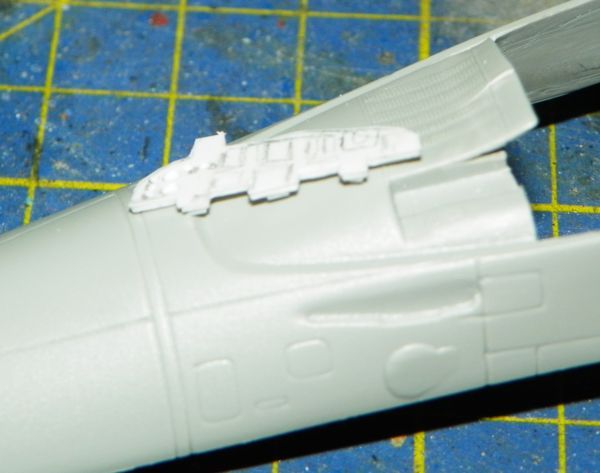
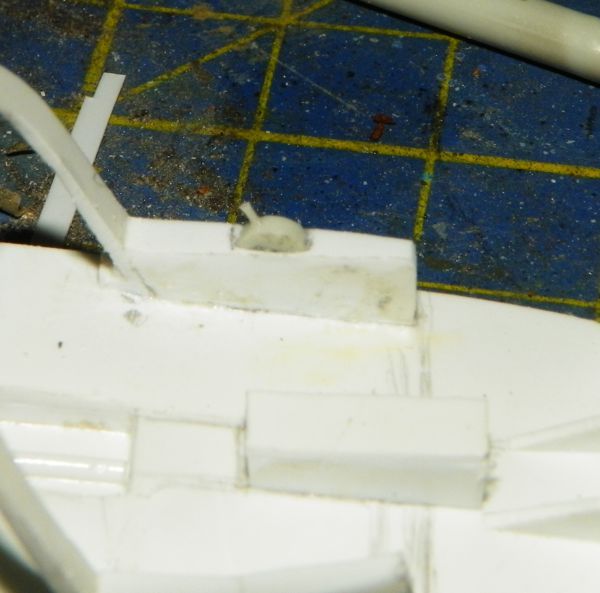
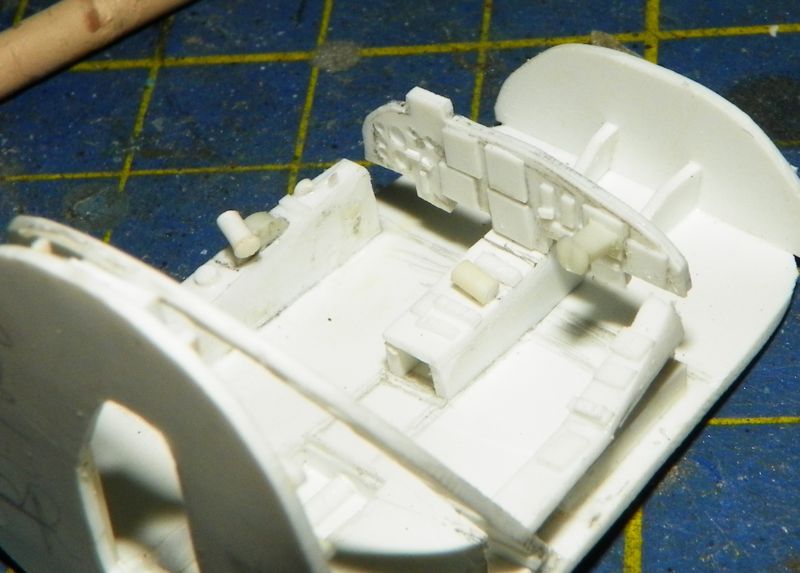
Added more details on the cockpit
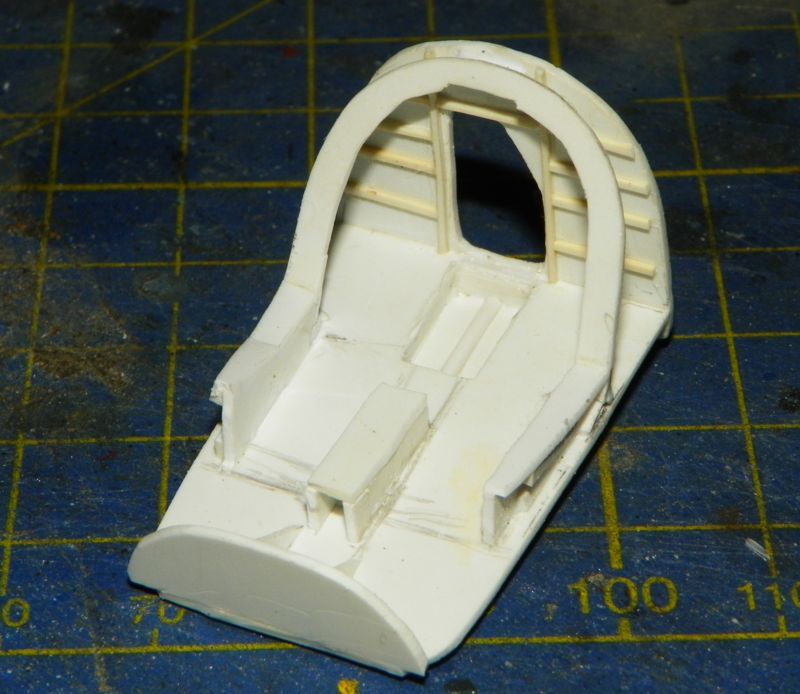
lots of test fits i did Surprise

throttle housing

and after gluing pieces on pieces the actual state
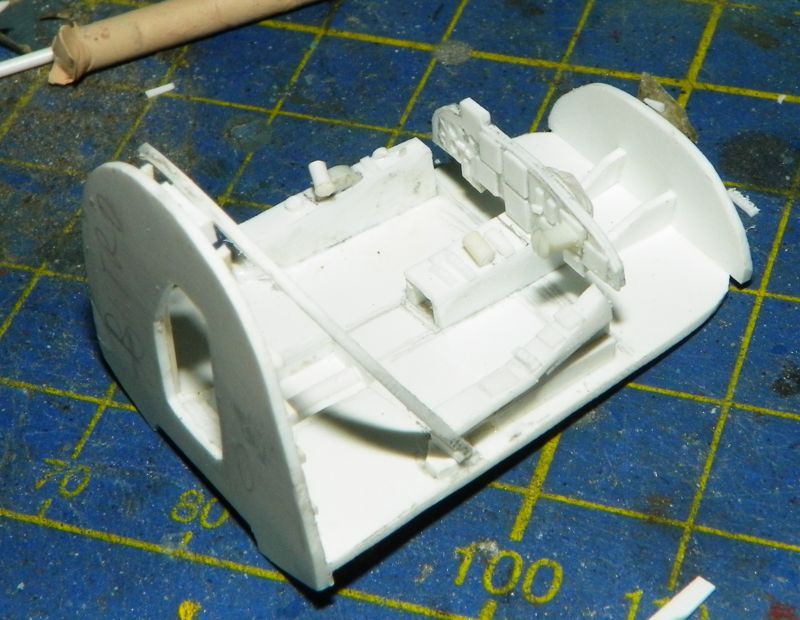
At the next Propeller

Tags: su-34
JOIN OUR COMMUNITY!

Our community is FREE to join. To participate you must either login or register for an account.

SEARCH FORUMS
FREE NEWSLETTER
By signing up you may also receive reader surveys and occasional special offers. We do not sell, rent or trade our email lists. View our Privacy Policy.