TIGERMAN, ANDY - Looks like Jord gave y'all some nice close ups of the waffel pattern. He is also right, the kit gives you the parts for either thee 7.5 or the 10.5 version. Yes, one could just change the barrels to build either variant. The main gun was the big noticable difference on the real STUG / STUH. Here's a look at the two barrels that come with the kit.
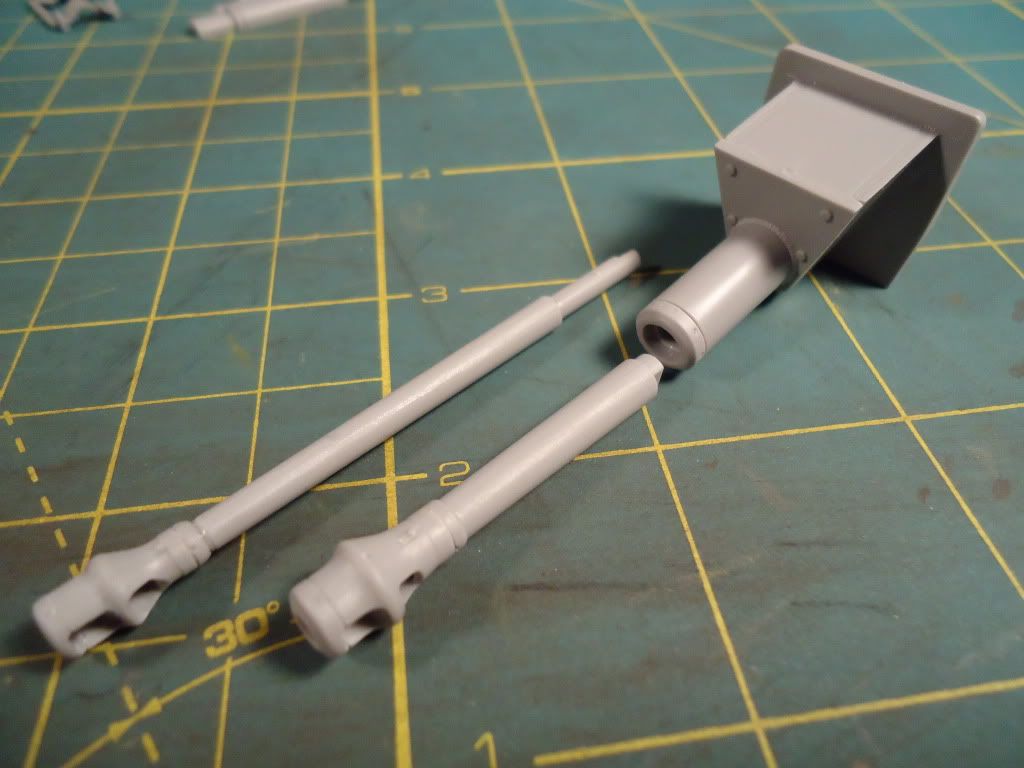
There was 1212 Sturmhaubitze mit 10.5cm 42 Ausf G's produced. Early production vehicles were based on Stug F and F/8 chassis but from 1943 onwards they were all built on Ausf G chassis. The primary role of the STUH 42 was to support STUG III's and infantry.
JORD - Looks as if I'm at about the same point as you for my build. I too have and agree with Carl about how to fill those seams. Inside should be rather easy with a bit of putty and sanding. I think may try a little CA glue for the outside seams. It will be trail and error possibly? Look forward to more of your build.
BRIAN - Brave man with those PE fenders! They are coming along beautifully! Your interior looks really good to me. I like the color used for the red primer, what paint did you use? I will be using your same color layout for mine. Hope to have my interior togther tonight. Will be looking for some interior pictures for references as I plan on making a complete interior (wireing, ammo racks, etc., ?). If all works out right, plan on making this build having a convertable top in order to be able to show the interior.
BEN - You sneaky little  ! Love this vehicle and had also purchased it to possibly put into the GB. Very happy too see you build her and the progress is looking great so far! Will be using the wire for the periscope for mine now. Thanks for showing that! You have made light work of this build and I am looking forward to the paint. There were 12 of these vehicles produced and all were sent and lost at Stalingrad. All the photoes I've seen they were all PZ Gray some being white washed. Did see one picture of one with a gray base with some short squigley lines painted onto the gray. It was a black and white photo so could not tell what color the lines were but they were a light color. That one photo is the only variation in color that I have seen. Will see if can find the picture again.
CARL - As always, very nice work! The small scratch pieces will really make the end result outstanding. I remember having many small problems when building my "K", you are making it look easy. Look forward to more. Believe my next build will be a "K" on a railway car.
Spent last night and this morning putting my spraybooth back togther after my move. Today finally had some real time to work on my build. Skiped around a bit and started building the different assemblies. Tonight plan on working on the interior. After that will refocuse on the lower hull and paint the hull, wheels and then put on the tracks before attaching the rest of the pieces. Then will fine tune the interior. Thats the game plan. Here is my progress so far.
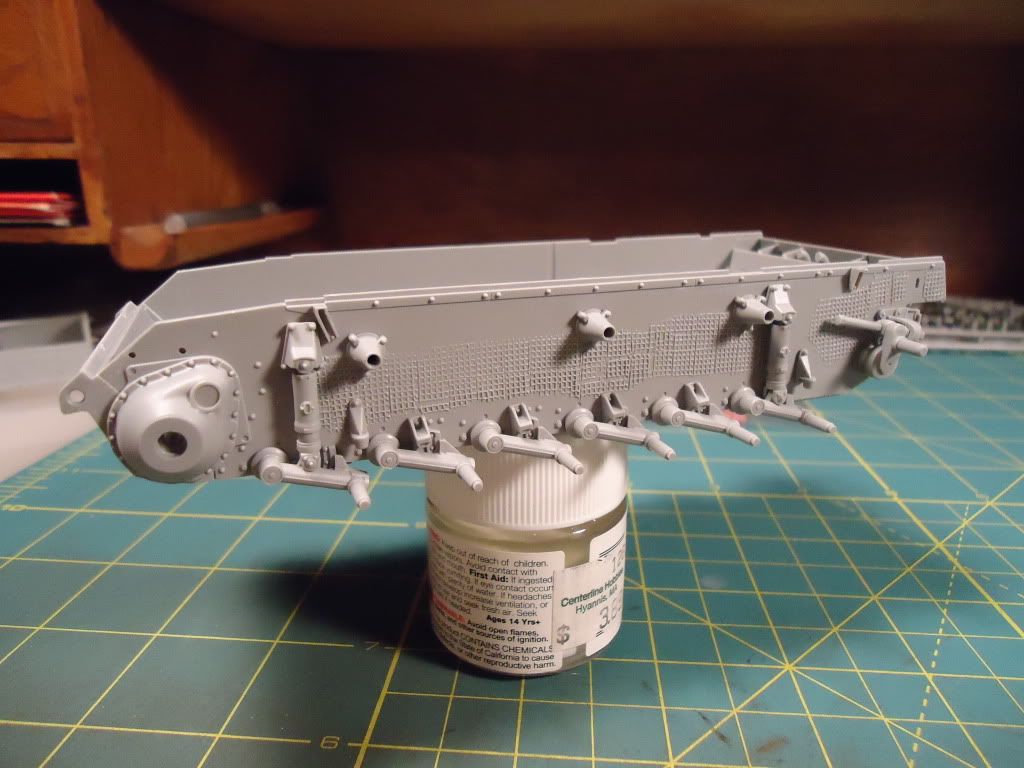
Happy with the zim but did have to shave some off to have the front struts glue down flat.
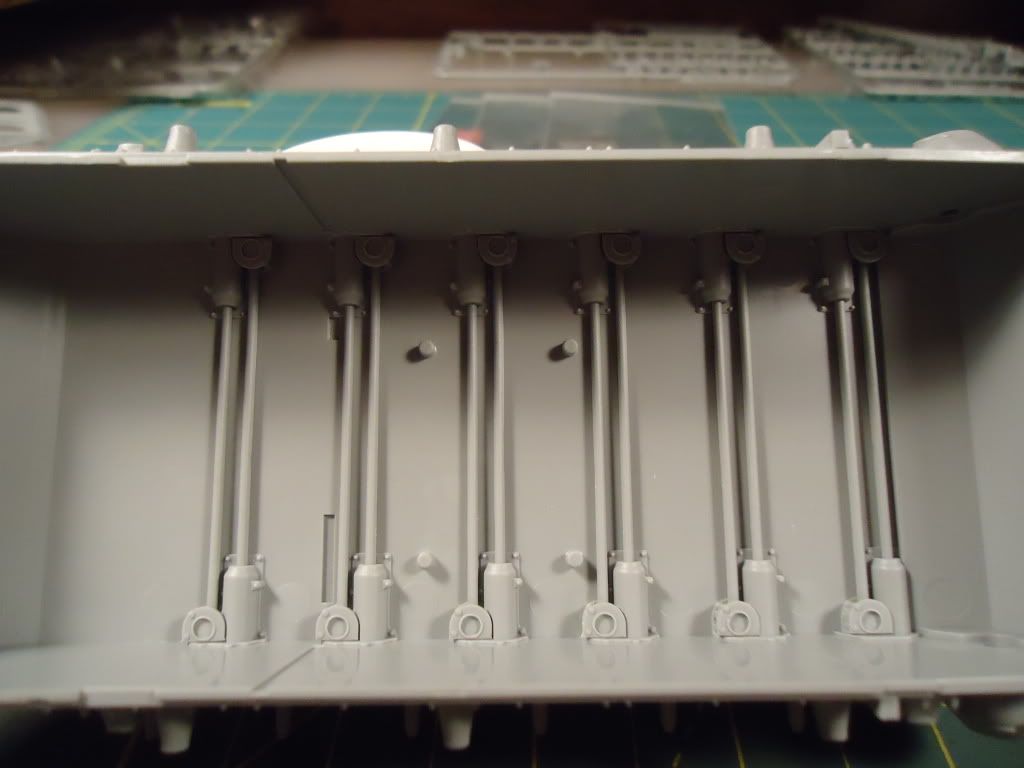
Torrsion bars were a little fidley but enjoyed building.
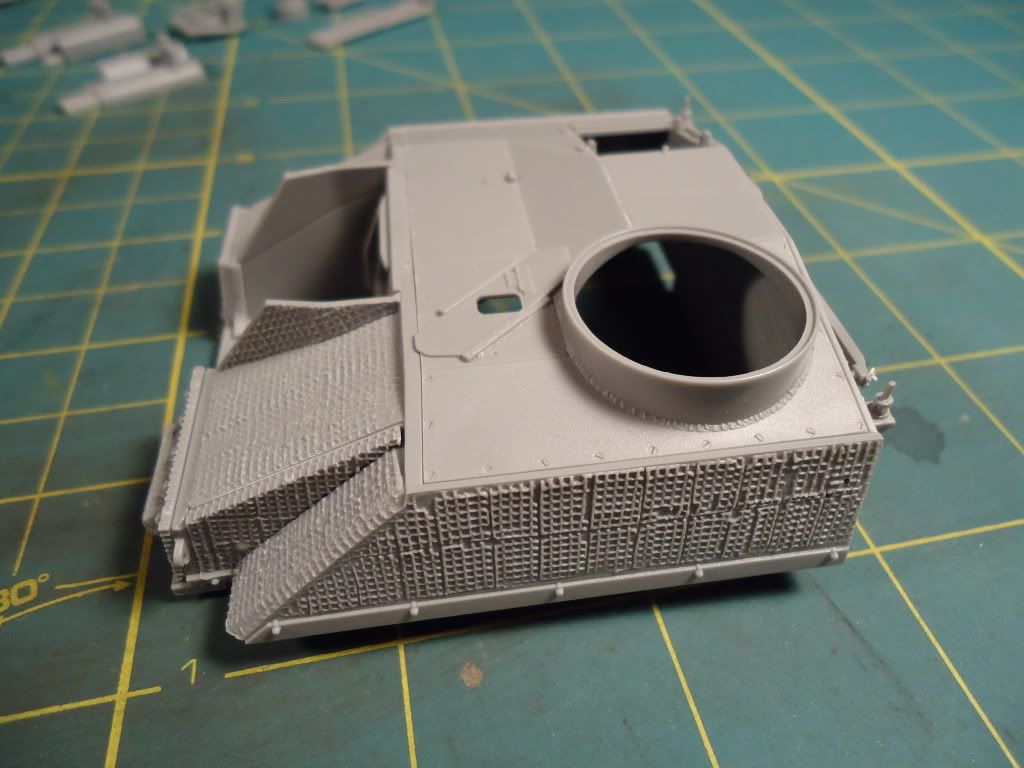
If you look closly, can see the seams that Jord was talking about. Will fill them in.
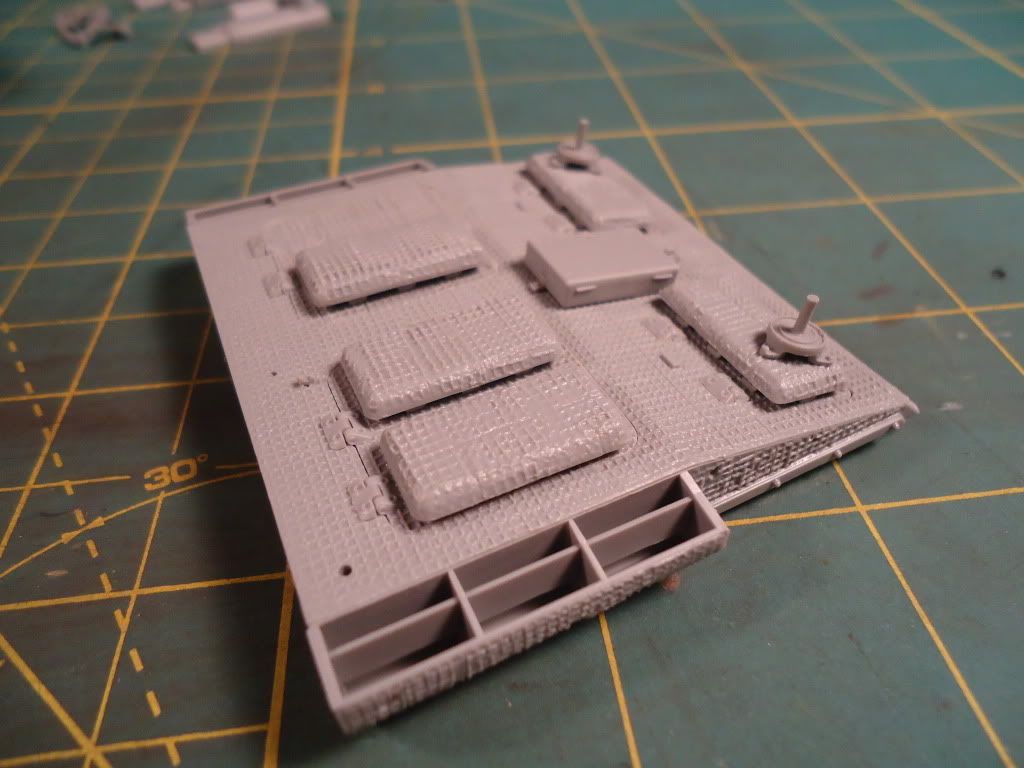
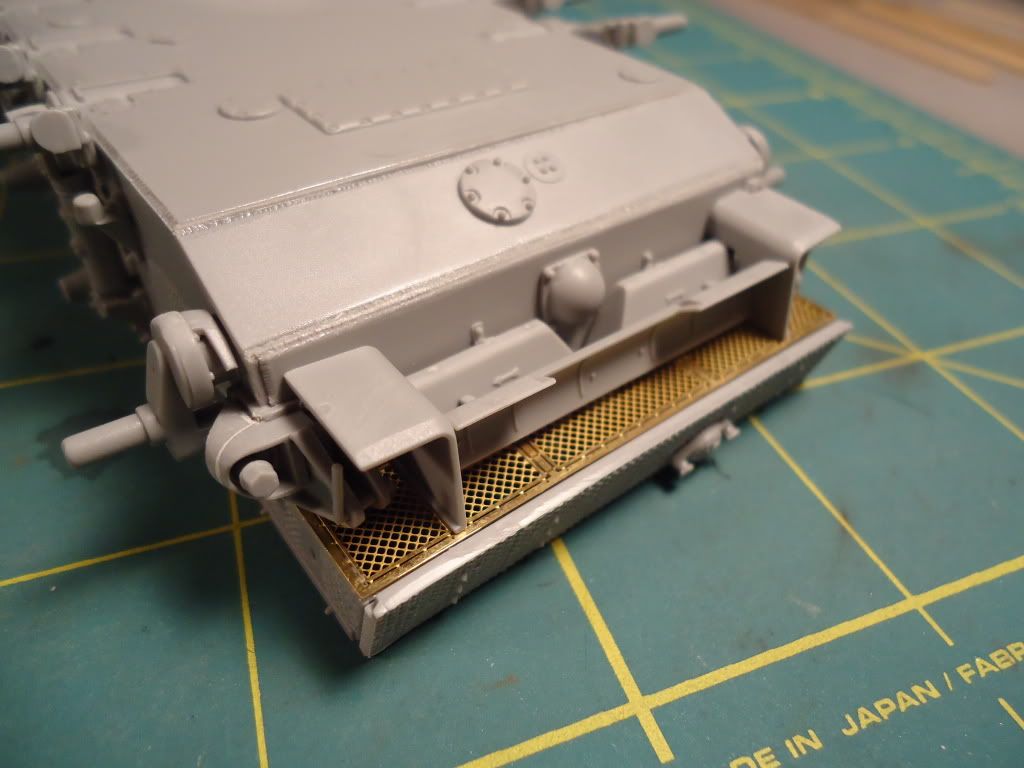
All parts on the rear fit well but there where two seams on the bottom armor plate. Used streched sprue to fill and make welds
These are some dry fit pics. The fit seems to be excellent. Took all of y'alls advice and cut the 6 taps off the hull before trying to put the casemate and engine deck on.
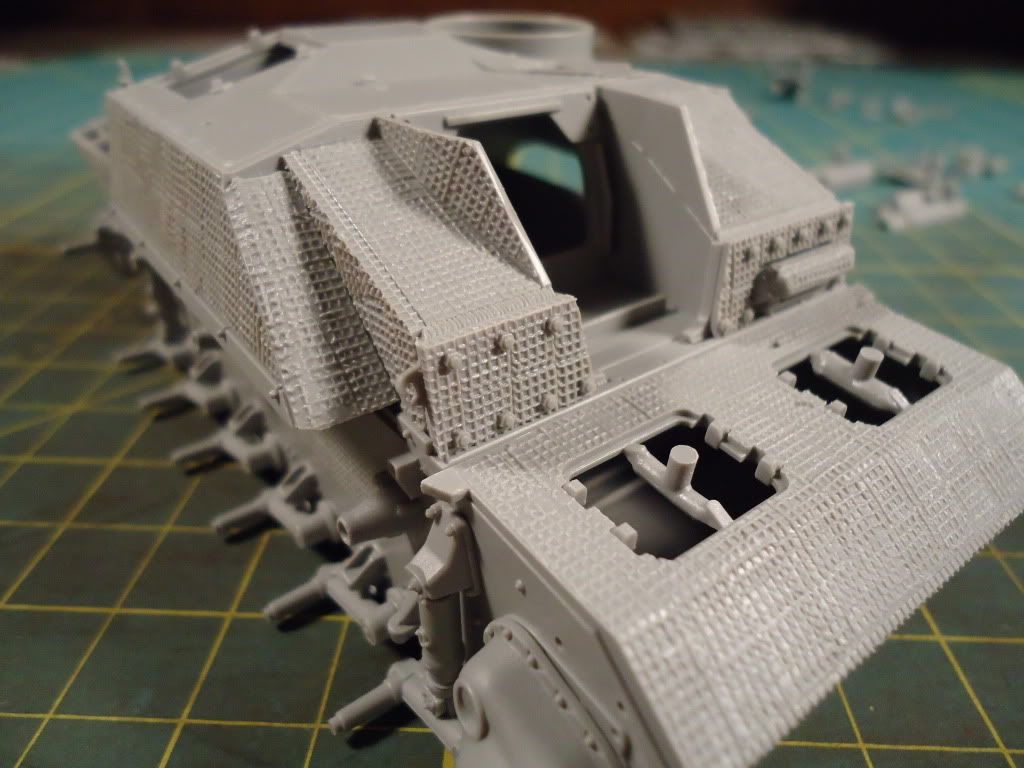
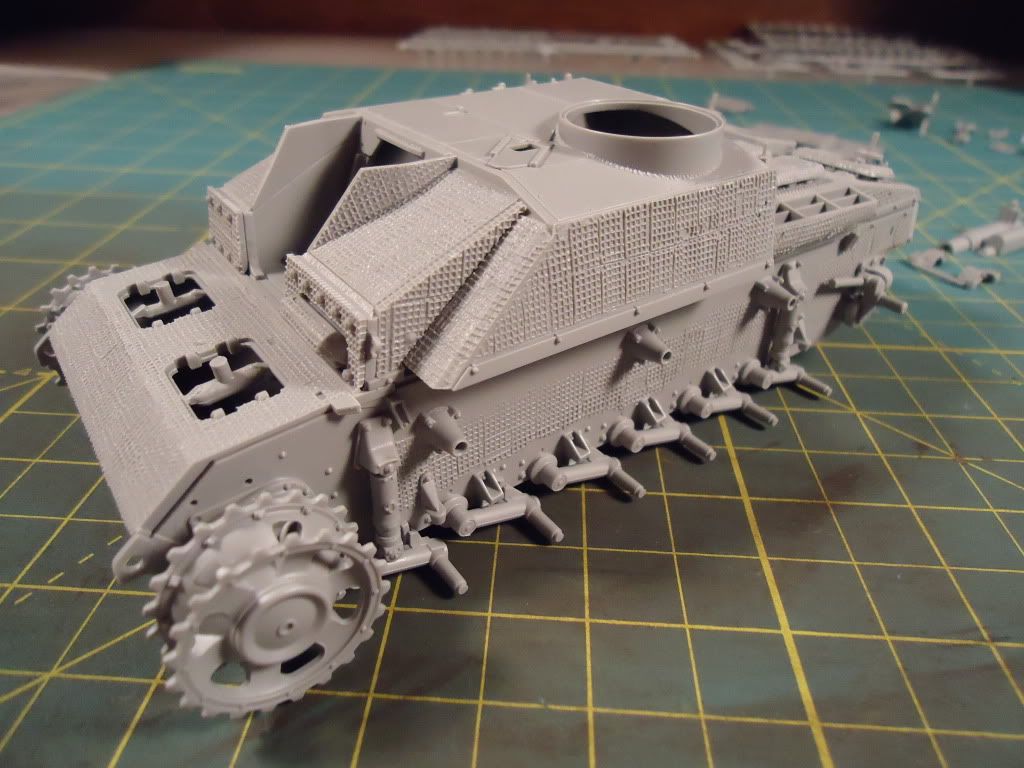
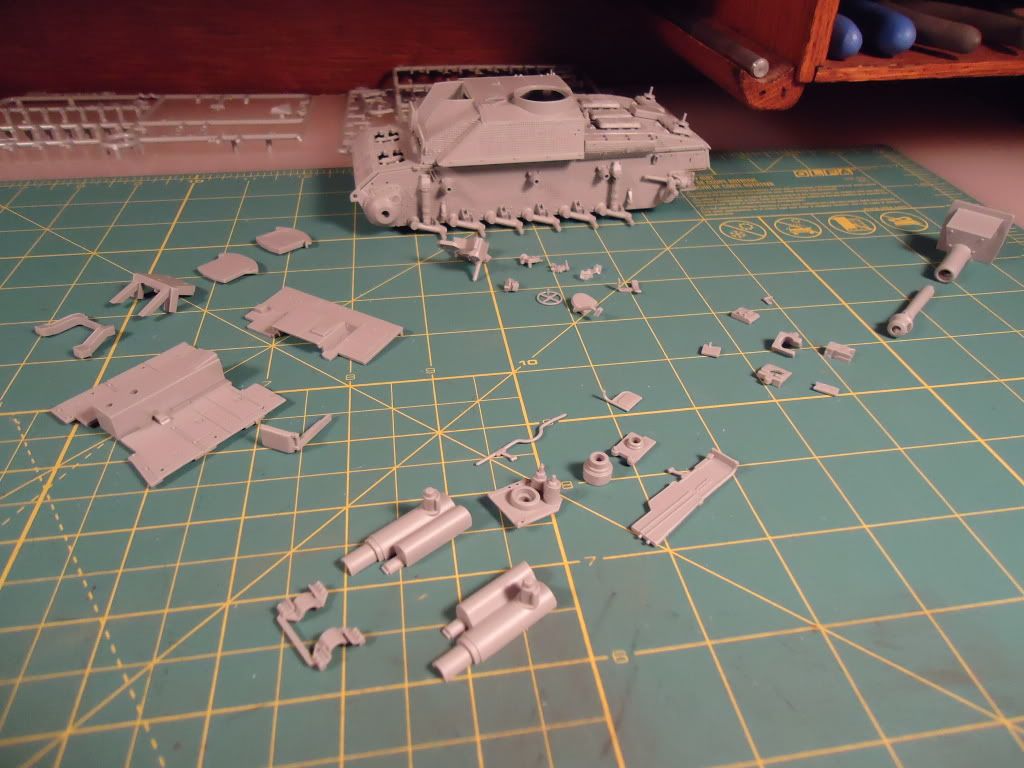
Here you see all parts layed out and cleaned up and ready for assembly. This is the parts provided in the kit for the interior. Need to find some good pics so that the remainder of the interior can be scratched.
Hope to have a completed interior for my next post.