Some better pics.
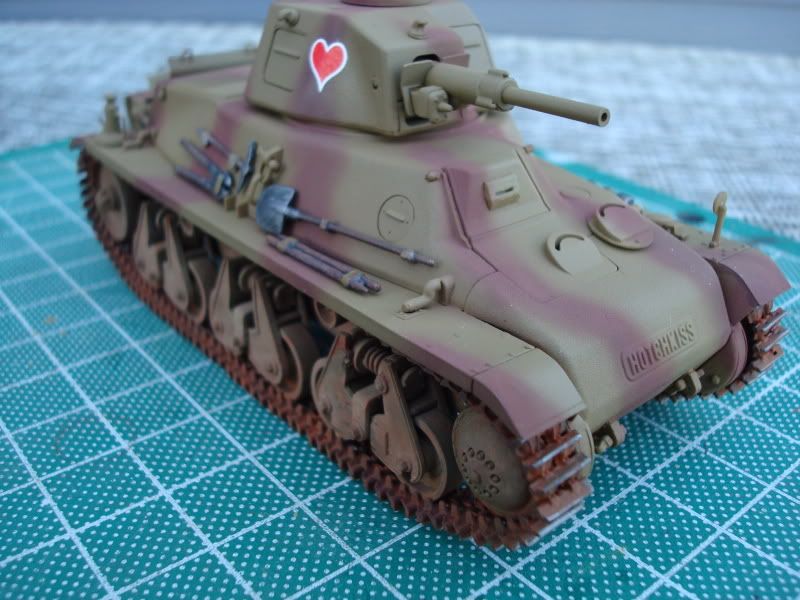
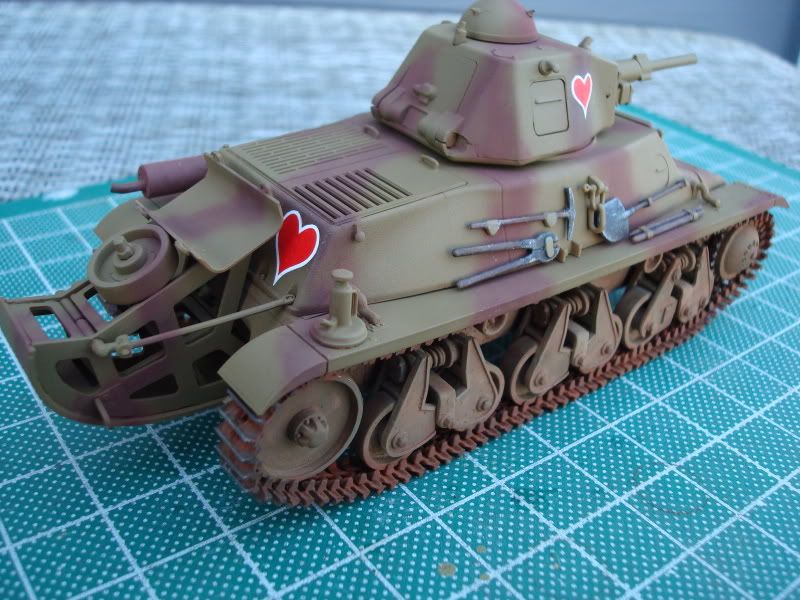
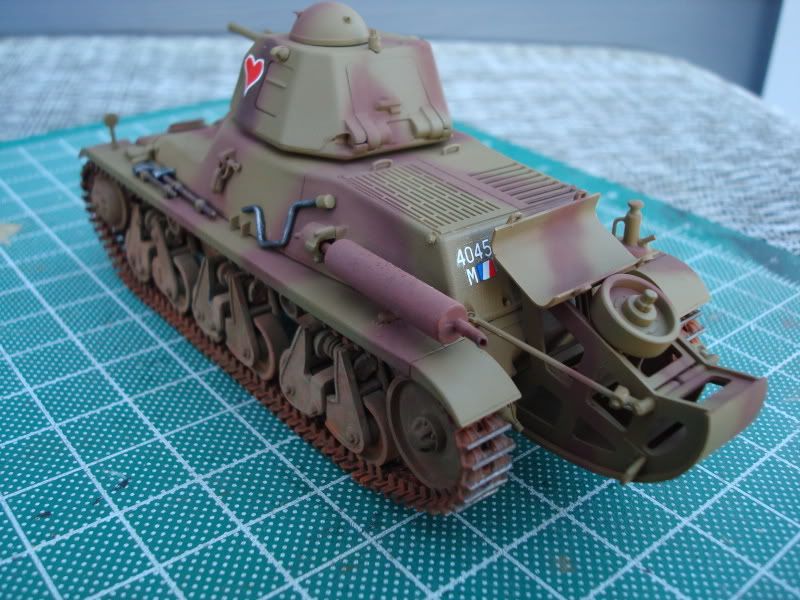

There were some issues with the decals and I messed up the left heart, because I had to trim around it. I should have painted the tools on and the wood turned out darker then I wanted. I ran out of the red paint which was a hull red, because the red-brown looked more like rust. i probably won't go back and fix the brackets, because unless I spray them, they will look bad.