Hi Everyone,
It has been a while since I posted my progress so I am going to play catch up tonight.
In this first picture I have painted the photo-etch landing gear control handle and attached it to the left side instrument panel:
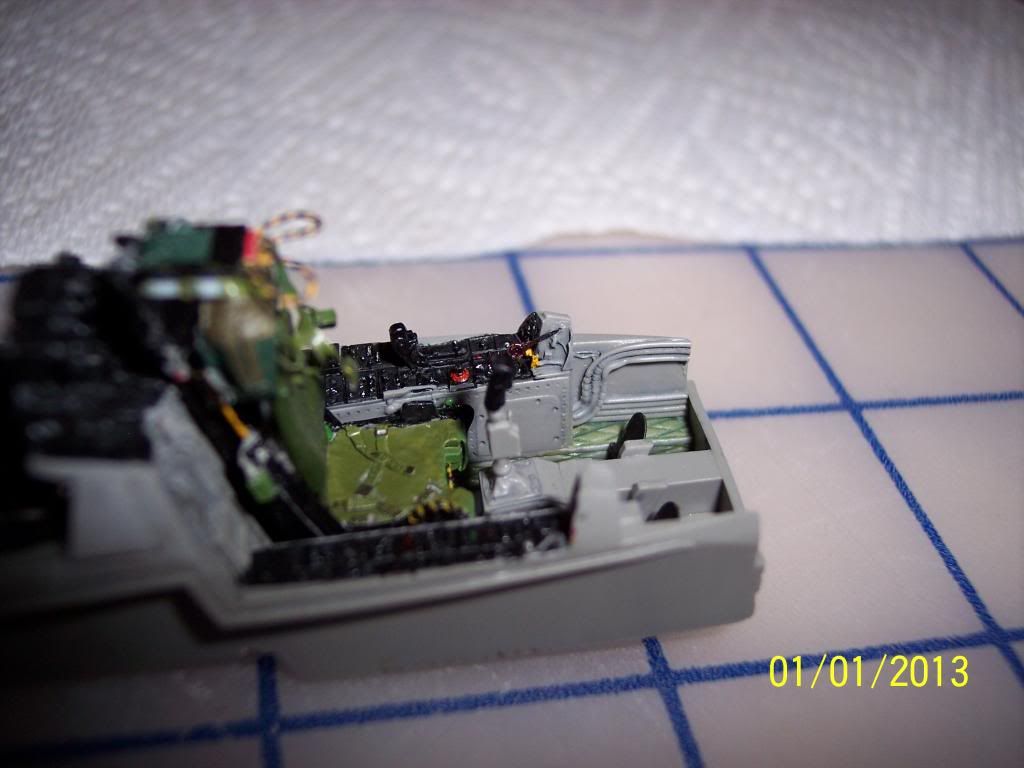
In this next picture I have just cut the resin rear cockpit's engine throtle controls from the resin mold base:

In the next picture you can see where the engine throtle control will be attached (the two long slots closest to you):

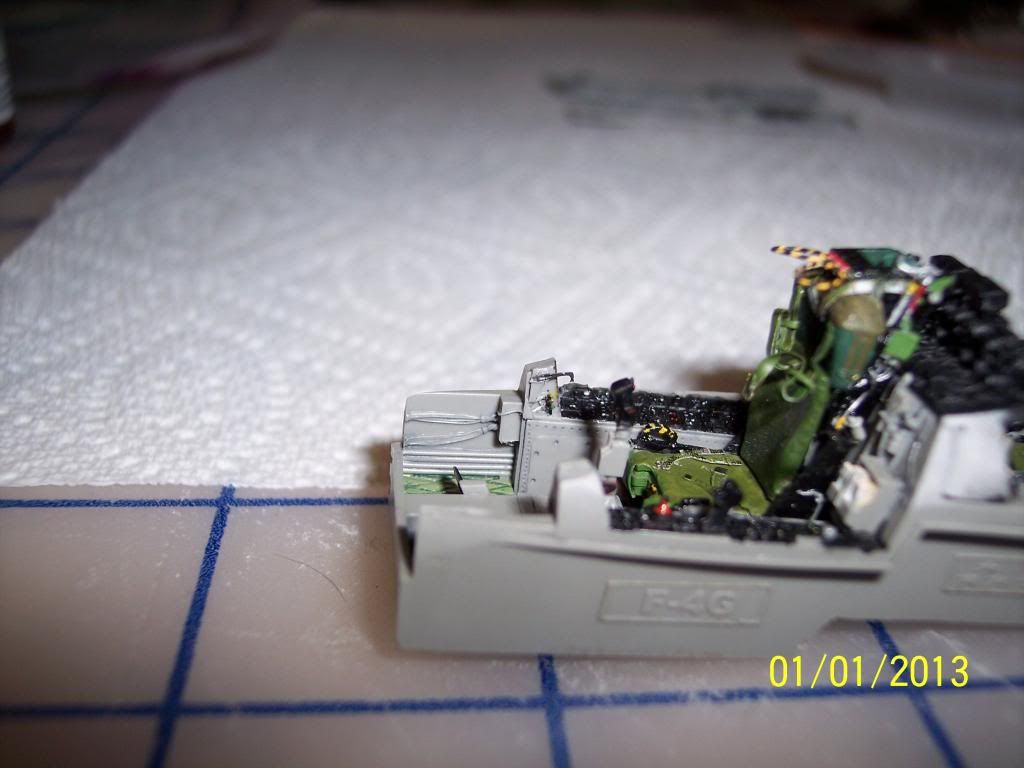
The next photo shows the engine throtle control in place:
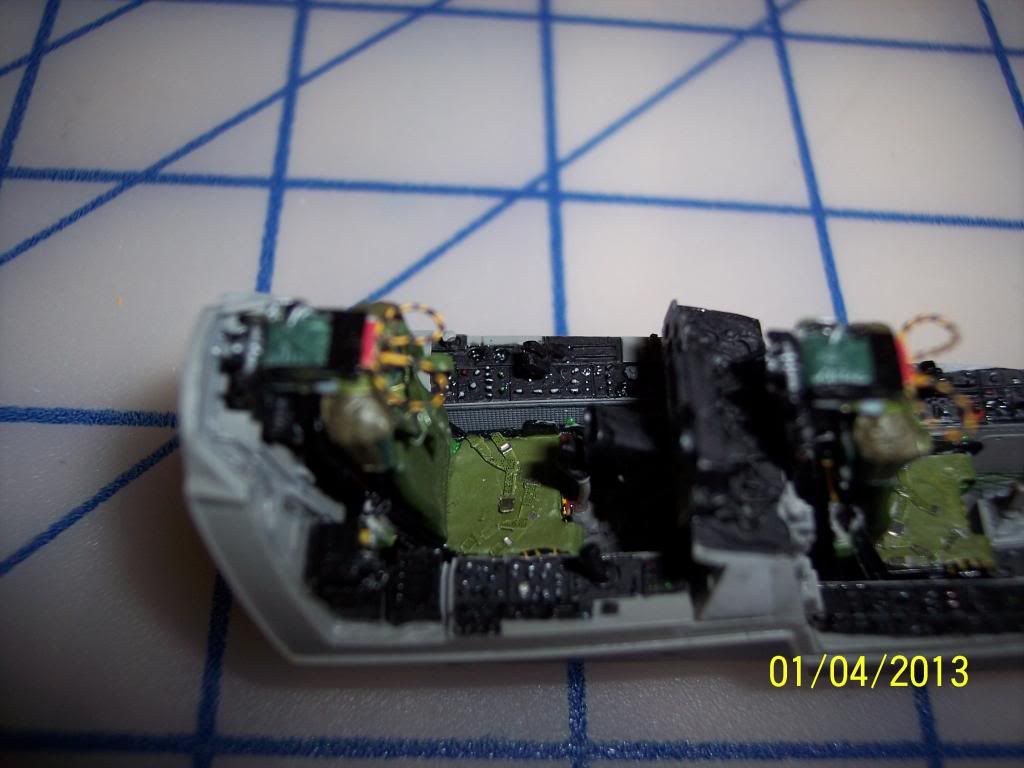
The next picture shows the photo-etch of the arrestor hook control painted and attached to the right instrument panel:
There has been a couple of requests on how I did the instrument panels. Well I realized today that I needed to paint the photo-etch canopy emergency release handles yellow and black. Since I will do this the very same way that I did the instrument panels, I will document it as I do them.
I must first give credit to Robert Kwikkel on this idea. Here is a link to the web page where he describes how he does it:
http://www.arcair.com/tnt1/001-100/TNT033-PE-Painting-Kwikkel/00.shtm
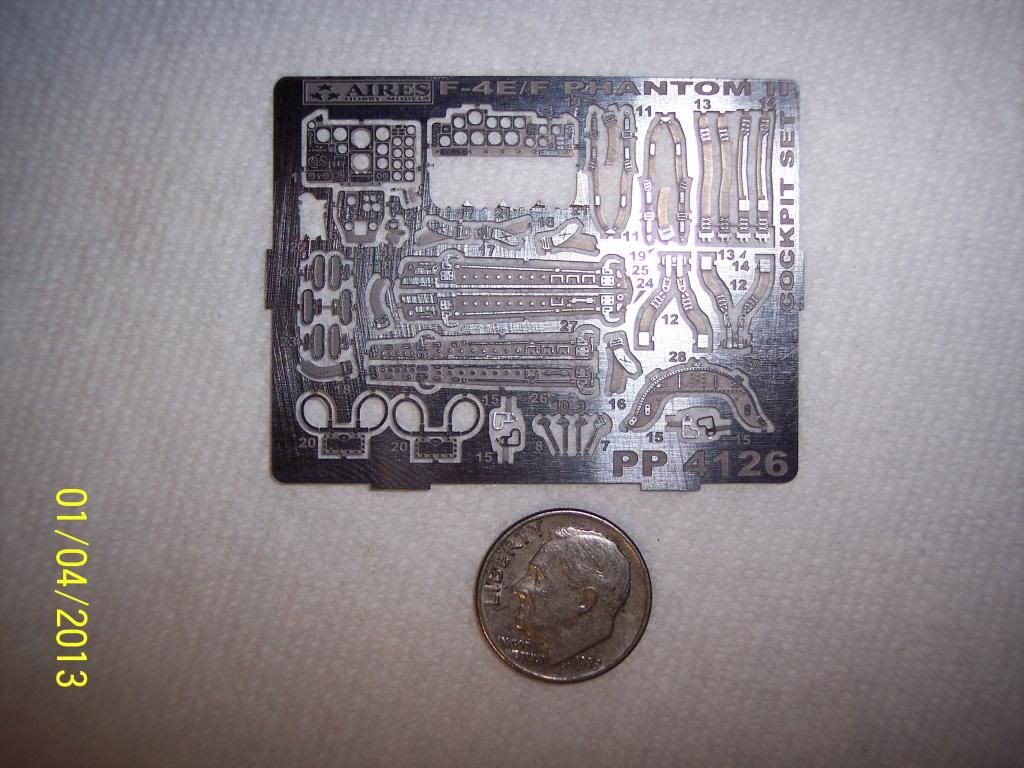
Here is a picture of the photo-etch handles. They are numbered 7, 8, 9, and 10 right above the dime:
Now one thing about the handles is that the top of each of them will be right above the bottom of the canopy glass. This means that you will be able to see both sides. As it turns out, I happen to have two photo-etch sheets since I had to order a second cockpit after accidentally destroying the first one.

I also discovered that the handles are mirror images so I can glue them together to have a two sided photo-etch handle.
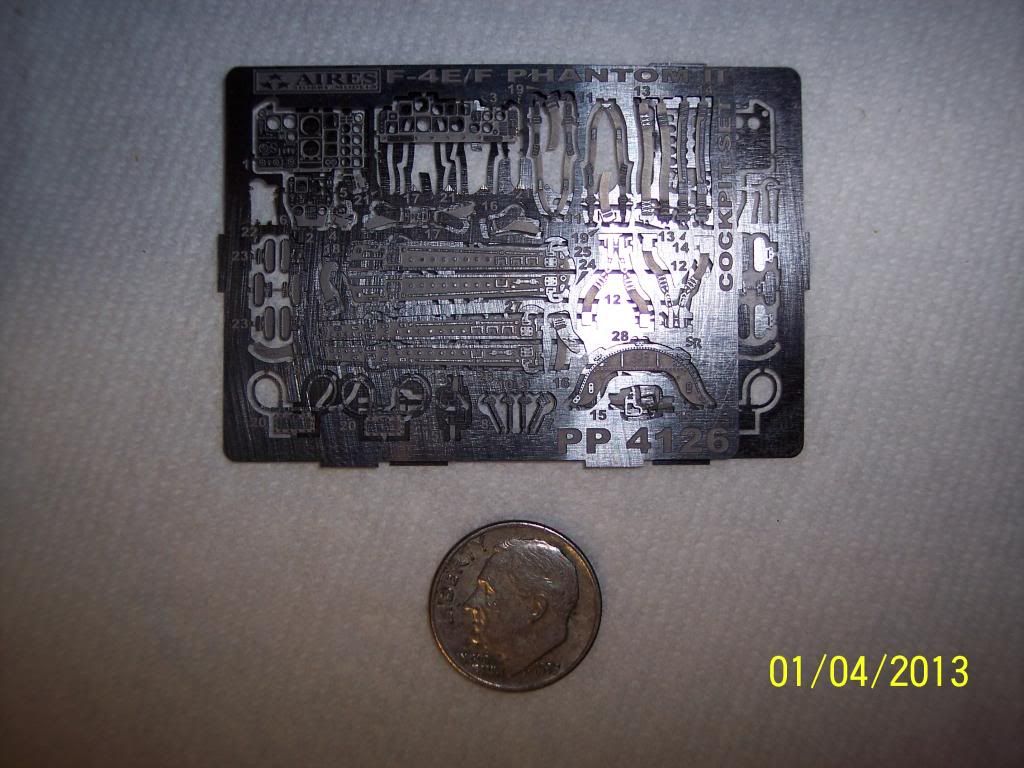
Another thing about the handles is that the emergency ones one the left side are yellow with black trim and the manual ones on the right side are black with yellow trim. So I will be doing the colors in reverse order on the two sheets.
Here is the paint I will be using:

First thing to do is clean the photo-etch. I use lacquer thinner:
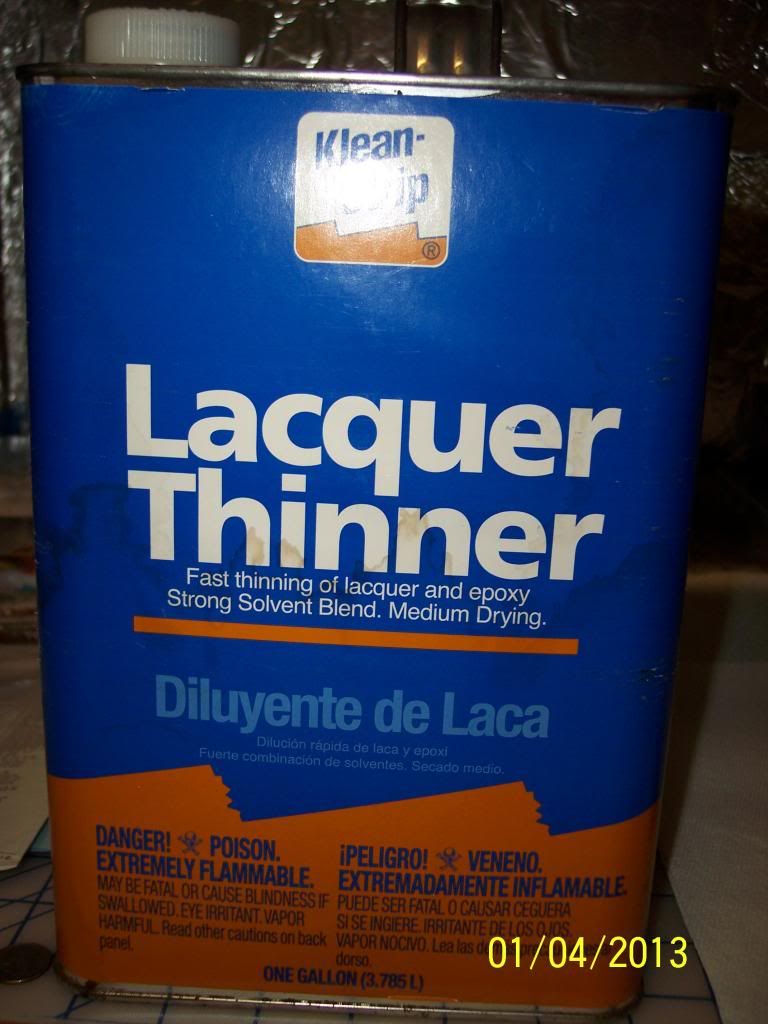
Just be sure to use plenty of ventilation when you use it. Also be really careful not to spill any, it can destroy paint in a hurry. Also you should wear latex gloves, in fact, just read the warning label!
Next you will need to mask off the area that you are going to work with. I like to use the Scotch brand "Safe-Release Painters" masking tape:
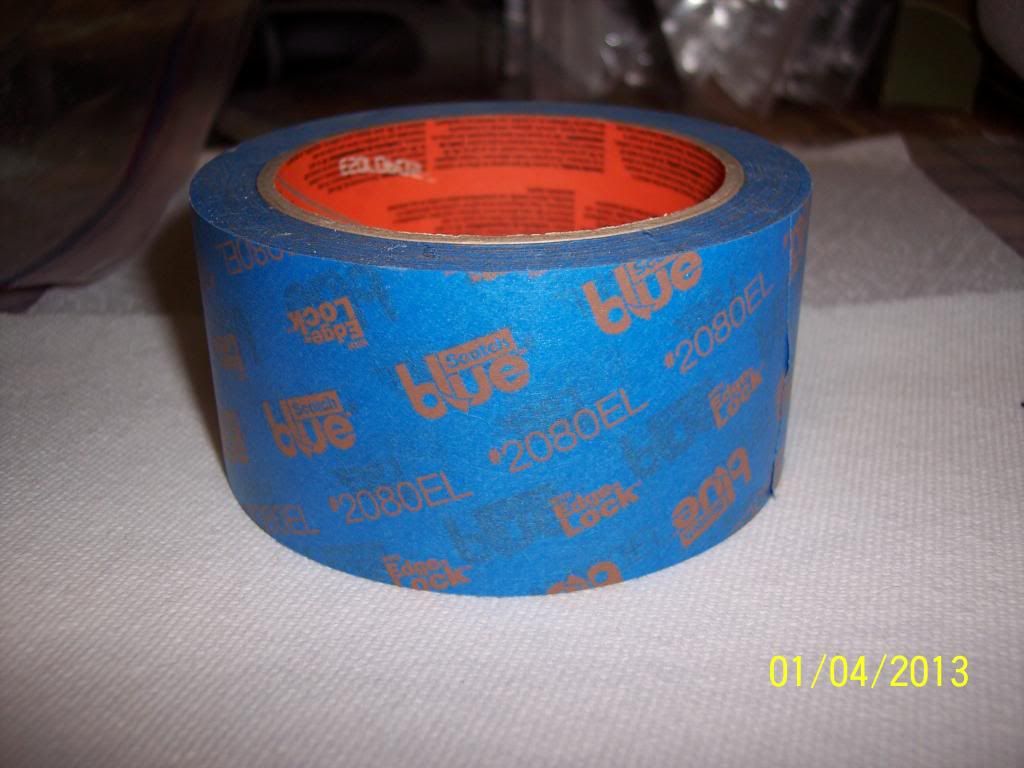
First thing is to seal the backside so there isn't any paint that comes up from underneath. So I mask the entire backside:
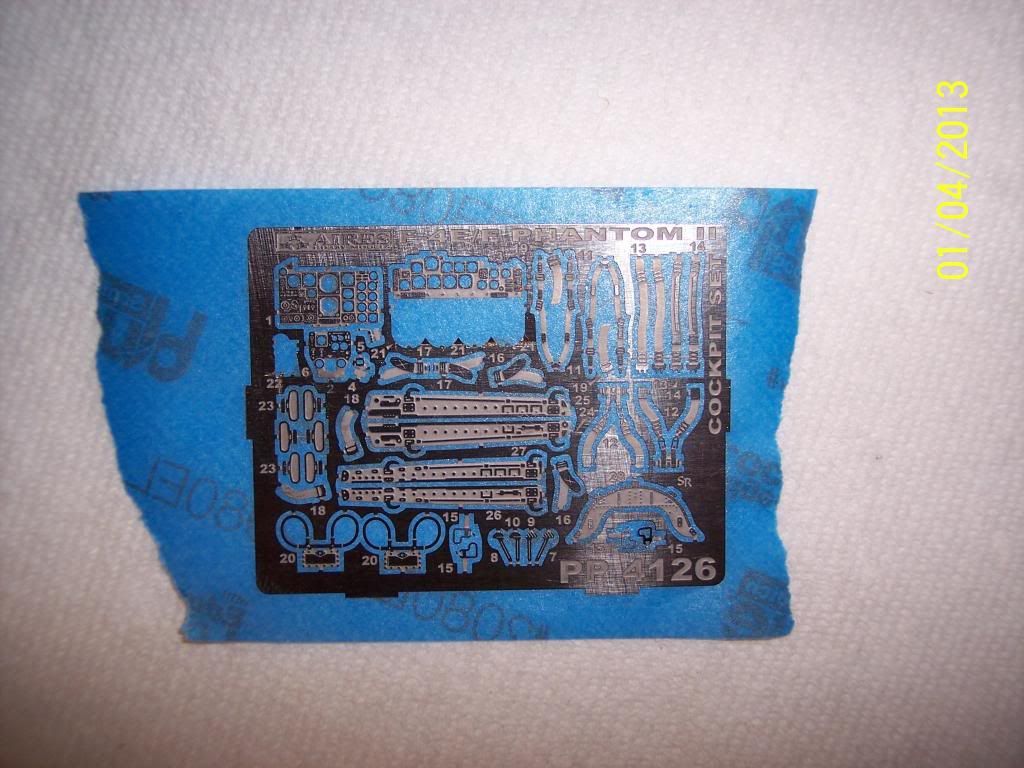
Next I mask off everything on the front except for what I am painting:

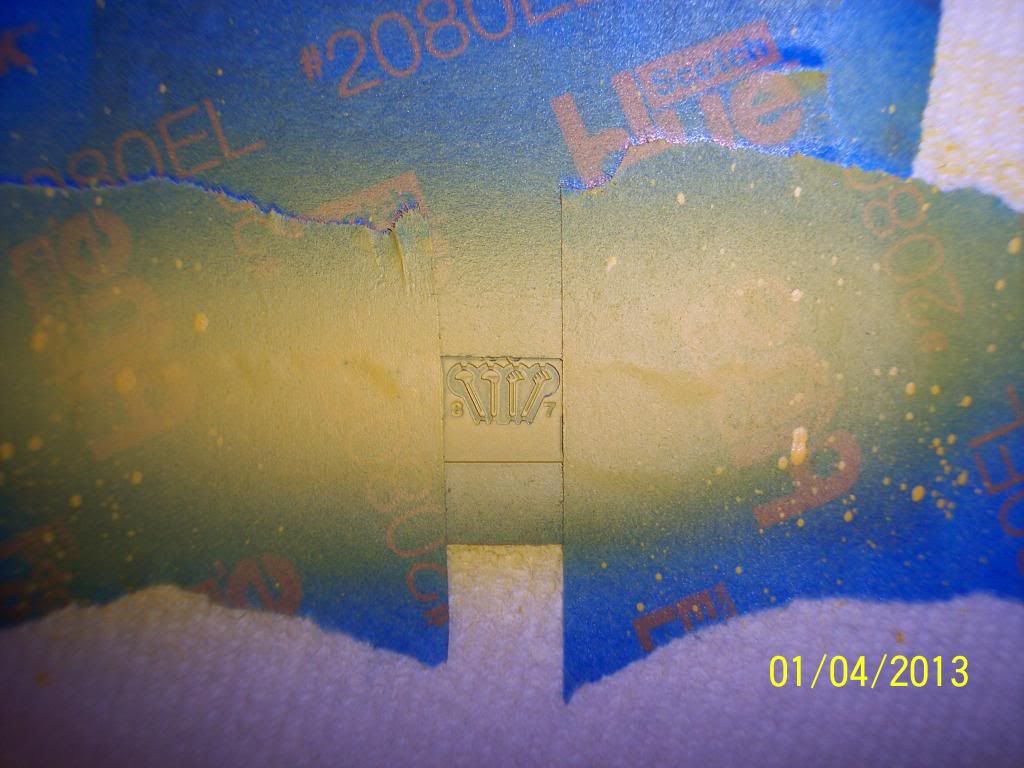
The first color to paint is the color you want the "shiny" part of the metal to be when you are done, and not in the "etched" area. Also you want this to be an acrylic paint. Since I need both colors reversed, I will be doing each sheet reversed. Here is the first one where I need the handles yellow with black trim:
And here is the sheet that will be the black handles with yellow trim:
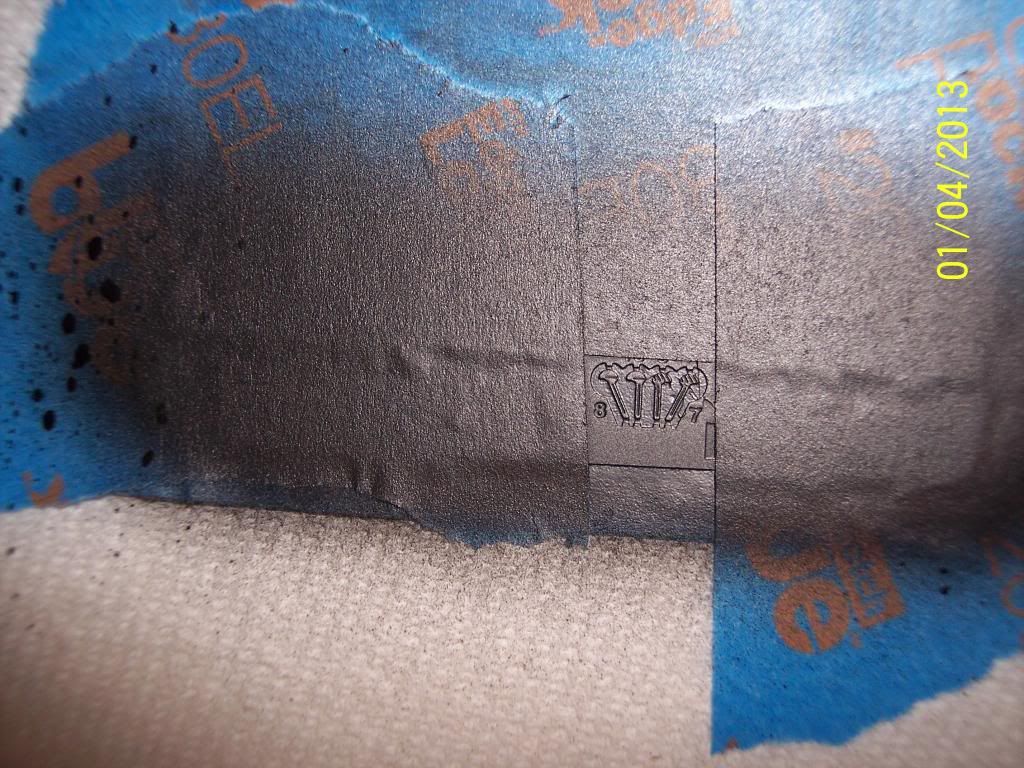
Model Master's acrylic takes 24 hours to completely dry. So this is where I will leave off for tonight to wait for this to dry.
Ken