Looks great Dale! I am looking forward to seeing your progress.
Well, my Eindecker is complete. Picking up from my last update, I next undertook the upper rigging. First some setup, the wing warping pylon:
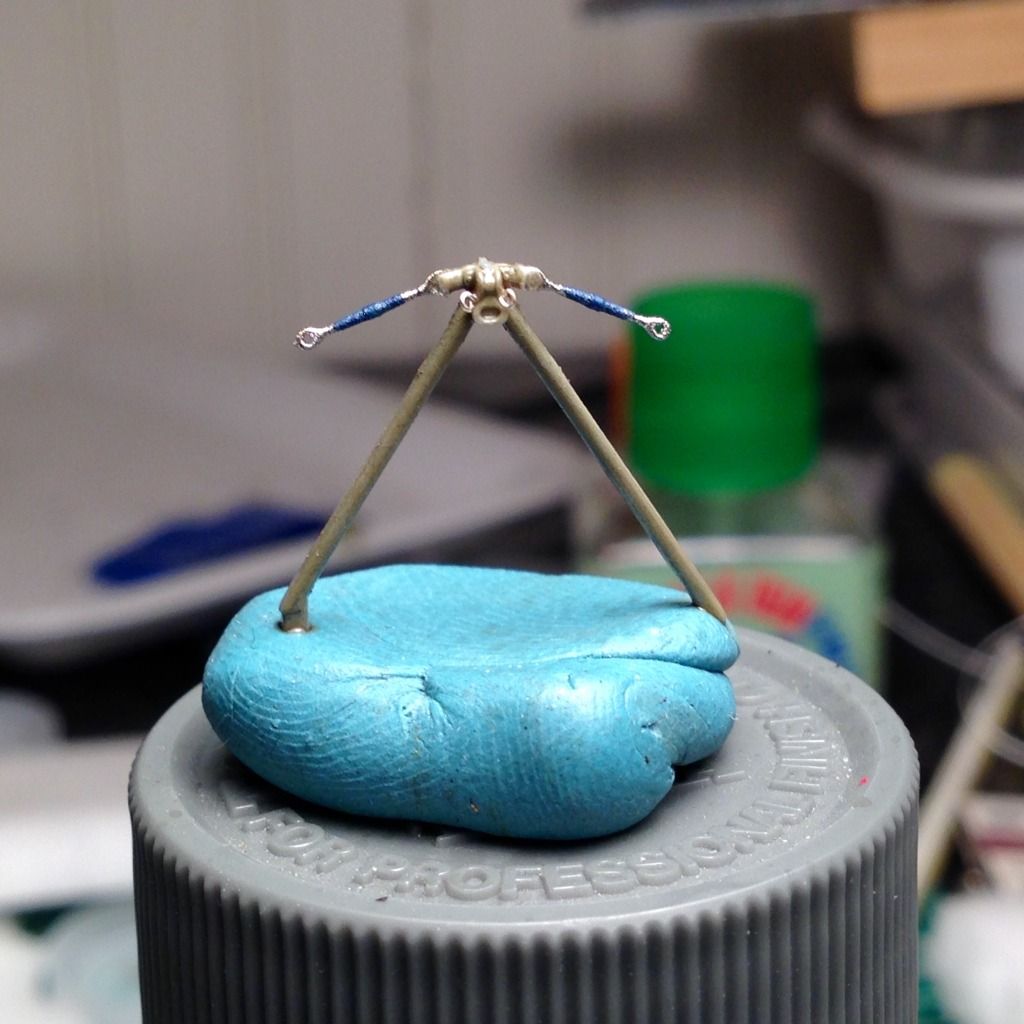
I removed the molded plastic arms and replaced them with 1/32 Gasptach turnbuckles. I also drilled a pair of holes in the back and mounted eyelets for the rigging lines that run to the cowling. The Eindecker's turnbuckles were color coded, with blue for the center rigging.
The upper rigging is not as complicated as the lower rigging was, so I did not take as many set up pictures. Here is one I took while in progress:
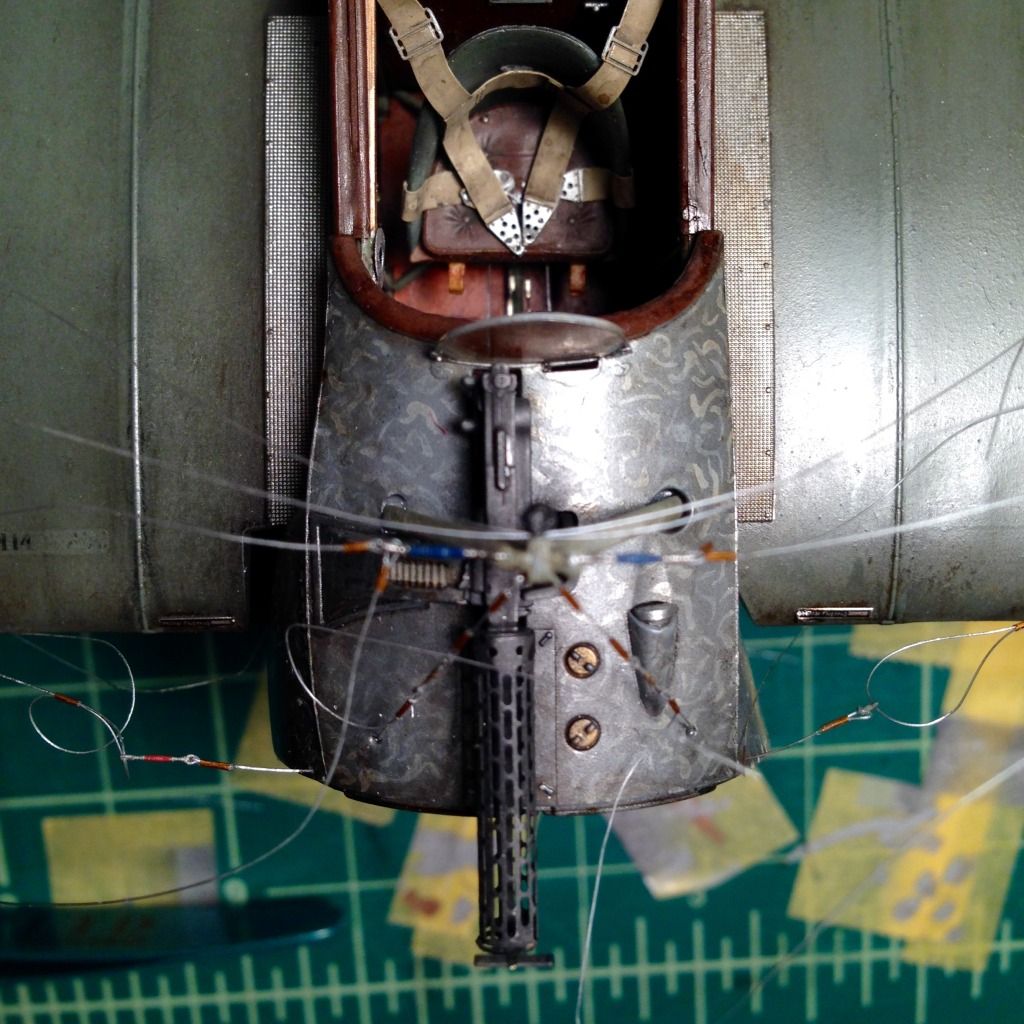
You can see the basic process: mono run through the turnbuckles, and clinched with Polyimide tubing. I left everything loose until the rigging was complete, and then tightened it all together.
Resulting in:
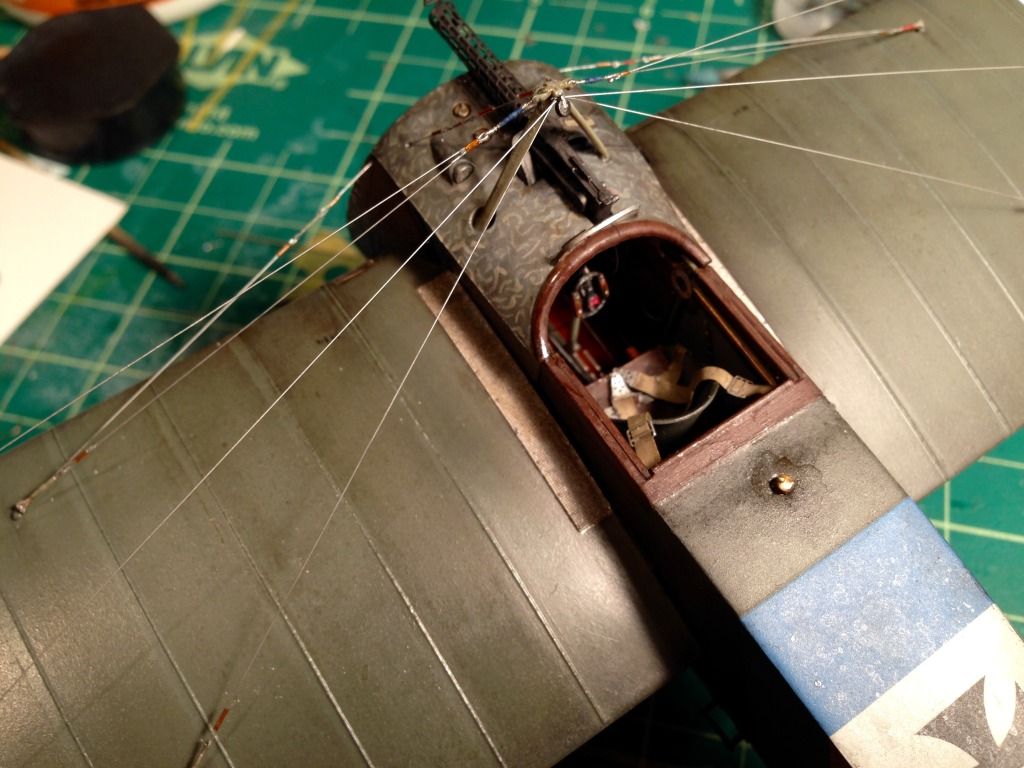
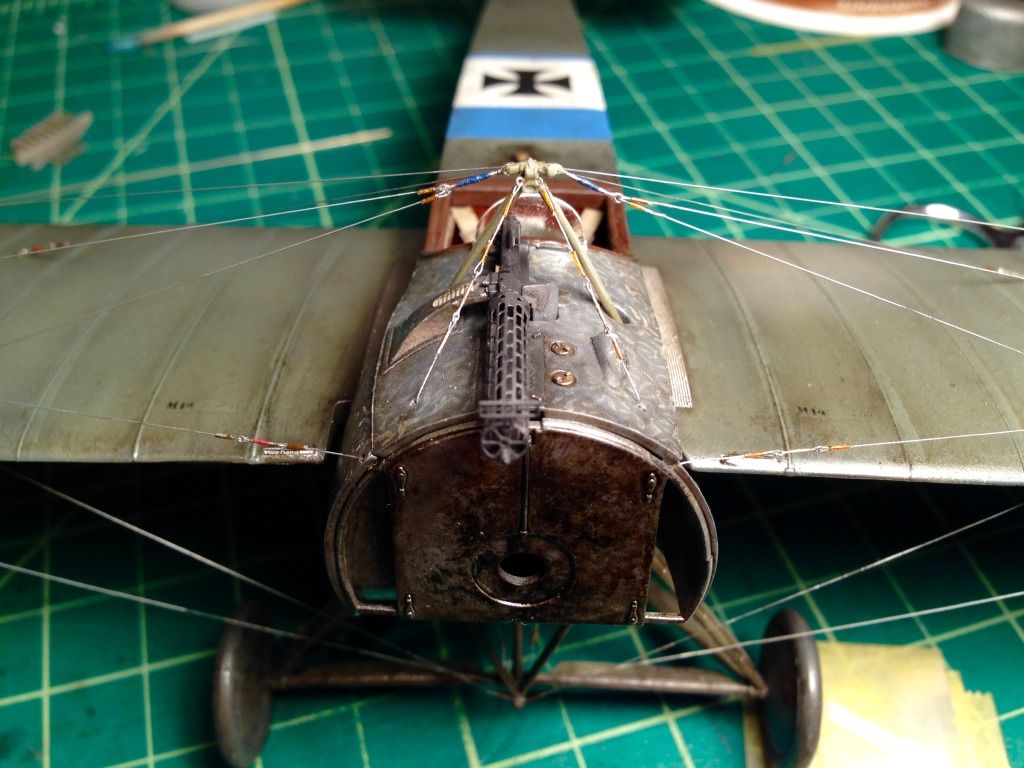
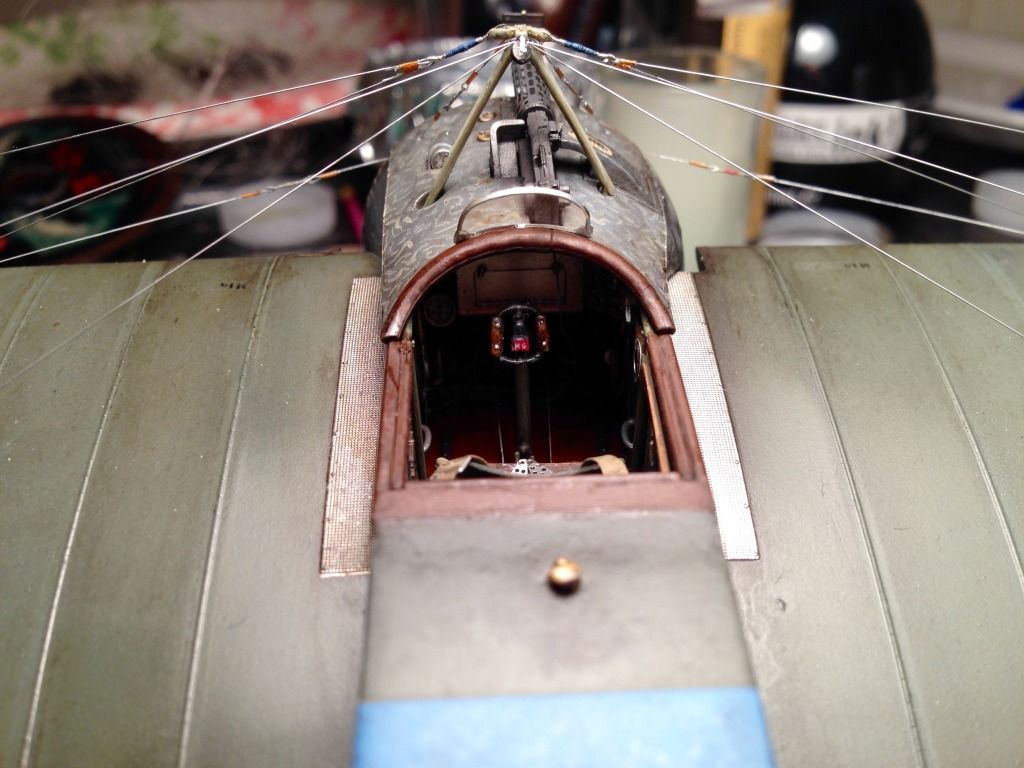
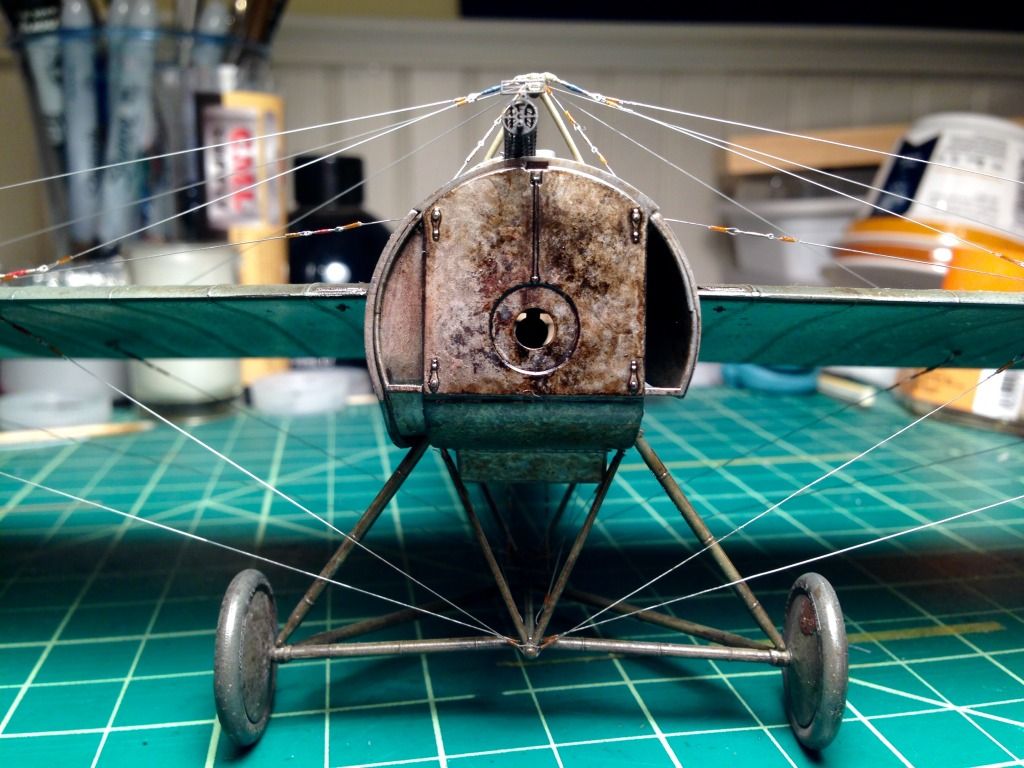
When I was ready to tighten everything up, I supported the aircraft by placing a pair of empty yogurt containers under the wing tips, lifting the wheels off the ground and ensuring the wings would be (if anything) flexed upwards a bit. I then tightened the upper lines one by one, trying to work symmetrically by wing, and making sure not to introduce slack in the already finished "wires". Once the upper lines were set and trimmed, I removed the cups and tightened the bottom rigging.
All that was left at that point was mounting the motor, cowling and prop... or so I thought. Within an hour of my taking those pictures, the back fuselage seam which had mysteriously appeared half way through my build decided to pay me another visit! Same deal as last time, a divot appeared right behind the fuel filler cap and a straight line ran straight back through the blue and white markings. All said, it delayed my finish by two or three days while I waited for various fillers, clear coats and paints to dry.
Once I had that issue sorted out to my satisfaction, I attached the engine and cowling with CA (since they are both resin). Due to my lack of quality control in building the engine, it was a tight fit to get the cowling over the cylinder heads, but it wasn't too difficult. A few drops of CA on the shaft, and the propeller was attached, bringing the build to a close.
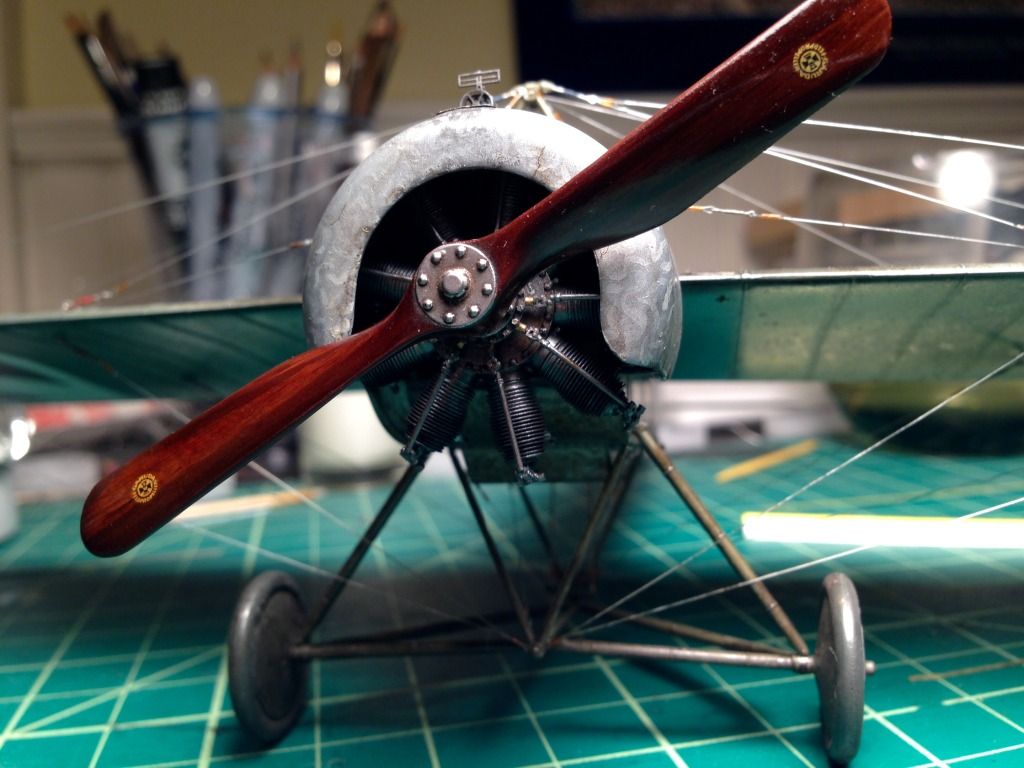
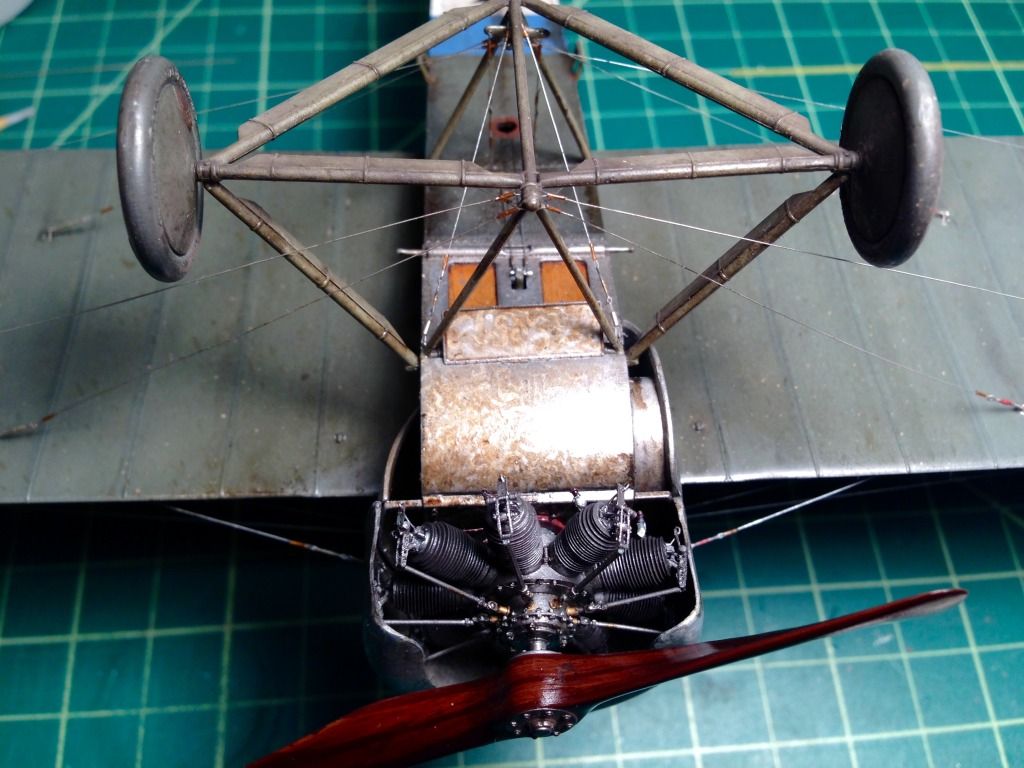
And that is a wrap for this build. Aside from the troublesome seam, it was a very enjoyable build, and I'd recommend it to anyone interested.
As this post is quite long and picture heavy, I'll put the final pictures up separately. Thanks to Mike, Bish and Snake (and whomever else I missed!) for organizing this, it was very fun. Thanks also to everyone for the supportive comments along the way. There is some very lovely work being shown here, and it has been a treat to be part of it.
Blue