SEARCH FINESCALE.COM

Enter keywords or a search phrase below:

Boeing Build

40031 views
832 replies
1 rating 2 rating 3 rating 4 rating 5 rating
  • Member since
    July 2014
Posted by modelcrazy on Friday, December 18, 2015 11:57 AM

Gawd., that is a monster Rudy. I forgot just how much space it takes up. I do believe they could open the BB doors separately. Everything I've seen just shows the front doors open, however those pictures were "reenactments"


Can't wait to see you finished 17 BK.

Steve

Building a kit from your stash is like cutting a head off a Hydra, two more take it's place.


http://www.spamodeler.com/forum/

  • Member since
    June 2014
Posted by BrandonK on Friday, December 18, 2015 10:50 AM

Rudy, they all look really nice. And yes, I get the idea of wanting to be done with it and get it out of the way. My B-17 is nearing completion and it will be nice to have it out of the way. I love working on it but the size just takes so much time to cover it all.

BK

On the bench:

A lot !! And I mean A LOT!!

2024 Kits on deck / in process / completed   

                         14 / 5 / 2  

                              Tongue Tied

  • Member since
    May 2015
Posted by Ryppcurl on Friday, December 18, 2015 10:42 AM

Every time I have done one of these large kits ( 3of the B-36's jsut to start)  I used rattle can but I alternated between several colors,  chrome, silver leaf and aluminium.  you can create some nice texture by simply masking a few panels and hitting it with some of the crome

come see my basic instruction videos. www.mymessybench.com

  • Member since
    April 2015
  • From: Detroit, MURDER CITY
Posted by RudyOnWheels on Friday, December 18, 2015 10:30 AM

Looking good Brandon K and Bish! Those tools shown are at the top of my list, I want a little mitre box fot my razor saw, and a MicroMark Punch set. (unless you have a cheaper but decent alternative to suggest. I am currently finsihing up painting my B-29. I am building it as the "enola Gay", to be hung in flight in the corner of my hobby room with the Bomb-bay doors open to show the "little Boy" atomic bomb.

(side question, with the extra fuel tanks in the rear bay, was it possible to just open one set of doors, I.E. the front only, or did they both open , no matter what?)

being such a giant plane, I decided to spray-can this one in the garage. I sent the wife for paint, and she came back with "chrome", but it looked too bright and shiny IMO. So I picked up some "aluminum" paint, but did not notice it ws "brushed" aluminum until after I painted it. Oh well, It should still lok OK in the end. (I hope) I didnt go to max-effort to close off the unused gun ports and fill them, I just used the little caps from the kit. This thing is so giant and unwieldly, I am just looking forward to being done with it and getting it out of my way to be honest! I am going to take a break on 1:48 bombers for a bit, even though they are my favorite! I do have a Tamiya 1:48 Mosquito fighter-bomber on deck, it will be my first tamiya aircraft. I am looking forward to a higher-quality kit, as everything I have ever built is Revell-O-Gram.....

Now a few pics, Of my B-29, 1:32 Huey,(Major Crandall's MOH Bird from 1965) and Panzer Ausf V (circa 1970, my very first tank and first attempt at free-hand (or ANY) camo)

Thanks!!!  Rudy


  • Member since
    July 2014
Posted by modelcrazy on Thursday, December 17, 2015 7:01 PM

Cool Tony, I'll put you down. Is that the unmarked Hase kit? I know the 1/200 goes together well.

Steve

Building a kit from your stash is like cutting a head off a Hydra, two more take it's place.


http://www.spamodeler.com/forum/

  • Member since
    April 2005
  • From: Australia
Posted by taxtp on Thursday, December 17, 2015 6:00 PM

It makes me want join this GB, and force myself to watch it to completion. Lovely work Brandon.

I'm going to resist the urge to do a 17, or a P-26, and chime in with a 1/200 Hasegawa 727. I've been doing this thing of building 727s in all of the schemes that Ansett Australia flew them in, this will be my third, andfor those that know it, will have the 'Australian Flag' scheme.

It should look something like this :

Cheers

Tony

I'm just taking it one GB at a time.

  • Member since
    June 2014
Posted by BrandonK on Wednesday, December 16, 2015 2:23 PM

I have been slowly moving along with her. I am at that point where you work for hours and don't really see much done. It's just all the little detail stuff that makes the difference now.

I didn't like the way the kit did the landing lights, or rather didn't. So, using my new punch set I began to scratch out some lights of my own and get them mounted.

I made 4 pieces for each light. The outer ring, the lenz, the reflector and the main housing. I used foil tape as the reflector and using the end of a paint brush is dented and rounded the reflector like a real light is. I then mounted the lenz and outer ring. Once all assembled it looks dang good. I then used my Dremel to open up room in the wing to house them adn resessed them into the wing. I only had to trim the outer wing lenz lightly to get a total fit. Now I am happy with the lights in the wing. A HUGE improvement, I think.

BK

The tools used.

The parts before assembly.

The lights after paint and assembly.

The wing without the light mod.

The wing with the light mod.

On the bench:

A lot !! And I mean A LOT!!

2024 Kits on deck / in process / completed   

                         14 / 5 / 2  

                              Tongue Tied

  • Member since
    July 2014
Posted by modelcrazy on Friday, December 11, 2015 1:43 PM

Very nice BK. I'm with Bish here, this make me want to build a 17.

Steve

Building a kit from your stash is like cutting a head off a Hydra, two more take it's place.


http://www.spamodeler.com/forum/

  • Member since
    December 2002
  • From: Bury St Edmunds, Suffolk, England
Posted by Bish on Friday, December 11, 2015 11:56 AM

Thats looking really nice BK, always good to see the decals going on.

I would not mind doing this or another Rattelsdon based 17 in 72nd, this is certainly some inspiration.

I am a Norfolk man and i glory in being so


On the bench: Airfix 1/72nd Harrier GR.3/Fujimi 1/72nd Ju 87D-3

  • Member since
    June 2014
Posted by BrandonK on Friday, December 11, 2015 11:51 AM

I started some decaling today and couldn't resist a light assemble to see it together. Nothing is attached, it's just resting there. Loving how she is coming along.

BK

On the bench:

A lot !! And I mean A LOT!!

2024 Kits on deck / in process / completed   

                         14 / 5 / 2  

                              Tongue Tied

  • Member since
    June 2014
Posted by BrandonK on Thursday, December 10, 2015 12:50 PM

I finished the repaint on the fuselage and it turned out well. I should say it's more of an overspray and not a complete repaint. I just shot the Alclad over the clear and left it at that. I like how it turned out. Now to just keep the tape away from it.

BK

On the bench:

A lot !! And I mean A LOT!!

2024 Kits on deck / in process / completed   

                         14 / 5 / 2  

                              Tongue Tied

  • Member since
    June 2014
Posted by BrandonK on Thursday, December 10, 2015 11:43 AM

Thanks Bish. My flame out had more to do with knowing I was going to have to do a re-paint and there are few things in life that fire me up more than having to do something twice. Obviously that really gets my blood boiling. I think I'm over it. I am pleased I was able to recover it; I really like the scheme.

BK

On the bench:

A lot !! And I mean A LOT!!

2024 Kits on deck / in process / completed   

                         14 / 5 / 2  

                              Tongue Tied

  • Member since
    December 2002
  • From: Bury St Edmunds, Suffolk, England
Posted by Bish on Thursday, December 10, 2015 11:38 AM
BK, you seem to have got a grip of that, its looking nice.

I am a Norfolk man and i glory in being so


On the bench: Airfix 1/72nd Harrier GR.3/Fujimi 1/72nd Ju 87D-3

  • Member since
    June 2014
Posted by BrandonK on Thursday, December 10, 2015 11:33 AM

Well I have completed the repaint of the wings and they look much better. I need to complete the chipping on the lower NG portion, but overall I can live with the NMF on the wings now. As long as I don't mask them I should be fine.

I will re-spray/overspray the fuselage today as it only need some small bits here and there. Once that is complete I should be close to decals.

BK

On the bench:

A lot !! And I mean A LOT!!

2024 Kits on deck / in process / completed   

                         14 / 5 / 2  

                              Tongue Tied

  • Member since
    April 2015
  • From: Detroit, MURDER CITY
Posted by RudyOnWheels on Wednesday, December 9, 2015 1:17 PM
Nice Job Bish! Great Job BK!! Cant wait to see how she turns out. What is the story on that B-17 BK? Do you know the history of it? Gonna fire up the wood stove in the garage to get it warm enough I can paint my1:48 B-29 one of these days.... Its a beast! Just under 3 ft wingspan... Pretty unwieldy to handle now that the wings are on it! Keep up the good work fellas Rudy
  • Member since
    July 2014
Posted by modelcrazy on Tuesday, December 8, 2015 3:14 PM

WOW BK, nice jobYes. very realistic. it almost looks right without the Alclad. Pretty much whatever you do to it at this point would look right.

Steve

Building a kit from your stash is like cutting a head off a Hydra, two more take it's place.


http://www.spamodeler.com/forum/

  • Member since
    June 2014
Posted by BrandonK on Tuesday, December 8, 2015 2:56 PM

Okay, I've been hard at it today. I masked and painted the yellow and OD portions of the plane as they appear in this post war photo. The plane received extensive damage during combat and was repaired using large parts of a donor plane. So, the colors are a hodge podge. They also attempted to remove the OD from the upper left wing. I tried to replicate the chipping on that wing. The lower portion was NG and I don't have any good photos so I am assuming they left it mostly alone since it blended with the NMF better. 

I also applied the NG under the left wing and the black stripe. I still have to do the right wing upper with the black stripe and both OG fuselage stripes. I will tackle those tomorrow. I also need to apply the anti-glare to the engine nacels. Once this is done I will tackle repairing the Alclad. I hope it works.

BK

On the bench:

A lot !! And I mean A LOT!!

2024 Kits on deck / in process / completed   

                         14 / 5 / 2  

                              Tongue Tied

  • Member since
    December 2002
  • From: Bury St Edmunds, Suffolk, England
Posted by Bish on Tuesday, December 8, 2015 10:58 AM
I am sure it would be easy enough to make one. My engine did not have a hole to attaché it, so I guess you could fit it to any part as long as the balance is right.

I am a Norfolk man and i glory in being so


On the bench: Airfix 1/72nd Harrier GR.3/Fujimi 1/72nd Ju 87D-3

  • Member since
    July 2014
Posted by modelcrazy on Tuesday, December 8, 2015 10:52 AM

No, with shipping and the euro to USD conversion rate, the whole thing cost $80 with shipping. I just got $65 for my B-day so and additional $20 would have been too much. I'll figure something out.

Steve

Building a kit from your stash is like cutting a head off a Hydra, two more take it's place.


http://www.spamodeler.com/forum/

  • Member since
    December 2002
  • From: Bury St Edmunds, Suffolk, England
Posted by Bish on Tuesday, December 8, 2015 10:49 AM

Thanks Steve4, i know what you mean about the flat surface. The primer will show if i have done it rigt. Thats good news about HPH. Now i think about it, they did reply to me the second tie asking for my address, but not the first time. In bioth cases the error was my fault and i asked about buying the bts i needed, and they just sent them for no charge. So i can't praise them enough.

I need to get that 162 engine soon. Did you ordr the stand as wel.

I am a Norfolk man and i glory in being so


On the bench: Airfix 1/72nd Harrier GR.3/Fujimi 1/72nd Ju 87D-3

  • Member since
    July 2014
Posted by modelcrazy on Tuesday, December 8, 2015 9:17 AM
That's the spirit BK, you just needed to sleep on it. I am going to try Post-It notes for masking and see if that works for my Alclad jobs.

Steve

Building a kit from your stash is like cutting a head off a Hydra, two more take it's place.


http://www.spamodeler.com/forum/

  • Member since
    June 2014
Posted by BrandonK on Tuesday, December 8, 2015 9:09 AM

I have an idea of how I may pull off a repair of the Alclad. I will paint all the colored areas first and then use Tamiya flat black to create a fade over the problem spots and then Alclad to blend it all in. Most of the Alclad is still intact, I only have the one wing and some spots hear and there that are worn through. If it goes as hoped it will be nearly invisible. I'll post up pics when I pull this one out of my hat.

BK

On the bench:

A lot !! And I mean A LOT!!

2024 Kits on deck / in process / completed   

                         14 / 5 / 2  

                              Tongue Tied

  • Member since
    July 2014
Posted by modelcrazy on Tuesday, December 8, 2015 9:08 AM

Osprey is looking good Bish. The fuselage is so flat that it can be a pain to eliminate that seam without a dip or wavey surface. I agree with you, painting the tail surfaces was probably your best bet, looks better as well.
HpH actually contacted me last night wanting clarification on my address, I was pleasantly surprised. Although by the time I get to it they will be closed as they are 8 hours ahead of me, GMT+ 1.


Steve

Steve

Building a kit from your stash is like cutting a head off a Hydra, two more take it's place.


http://www.spamodeler.com/forum/

  • Member since
    December 2002
  • From: Bury St Edmunds, Suffolk, England
Posted by Bish on Tuesday, December 8, 2015 2:27 AM
BK, sorry to hear you had so much trouble with Alclad, I know the stuff is not easy to use.

I am a Norfolk man and i glory in being so


On the bench: Airfix 1/72nd Harrier GR.3/Fujimi 1/72nd Ju 87D-3

  • Member since
    December 2002
  • From: Bury St Edmunds, Suffolk, England
Posted by Bish on Tuesday, December 8, 2015 2:26 AM

Right, i will try again. I spent about 20 mins writing this out last night thanks to PB being a pain just to lose connection as i hit send.

Steve, it might be the wrong thread, don't worry, your not the first. But good to hear your getting that engine. But don't be surprised if you don't hear back from HPH. I e-mailed them twice, once when i lost a bit and once when i messed up, and the first i heard was when the items came through the letterbox. Their comunications may not be the best, but they have excellent service.

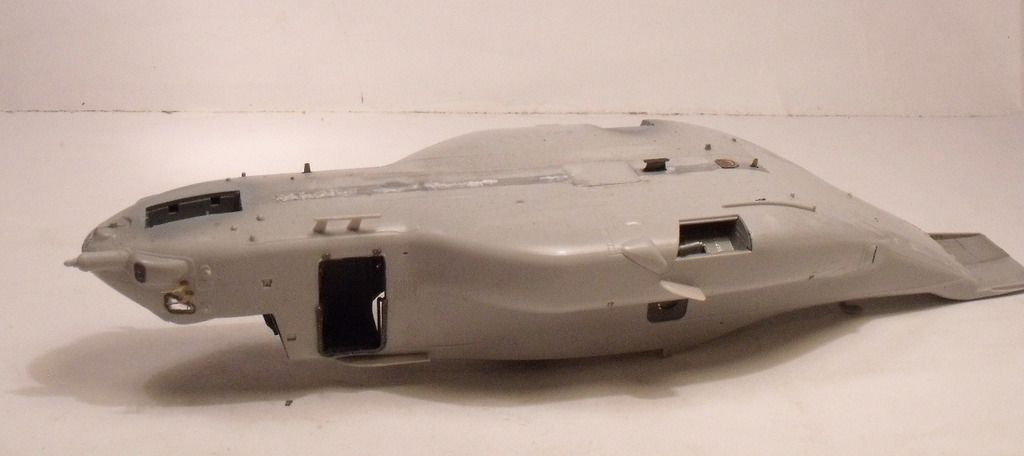
Been making slow but steady progress on the Osprey. Managed to get the interiour parts fitted and the fuselage together. This largely went well. But there was a bit of a bulge on one side of the join underneath, not sure why as the top was fin and tehre was nothing inside pushing it out. But some clamps sorted that.
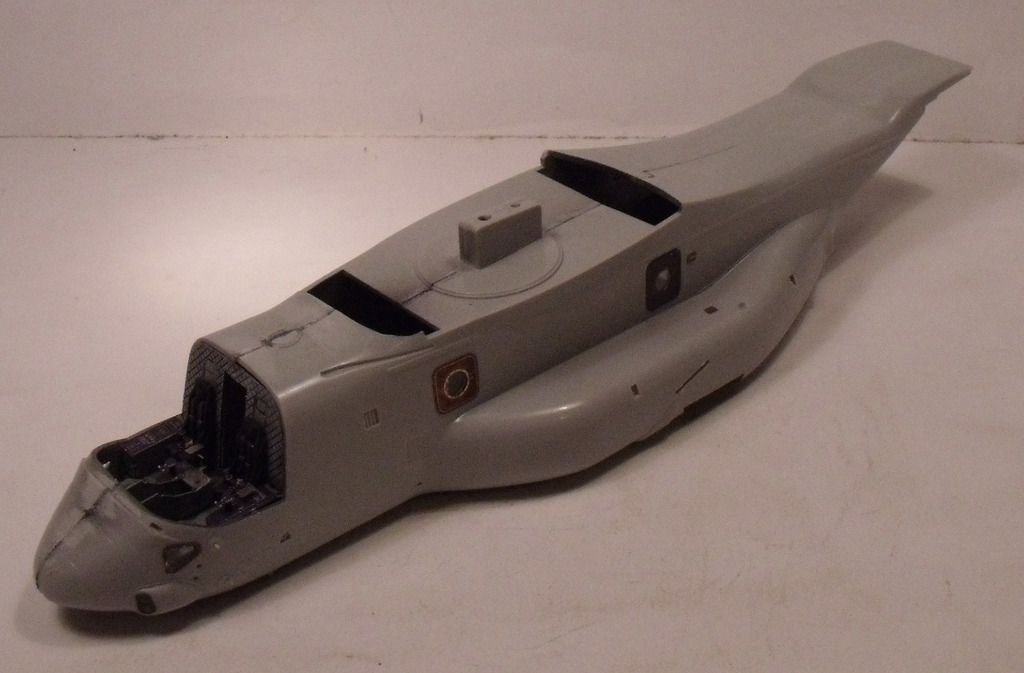
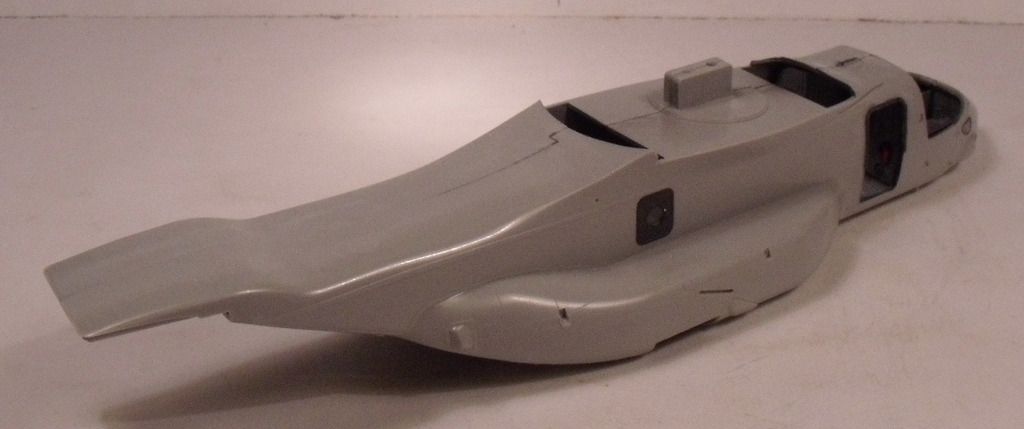
Gave the seams a rub down and all the external bits fitd. I also tried out a new tool. Joe Rix sent me over a Testors silver enamel marker. Testors is impossable to get hold of over here and i had asked Joe about the marker after seeing him use one. Seams have been my real weak point, so anything that can help is appreciated, and i really liked this. Shows up all the errors really well and i think the seam on this will be my best yet.
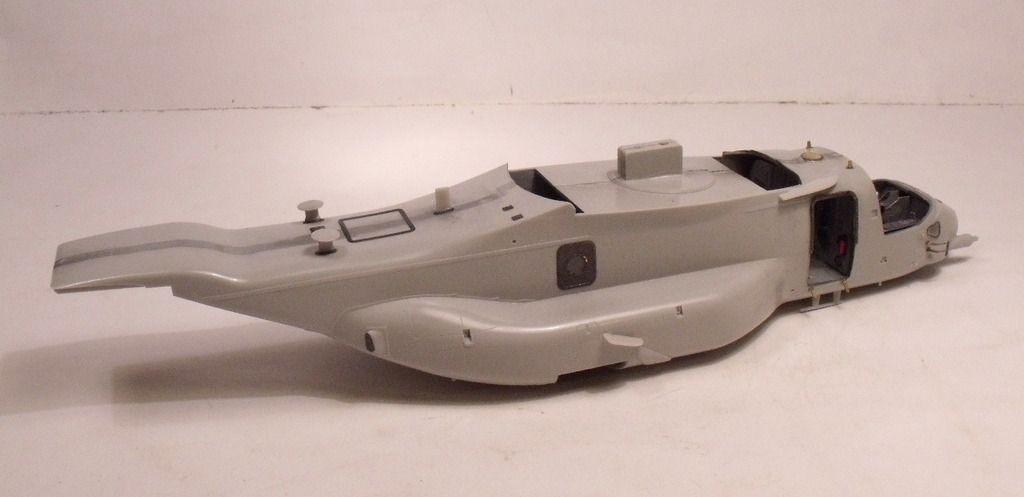
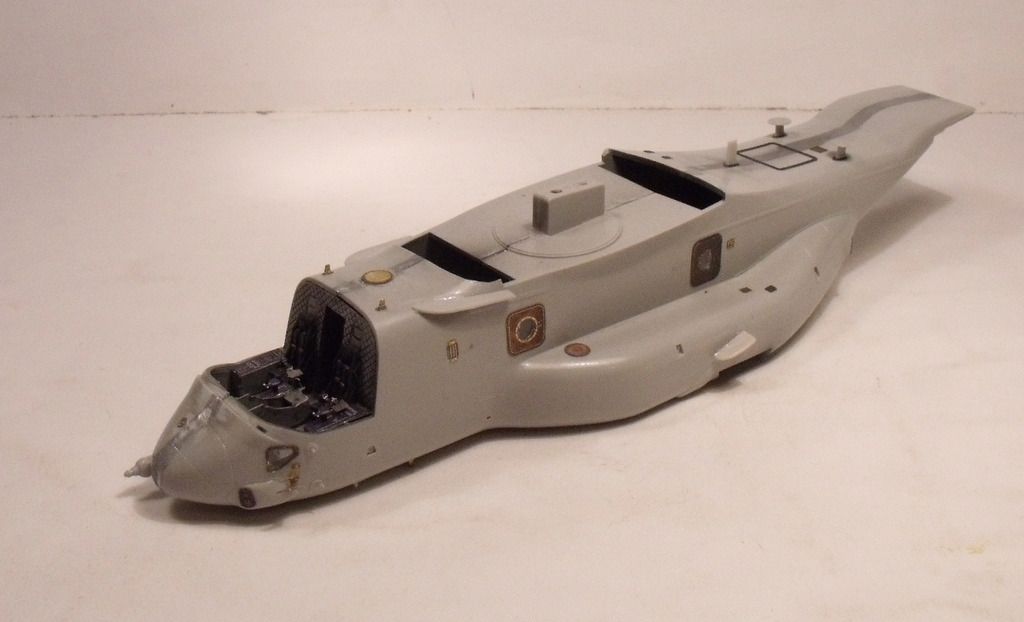
Just a bit of rubbing down to do on the underside and fit the canopy and the fuselage will be done.

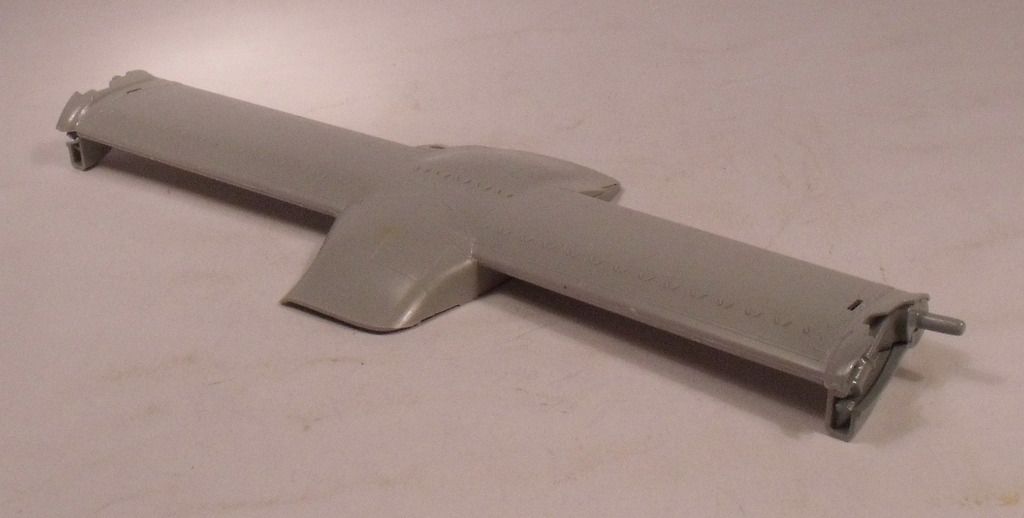
I have got the wings together and can concentrate on finishing those off before i fit them.
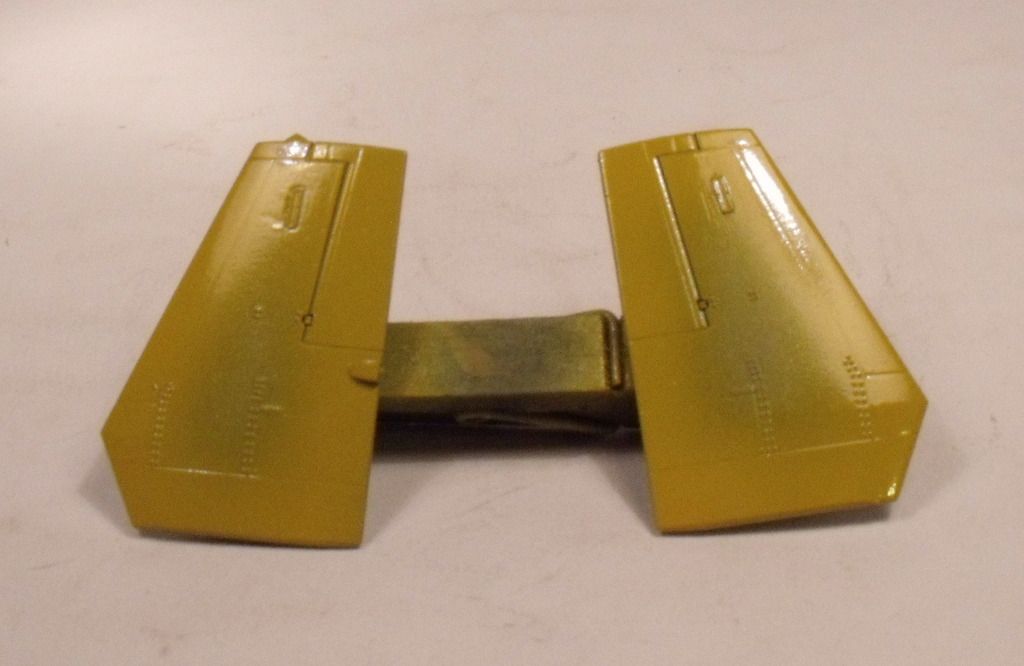
The kit goves you 2 options for the tail markings. The first is one large decals with all the details on it. Or you can paint the tail and all the detail markings are provided seperatly. Given all the little bups on the tail, i figured the single dcal would be a pain, so decided to paint. Firstly some Xtracoour Insignia yellow.
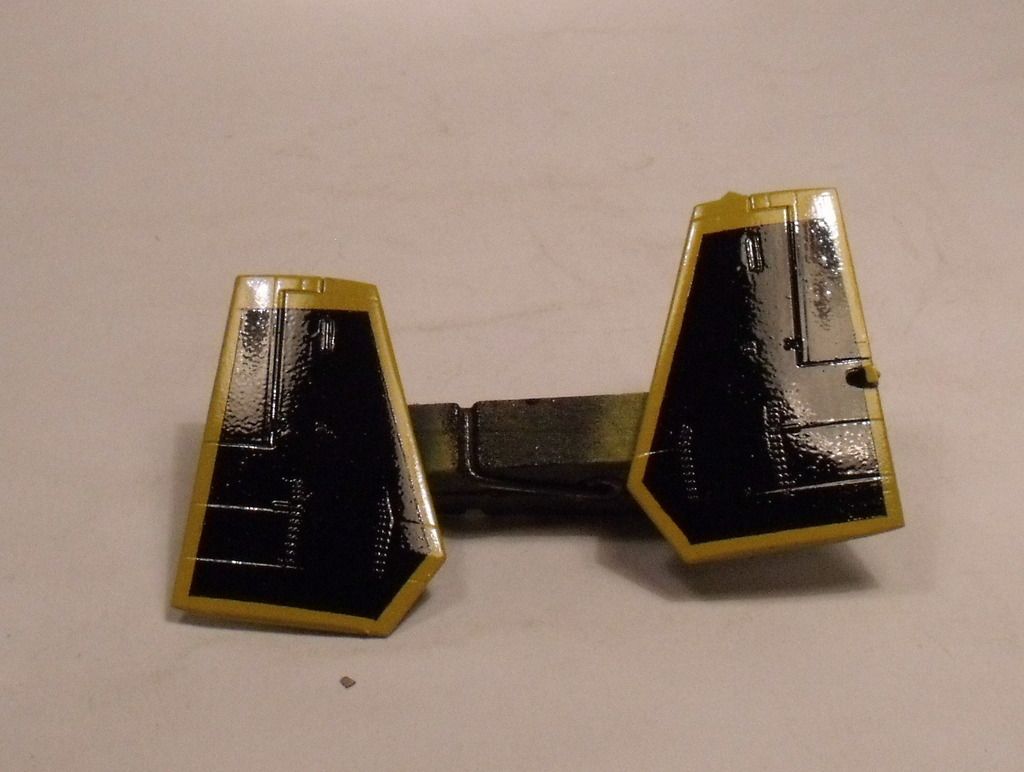
After masking, i then sprayed Humbrol Gloss black.
Thats all for now, another update soon(ish)


I am a Norfolk man and i glory in being so


On the bench: Airfix 1/72nd Harrier GR.3/Fujimi 1/72nd Ju 87D-3

  • Member since
    June 2014
Posted by BrandonK on Monday, December 7, 2015 5:54 PM

There is really no reason, given what I went through to get this down for it to do this. Perhaps I have a bad batch. 

I've grown to hate this stuff. I won't be using it on a full kit again. Bits and bobs, but that's it. I cleaned and sanded the kit. I primed the surface fully with Alclad black primer and microfiller, and sanded that smooth as heck. Shot the Alclad polished aluminum, a bottle and a half with multiple coats. Let it dry 2 days and clear coated it with Alclad Aqua gloss, twice. Let that dry two days. Masked for the anti-glare paint and this happens. 

I've already sanded it all down with 3000 grit and will shoot some OD over NG in the next few days. I have enough NG, but I think I may run out of OD. Next one of these is gonna get the full bare metal foil finish. I'm just at my whits end with the stuff.

BK


PS, if your dog is limping, it wasn't me. Confused

On the bench:

A lot !! And I mean A LOT!!

2024 Kits on deck / in process / completed   

                         14 / 5 / 2  

                              Tongue Tied

  • Member since
    June 2013
Posted by bvallot on Monday, December 7, 2015 4:29 PM

BrandonK

...Sealed with Alclad Aqua gloss clear, two coats...


Brandon, I realize you may well just be tired of attempting Alclad paints, but at the least let me offer something that may give you piece of mind.

It's my less is more theory. =]  Alclad is a laquer based paint.  It adheres to the surface by bonding with it.  This makes it very durable.  Primers are typically meant to help prep the surface to accept whatever paint you're using...so they're a good thing.  But if you're sealing this primed surface with a clear coat of some kind, then you may be shooting yourself in the foot by preventing the alclad from bonding.  Not sure if I'm missing something else here.  But I can tell you from my own experience, I'll polish down my surface to remove scratches, clean it, put down a coat of Alclad Gloss Black, and then whatever Alclad color I'm painting with next.  Just like that.  I never even use clear coats unless there is an acrylic painted surface (i.e. some Tamiya color like an OD green or what have you).  I think the other thing a lot of modelers don't consider is the environment that they're painting in.  I paint indoors with a cool, dry environment.  This probably helps the paint to set up much faster.  When the temperature and humidity go up...so do your dry times depending on the medium with which you're painting.

Just my two cents.  Hope it's of some help.  Maybe even if it just helps you from thinking you're going crazy.

[edited]

I realized after the fact I may have misunderstood the timing behind your pictures.  If that's the case, then I apologize.  I've left the previous post alone for if that's not the case.  You still may consider the bottom portion about heat/humidity.  I'm sorry to hear that you've had so much headache with the stuff.  I have personally never had any of the issues other people talk about...so maybe without having to troubleshoot my way through any of it, I might be of little use there notwithstanding the aforementioned.

Good luck to you though. And maybe just keep in mind less is more.  =]

On the bench:  

Tamiya F4U-1  Kenneth Walsh


  • Member since
    July 2014
Posted by modelcrazy on Monday, December 7, 2015 3:56 PM
 

Well besides BK's frustration, I ordered the 1/18 Packard Merlin engine from HpH models in Czechoslovakia for my b-day. I hope it gets here before the build is over, and doesn’t end up in Melbourne Australia. I emailed them right after just to make sure they knew I was in the US. We’ll see. It should be a very cool display once completed. Maybe I should put a geared motor in it to make the prop spin. Huh?

Edit. Sorry wrong build, although there you go, you know what I'm waiting for. Embarrassed

Steve

Building a kit from your stash is like cutting a head off a Hydra, two more take it's place.


http://www.spamodeler.com/forum/

  • Member since
    April 2014
Posted by B_one fixer on Monday, December 7, 2015 3:41 PM

Sorry to hear that about the alclad. I usually use model master metalizer sealer to seal in alclad. I let the sealer cure for 24 hours before i do masking. So far i have not had any lifting.

JOIN OUR COMMUNITY!

Our community is FREE to join. To participate you must either login or register for an account.

SEARCH FORUMS
FREE NEWSLETTER
By signing up you may also receive reader surveys and occasional special offers. We do not sell, rent or trade our email lists. View our Privacy Policy.