SEARCH FINESCALE.COM

Enter keywords or a search phrase below:

Last blast, let's go out in a blaze of glory! Weekend Group Build the 2015 Edition.

14946 views
354 replies
1 rating 2 rating 3 rating 4 rating 5 rating
  • Member since
    June 2008
Posted by lewbud on Friday, December 4, 2015 7:09 AM

Go for it Tony! I shall be joining you later today.

Buddy- Those who say there are no stupid questions have never worked in customer service.

  • Member since
    April 2005
  • From: Australia
Posted by taxtp on Friday, December 4, 2015 7:26 AM

12.26pm Friday night

Bedtime, I managed to get all the parts off the sprues and cleaned up ready to go tomorrow.

Cheers

Tony

I'm just taking it one GB at a time.

  • Member since
    April 2005
  • From: Australia
Posted by taxtp on Friday, December 4, 2015 1:19 PM

Back onto it, I want to get the interior done before the Saturday morning run around starts.

Another update soon.

Cheers

Tony

I'm just taking it one GB at a time.

  • Member since
    April 2005
  • From: Australia
Posted by taxtp on Friday, December 4, 2015 2:50 PM

The cockpit of this old kit is not bad. I felt a little rudimentary sidewall detail would help it along a bit.

Cheers

Tony

I'm just taking it one GB at a time.

  • Member since
    July 2004
  • From: Sonora Desert
Posted by stikpusher on Friday, December 4, 2015 3:24 PM

Nice work so far Tony.

Lew, I am gonna hold off for this weekend and try to get at my build next weekend.


F is for FIRE, That burns down the whole town!

U is for URANIUM... BOMBS!

N is for NO SURVIVORS...

       - Plankton

LSM


  • Member since
    November 2015
Posted by The Migrant on Friday, December 4, 2015 7:03 PM

I'm a big fan of the old Heller kits, Tony; looking forward to seeing this completed. I like the colour scheme too. Yes

Mike G

Western Canada

  • Member since
    June 2008
Posted by lewbud on Friday, December 4, 2015 10:38 PM

Looking good Tony.  Stik, no problem, we'll be here.  As for me, I had to change plans.  Turns out I had lost the instructions to the Macross kit, so I'm building a 1/72 Tamiya P-51D in Israeli markings. An hour and a half in, wings are assembled, cockpit is primed and ready for paint.

Buddy- Those who say there are no stupid questions have never worked in customer service.

  • Member since
    February 2010
  • From: New Jersey
Posted by 68GT on Saturday, December 5, 2015 7:58 AM
I'm thinking that next weekend is my window for the Ho 229.

On Ed's bench, ???


  • Member since
    June 2008
Posted by lewbud on Saturday, December 5, 2015 8:54 AM

68GT
I'm thinking that next weekend is my window for the Ho 229.
 

Looking forward to it!

Buddy- Those who say there are no stupid questions have never worked in customer service.

  • Member since
    April 2005
  • From: Australia
Posted by taxtp on Sunday, December 6, 2015 6:46 AM

Hi Folks,

I didn't get her done, spend too much time on the canopy fit and then had a good afternoon and evening with the family. I'm happy with it so far, will finish it off during the week. I'll post some ore WIP photos tomorrow, as it's nearly midnight now.

At the 48 hour mark, had it sprayed aluminium, and most of the add on bits mostly done.

Here is the latest shot.

Mike, I'd forgotten how good they were. I like to bring up these old kits too, so will get a few more on top of the 6 or so in the stash.

Back to this build, I could have almost muscled it through to completion, but I didnt want to compromise the quality as much as I would have had to.

Cheers

Tony


I'm just taking it one GB at a time.

  • Member since
    June 2008
Posted by lewbud on Sunday, December 6, 2015 9:13 AM
Sorry to see you didn't get her done in time Tony, but she's looking good. At the 36 hour mark, I'm finally shooting paint. No problems with the kit, it's Tamiya's 1/72 P-51 it basically falls together. Life intruded, and some difficulty with the Eduard photoetch led to production delays. Looking forward to next weekend's builds.

Buddy- Those who say there are no stupid questions have never worked in customer service.

  • Member since
    February 2010
  • From: New Jersey
Posted by 68GT on Sunday, December 6, 2015 11:26 AM

Thats too bad Tony but Family comes first.

On Ed's bench, ???


  • Member since
    April 2015
Posted by Mopar Madness on Sunday, December 6, 2015 5:43 PM

If the weekend of the 18th is still available, I'd like to commit to building the 1/72 Academy Me-163 S.  In honor of my fallen egg plane if you will.  Man I can still hear the crack of the plastic as I dropped it, fell over my chair, and stepped on it!

Chad

God, Family, Models...

At the plate: 1/48 Airfix Bf109 & 1/35 Tamiya Famo

On deck: Who knows!

  • Member since
    June 2008
Posted by lewbud on Sunday, December 6, 2015 6:34 PM
Bring it on MM! See you there.

Buddy- Those who say there are no stupid questions have never worked in customer service.

  • Member since
    June 2008
Posted by lewbud on Sunday, December 6, 2015 10:06 PM
Well 9:00 came and went, but no joy. Decals are on, and I've got about 4-6 parts to paint then she'll be done.

Buddy- Those who say there are no stupid questions have never worked in customer service.

  • Member since
    April 2005
  • From: Australia
Posted by taxtp on Monday, December 7, 2015 6:53 PM

It is pretty hard to make it, right ? You got close Lewbud, thats a good effort.

I thought  Ishould paste some WIP pics of my Bf 108. Before I do, current status is that I started applying decals last night. It looked likea simple job...famous last words.

I'm using some aftermarket decals from a company called Print Scale. They are very thin, and look great on the model. But, they do tend to want to fold over on themselves, and don't slide around easily on the model, so they need to be positioned pretty well first up, with some minor adjustments.

all of that should be ok if your decalling technique is perfect. Mine wasn't. As a result I butchered one of the serials. Firtunately I can make a replacement, as I always scan the decals before using. It's currently drying, and I will apply it later today.

I'll also mask and paint the rudder tricolor, as I thought the blue in the decals was very bright, and full length rudder decals never quite fit perfectly.

Here's my WIP shots...I liked the interior, the kit was good, but the canopy fit was awful. I'm not willing to blame the kit, as this was a rush job so I may have contributed to it.

I'm just taking it one GB at a time.

  • Member since
    June 2008
Posted by lewbud on Monday, December 7, 2015 7:46 PM

Thanks Tony, your 108 is coming along nicely.  Anyways, here's some pics of my latest attempt.  Tamiya's 1/72 P-51 in Israel's Big Wing Squadron Markings.

Proof of start pic.
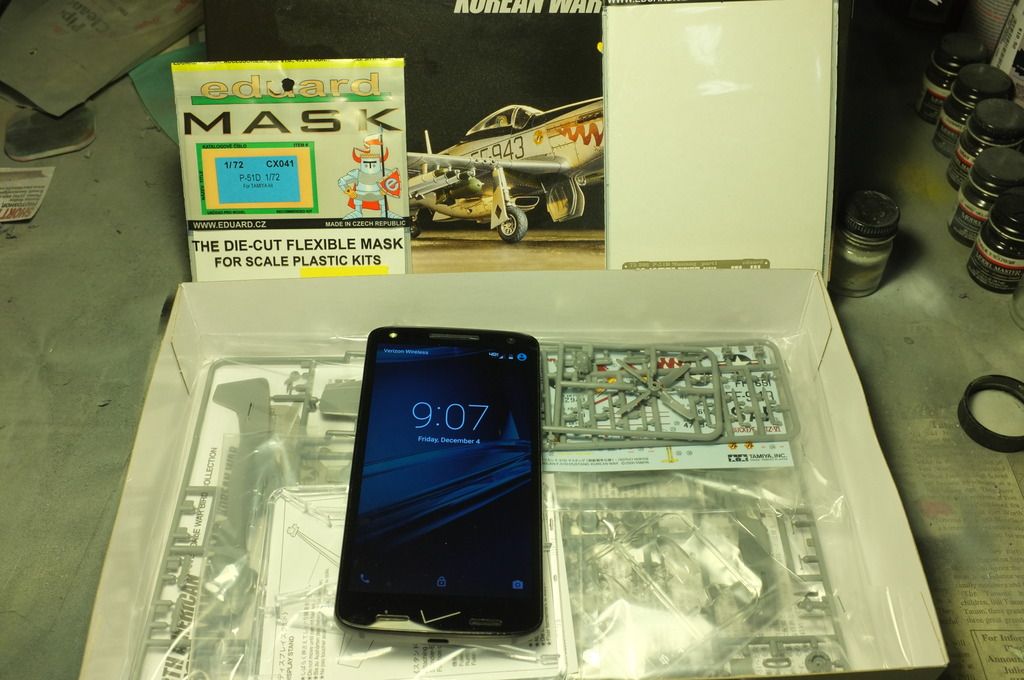
pics of the attempt at using Eduard's photoetch.  This would ultimately be a failure as the two pieces that act as canopy rails would eventually come off.  One was almost a sacrifice to the parts monster under the work table, the other lodged itself in the cockpit and couldn't be removed without destruction.
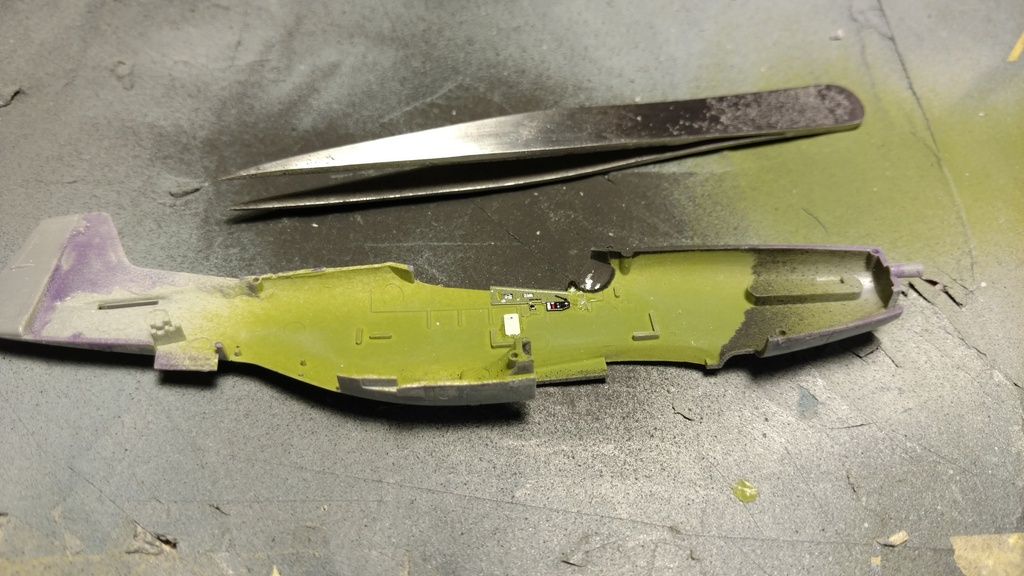
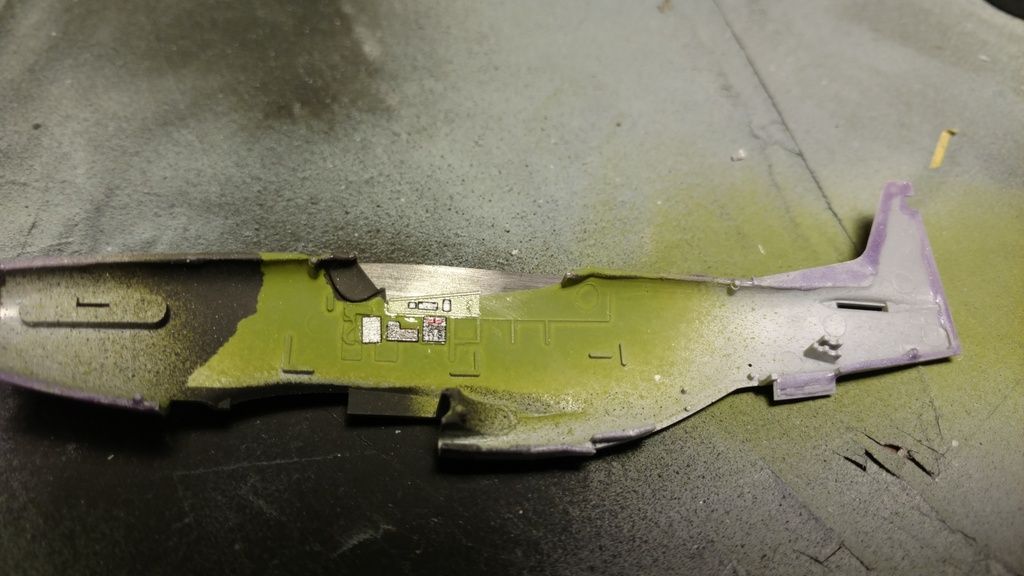
At this point, I had errands to run and a MINI club Christmas party to get to.  I'm thinking, it's a Tamiya shake and bake, I've built at least five of these. I've got plenty of time, what can go wrong?  I got back from the party, spent some more time at the table, and went to bed with something that looked like a P-51.  Overnight, the bit of putty needed dried. When I awoke, I got up and sanded the putty and 36 hours into the build, she looked like this.
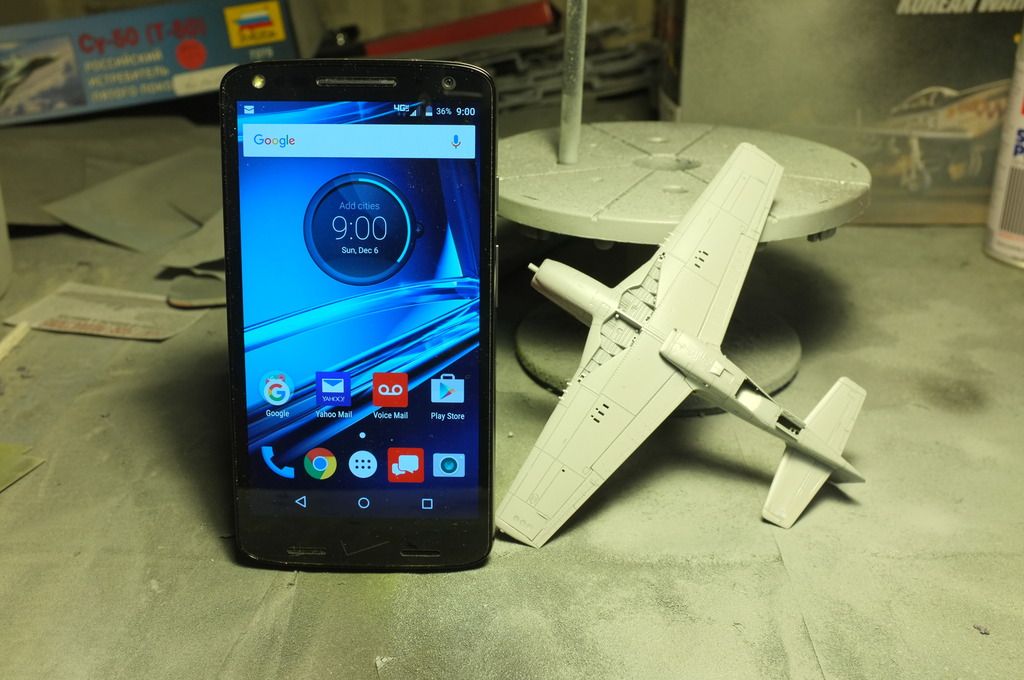
Having built both the 1/72 and that other scale (they call it 1/48 I think, weird), I like what Tamiya did with the fuselage top on the 1/48. Being a separate piece, you don't lose the roundness of the fuselage top.  On it's little brother, you have to be careful with the sandpaper. Back to the pics.

By now, either the final coat of primer is on, or I've just shot the bottom with Light Ghost Gray, can't really tell at the moment.
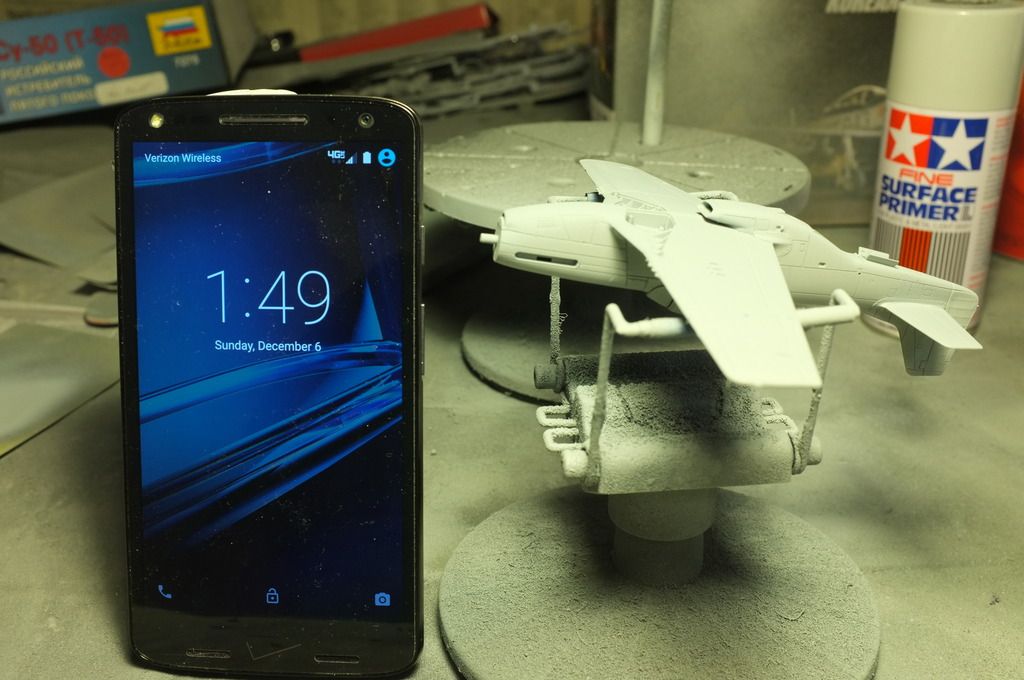
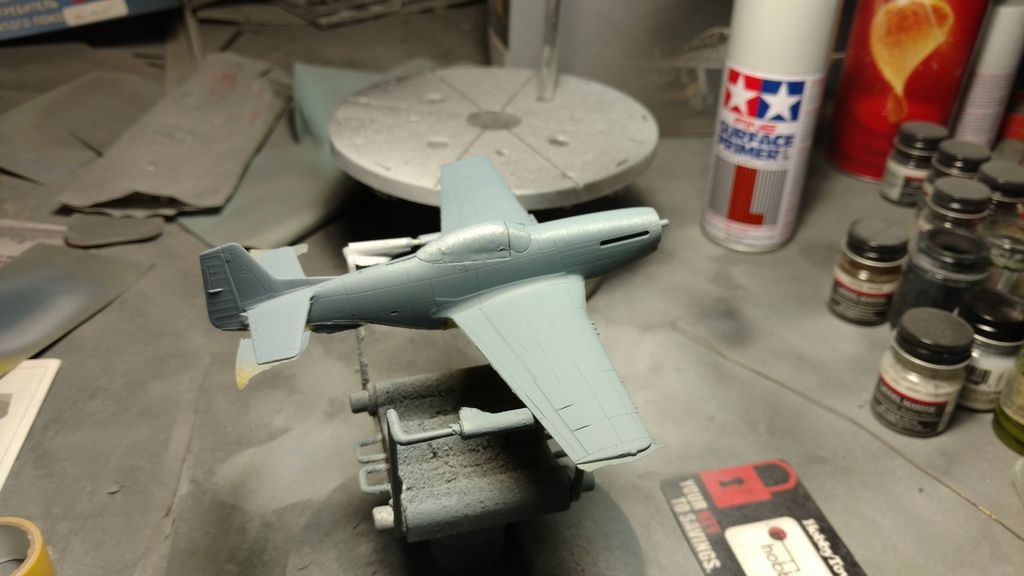
And now, the intermediate blue.
And time has run out.  The dark earth and decals have been applied. Landing gear and wheels have been painted. Prop and spinner are assembeled and painted.  
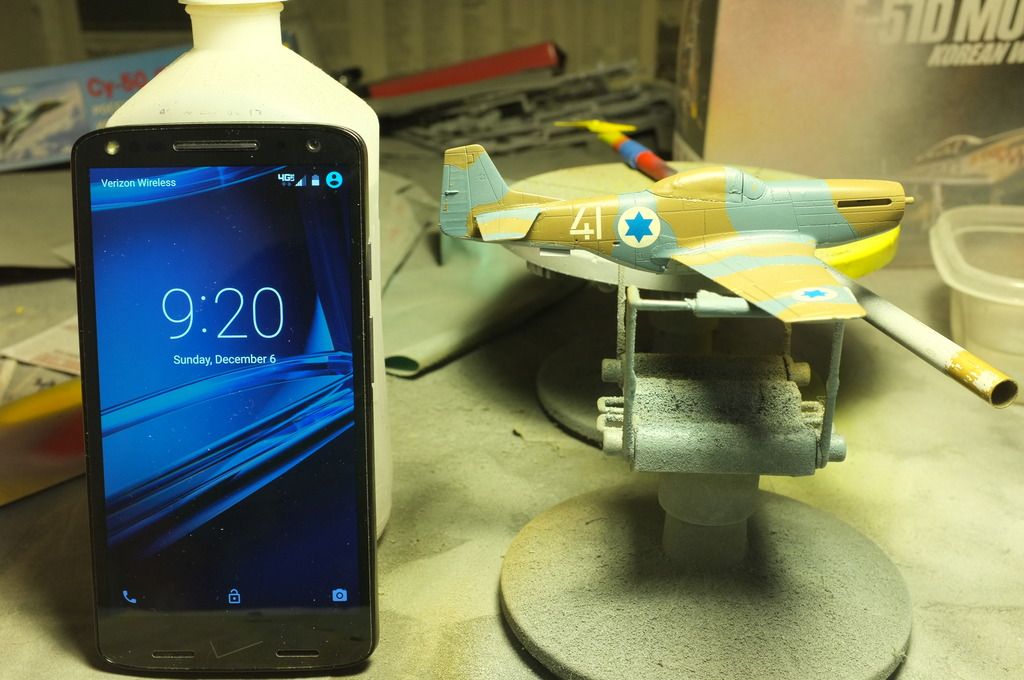
This is how she looks now.  I wasn't too keen on the paint scheme at first, but the more I've looked at it, I find it to be rather attractive.  At this point, all that is left to be painted are the exhaust stack shrouds (natural metal), the canopy frame under the bubble (natural metal), and the landing gear actuator arms.  She should be on her mains tomorrow.   Now, what to build for this coming weekend? Off to the stash.


Buddy- Those who say there are no stupid questions have never worked in customer service.

  • Member since
    April 2015
Posted by Mopar Madness on Monday, December 7, 2015 9:05 PM

You guys are machines!  Nice builds.

Chad

God, Family, Models...

At the plate: 1/48 Airfix Bf109 & 1/35 Tamiya Famo

On deck: Who knows!

  • Member since
    April 2005
  • From: Australia
Posted by taxtp on Monday, December 7, 2015 9:34 PM
Great job Lewbud, you've done well. Nice looking model. Cheers Tony

I'm just taking it one GB at a time.

  • Member since
    September 2012
Posted by GMorrison on Monday, December 7, 2015 9:36 PM

Me. may start middle of this week.

 Modeling is an excuse to buy books.


  • Member since
    June 2008
Posted by lewbud on Wednesday, December 9, 2015 7:14 AM
Thanks Tony. Looking forward to your build, your Bondoness.

Buddy- Those who say there are no stupid questions have never worked in customer service.

  • Member since
    October 2013
Posted by ajd3530 on Thursday, December 10, 2015 1:06 AM

Oh and during this time, I have also dabbled with VVS colors. I have concocted my own interpretation of AMT-7 using Tamiya acrylics. For AMT-11 I will be using neutral gray, and for AMT-12, I will be using RLM 74, with maybe a tad of RLM 71 mixed in to give it a slight greenish hue.

  • Member since
    June 2014
Posted by BrandonK on Thursday, December 10, 2015 9:02 AM

ajd3530

Oh and during this time, I have also dabbled with VVS colors. I have concocted my own interpretation of AMT-7 using Tamiya acrylics. For AMT-11 I will be using neutral gray, and for AMT-12, I will be using RLM 74, with maybe a tad of RLM 71 mixed in to give it a slight greenish hue.


I thought about trying that also but gave up and ordered some Akan paints for my next two Soviet builds. I'll let everyone know how it goes.

BK

On the bench:

A lot !! And I mean A LOT!!

2024 Kits on deck / in process / completed   

                         14 / 5 / 2  

                              Tongue Tied

  • Member since
    July 2004
  • From: Sonora Desert
Posted by stikpusher on Thursday, December 10, 2015 7:20 PM

ajd, nice kit choice. I have had that one in my stash for many years but never gotten around to building it. True Details makes a cockpit set, a vac canopy, and some wheels to improve the basic kit if you ever decide to build it in a more upgraded fashion. Also there are some tweaks that need to be made since Hobbycraft made it in common with their LA-7. Some openings to be filled and such, nothing major.


OK, I am in for this weekend, starting after dinner here tonite. With this kit.

I am actually only to build the Okha for this GB as I plan to upgrade the cockpit a bit as it is typical 1960's Hawk vintage... aka minimal. I may work on the V-1 during downtime, but the Okha is my main project.


F is for FIRE, That burns down the whole town!

U is for URANIUM... BOMBS!

N is for NO SURVIVORS...

       - Plankton

LSM


  • Member since
    June 2008
Posted by lewbud on Thursday, December 10, 2015 11:47 PM
Ajd, looking good! Welcome aboard Stik! The front page has been updated with your builds. I shall be attempting Hasegawa's 1/72 AD-6 Skyraider, wearing the colors of VA-65. Good luck gentlemen!

Buddy- Those who say there are no stupid questions have never worked in customer service.

  • Member since
    July 2004
  • From: Sonora Desert
Posted by stikpusher on Friday, December 11, 2015 1:12 AM

Thanks... well I kicked off at around 2039 hrs. Pacific Standard Time, and I have been working for the past coupe hours

let me just say, that trying to get these photos uploaded has taken me a good 30 minutes due to the usual POS quality of Photbucket... I do HATE their site since they revamped it a couple summers back...

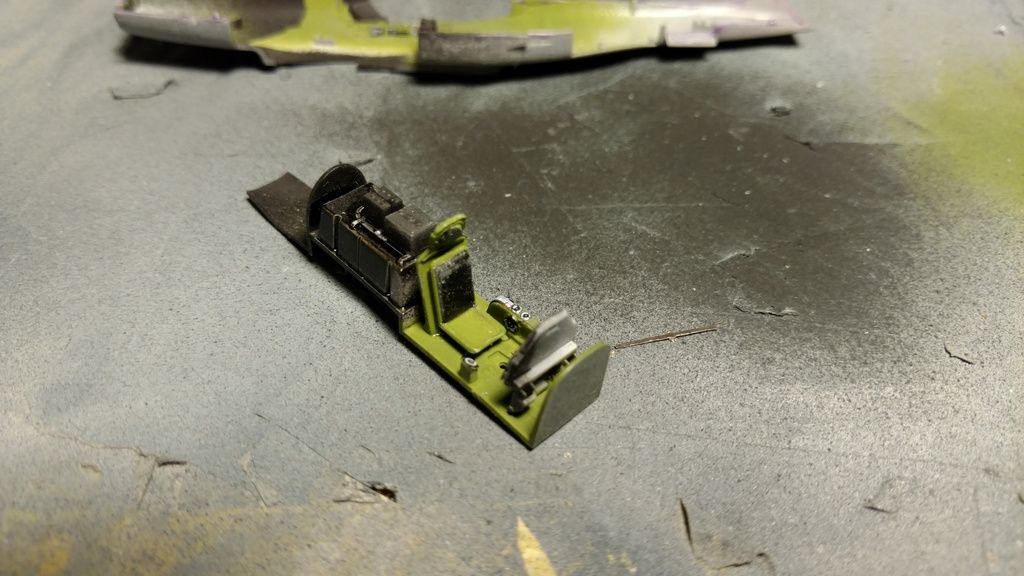
anyways, I am replacing the kit seat, that you see in the middle here and ditching the pilot... I think you can see why. I pulled the seat on the left out of my spares bin (from a Tamiya Ki-84) and modified it to a typical Japanese aircraft seat. I have only found a couple period photos of the Ohka's cockpit, and none show the seat clearly. All the musueam stuff today shows a variety of seats so, I guess I am using hisotrical license here...

sub assemblies built so far- wings, tailplane, rocket engines... I'll do seam clean up tomorrow

a backing for the instrument panel. Tomorrow I will do the real work on that.

stand, since the kit does not come with the ground handling dolly that these things are photograhed upon in period photos

and a couple shots of the fuselage so far. some beginning of interior framework, and the fuselage rear bulkheads in place drying to proper postion. The fuselage halves are not yet glued together, only head to gether for the bulkhead placement and those are glued only to one side.

I have also dipped the canopy in Future and that is drying now...


F is for FIRE, That burns down the whole town!

U is for URANIUM... BOMBS!

N is for NO SURVIVORS...

       - Plankton

LSM


  • Member since
    June 2014
Posted by BrandonK on Friday, December 11, 2015 9:30 AM

That's a pretty neat little kit Stik. I don't think I've ever even heard of a OKA, let alone seen one. Nice.

BK

On the bench:

A lot !! And I mean A LOT!!

2024 Kits on deck / in process / completed   

                         14 / 5 / 2  

                              Tongue Tied

  • Member since
    July 2004
  • From: Sonora Desert
Posted by stikpusher on Friday, December 11, 2015 11:46 AM

Thanks Brandon. The kit is older than I am, probably from the early 60's or before. The "Hawk" branding, proud and plain to see inside the fueslage halves.

Look up the Yokosuka MXY7 for detailed information on the Ohka. Basicly a rocket powered manned bomb carried to the target area (US Fleet) under a Betty bomber, released from a stand off distance. The pilot would glide until he saw a target, then dive, ignite his rocket motors, and theoretically crash into it where the huge warhead would sink it. Unlike a traditional aircraft used in kamikaze attacks, once these were launched, there was no turning back.


F is for FIRE, That burns down the whole town!

U is for URANIUM... BOMBS!

N is for NO SURVIVORS...

       - Plankton

LSM


  • Member since
    September 2012
Posted by GMorrison on Friday, December 11, 2015 12:08 PM

Stik, if you are going in, I'm on your wing too.


Have you sourced the 1/48 Sake bottle yet?

 Modeling is an excuse to buy books.


JOIN OUR COMMUNITY!

Our community is FREE to join. To participate you must either login or register for an account.

SEARCH FORUMS
FREE NEWSLETTER
By signing up you may also receive reader surveys and occasional special offers. We do not sell, rent or trade our email lists. View our Privacy Policy.