SEARCH FINESCALE.COM

Enter keywords or a search phrase below:

The official Submarine Warfare Group Build 2016 - 2017

26057 views
611 replies
1 rating 2 rating 3 rating 4 rating 5 rating
  • Member since
    November 2008
  • From: Central Florida
Posted by plasticjunkie on Saturday, December 31, 2016 8:20 PM

Bish

The U Boat is looking great so far. Opening up the flood holes do detailing wonders. Hey for some reason after seeing your pictures, the vision of a movie I saw as a young lad in 1966 came to mind. Talking about "Assault on a Queen". 


 GIFMaker.org_jy_Ayj_O


Too many models to build, not enough time in a lifetime!!

  • Member since
    November 2008
  • From: Central Florida
Posted by plasticjunkie on Saturday, December 31, 2016 8:12 PM

As Steve mentioned , the hairspray method works only with acrylics. I tried using enamels as an experiment and it did not work. The longer you wait the harder it is to penetrate the acrylic paint coat so it's best to start attacking the paint when it's dry to the touch.

Another reason why rust is not seen below the waterline is due to the anti fouling paint that protects the metal. This is the same paint used on the teak decks and where some modeler incorrectly used rust colors on wood. Rust can streak down from above the waterline for a few feet as in the anchor pocket.

 GIFMaker.org_jy_Ayj_O


Too many models to build, not enough time in a lifetime!!

  • Member since
    July 2014
Posted by modelcrazy on Saturday, December 31, 2016 7:55 PM

Unfortunately the hairspray method only works with an acrylic, but that will only make chiped paint look right. The oils will be great for the rust.

Ship hulls won't typically rust under the waterline since you need air to assist in the rusting process. The builds you see with rust on the rudders and such look great but are a tad inaccurate. You will more likely see crusty sealife at the waterline and below. You can accomplish this using a stipple action with a thin filler like Mr thinned putty or something, then dry brush with a light gray and pastels. 

The upper hull can be streaked with a light color pastel to duplicate sun and salt caused paint fading. 

The deck paint should be worn to show shades of the teak wood. The paint wouldn't last long with the crew trampling all over it after being submerged again and again. 

Hope that helps.

Steve 

Steve

Building a kit from your stash is like cutting a head off a Hydra, two more take it's place.


http://www.spamodeler.com/forum/

  • Member since
    December 2002
  • From: Bury St Edmunds, Suffolk, England
Posted by Bish on Saturday, December 31, 2016 6:14 PM

Thanks Steve. Ye, it has gone together pretty quick.

One question about hairspray. Am i right in thinking it only works with Acrylics. I am going to be painting with enamels, so if the hairspray won't work, i'll add some chipping by dry brushing instead.

I was going to go with oils for the rust, so thanks for that info. Is there anything else you would recomend to give it a used look. I am used to adding dirt to planes and armour. But i can't imagine a ship would get dirty in the same way.

I am a Norfolk man and i glory in being so


On the bench: Airfix 1/72nd Harrier GR.3/Fujimi 1/72nd Ju 87D-3

  • Member since
    July 2014
Posted by modelcrazy on Saturday, December 31, 2016 6:08 PM

Nice start Bish. It looks like it went together fast except for the flashing.

I assume you were going to do some rusting. I found that priming the surface with a Burnt Umber or even something like Testors brown, then hitting areas with AK Interactives worn effects or hairspray and chipping with an exact blade can help with that chiped look

Iearning from PJ, I'll add Burnt Umber oils for old rust and Burnt Sienna oils for newer rust, especially around the flood holes.

Looking forward to seeing the next installment. 

Steve

Building a kit from your stash is like cutting a head off a Hydra, two more take it's place.


http://www.spamodeler.com/forum/

  • Member since
    December 2002
  • From: Bury St Edmunds, Suffolk, England
Posted by Bish on Saturday, December 31, 2016 5:48 PM

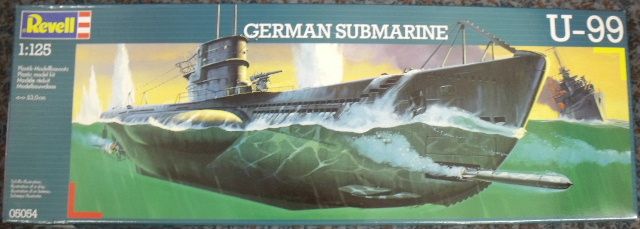
Thought it was about time i posted somthing on here. I built this kit once before many years ago, before i knew any better. As i understand its not all that accurate for a Type VIIB and some feature like the railings are to thick for scale. But i am not to worried about those with this build. My reasons for bulding this are, well, its the U-99, thats enough. But also so i can get some practicing at weathering before i tackle one of the big 72nd kits.
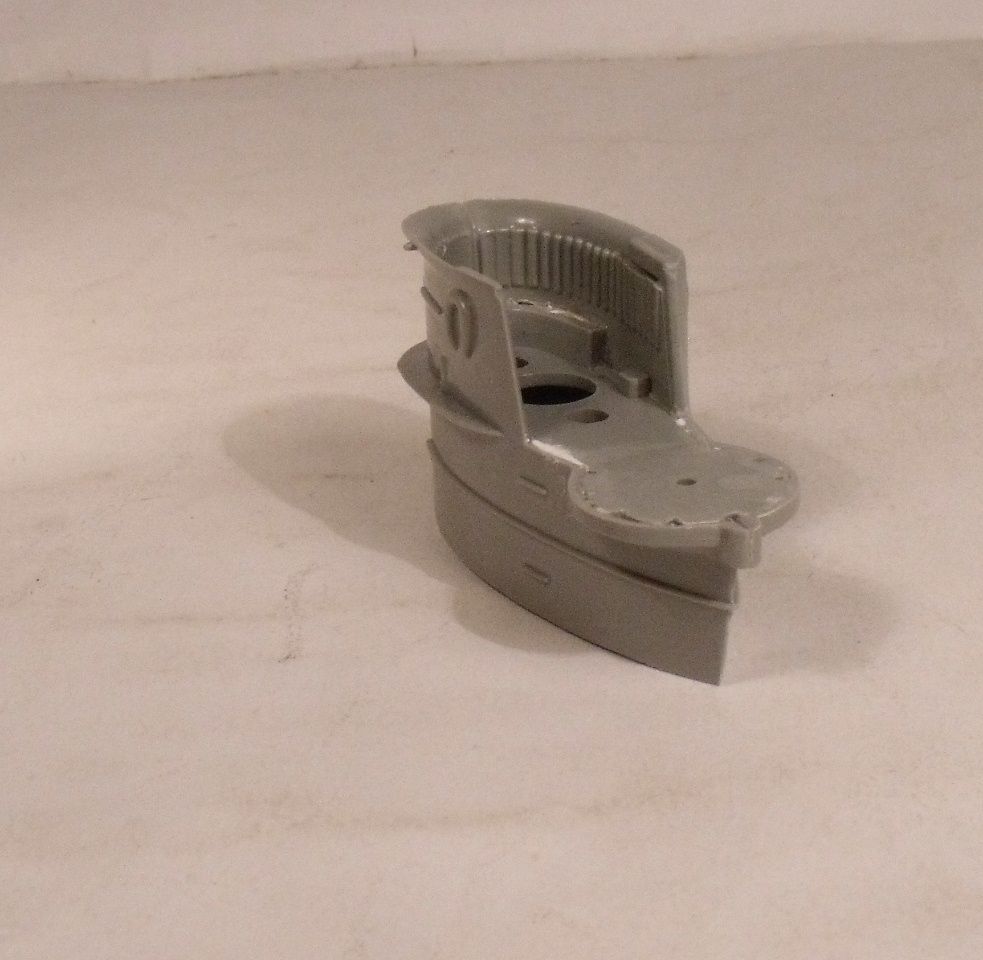
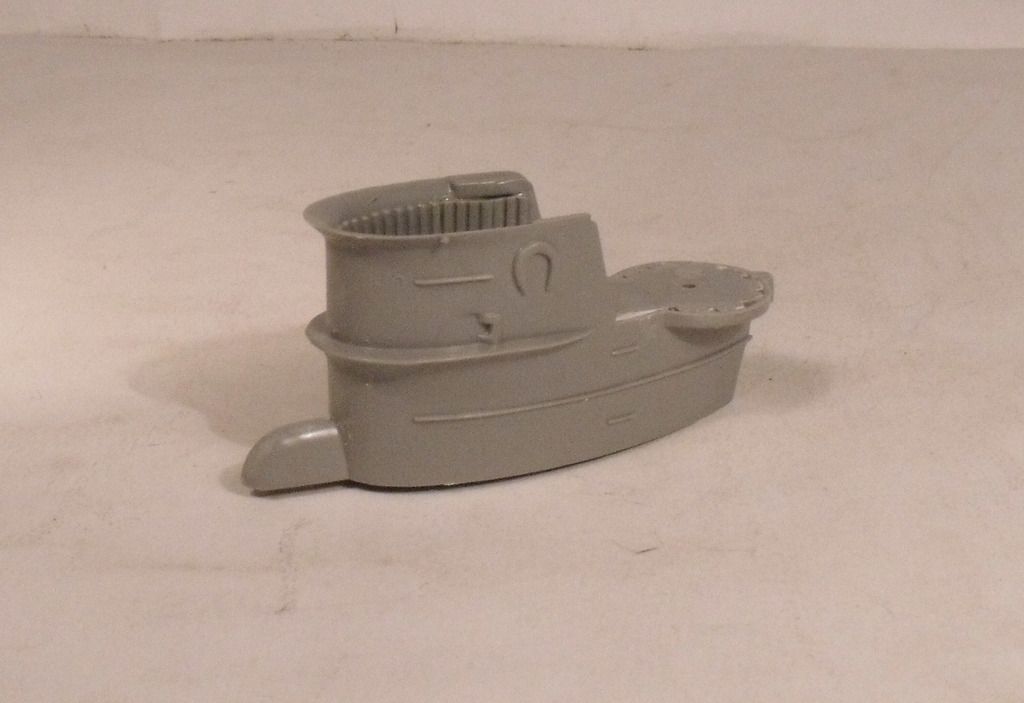
I started a few weeks ago when i had some spare time, just geting the flood holes drilled out and getting the hull and conning tower together.
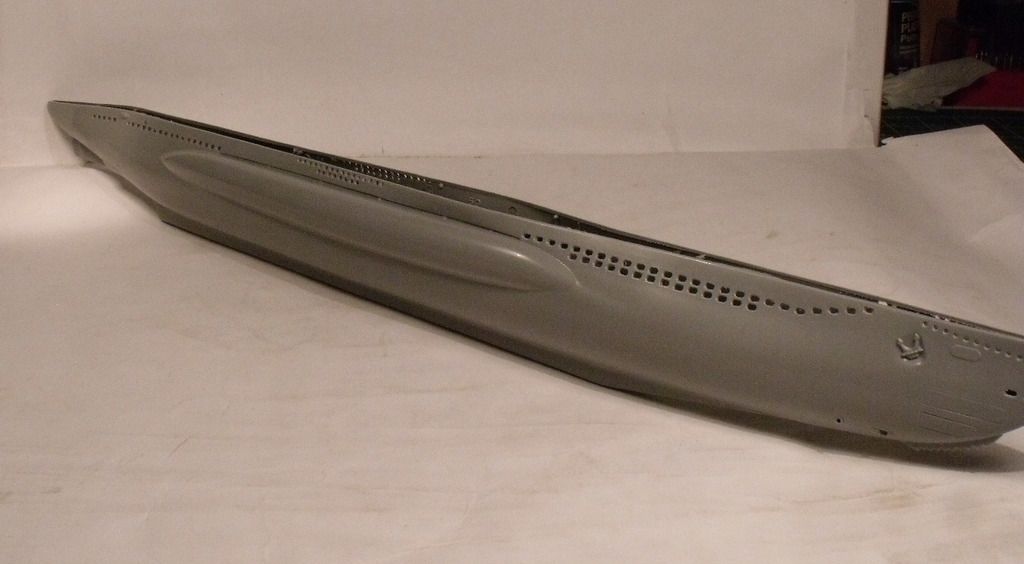
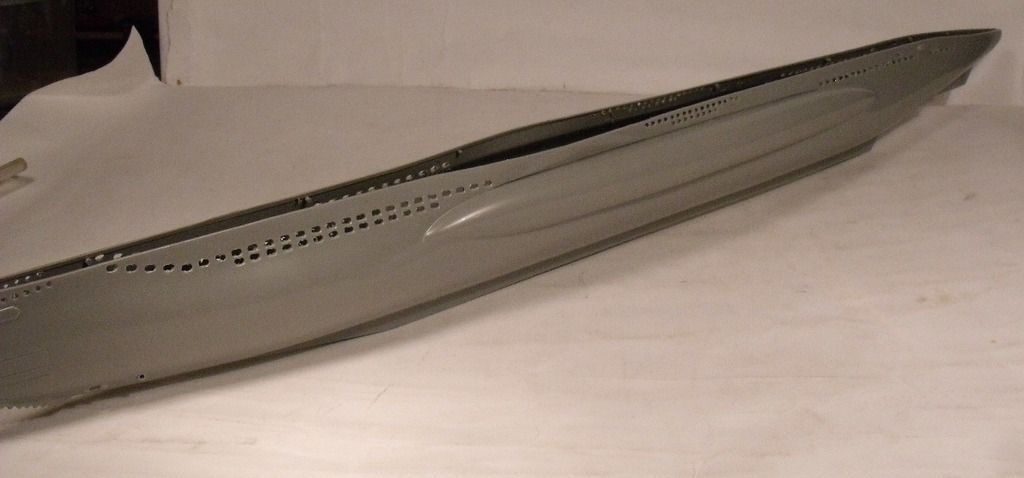
Then after finishing my 251 a few days ago, i could focus on this. The deck was a bit of a pain. I put the front half on first and then when i put the rear half in, it overlapped by a couple of mill. I had to trim it an dthis has thrown the tower out by a fraction. You can also see plenty of sink holes that needed filling.
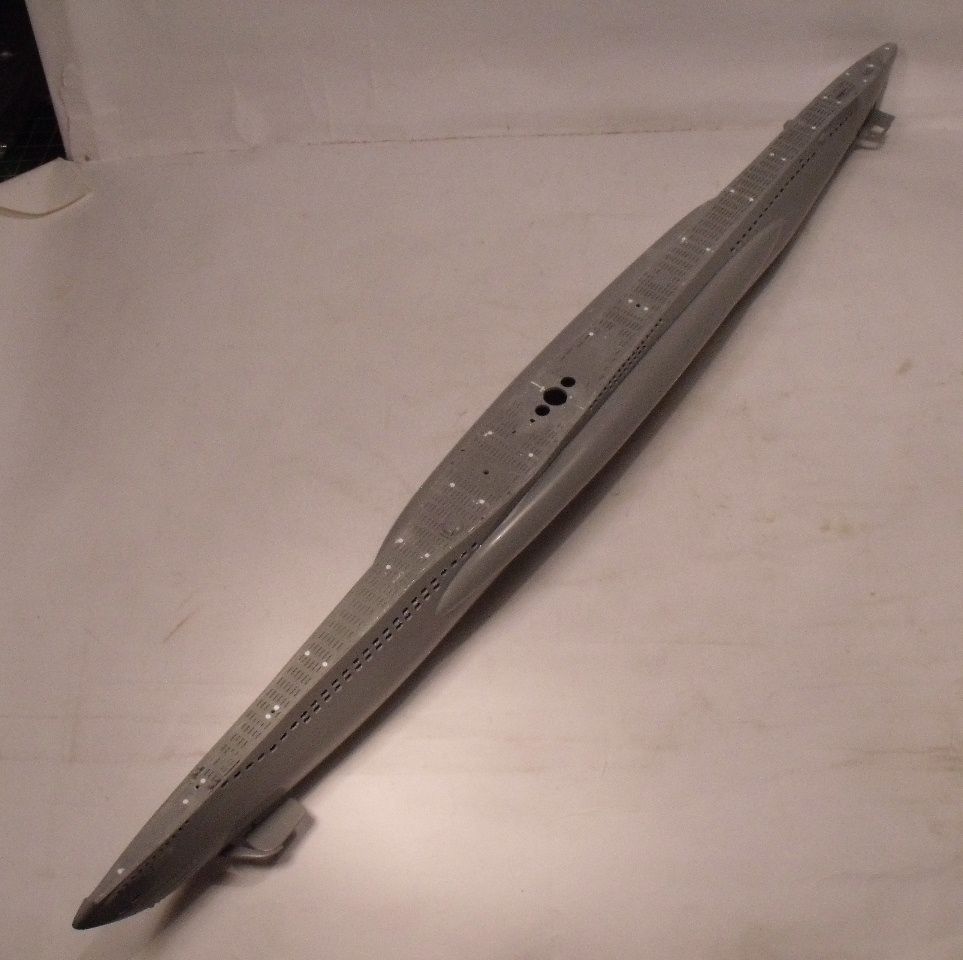
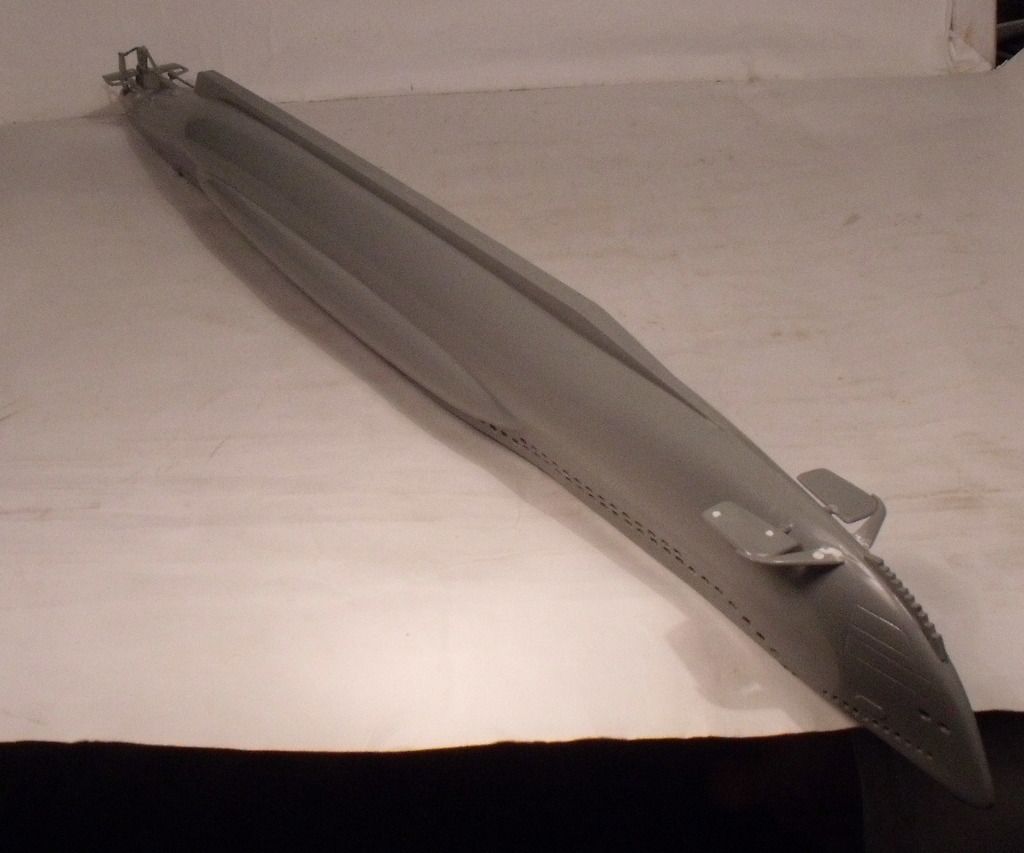
And then tonight i managed to get the construction done. I am leaving the deck gun off until after painting.

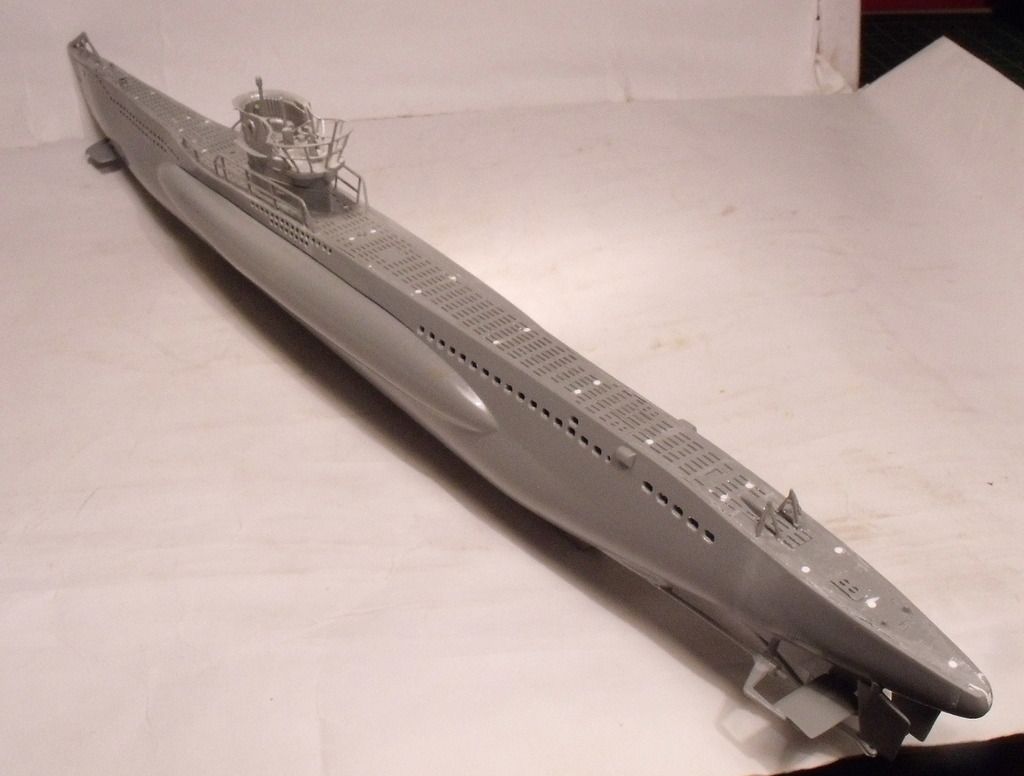
A couple of parts of the frame around the back of the tower had broken off and needed replacing with styrene rod. The 20m isn't all that well detailed, but it will serve.
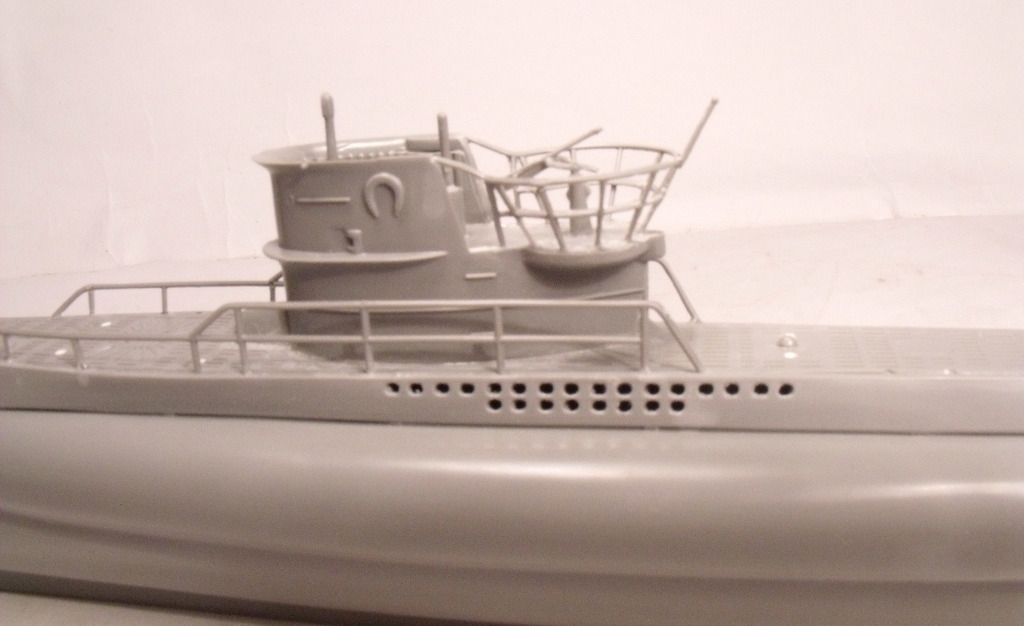
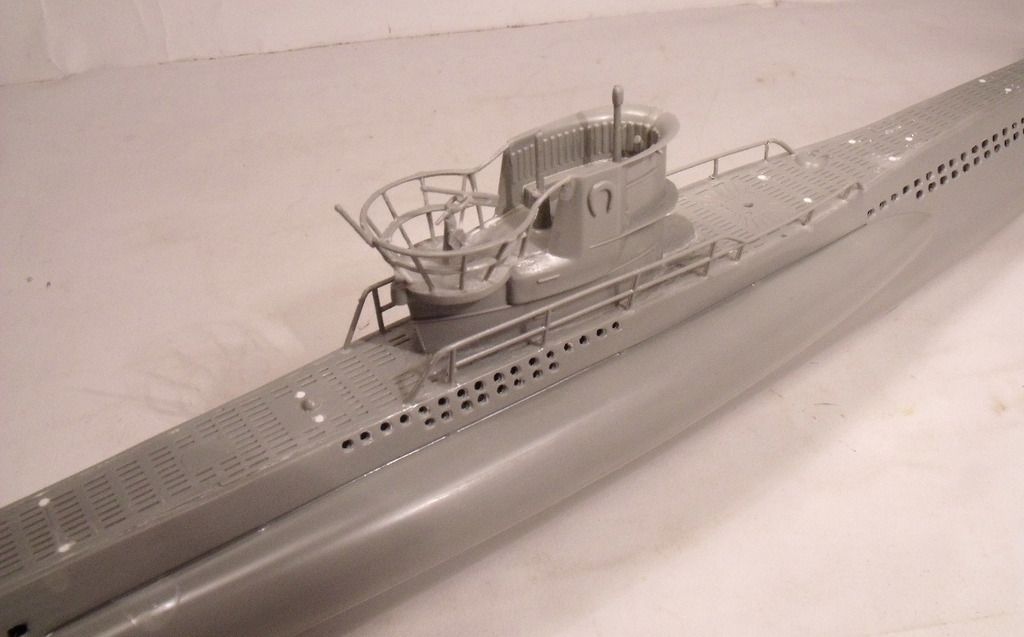
Overall its gone together pretty well. Lots of flash to clean up, and of course all those sink holes.

I am going to focus on my Imperial Shuttle from tomorrow. But i plan on getting this primed and painted so by the time the shuttle is done, i can concentrate on weathering.


I am a Norfolk man and i glory in being so

 

On the bench: Airfix 1/72nd Harrier GR.3/Fujimi 1/72nd Ju 87D-3

  • Member since
    July 2014
Posted by modelcrazy on Monday, December 19, 2016 12:34 PM

No, he didn't answer.

Steve

Building a kit from your stash is like cutting a head off a Hydra, two more take it's place.


http://www.spamodeler.com/forum/

  • Member since
    November 2008
  • From: Central Florida
Posted by plasticjunkie on Monday, December 19, 2016 12:23 PM

Steve

Any luck with the one link I sent you?

 GIFMaker.org_jy_Ayj_O


Too many models to build, not enough time in a lifetime!!

  • Member since
    July 2014
Posted by modelcrazy on Monday, December 19, 2016 9:58 AM

I wish I could help out with some of those commissions.

Steve

Building a kit from your stash is like cutting a head off a Hydra, two more take it's place.


http://www.spamodeler.com/forum/

  • Member since
    November 2008
  • From: Central Florida
Posted by plasticjunkie on Monday, December 19, 2016 9:24 AM

I cleaned up some of the resin guns and was looking over the pe parts getting ready to start on mine when I got slammed with 3 comissions so now I have to work those into the equation. I need to start on my Gato pronto!

 GIFMaker.org_jy_Ayj_O


Too many models to build, not enough time in a lifetime!!

  • Member since
    July 2014
Posted by modelcrazy on Sunday, December 18, 2016 11:10 PM

I have to take a break when I work on a PE intensive build. Take your time, there's several months left.

Steve

Building a kit from your stash is like cutting a head off a Hydra, two more take it's place.


http://www.spamodeler.com/forum/

  • Member since
    August 2014
  • From: Willamette Valley, Oregon
Posted by goldhammer on Sunday, December 18, 2016 3:51 PM

Well, after another 3 hours fighting with the PE shears with little to no progress today, that idea is going in the round file.  Just not able  to work with it in that size, an exercise in futility and frustration.  After looking at the kit pieces, going to go with them.  The resin 4" deck gun came out OK, but don't know about the 20mm's yet.

Will try and use the PE SJ and SD antennas, and the lifelines and railings, but pretty discouraged right now and taking several steps away from it before I either round file all of it or toss it on the railroad tracks.

  • Member since
    August 2014
  • From: Willamette Valley, Oregon
Posted by goldhammer on Saturday, December 17, 2016 6:23 PM

Cody- a few miles south of you, and we just caught  the edge of it, and it is still miserable today, but at least the roads are clear and dry.

Started on the scope shears today.  3 hours, 6 pieces of PE, and not even halfway done with the bottom third of the assembly.  Also got the WT locker doors and front hatch PE on the fairwater.  My language skills got a workout, not even sure my old boss, a Navy Chief from the '60's, would have understood half of it. 

Got a couple of pics of todays work, will take more as I go and try to get them up tomorrow.

  • Member since
    July 2014
Posted by modelcrazy on Friday, December 16, 2016 7:24 AM

Thanks Bish, It’s good to close the books on a build and not have it sit there with a glaring hole in it where a part goes.
Those old Dragon sub kits aren’t too bad. The fit is acceptable as well as the detail. Not much of a parts count but what can you expect from a modern sub.

Cody, that sounds miserable. I would get stuck in those jams quite a bit as a truck driver years ago. The difference is the truckers have a bed, food, water and well the ability to "go" in an emergency if you know what I mean.

Steve

Building a kit from your stash is like cutting a head off a Hydra, two more take it's place.


http://www.spamodeler.com/forum/

  • Member since
    December 2002
  • From: Bury St Edmunds, Suffolk, England
Posted by Bish on Friday, December 16, 2016 3:35 AM

modelcrazy
I finally received the anchor, so now she totally complete and ready for a contest.
 

Glad it finally came through in the end Steve. Better late than never.

I am a Norfolk man and i glory in being so

 

On the bench: Airfix 1/72nd Harrier GR.3/Fujimi 1/72nd Ju 87D-3

  • Member since
    December 2002
  • From: Bury St Edmunds, Suffolk, England
Posted by Bish on Friday, December 16, 2016 3:34 AM

modelcrazy

Those look identical to my Dragon ki........ wait a minute! I'll bet they are the old Dragon kits!

They should go together pretty easly, not much of a part count, but will make for nice diaplays once completed.


Steve, Cyber Hobby is a branch of Dragon. The last few years they have been releaseing older Dragon kits under the Cyber Hobby Orange box label. With armour kits they usually have a few extras, like a figure set. Don't know if same applies to the shops or its just a fancy new box.

I am a Norfolk man and i glory in being so


On the bench: Airfix 1/72nd Harrier GR.3/Fujimi 1/72nd Ju 87D-3

  • Member since
    December 2013
Posted by CodyJ on Friday, December 16, 2016 2:00 AM

Great work everybody! Neat build Steve! Hopefully everybody is doing well. Just came home last night after being stuck on the interstate for 6.5 hours. All that for 38 miles. I got hit by snow and freezing rain. Semi trucks covered the road. All were stopped at the bottom of the double hill we have as you pass by our town. Everyone was putting chains on in the middle of the road and at least a dozen semi trucks were blocking the road after getting stuck or spun out. To top that, I was so low on fuel from sitting I had to turn my car off. No heater or anything for about 4hrs.  So I just got out walked around a bit.  WHAT A MISERABLE EVENING!

  • Member since
    October 2016
  • From: Lincoln, NE
Posted by Daniel Ficke on Thursday, December 15, 2016 10:36 PM

I'm in with the Revell 1/125 U47 w/ interior.

Daniel J. Ficke

  • Member since
    March 2007
  • From: NJ
Posted by JMart on Tuesday, December 13, 2016 2:45 PM
You need to do some minor surgery and cut off the aft portion of the boat, replace with a different section...
 \
However, I managed to mangle the hull while sawing… oops!
 
Some repair work, will follow up with some good old Squadron red putty…


  • Member since
    March 2007
  • From: NJ
Posted by JMart on Tuesday, December 13, 2016 2:43 PM

modelcrazy

Those look identical to my Dragon ki........ wait a minute! I'll bet they are the old Dragon kits!

I know the boomer is a rebox of the old Dragon Ohio kit. Not sure if the LA Class was a Dragon or Italeri rebox...   yes, small part count, not very good fit, but a quick build :)


  • Member since
    May 2011
  • From: Honolulu, Hawaii
Posted by Real G on Tuesday, December 13, 2016 2:40 PM

JMart
The base is…rather annoying, as it has the scale “1/350 USN” as part of the Name Plate. Also, the name plate/base says “LOS ANGELES CLASS SSN” instead of the actual name of the boat, USS Chicago, which is your only choice for markings. I am debating whether to chisel out the extra info (scale) from the name plate. The Ohio class base has a similar issue.


Chisel them off!  I can feel the anger growing within you.  It has made you powerful.  Strike down those annoying letters off the bases; they are not armed...  Oops, wrong group build, sorry.  But yeah scrape 'em off.  Even if thee is no decal for the stands, you will be happier in the end.

“Ya ya ya, unicorn papoi!”

  • Member since
    August 2014
  • From: Willamette Valley, Oregon
Posted by goldhammer on Tuesday, December 13, 2016 2:35 PM

Nice to see evryone elses progress.  The only thing I've managed to accomplish on the Gato is fill the port anchor recess, as the 238 boat only had the starboard anchor.  Still looking at the PE for the shears and upper works and shuddering, wondering what I got into.....Hmm

Bound to be a raging alcaholic by the time I get done with the PE..........

  • Member since
    July 2014
Posted by modelcrazy on Tuesday, December 13, 2016 2:24 PM

Those look identical to my Dragon ki........ wait a minute! I'll bet they are the old Dragon kits!

They should go together pretty easly, not much of a part count, but will make for nice diaplays once completed.

Steve

Building a kit from your stash is like cutting a head off a Hydra, two more take it's place.


http://www.spamodeler.com/forum/

  • Member since
    March 2007
  • From: NJ
Posted by JMart on Tuesday, December 13, 2016 2:07 PM
The base is…rather annoying, as it has the scale “1/350 USN” as part of the Name Plate. Also, the name plate/base says “LOS ANGELES CLASS SSN” instead of the actual name of the boat, USS Chicago, which is your only choice for markings. I am debating whether to chisel out the extra info (scale) from the name plate. The Ohio class base has a similar issue.


  • Member since
    March 2007
  • From: NJ
Posted by JMart on Tuesday, December 13, 2016 2:04 PM
This is the kit, Cyberhobby #1047, part of their Orange Box Value Pack. It includes two kits, both at 1:350 scale: the LA-class USS Chicago (SSN-721), and the Ohio class USS Maryland (SSBN-738). The orange box value kits are known for their, well, value but medium to low quality plastic.


  • Member since
    March 2007
  • From: NJ
Posted by JMart on Friday, December 9, 2016 3:54 PM

Steve – That U-boat build is just fantastic! Love the construction, weathering, detailing. Build is certainly show-winner quality.


I have been working on mine; you are right, the Dragon LA class and Ohio class molds are a tad inferior to the Hobby Boss offerings at least in terms of fit. Will be posting some pics over the weekend.


  • Member since
    July 2014
Posted by modelcrazy on Thursday, December 8, 2016 9:26 PM
I finally received the anchor, so now she totally complete and ready for a contest.

Steve

Building a kit from your stash is like cutting a head off a Hydra, two more take it's place.


http://www.spamodeler.com/forum/

  • Member since
    March 2007
  • From: Northeast WA State
Posted by armornut on Wednesday, December 7, 2016 1:11 PM

Ubercool thanks for the info on the screws.

we're modelers it's what we do

  • Member since
    July 2014
Posted by modelcrazy on Sunday, December 4, 2016 11:09 PM

I started the 1/350 Dragon LA class. this is as far as I'm going because I will be putting it in a water scene. Now on to the paint.

Steve

Building a kit from your stash is like cutting a head off a Hydra, two more take it's place.


http://www.spamodeler.com/forum/

  • Member since
    July 2014
Posted by modelcrazy on Sunday, December 4, 2016 11:33 AM

The Akula had a PE screw and it was super easy. my only suggestion is to mount them at the end so you don't bend them while handling the boat. 

Steve

Building a kit from your stash is like cutting a head off a Hydra, two more take it's place.


http://www.spamodeler.com/forum/

JOIN OUR COMMUNITY!

Our community is FREE to join. To participate you must either login or register for an account.

SEARCH FORUMS
FREE NEWSLETTER
By signing up you may also receive reader surveys and occasional special offers. We do not sell, rent or trade our email lists. View our Privacy Policy.