After a rough start, we are up and moving on this GB! My intent was to build the old 1/48 F4F Wildcat, with the wings in the down position. That didn't go very well. It seems these kits build best as intended, with all the moving parts. The seams were impossible (for me at least) to fix, and after generating a pile of plastic sanding dust, wound up in The Pile of No Return. I didn't have the heart to trash it, but there she sits.
So, on to the F84F Thunderstreak.
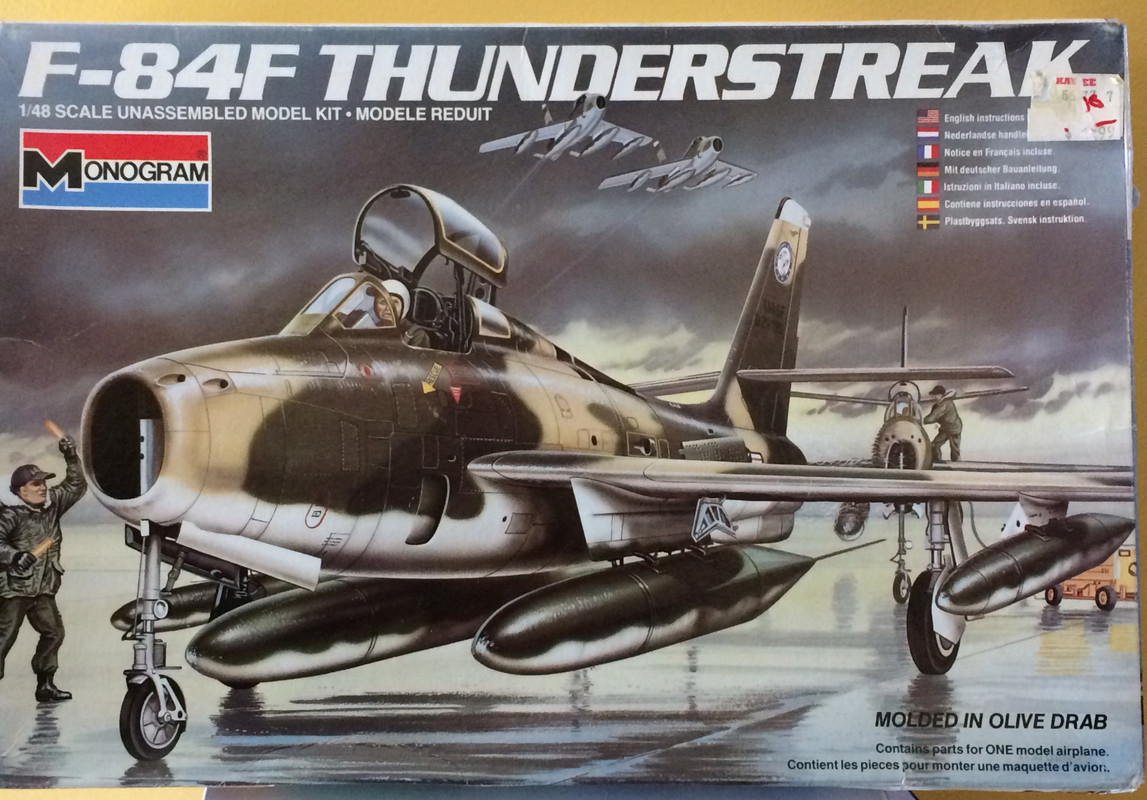
My dad was in the Pennsylvania Air National Guard in the 50's and 60's during the time they were phasing into jets. He has some artistic talent, and won a contest at the base for the painting scheme. I'd love to finish it in the same scheme, but have yet to turn up any references.
The kit is very nice for it's age. It has finely raised panels and a bit of flash but the detail and fit are good.
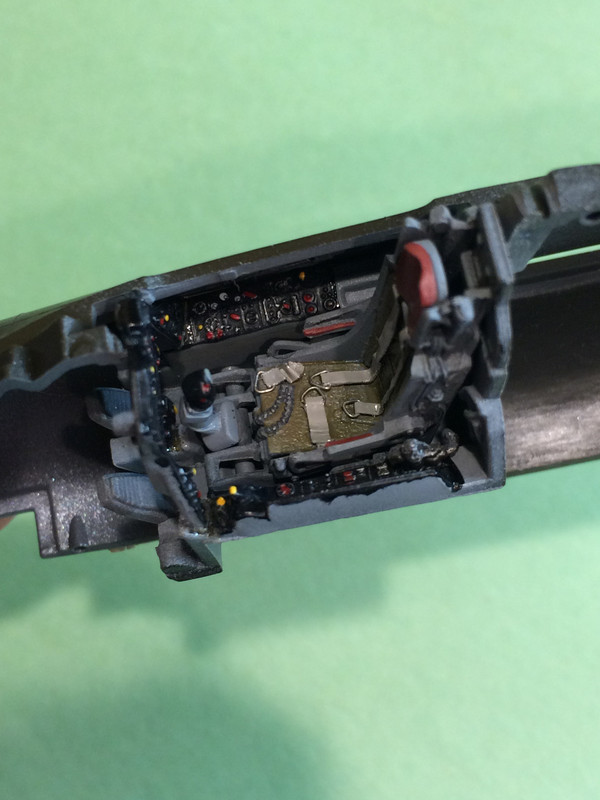
I started with the cockpit. I'm building it out of the box, but did add some seat belts and harnesses made from aluminum ducting tape and wire.
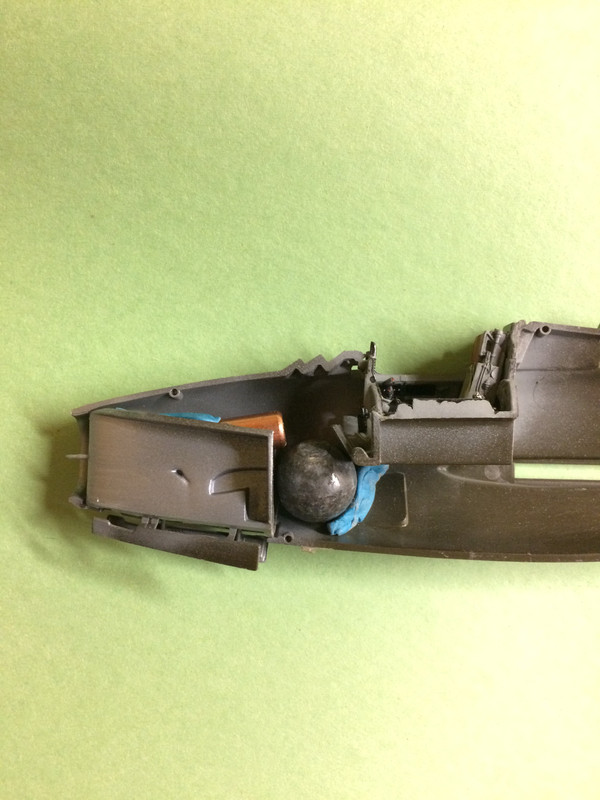
I could tell this was going to be a tail sitter. The fuel tanks are large and with the exhaust assembly and large tail it would need some weight up front. Fortunaley there is ample room up front for weight. A 150 grain 270 bullet fit perfectly inside the intake assmebly, and a 60 caliber musket ball forward of the cockpit probably was overkill, but I'm not taking chances!
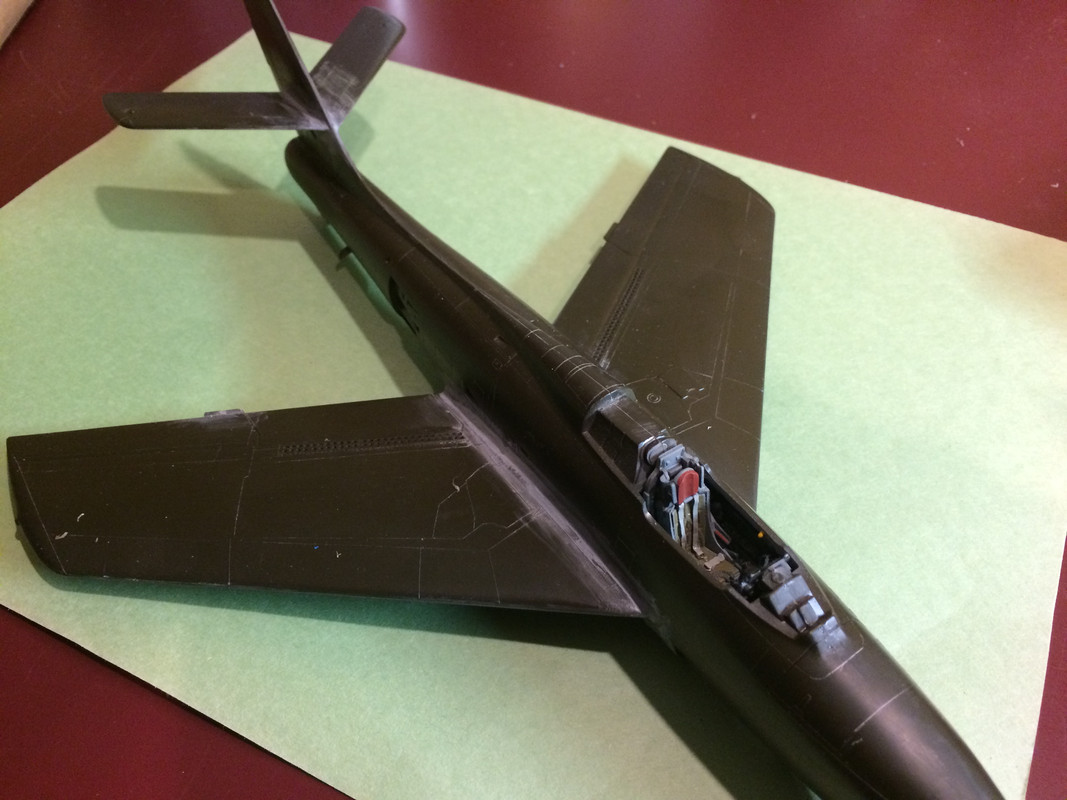
Update- All the main parts are put togther. Most things fit fairly well, but there is still some seam work and rescribing. The wing roots and stabilizers took some shims and putty, but they went together.
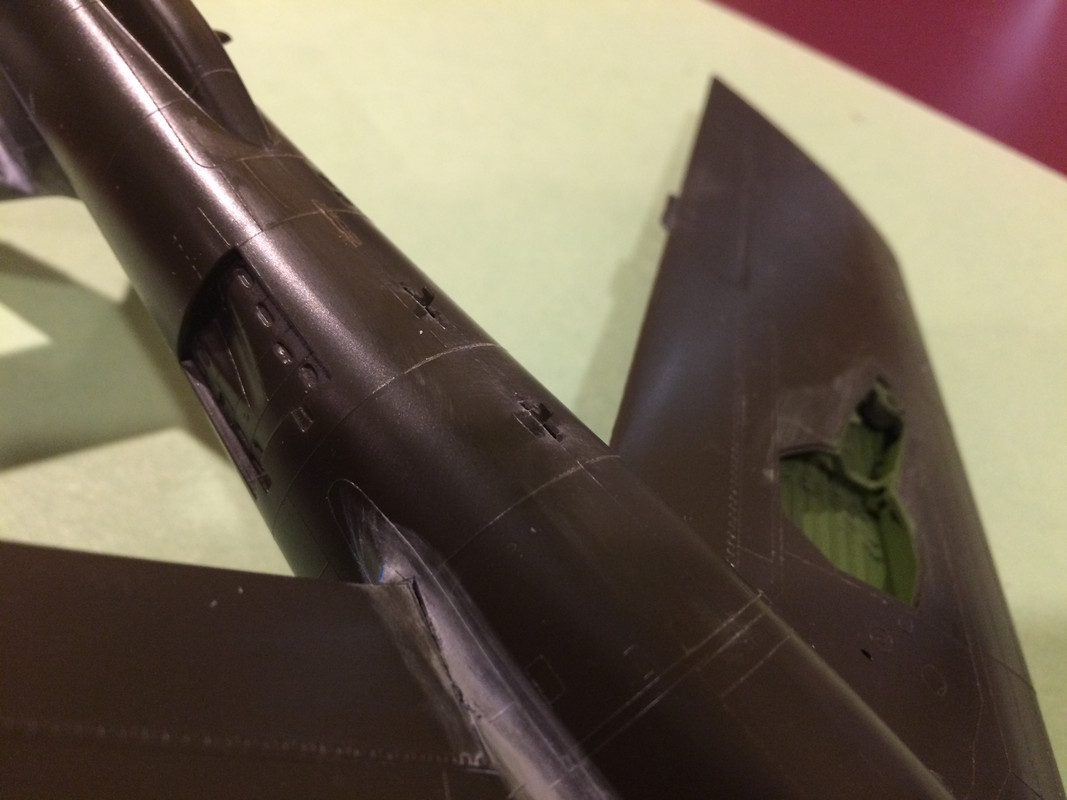
I'm not sure what these hooks are on the underside of the fuselage, near the airbrakes. Any thoughts? They don't seem to appear on the instruction sheet drawings or any reference pictures I've seen.
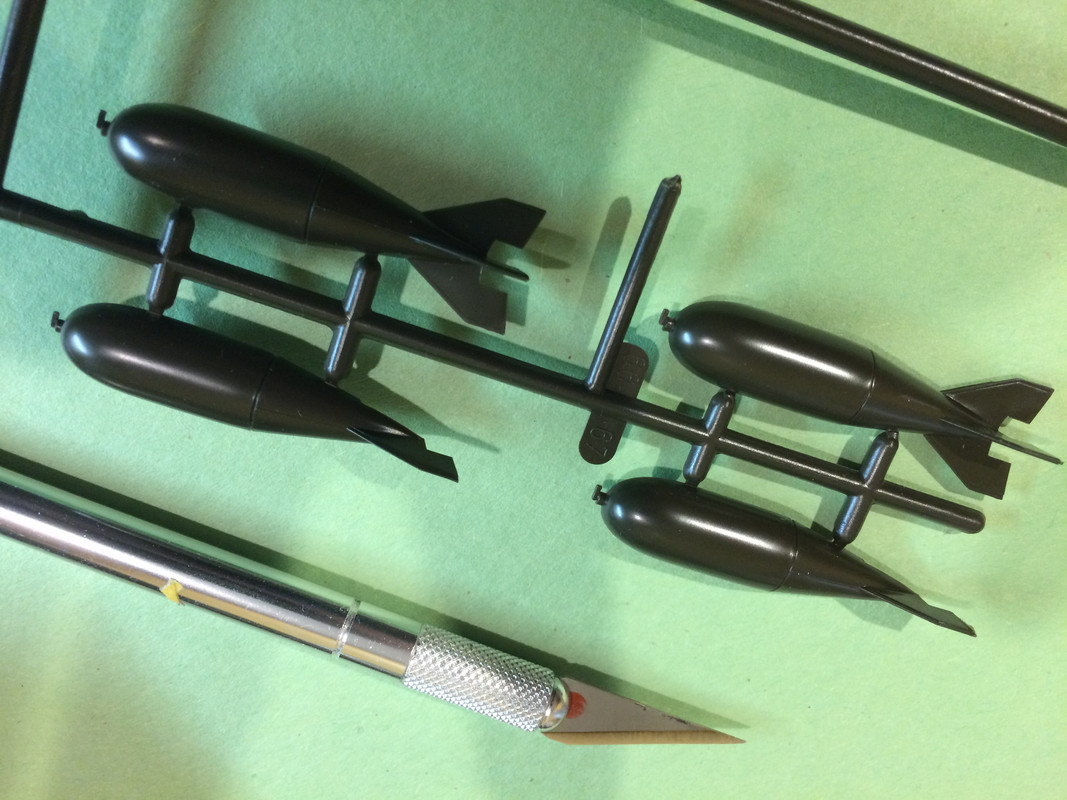
I'm also wondering what kind of bombs are provided with the kit. Can anyone identify them?
After wiping down the plastic with rubbing alcohol, I primed with decanted Rust-Oleum American Accents primer. I've yet to have paint peel from masking after I started using this stuff. It goes on very thin, does not obscure detail at all. I vary the coverage a bit to give the top coat some variation. As long as there is some primer on the surface, it will provide enough bite for the top coat.
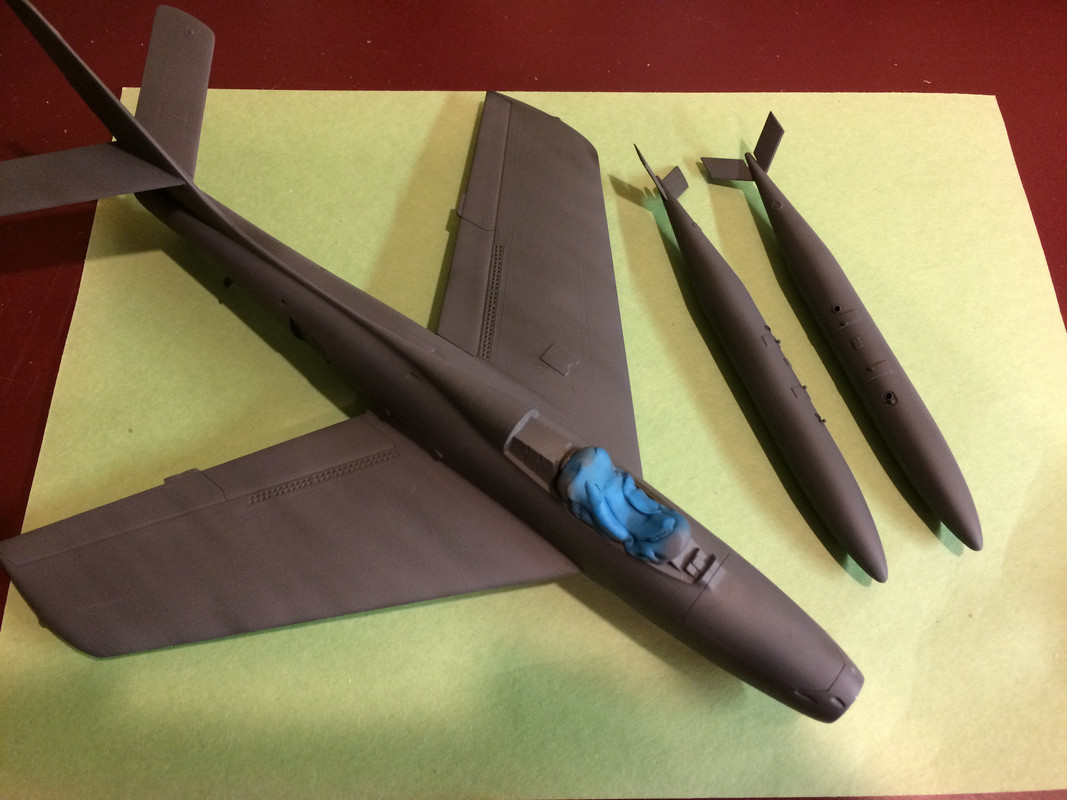
I am going to top coat it with Model Master acrylic aluminum. To me, it provides a durable finish, and when burnished, looks very realistic.