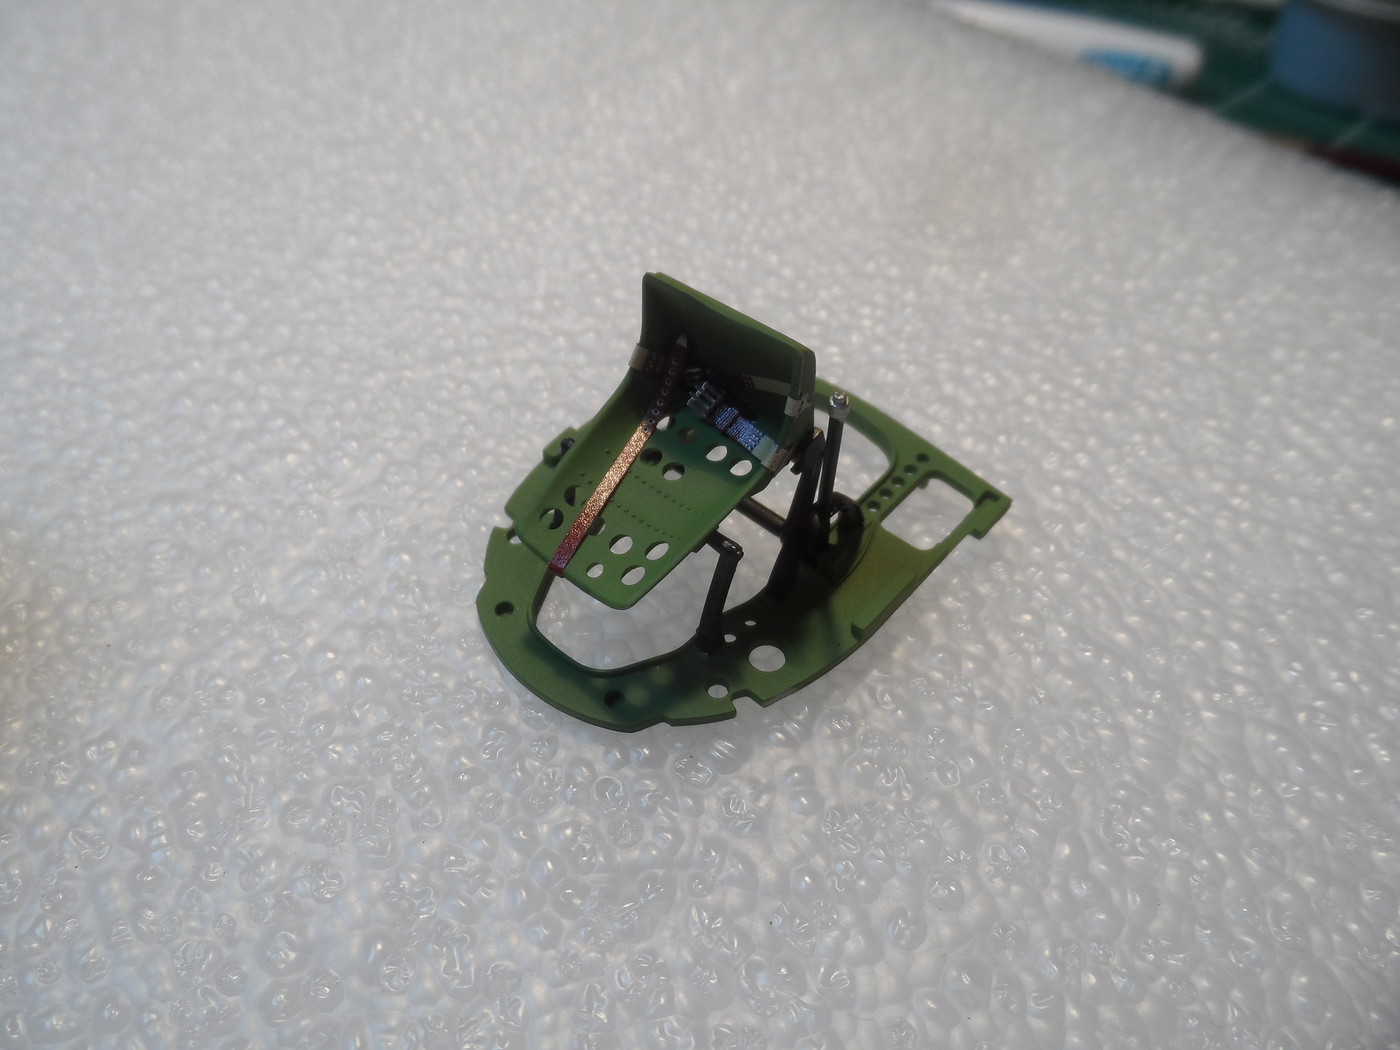
07 April 2019 – Wow!! It’s amazing how fast two weeks goes by. Still making progress on the cockpit area, but work has started taking up more of my time the past two weeks, so not a lot of progress on it, but some, nonetheless. Anyways, the pictures below show my latest progress on the cockpit. It’s coming along pretty well, especially considering how much I shake when I attempt hand-painting on such a small scale. I'm actually pleased with how it’s looking. Painting the bezels around the instruments has been the biggest challenge so far, but, I ain’t building her for no contest! Let me know whatcha think!!

The seat and rear bulkhead. This is probably the only place that I’ll use photo-etch parts on this kit. The seat belts that came with the kit were paper ones that you had to cut out, then wrap around the provided unpainted brass photo-etch pieces. They just didn’t look real. But, I had a set of Eduard pre-painted photo-etch seat belts (for my 1/32nd Hasegawa A6M5c), so I used those. Luckily/happily, the Eduard set comes with two sets of belts on one sprue, so I still have a set for my Hasegawa kit. Woo Hoo!!


Side walls and floor in place. Not too shabby……..

The main instrument panel. Don’t look too closely, or you’ll see the crappy job job I did on the instrument bezels.

The secondary instrument panel – this holds the artificial horizon (left) and turn & bank indicator (right) up top, and the radio & a couple of instruments on the bottom. There is a decal for the two vertically-stacked instruments on the lower left. They will be applied before it all goes in the fuselage.


These are oxygen bottles (all three) that mount behind the pilot’s seat on the rear of the rear bulkhead. These will be very hard to see once everything is together, so I didn’t do my best painting on them. But, they’ll suffice for my needs.
Devil Dawg
On The Bench: Tamiya 1/32nd Mitsubishi A6M5 Model 52 Zeke For Japanese Group Build
Build one at a time? Hah! That'll be the day!!