Enter keywords or a search phrase below:
A lot of pieces to make a tub. Tough to make things square with that many potential problems
Steve
Building a kit from your stash is like cutting a head off a Hydra, two more take it's place.
http://www.spamodeler.com/forum/
That interior detail is absolutely top notch, it is making me want to dig one out of the stash!
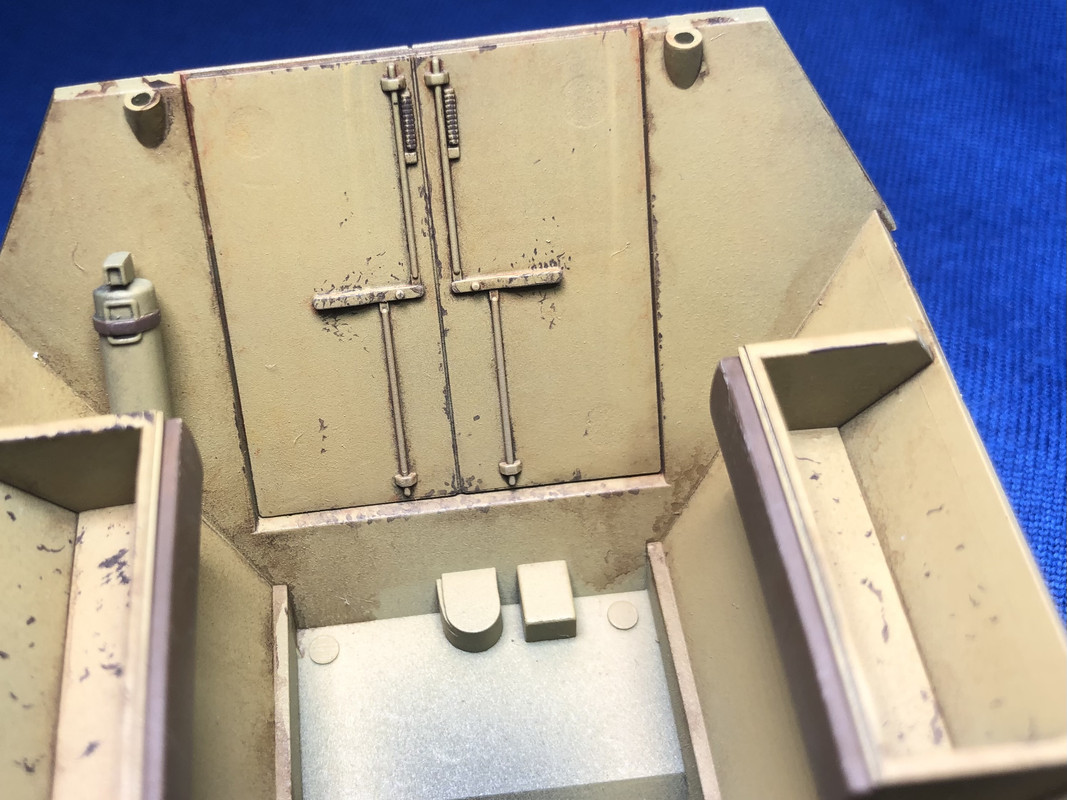
I started work on the Paladin last night, and have the tub assembled. Each plane of the sidewall was a separate piece, 9 parts in total. Thankfully everything ended up more or less square:
Robert
"I can't get ahead no matter how hard I try, I'm gettin' really good at barely gettin' by"
Thank you. Congratulations on the new home!
Chad
God, Family, Models...
At the plate: 1/48 Airfix Bf109 & 1/35 Tamiya Famo
On deck: Who knows!
Beautiful work! Love the chipping.
"Ahh the Luftwaffe. The Washington Generals of the History Channel" -Homer Simpson
Back in the saddle. By some stroke of insanity we decided now would be a great time for a new house. So after selling our house in 4-hours, being homeless for 3-weeks, and by a stroke of luck landing a dream home without getting into a bidding war, I am finally back at the bench. My SS Spitfire is #1 on the bench and I look forward to posting pics.
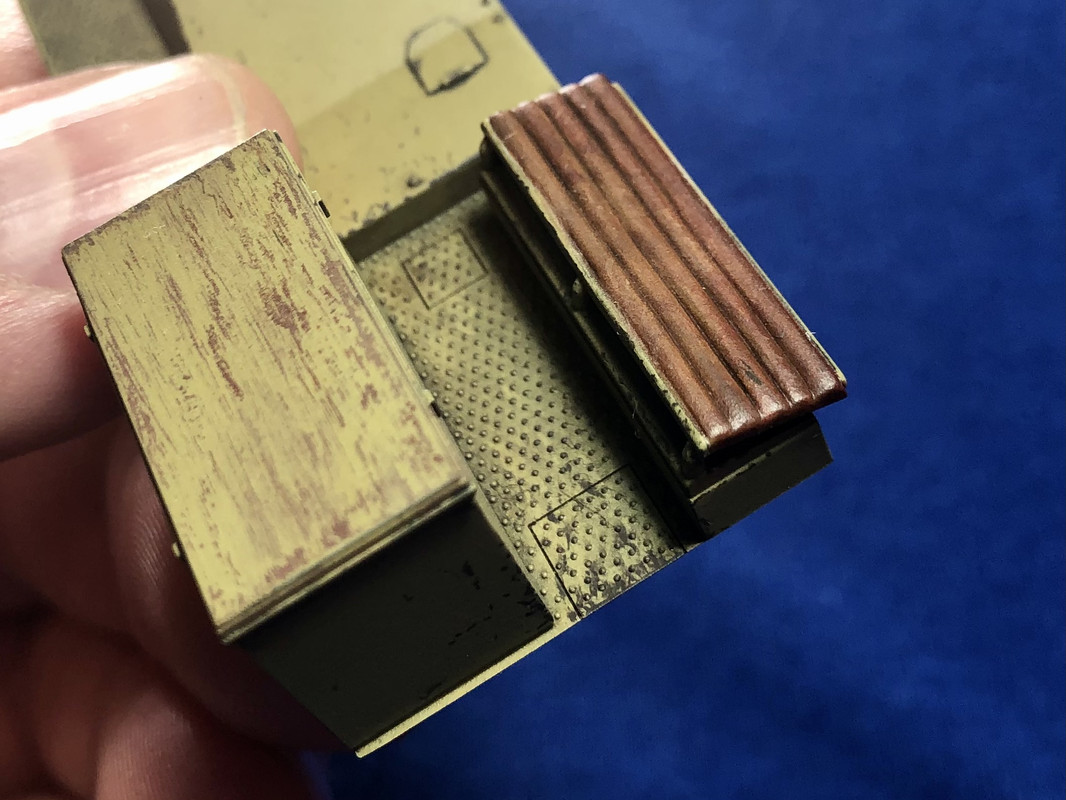
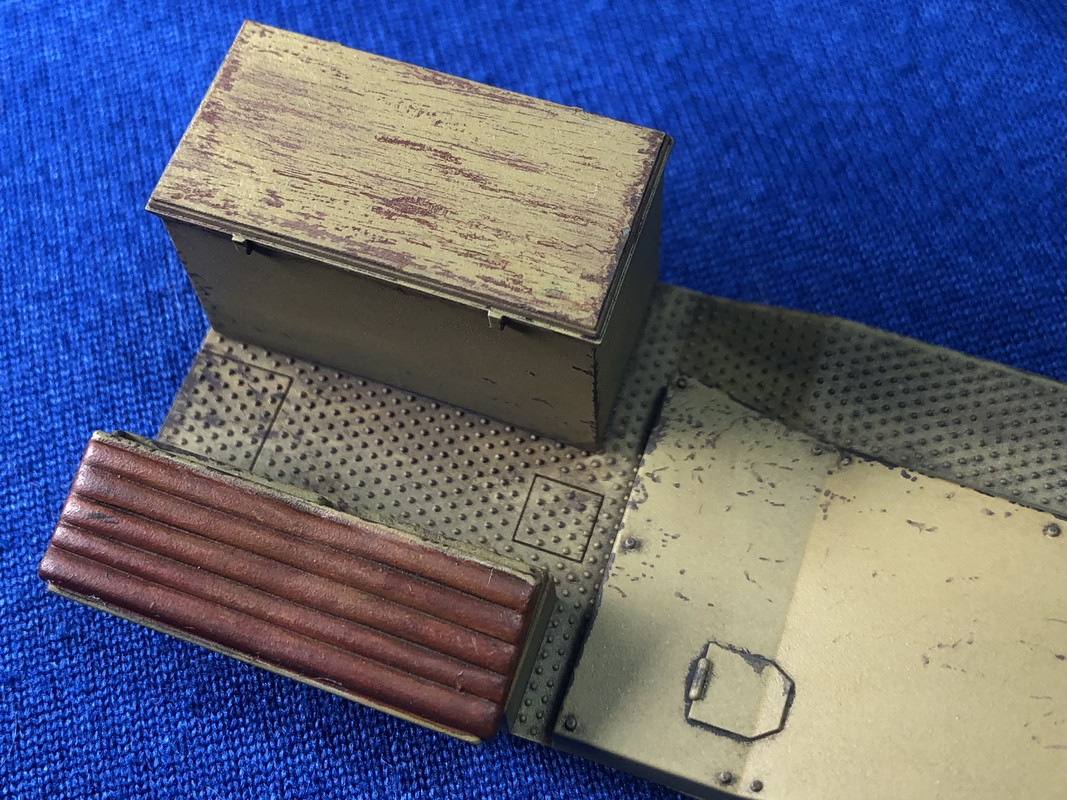
Thank you! Those were wood lids on those storage boxes.
Chad that's some fine interior work there. Especially the wood grain or worn paint on metal look on top of that what looks like a storage box
In the pattern: Scale Shipyard's 1/48 Balao Class Sub! leaning out the list...NOT! Ha, added to it again - Viper MkVii, 1/32 THUD & F-15J plus a weekend madness build!
Thanks buddy!
WOW!
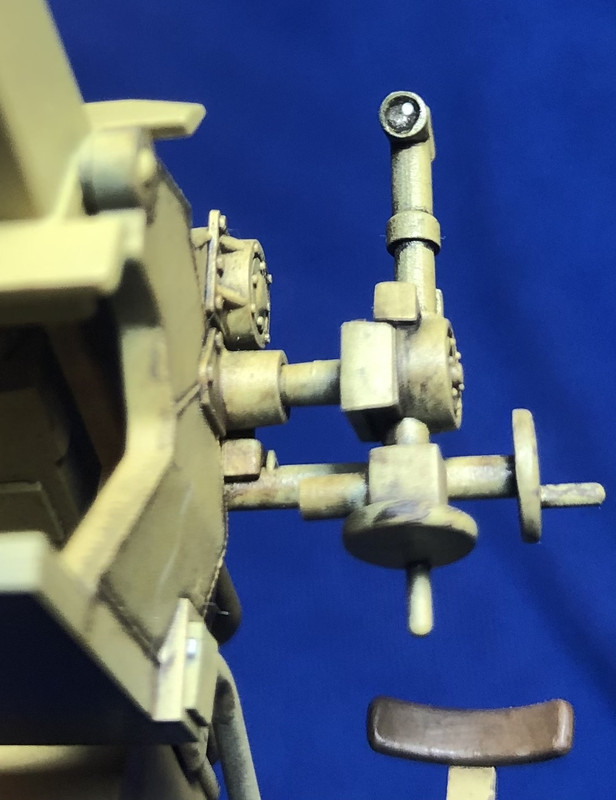
Thank you Brandon. I don't do a lot of armor so I didn't know how far to take the weathering on the gun!
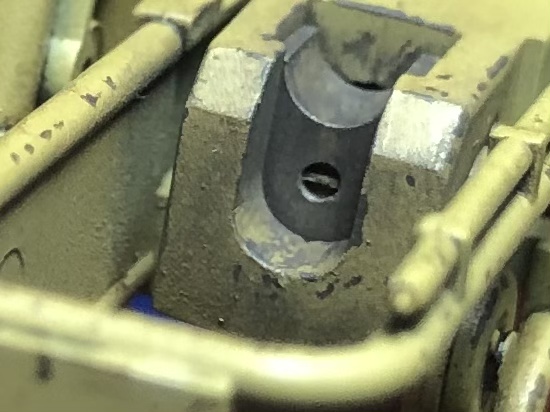
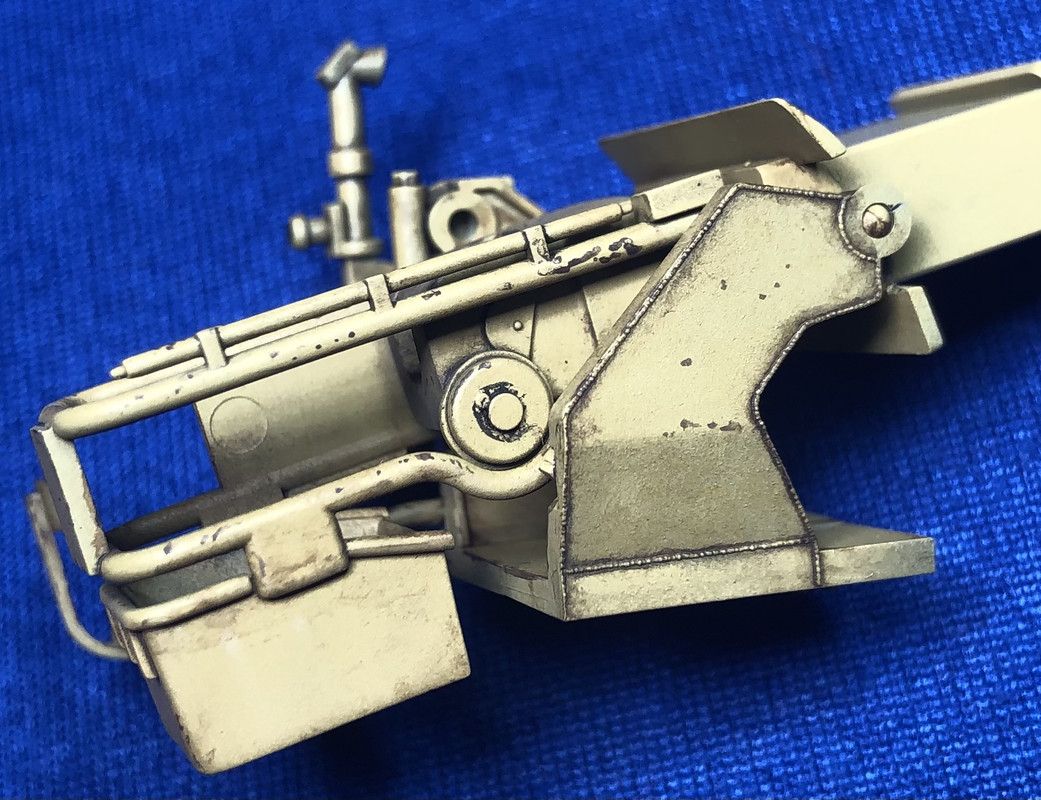
Mopar Madness Interior is done. Streaked, chipped, dusted, and resin dropped into the optics and gauges. Time to start the exterior. Yes, that's a cat hair in the first pic! Second pic without the offending hair.
Interior is done. Streaked, chipped, dusted, and resin dropped into the optics and gauges. Time to start the exterior. Yes, that's a cat hair in the first pic! Second pic without the offending hair.
BK
On the bench:
A lot !! And I mean A LOT!!
2024 Kits on deck / in process / completed
14 / 5 / 2
Thank you everyone!
Superb work Chad. I love dot filtering and black basing.
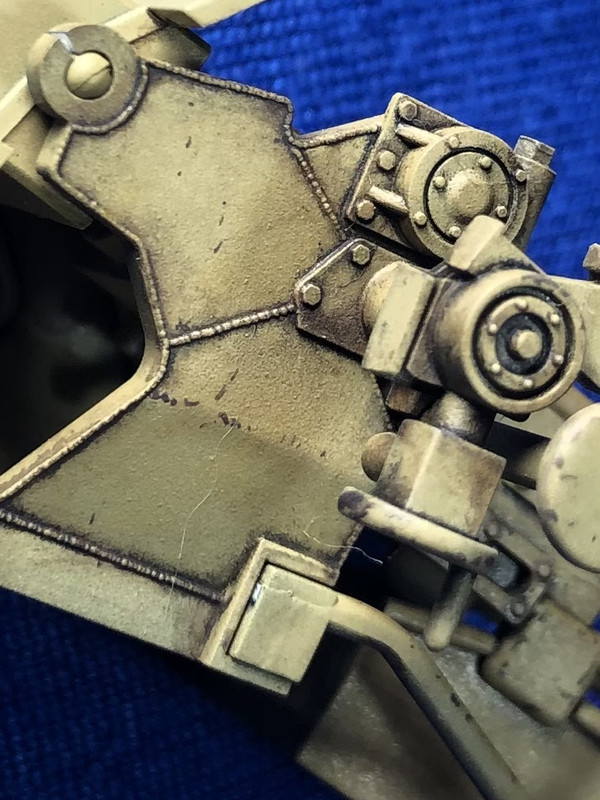
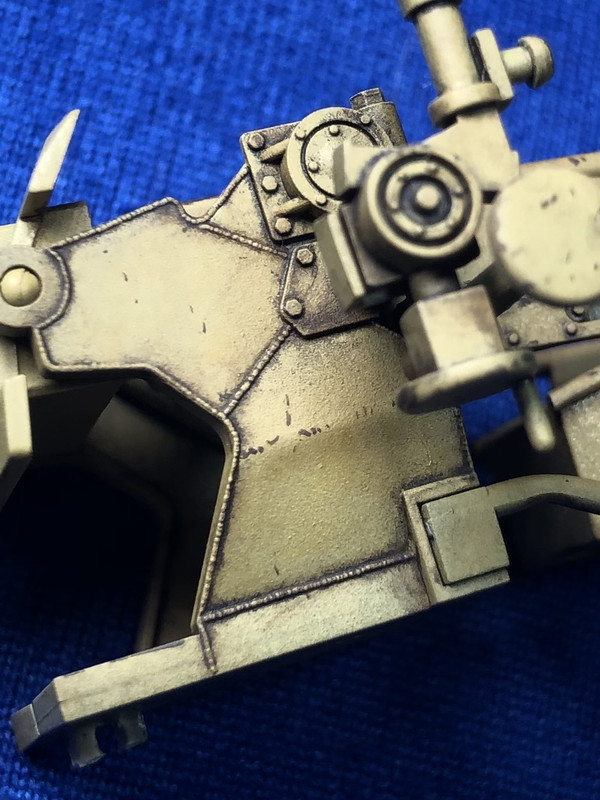
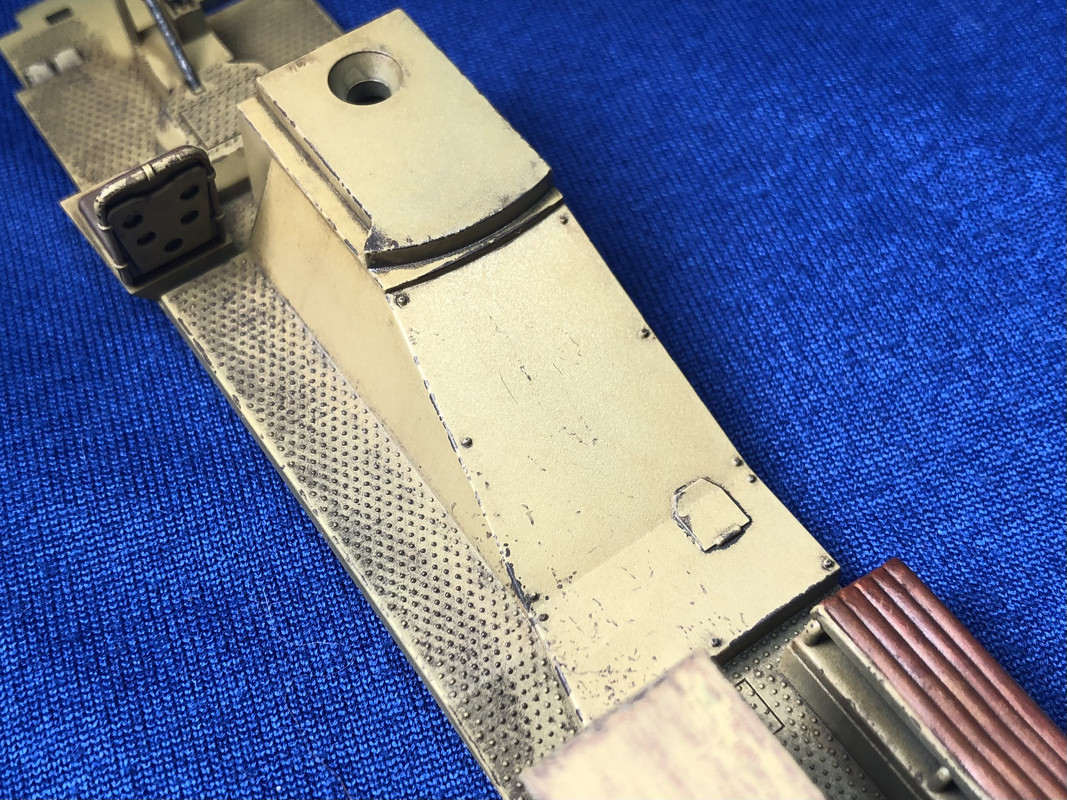
Mopar Madness Dot filter of raw umber and yellow ocher applied to areas of shadow and highlight. This is the second layer of grime and I think it adds a lot of nice tonal variation to the side walls.
Dot filter of raw umber and yellow ocher applied to areas of shadow and highlight. This is the second layer of grime and I think it adds a lot of nice tonal variation to the side walls.
That half track looks great!
Nice work Chad! Looks great.
Thanks,
John
Thanks guys. I still have a few layers of grime to go!
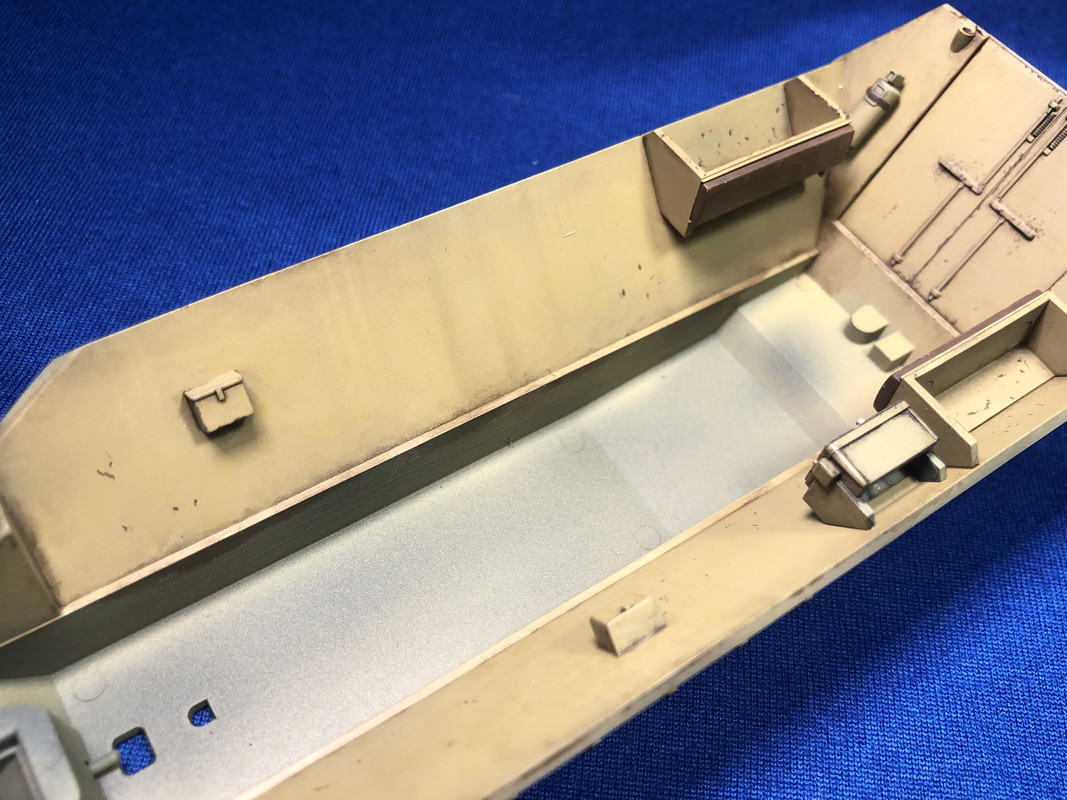
Mopar Madness Laid down the base coat on the interior and the first coat of grime. Next will be a filter of Raw Umber then a final filter of white for highlights.
Laid down the base coat on the interior and the first coat of grime. Next will be a filter of Raw Umber then a final filter of white for highlights.
Chad that wash is definitely creating a realistic look.
Good work on the 18 Chris. I'll get back to the LCS as soon as I get closer to the finish on the Akagi. That thing is one of those builds you love but just takes up soooo much time.
TheMongoose You'll be painting in no time Mach1. It's looking good so far. How tough was the fit of the intakes and wing join to get together? I remember mine being a real PITA.
You'll be painting in no time Mach1. It's looking good so far. How tough was the fit of the intakes and wing join to get together? I remember mine being a real PITA.
I have a little putty work first, but painting is coming up fast.
They both needed some material shaved off with an Xacto to improve the fit, and even then I needed to either clamp or otherwise hold the parts in place while the glue dried. The join that was the real adventure was the front fuselage to rear fuselage. Hopefully I won't have to redo any panel lines after I take care of the seams.
Mach1 Some more progress on the F-18.
Some more progress on the F-18.
Just used their regular thinner, at about 1:1. Saving the leveling for the exterior. Shot with a NEO, about 18 psi
I love Mr Color paints, very durable. And yes, I too use Mr Color Leveling thinner about 60/40 ish, until it sprays without spitting. You can tape them up within 30 min to an hour and they won't lift or otherwise wear. One of the strongest paints I've run across. I spray mine through my Iwata HP-CS with a .35 needle.
I use their leveling thinner at 50:50 and havent had any issues with the Paasche H. With the shutdown of model master I've been buying mr color - I was an old school gunze fan
Our community is FREE to join. To participate you must either login or register for an account.