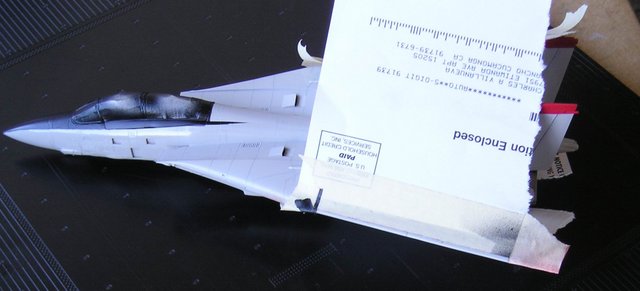
With my haste to hurry when I first started this in January at the time we were given till March 1st to complete this GB. I had neglected to paint the leading edges natural metal. I had already painted and decaled them before installing them to the airframe. It would not be an issue if I had used the kit wings as I can alway pull them out to paint. But if you remember these are the Academy F-14 wings I have used and they are permanently installed. So now here I am to go back and paint the leading edges with MM Buffing Aluminum Metalizer.

Again very carefully masking off each wing as well as not tape over any decals or they will peel off when the masks are removed. Again careful with the overspray as well. When this is done, all I have left is to paint the gun port and this will be MM Non Buffing Gun Metal Metalizer.
Here is the Fujimi cat next to a pair of Desert Storm Vets that are in a various state of progress. A Qatari Alpha Jet (Airfix) and a RAF Tornado (Hasegawa).

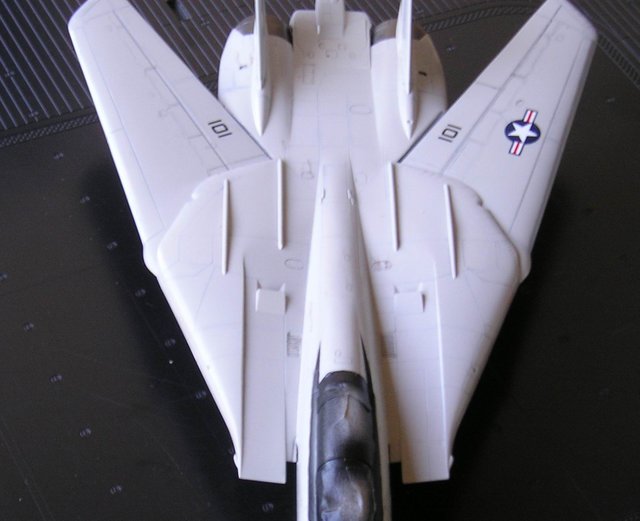
This image taken right after removing the masks from the wings. Well the gun port is painted and that is all with painting we are done (exept for the flat coat after decaling and weathering).
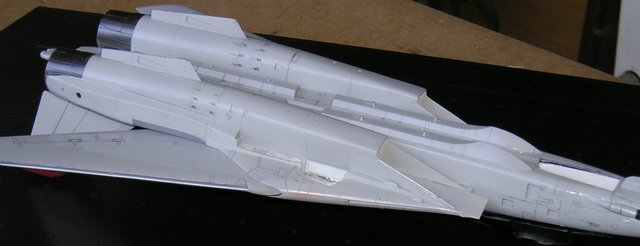
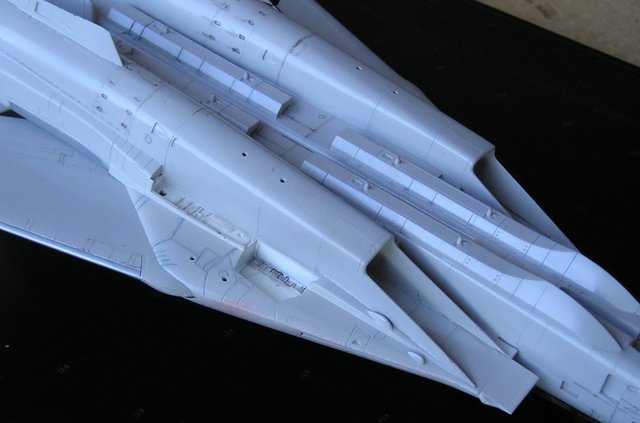
It is weathering time. Navy aircraft even in peace time get dirty while performing normal carrier ops. Now in hi-tempo war time operations, even more so. So out comes the Burnt Umbar wash. We start first with the landing gear bays. A 000 tip brush and thinner we lightly edge each wire harness and bulkheads to highlight the interior framing and details.

While doing this I take notice that I missed the aft portion of the nose landing gear bay needs to be painted white. Oh well, so much for anymore airbrushing. Will go back and hit that later.

I will go now concentrate on the lower part of the airframe. Lightly go over each panel line. A quick flick of the wrist and create some streaking as hydraulic fluid and oil seep into jetstream. Very carefully, rather have a little than too much.

This is very basic, just looking at some photographs helps where to place such streaking to give a well worn used A/C.

I'll go over again after decaling to make it more even and blotchy at the same time.

The nose is a high traffic and well used area of the aircraft. So many hand prints, panel removal and servicing is apparent here. Not a very good image of the nose. But after the decals are applied will go over it again.

The area on the top of the fuselage will have a patchy appearance. With maintenance personnel walking, replacing paneling, servicing will show up quite well here. This area quite large though not as large as the F-15.

After a quick weather wash. It is now decaling time. Being an operational bird in wartime. There won't be as much stenciling as much of it has rubbed off and been overpainted. Though there is still plenty to apply so the next several days will be devoted to decaling and then a little more weathering and different shades of Lt Gull Grey will be applied to simulate replacement panels and hopefully give off a patchy appearance. This scheme is not as easy to weather as say the tri-color TPS Tomcats. We'll see what happens.
Chuck
Fly Navy