SEARCH FINESCALE.COM

Enter keywords or a search phrase below:

Regia Aeronautica Group Build

13546 views
82 replies
1 rating 2 rating 3 rating 4 rating 5 rating
  • Member since
    April 2005
  • From: Piscataway, NJ!
Posted by wing_nut on Thursday, November 3, 2005 7:14 AM
Progress pics of the Mike Grant smoke ring decals being applied. These things are great, super thing and as you can see the carrier film is nearly invisible without a sealing coat on yet. And they really look like they are AB’d on. Tedious work applying though. Working around the curves of the wing root and engine (got more done by the time I got around to posting) they need to go one 1 or 2 at a time but the when out on the wing larger section can be cut form the sheet to cover a broader area. Hopefully will finish up tonight.


Marc  

  • Member since
    July 2003
  • From: Bicester, England
Posted by KJ200 on Thursday, November 3, 2005 1:29 PM
Marc That Veltro is looking very nice indeed.

The decals look excellent too, very convincing.

Progress Update

The bulk of the building is now complete. The engine cowl is together, took a couple of attempts to get the engine to sit square in the cowl. The first time, I ended up the prop way off to the right, giving it a very lop sided look!

I still haven't got around to taking some photos, but I will soon, promise.

The Fuselage is pretty much complete now, with the lower wings attached. The only areas left to work on are the undercarriage legs. The fit of the spats leaves quite a lot to be desired.

Karl

Currently on the bench: AZ Models 1/72 Mig 17PF

  • Member since
    April 2005
  • From: Piscataway, NJ!
Posted by wing_nut on Thursday, November 3, 2005 2:55 PM
Thanks Karl

Can't wait to see the pics. I have looked at this a/c before since it will be nice to have a bipe on the shelf but all the rigging of a WWI is kind of intimidating Only the outer struts on the CR42 has rigging correct?

Marc  

  • Member since
    July 2003
  • From: Bicester, England
Posted by KJ200 on Thursday, November 3, 2005 3:40 PM
QUOTE: Originally posted by wing_nut

Can't wait to see the pics. I have looked at this a/c before since it will be nice to have a bipe on the shelf but all the rigging of a WWI is kind of intimidating Only the outer struts on the CR42 has rigging correct?


One of my main reasons for going for the CR42 was the absence of rigging. I've always liked the look of bibplanes, but the rigging has always been a turn off.

Anyway, here are some photos:

Looking like a stunted P35.....


......still need to smooth off the filler around the head rest.


The bomb racks have been detailed with plasticard and wire, as the kit ones are pretty lame.

The engine, complete with cowling....


and the top wing, which has been sitting completed for the last two weeks. I replaces the pitot with wire as the kit item was mishapen.


Hopefully it'll be ready for the paintshop this weekend.

Karl

Currently on the bench: AZ Models 1/72 Mig 17PF

  • Member since
    April 2005
  • From: Piscataway, NJ!
Posted by wing_nut on Saturday, November 5, 2005 12:11 AM
Here is my entry into the Regia Aeronautica GB. 1/48 Hasegawa MC-205 Veltro. Built OOB including markings except for the Mike Grant smoke ring decals. What a fantastic product. Just a few of the teeny stuff to add to it but basically done. Hope you like it.


Marc  

  • Member since
    July 2003
  • From: Bicester, England
Posted by KJ200 on Saturday, November 5, 2005 4:56 AM
Marc I said it over on the A/C forum, but I'll say it again here, a great looking build.

How did the kit go together? Was it your typical Hasa kit?

Karl

Currently on the bench: AZ Models 1/72 Mig 17PF

  • Member since
    April 2005
  • From: Piscataway, NJ!
Posted by wing_nut on Saturday, November 5, 2005 6:36 AM
Thnaks Karl. Yup... it's a typical Hasegawa no doubt about it, maybe even one of the better ones. I don't recall having to trim or correct a sinlge piece for fit. Not a drop of putty used and neven used a file... a 600 grit stick propably the only thing used.

Only thing changed was the use of some exhausts out of a 109G kit from the stash since the ones supplied weren't even close... Leaving them off entriely would have been betterWink [;)]

Marc  

  • Member since
    April 2005
  • From: Piscataway, NJ!
Posted by wing_nut on Sunday, November 6, 2005 3:39 AM
Karl.... Have you seen the Sept. issue of Model Airplane Int'l? Just picked it up with the Oct issue at my LHS and there is a 10 page feature on the CR 42 ... all historical data with 4 pages of color profiles, and 2 page of walk around pics. My scanner is not the best but I can try to scan it and email you a PDF.

Marc  

  • Member since
    July 2003
  • From: Bicester, England
Posted by KJ200 on Sunday, November 6, 2005 4:36 AM
Marc I have it out on my desk as we speak!

It's a very good article, and the colour profiles highlighted a problem with the Sky decals I'm using for this build.

Sky have provided the Fasces symbol as black on white for the top wing, however the profile on page 40, second from bottom says the back ground was camo! A fact that I've managed to confirm with some photos of aircraft from the same squadron in 'CR42 In Action' book.

Looks like I need to pick up some new decals.

Many thanks

Karl

Currently on the bench: AZ Models 1/72 Mig 17PF

  • Member since
    March 2005
  • From: Seeing Eye Dog Central
Posted by mpartric on Sunday, November 13, 2005 9:51 PM
I must say Marc that the Veltro turned out exceedingly well.  I admire your ingenuity with the smoke ring decals.  That's a good way to get around my exact problem of not good enough airbrush followed by not good enough skills.  I will abstain from copying you since I am doing the same kit.  If it's ok with you guys I planned on undertaking a little artistic license with the paint job, it may end up resembling a german field applied scheme.  I don't have any proof of the aforementioned paint scheme; just a hunch.  I'll post pics soon.  Again, marc, congratulations on a great bird.
Matthew Morristown, NJ Mediocrity--- it takes a lot less time and most people won't notice until it's too late.
  • Member since
    March 2005
  • From: Seeing Eye Dog Central
Posted by mpartric on Friday, November 18, 2005 4:04 AM

Wingnut,

did you use the Edouard PE kit with the Veltro?  I'm thinking of buying it for this GB.  Anyone have any experience with it?

Thanks

Matthew Morristown, NJ Mediocrity--- it takes a lot less time and most people won't notice until it's too late.
  • Member since
    April 2005
  • From: Piscataway, NJ!
Posted by wing_nut on Friday, November 18, 2005 7:08 AM

Nope, this was straight OOB. But I have used the Eduard color, full detail sets on a couple of other projects and they are just great. 


If you go to the link below, the Fw 190D-9 and the P-40E use the Eduard sets.  The Fw set has a complete cockpit and the P-40 has tons of detail to enhance the kit cockpit.  Both have lots of stuff for the fuselage, landing gear, racks, cowl flaps (for the P-40) etc.  Highly recommended. 


And going back to a previous post you made…why would you think you are copying me?  All I did was use a product on the market.  Go for it and use the smoke rings… would love to see them used again.  They are very cool.

http://photobucket.com/albums/y269/wing_nut_5o/

Marc  

  • Member since
    July 2003
  • From: Bicester, England
Posted by KJ200 on Saturday, November 19, 2005 4:29 AM
Haven't posted on here in a while, but the CR42 is coming along slowly.

The Olivia Verde top colour is now on, I used the Lifecolor paint, let down with about 10% white. The spats and struts will aslo require a coat of the same colour, but it's taken me about a week to get the spats cleaned up. In the process of which I managed to obliterate the tread plates on top of each spat, but these have now been replaced with strips of masking tape instead.

Hopefully I'll have the Chiaro Nocciola, or nut brown on this weekend, followed by some photos.

Matt, as Marc says, give those smoke ring decals a go, I've heard nothing but good things about them.

Karl

Currently on the bench: AZ Models 1/72 Mig 17PF

  • Member since
    July 2003
  • From: Bicester, England
Posted by KJ200 on Monday, November 28, 2005 8:21 AM

I know I promised pics, but I've been wrestling with the camo on the CR42. I'm using Lifecolor paints on this build, not my normal Gunze, and now I'm paying the price! The Lifecolor paint's pigment isn't as fine as that used by Gunze, leading to my Badger 100 constantly clogging and splatting, making a right mess of the brown patches.

I've therefore spent 2 weekends applying the brown, then tidying it up with a very dilute application of the green around the edges to take out the overspray.  

However Future is now on, and I should start decaling tonight.

I'll try and post pics.

Karl

Currently on the bench: AZ Models 1/72 Mig 17PF

  • Member since
    March 2005
  • From: Seeing Eye Dog Central
Posted by mpartric on Thursday, December 1, 2005 4:40 AM

I've already done the OOB cockpit for the veltro, but I think it looks like dog stool and am starting over with the true details resin cockpit.  I'm having digital camera issues right now and hope to be posting stuff in about one month (?new camera for xmas?)

later

Matthew Morristown, NJ Mediocrity--- it takes a lot less time and most people won't notice until it's too late.
  • Member since
    July 2003
  • From: Bicester, England
Posted by KJ200 on Saturday, December 3, 2005 6:41 AM
Matt, best of luck with that cockpit.

Has Santa confirmed the new camera as a definite?

Progress Update

I've applied all the decals, a mixture of Sky and Aeromaster, as Sky didn't supply the correct upper wing fasces, but ended up using the Aeromaster sheet for the lower fasces and the white tail crosses and crests.

Both makes of decal performed perfectly with a coat of Mr Mark Setting solution from Gunze. The top faces especially as these sit over several lumps and bumps on the upper wing.

Following the decalling I sealed them all with a second application of Future, then applied a panel wash with water colours. I used burnt umber for the upper surfaces, with black for the lower grey surfaces, as black would have looked too stark on the upper camo.
 
Finally some pictures
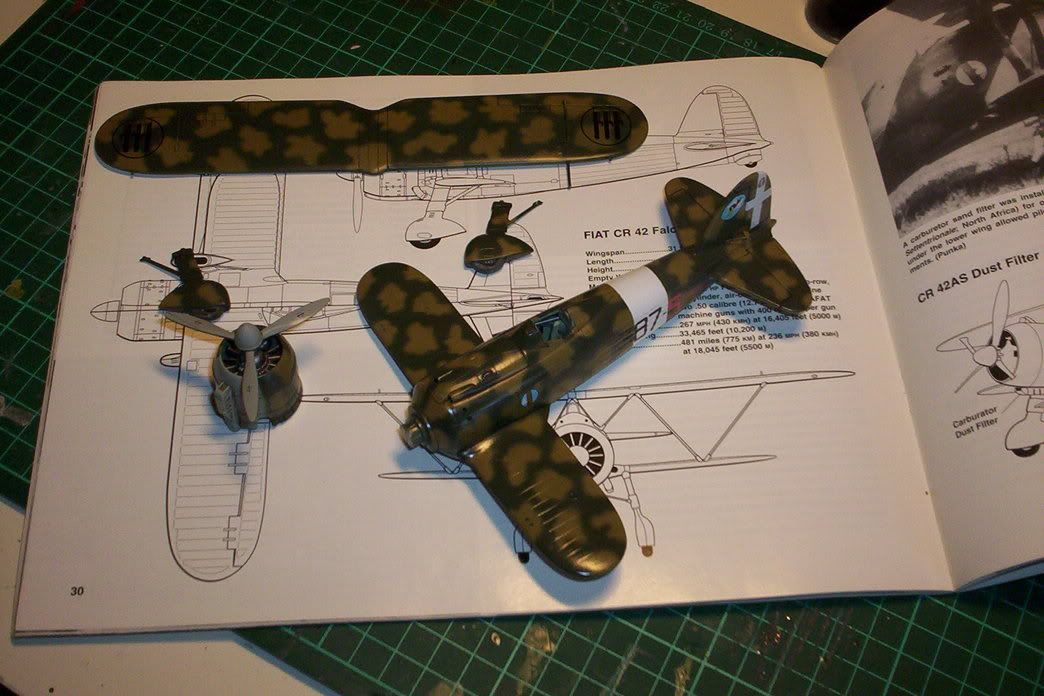


I had to file about 1.5mm off the back of the prop hub, as it caused the prop to sit too far forward of the engine cowling. Not quite sure why this happened, as the engine was located as per the instructions.
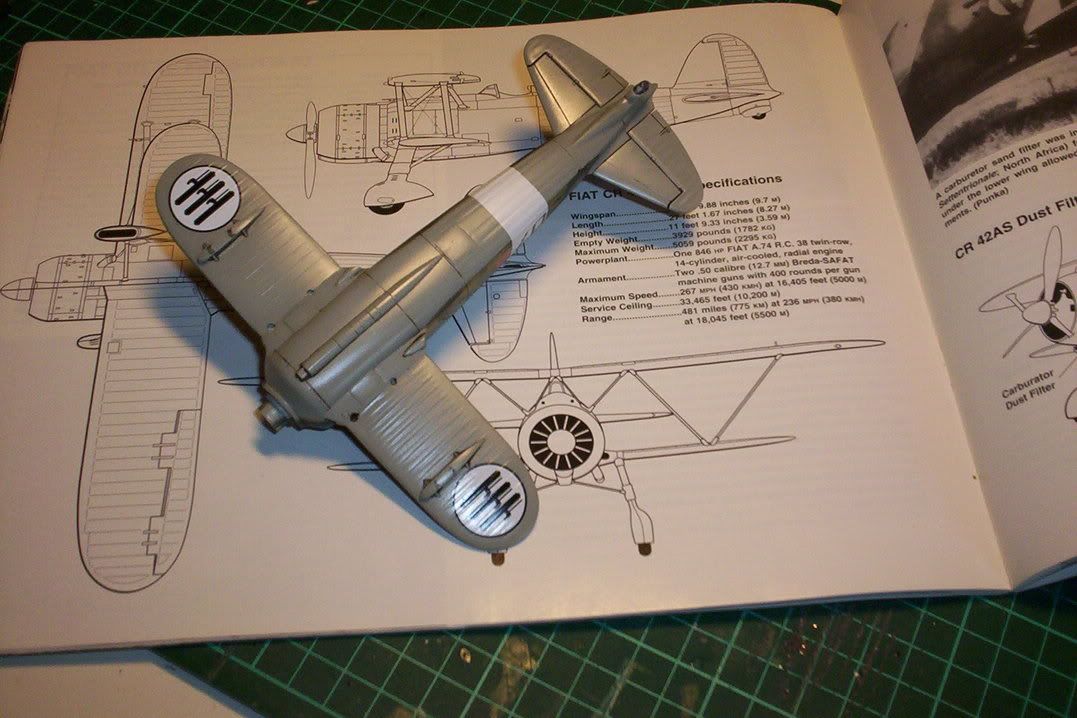


I need to add another sway brace, as one fell out during the painting process.
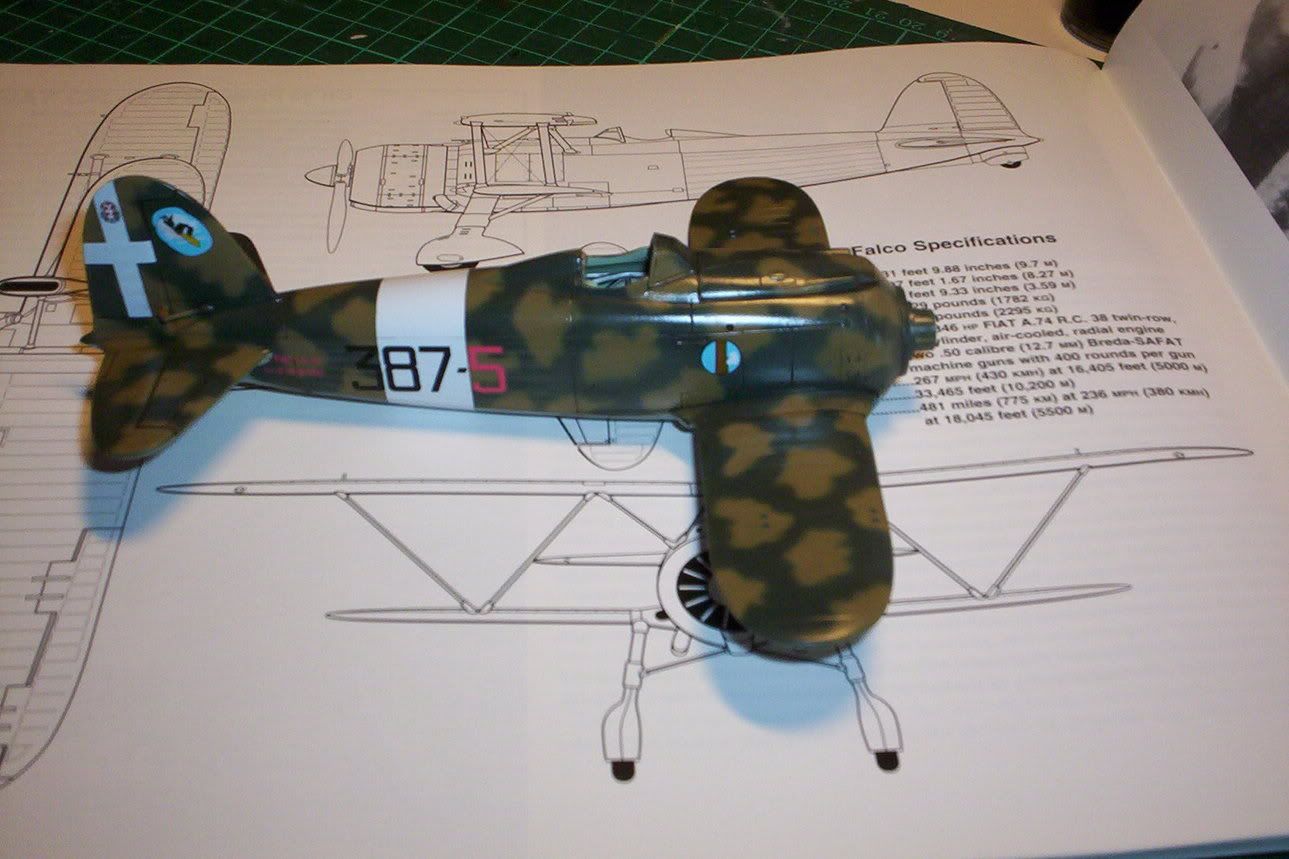


Here you can see the diving crow insignia on the tail fin.
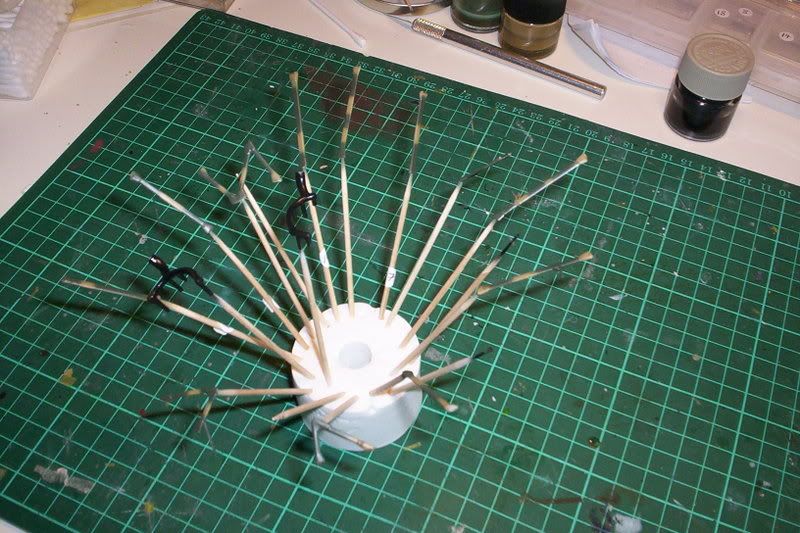


....and the myriad of struts that make up the Warren strut support for the upper wing.

This afternoon should see a coat of matt, followed by post shading.

Karl


Currently on the bench: AZ Models 1/72 Mig 17PF

  • Member since
    April 2005
  • From: Piscataway, NJ!
Posted by wing_nut on Saturday, December 3, 2005 7:04 AM
Karl, looks great. Really like the camo... very well done.  That last pics loos like something I stepped on at the beach once.

Marc  

  • Member since
    July 2003
  • From: Bicester, England
Posted by KJ200 on Saturday, December 3, 2005 7:12 AM
 wing_nut wrote:
  That last pics loos like something I stepped on at the beach once.


LOL Big Smile [:D] I've got into the habit of attaching small pieces to tooth picks, lost far too many in the past!

Karl

Currently on the bench: AZ Models 1/72 Mig 17PF

  • Member since
    March 2005
  • From: Seeing Eye Dog Central
Posted by mpartric on Tuesday, December 6, 2005 9:31 PM

Karl that's really coming along.

Xmas stuff has not been confirmed but people are dropping hints so I hope to acquire that and also possibly a few models that are too darn expensive unless my brothers and sisters go in on them.

I'm sanding and cleaning up the true details cockpit now and need some advice.  I've never worked with resin before.  Can I glue it with routine model cement?  I know I need to wear a mask so I don't inhale the dust.  Can I prime and paint it as usual?  Other little tidbits that people have picked up along the way?  Thanks.

Matthew Morristown, NJ Mediocrity--- it takes a lot less time and most people won't notice until it's too late.
  • Member since
    April 2005
  • From: Piscataway, NJ!
Posted by wing_nut on Tuesday, December 6, 2005 10:18 PM
Prime and paint as usual.  I like to use CA for resin.  Wet sand when ever possible to keep the dust down.  I will usually use a drop or 2 of water when I am cutting with a razor saw as well for the same reason, but still use a mask just to be safe. 

Marc  

  • Member since
    July 2003
  • From: Bicester, England
Posted by KJ200 on Wednesday, December 7, 2005 2:31 AM

Sign - Ditto [#ditto]

On what Marc wrote.

I always figure Xmas is an ideal opportunity to convince loved ones to bare some of the financial burden of our habit!

Karl


Currently on the bench: AZ Models 1/72 Mig 17PF

  • Member since
    December 2005
Posted by solid on Thursday, January 26, 2006 10:42 AM

When is the ending date of this build..? and can I still join???

  • Member since
    November 2004
  • From: Illinois
Posted by Ranger2Seven on Friday, June 2, 2006 12:17 AM

 wing_nut wrote:
Progress pics of the Mike Grant smoke ring decals being applied. These things are great, super thing and as you can see the carrier film is nearly invisible without a sealing coat on yet. And they really look like they are AB’d on. Tedious work applying though. Working around the curves of the wing root and engine (got more done by the time I got around to posting) they need to go one 1 or 2 at a time but the when out on the wing larger section can be cut form the sheet to cover a broader area. Hopefully will finish up tonight.


Nice job on the smoke ring decals.  I did this kit a few months ago and free-handed the smoke rings.  They came out rather nicley if I do say so myself.  I guess I couldn't get credit for the build, huh?  I liked the Hasegawa C.205 kit so much I picked a second one and added a C.202 to my collection as well.  I am almost done with a Re. 2000 by Classic Airframes.  What a garbage kit that is!   

~GrummanLuvvar~
JOIN OUR COMMUNITY!

Our community is FREE to join. To participate you must either login or register for an account.

SEARCH FORUMS
FREE NEWSLETTER
By signing up you may also receive reader surveys and occasional special offers. We do not sell, rent or trade our email lists. View our Privacy Policy.