Hey doods!
Thanks, guys, for looking in yet again! Here's an update! ![Big Smile [:D]](/emoticons/icon_smile_big.gif)
All paints called out are Tamiya acrylics. I started painting by first undecoating with a dark brown mixture, followed by straight Dark Yellow. I then added some Black to it, and added some shading.
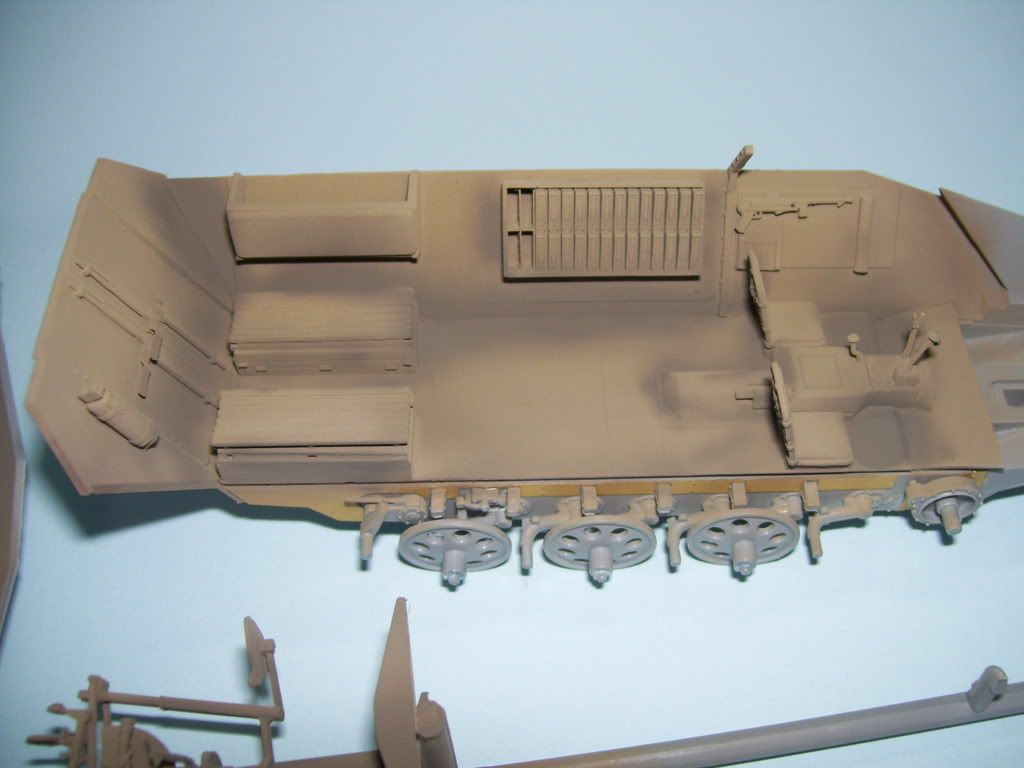
I then added about 20% Dark Yellow to 80% White, and added highlights. This flash picture shows the rich contrast.
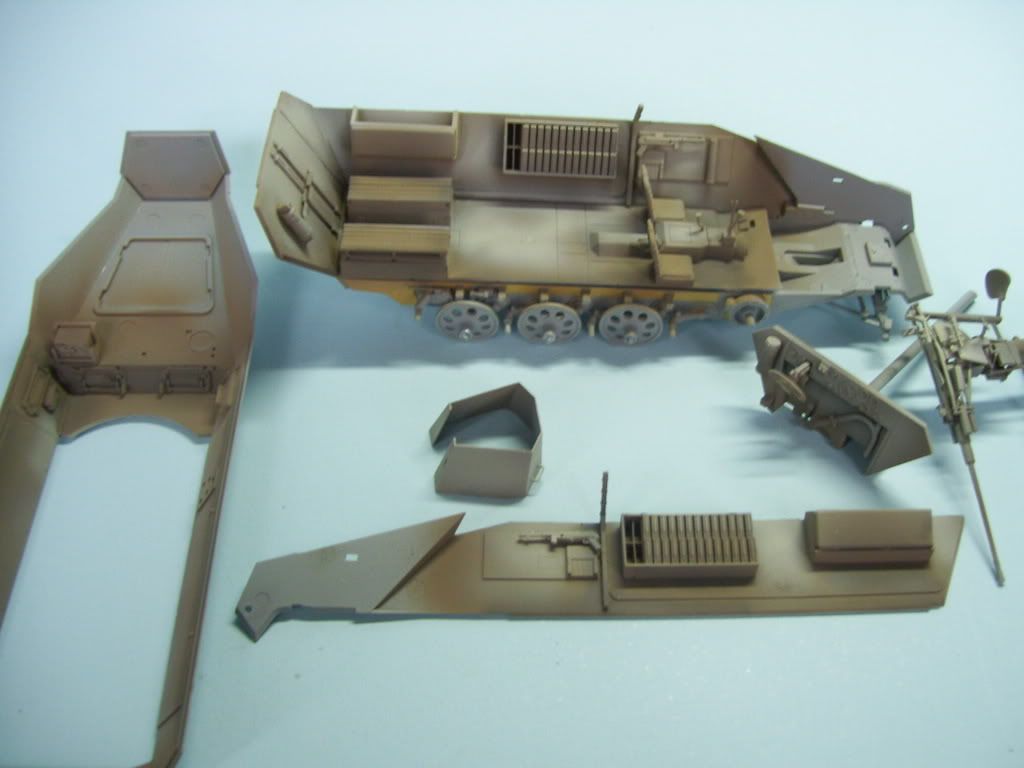
I added a wash of MIG premxed filter "Gray", and then some pin washes of "Dark Wash", followed by some chipping in layers. I used some Primer Red from 502 Abteilung on some bigger chips, and mixed a black/brown steel mixture to chip inside that. I did some drybrushing in light tan, and then in the steel mixture.
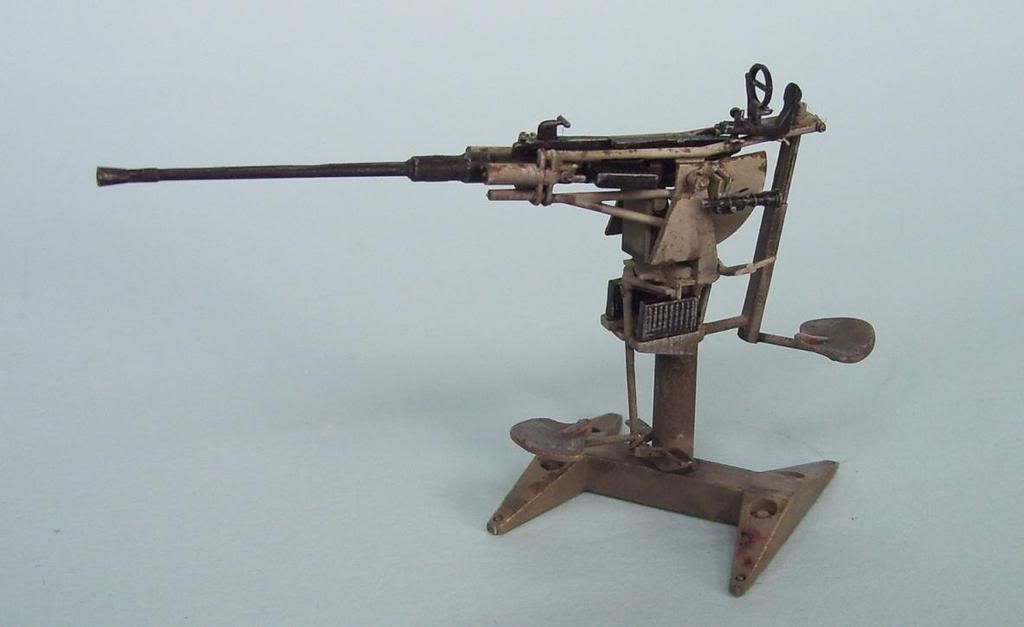
Here's the little bugger that almost did me in--the ![Censored [censored]](/emoticons/icon_smile_censored.gif) scwebelafette! I don't know if it's just me, but this little snot was one of the most complex things I've ever built! Sheesh! Here it is, NAKED! (I hope this pic doesn't get deleted! LOL!)...Tamiya instructions has a weird painting recommendation--only the barrel is gunmetal, but I didnt like the way it looked---didn't seem realistic, and looking at the second picture below, not accurate--so I painted it the way I think it looks?
scwebelafette! I don't know if it's just me, but this little snot was one of the most complex things I've ever built! Sheesh! Here it is, NAKED! (I hope this pic doesn't get deleted! LOL!)...Tamiya instructions has a weird painting recommendation--only the barrel is gunmetal, but I didnt like the way it looked---didn't seem realistic, and looking at the second picture below, not accurate--so I painted it the way I think it looks?
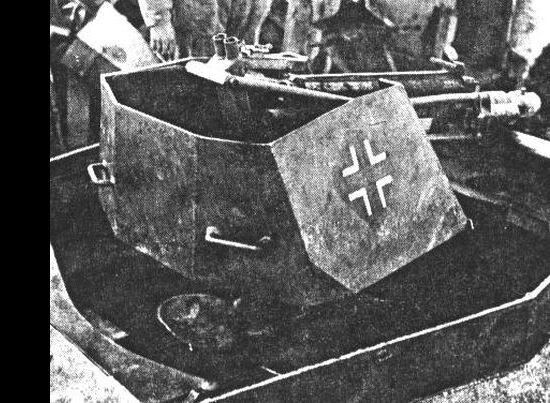
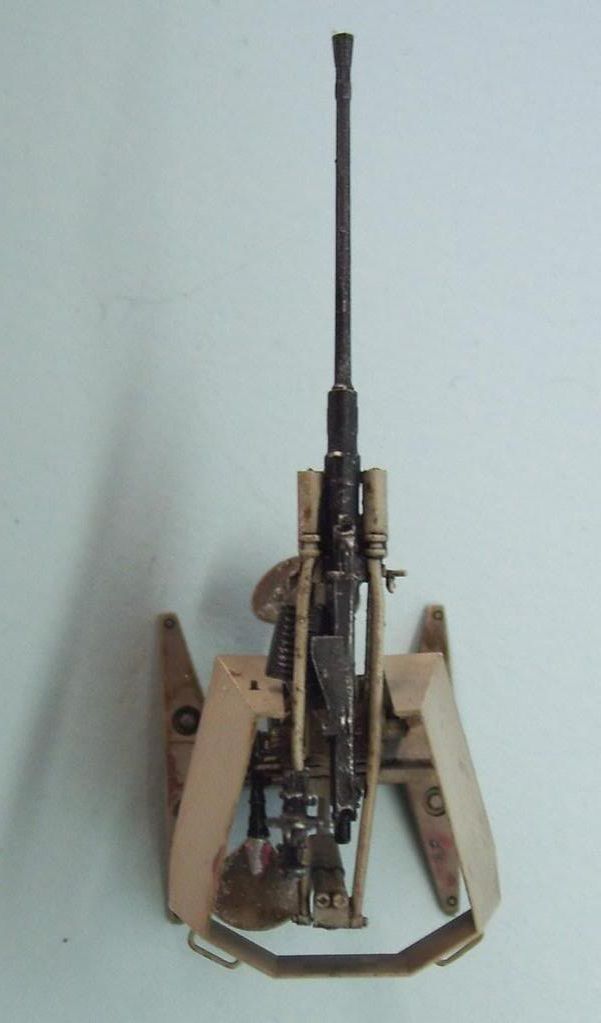
Here's how it looks with the skirt on. If you notice something here; see the gunner's seat? The way it attaches in the kit parts, it sits directly under the skirt when you apply it. I noticed this after putting the skirt on. Compare it to the top picture.
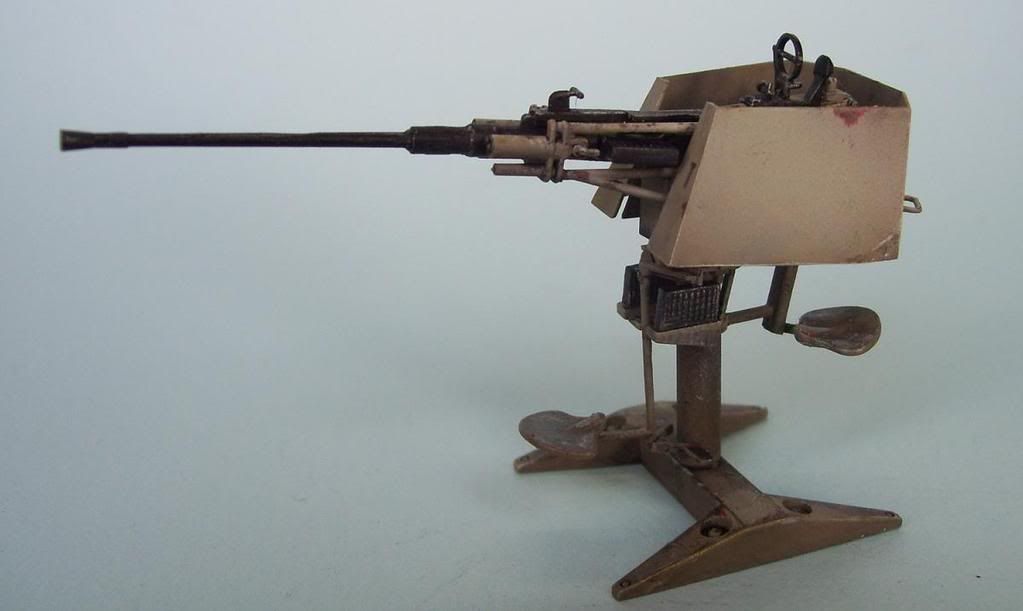
So I cut the post that the seat sits on, and moved it closer to the inside, so that the gunner would conceivably sit inside the skirt--where he would, normally.
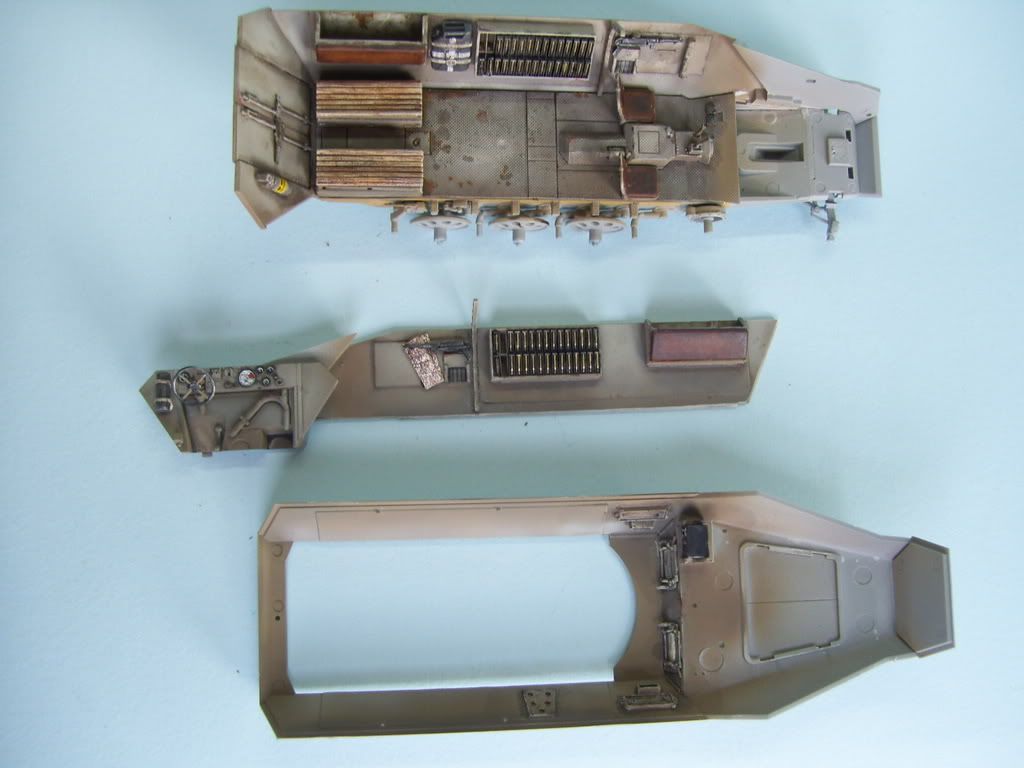
So anyway, here's the pieces--notice that I painted this interior in subassemblies as well, like the Hornisse. The floor is actually separate as well; it's just put in place for the photo...
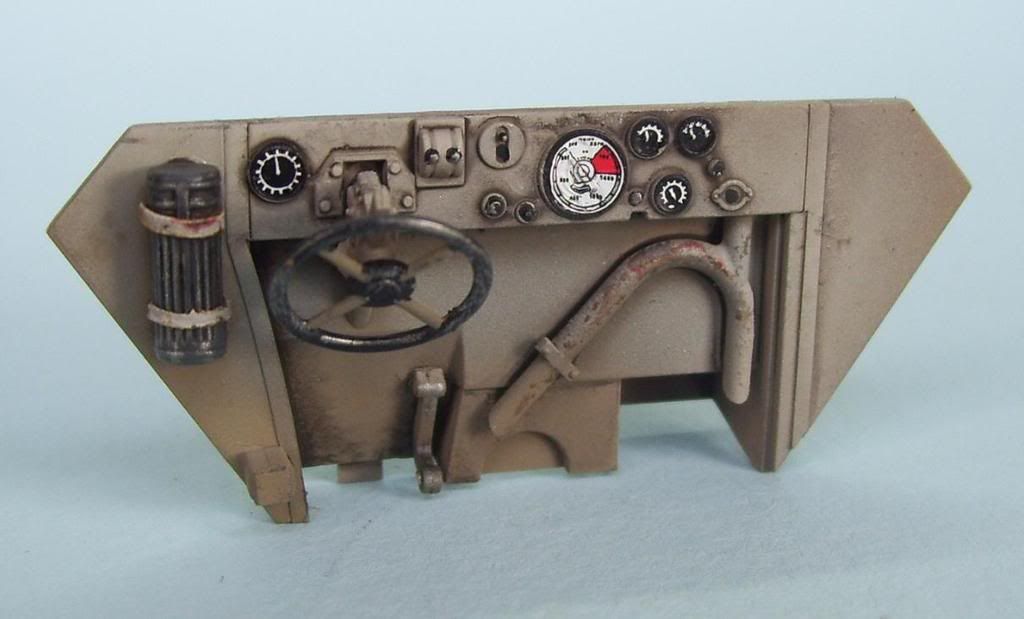
The dash---gotta love those decals!
And the interior so far....the leather seat backs were first painted "Nutmeg" craft store paint, and then finished with oils. The floor was weathered with MIG washes and oils--there will also be some pigments added, but I didn't want them to get in the glue when I glue the pieces together...I added a strapped-in water jerry can there in the space between the magazine storage and the side bins.
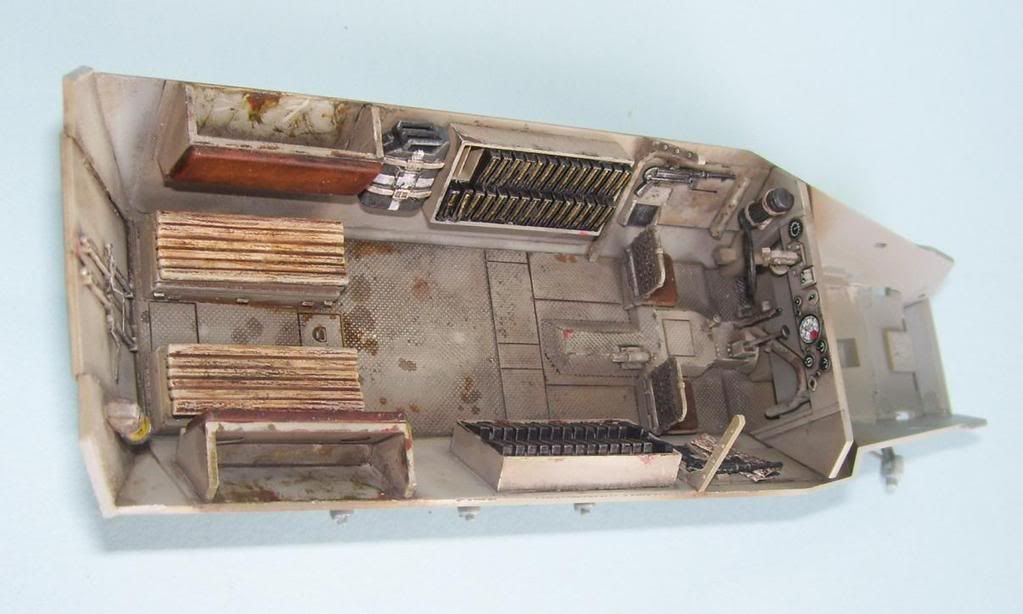
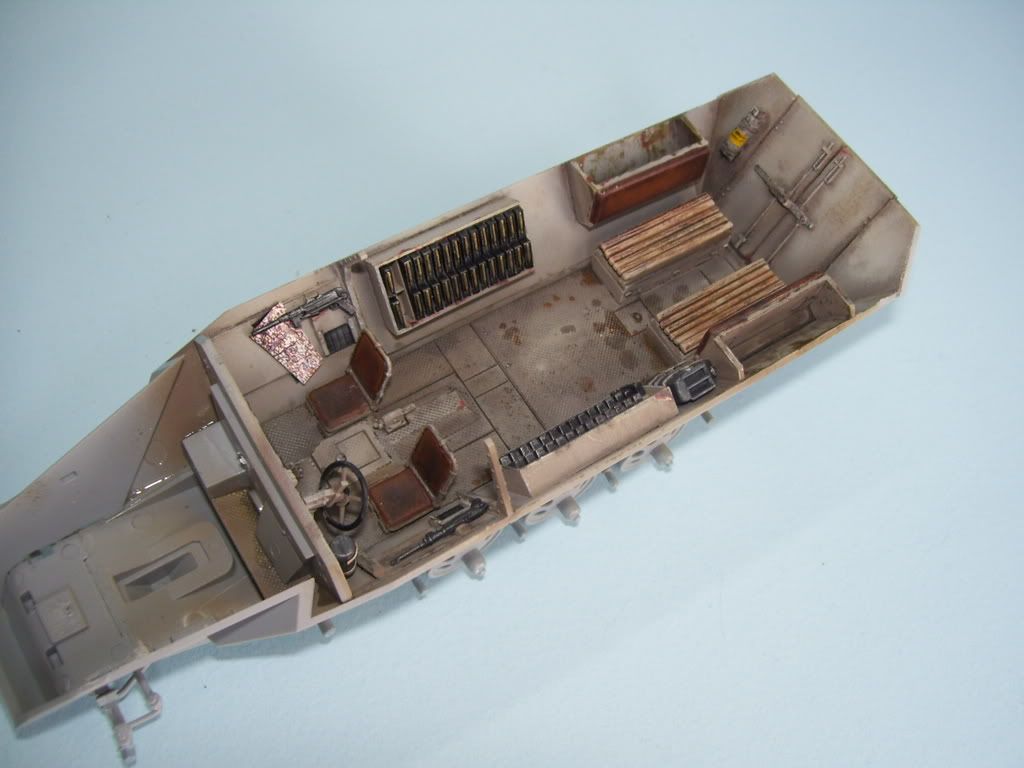
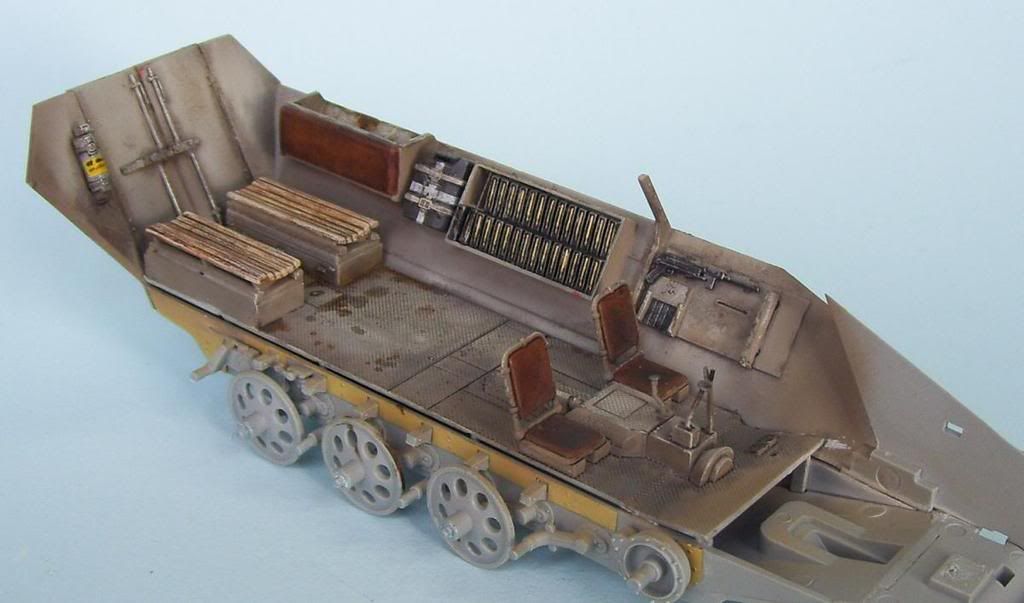
And the side. floor, and dash glued in, and the gun, stood in place, temporarily....
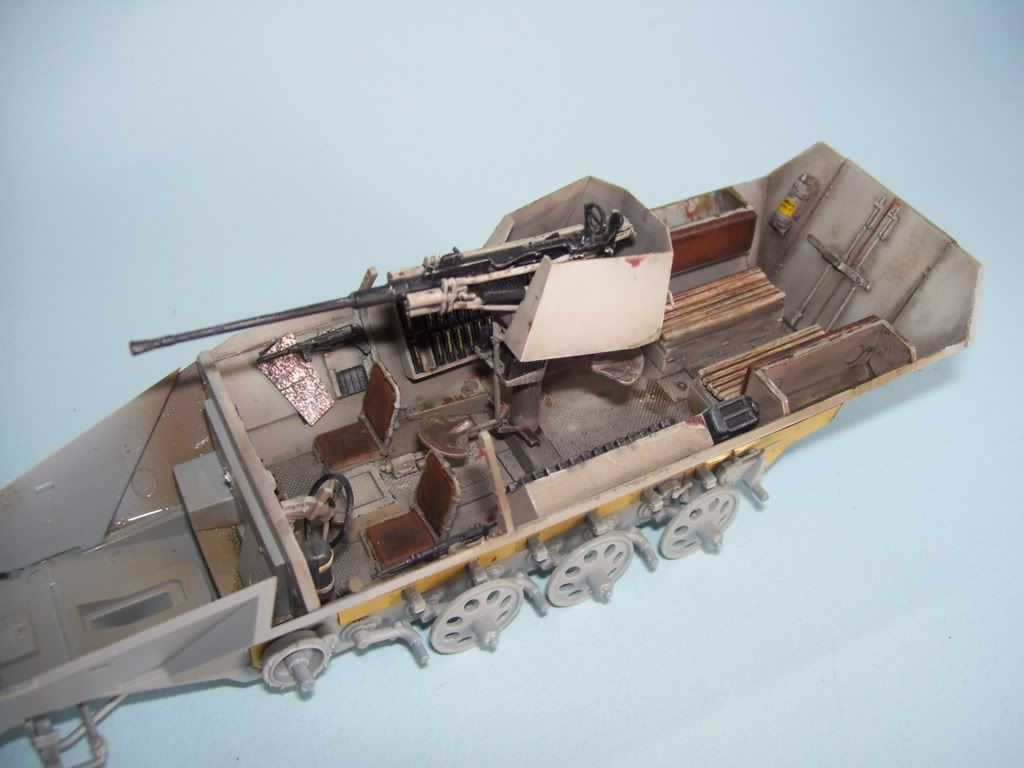
Now I'll add some pigments to the floor, build the rest of the outside details, and then it's on to the exterior painting!
Thanks for looking in, guys! Comments welcomed! ![Big Smile [:D]](/emoticons/icon_smile_big.gif)