Assembling the upper carriage turned out to be a chore. The swivel base connects to the support arms and the lower equilibrators are to be pinned between the two. First the fit was off and required sanding and then trying to connect four pieces at one time is next to impossible. After a few foiled attempts, I cut off one side of the pinning on each equilibrator and glued the other side.
Once the glue dried now I only had to deal with the swivel base as a whole. With that mounted I closed up the seams and masked required areas prior to the camo.
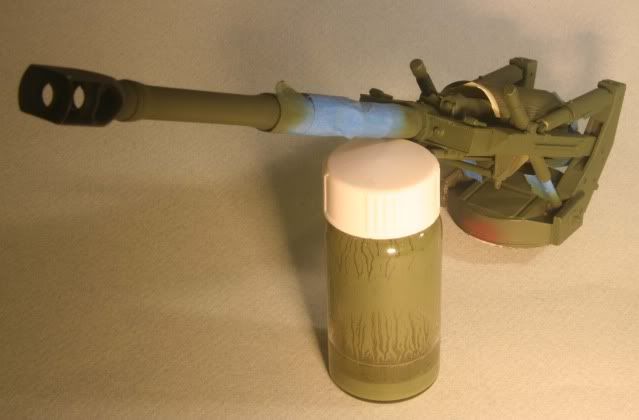
I also mounted the large top screen from the supplied PE. Rounding the screen was a search but the syringe I use for thinner addition was a perfect size, which turns out to be 0.50 inches in diameter

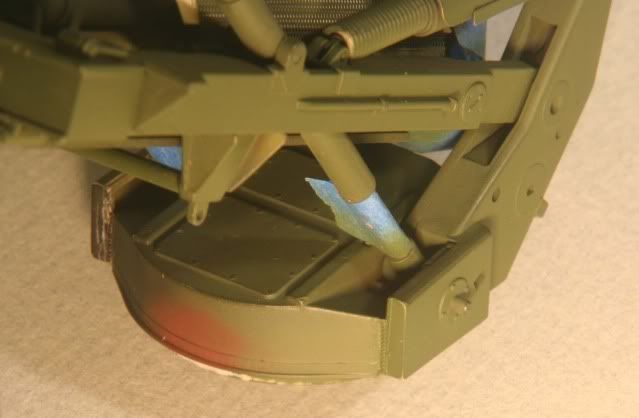
Where the arms meet the swivel base, once again I employed the Archer weld beads. You can see clearer in this picture the lower equilibrator arms, swivel base and the support arms and how they all fit

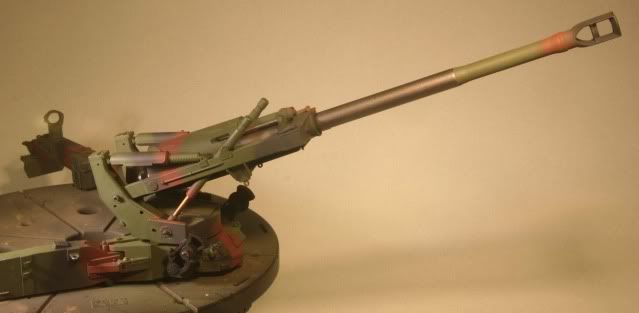
After everything was masked I hit the paint booth. First a quick overall top coat of NATO Green, then the NATO Black and NATO Brown for the camo.
I let the paint set up overnight, then I "reversed the masking to expose the metal area of the barrel which is not painted since it moves during recoil. The metal barrel and breech area was painted with Alclad Steel.
The entire upper assembly was added to the lower carriage.

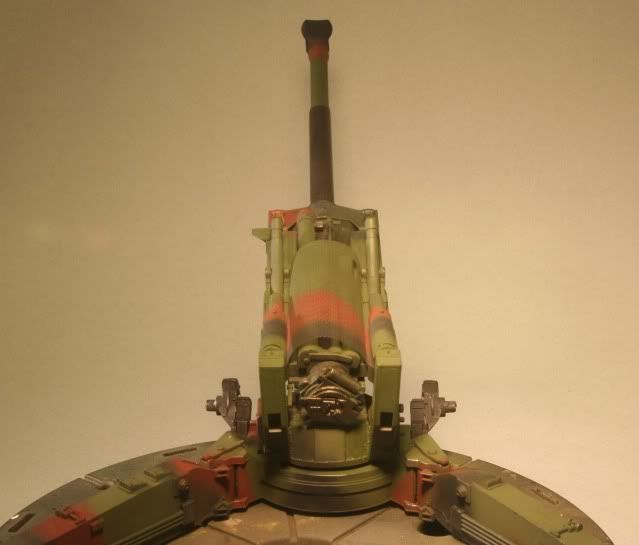
View from the rear

Once all assembled this model is big when built in the firing position. From barrel end to trail end is about 13 inches and the trails spread about 10 inches. This make taking overall pics fun to get depth of field!!.
That's it for now. Next, final hand wheels and gears, travel support, sights and scratch build air lines a left to be mounted. Then we will be onto weathering.
Total hours this update - 8.0 hours
Total hours this overall build - 28.0
Thanks for looking and as always, all comments are welcome.
Rounds Complete!!