It’s been a few weeks and the holidays are making a dent in the bench time…..humbug!
After making the base and sealing it, I cut a ¼ inch thick foam sheet about a ¼ inch smaller on all sides. I masked all the stained wood areas to keep them clean and using spray foam contact cement, glued the foam to the base.
After it dried, I positioned the model on the base and found where the rear spade would end up. I cut ~1/4 inch hole in the foam the width of the spade. This will allow the spade to be dug in.
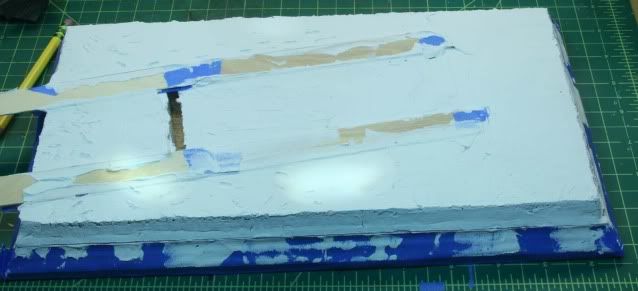
I used sheetrock taping compound for the snow. This needs to be built up in layers to avoid cracking. First was a thin coat to encapsulate the foam. Then with the model in place I marked out where the tracks would be and using painters tape and wide popsicle sticks, created a mask.
Two more thin coats of the taping compound were added to build up the height. After applying the last coat, I used an old figure to create footprints around the weapon. Here is the bases after the last coat with the mask still in place.
On the model…first I rectified the missing bumper numbers. There are other pictures of this weapon with barrel art but the photo at the top of this thread shows a weapon without art. With all the barrel changes this unit saw, I’m sure the “blank” barrel is also correct.
I used the Lionroar PE stencil set and painted the numbers onto the front and rear. Here is a view of the finished numbers.
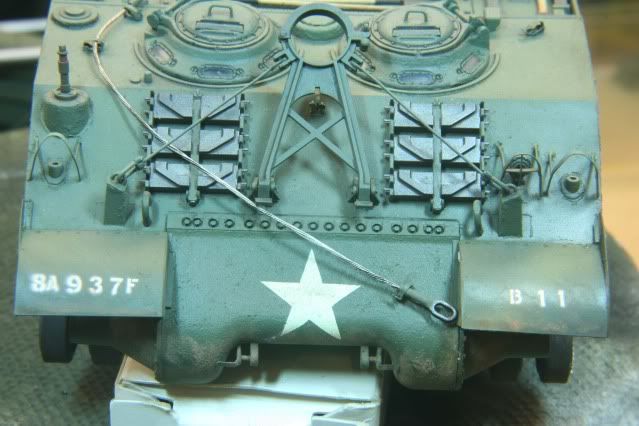
With the numbers in place I used MIG powders, Dried Mud, Light Rust and European Dirt mixed to create a coat of dust and dirt in the track area with some splatter just above.
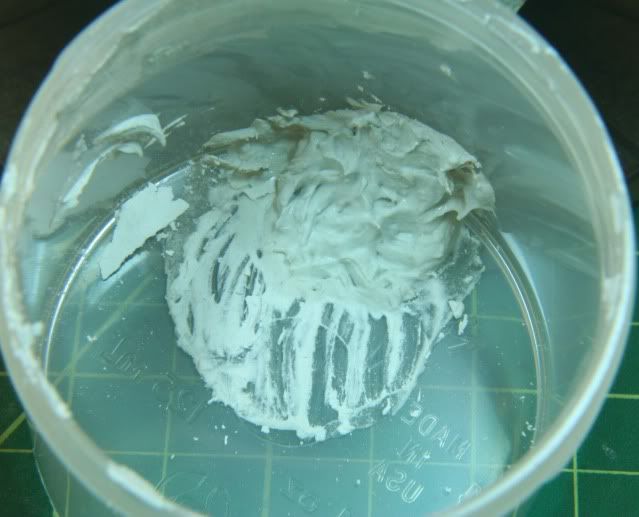
Once that all dried it was time for the snow!!. To get the taping compound to stick and stay on the model and also not to be brittle, I made a 70/30 mix of taping compound and white glue which mixes into a nice paste
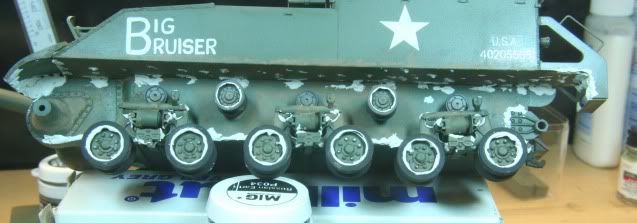
I did not want to cover the bottom with snow but have it on the wheels from rotation, fender bergs front and rear and some placed clumps from splatter.
Besides the paste, I keep a cup of water and a stiff brush nearby. If the paste gets somewhere I do not want it to go, the wet stiff brush will clean it. To apply the paste I use an angled dental spatula which works well on placement of small amounts.
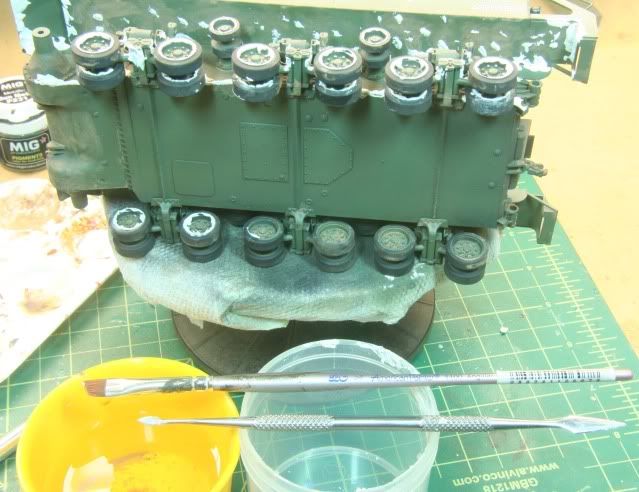
Here is one side with the wheels, fender bergs and splatter
On the top, snow would not accumulate as the engine would be run periodically in the cold to keep it ready and thus the engine deck would be warmed along with the crew area. The snow would accumulate in areas that would not be heated and have a “nook” to hold some snow. Here is what I did where the fenders join to the body. I still have to put some on the spare tracks and a couple of other small spots.
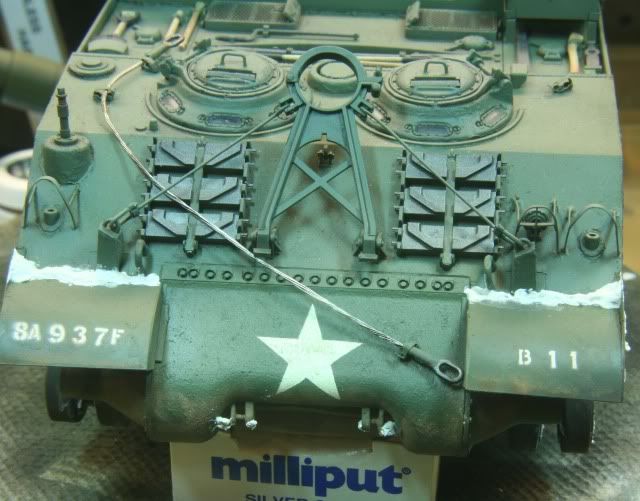
That is where I am at. I have to finish up all the snow on the hull then, I am ready to install the tracks, install on the base and begin the final assembly of all the sub- assemblies.
I am hoping to make good progress during the holidays to finish this build.
As always all comments are welcome and thanks for looking
Rounds Complete!!