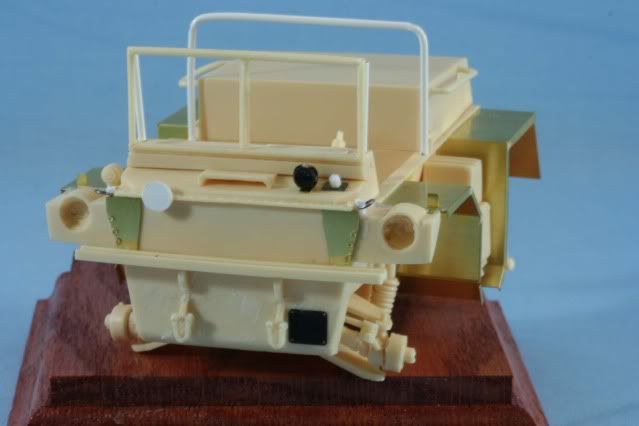
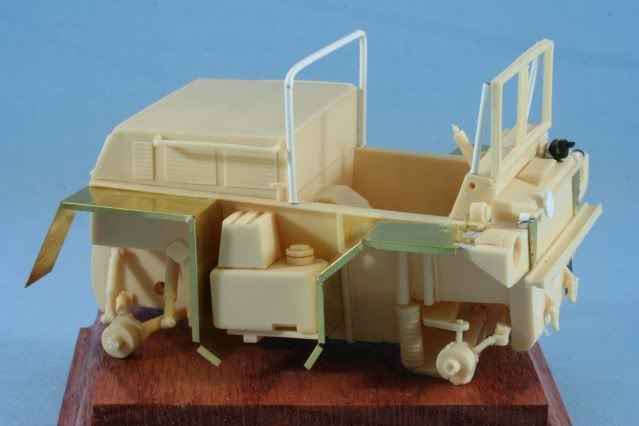
Well summer is defiantly getting in the way of building. Plus family outings and finally working on what I promised myself I would finish this year, my website has slowed this build down. With that said, here is some progress.
I finished the exterior details. I scratch the electrical jumping jack using some leftover PE for the base plate and.040 hex rod for the jack (far right in front of driver). I then fabricated the air lift lugs using the same method as on the trailer. They are mounted on either side of the wind shield.
The BO light for the kit was poor so I substituted one from the parts bin. The horn was…ok so I used the kit supplied. I will have to cast a set of turn signals as the kit supplied are incorrect. I will add those later

Next I began the task of assembling the suspension. The rear is fixed and a bit simpler with just two shocks and the drive shaft. That fit together fairly well. The front is the same as on the trailer with the drum supported by the upper and lower leaf, a spring to the lower leaf, drive shaft to the drum and steering arm to the front of the drum. The instructions are non existent on this and the suspension was assembled based on research and the TM.
Assembling the front suspension is a royal PITA and take a few days as a part has to fully dry before moving to the next item

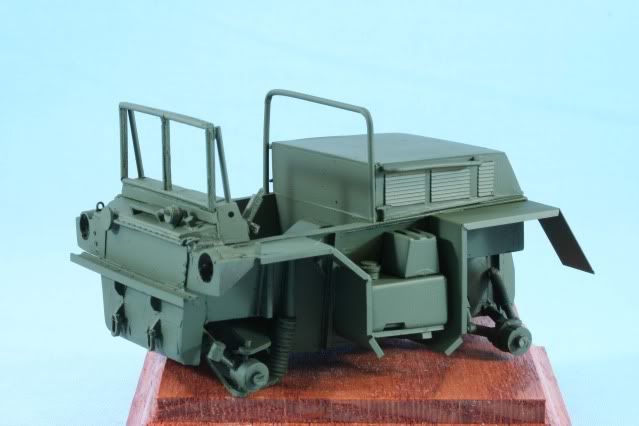
Now it was time for some paint. With all the heat and humidity, even in an AC cooled house, I needed to pick a good day. First everything was washed, well rinsed and allowed to dry for a few days. Then everything was primed with Tamiya Flat Black. Any problem spots, gels, voids, etc that showed were filled and another light coat of black put on to give uniformity. After a good drying, everything was painted with PolyScale Forest Green 505388 which is the dark green for the MERDOC camouflage pattern. Here is the power section.

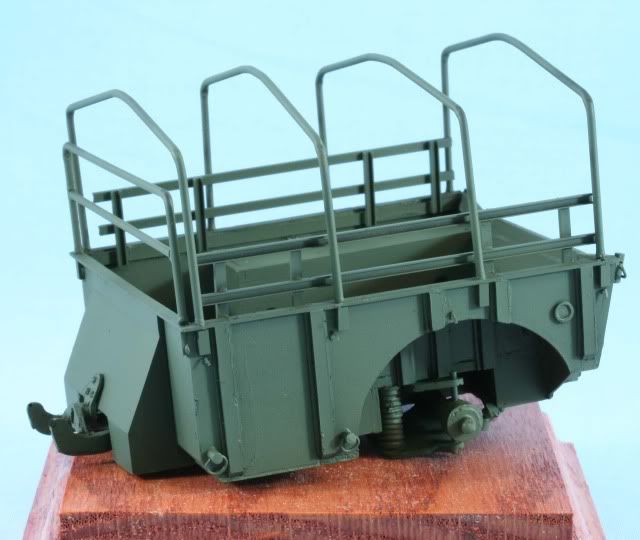
Here is the trailer section

Well that’s it for now….MERDOC camo work next.
As always, your comments either positive or negative are always welcome.
Rounds Complete!!