Fire Mission…..
1/35 DML T19 Howitzer Motor Carriage
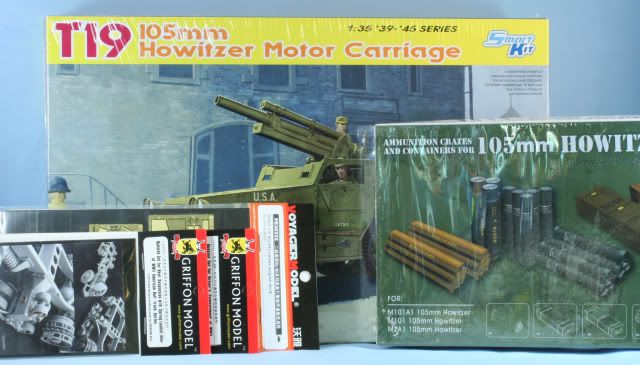
Along with the kit I will add Griffon PE kits for the suspension, the PE kit for the driving compartment and may look at the voyager set for the hood and front end. I also will be using the new AFV Kit for 105mm ammunition packaging and new AFV 105mm brass ammunition (not shown).
Research
If you are going to build a US Halftrack then you need the bible for the vehicle and the variants, Half Track by R. Hunnicuitt
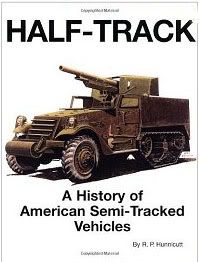
A little over 300 were manufactured and were used by the US extensively in North Africa and a bit in Italy.
The build
Before building the kit, a good background was to read Tim Streeter’s web blog on the build.
http://www.usarmymodels.com/MANUFACTURERS/DML/DML6496/dml6496%201%20intro.html
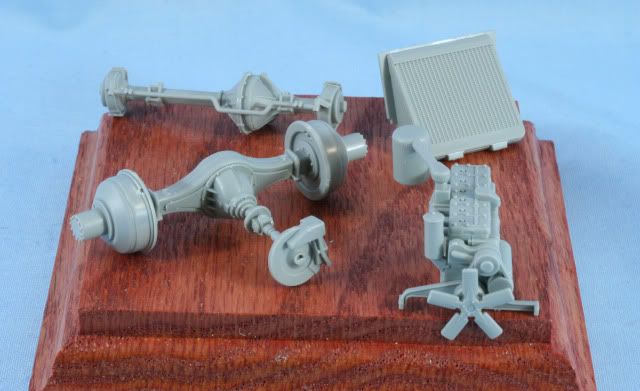
Step 1 on the kit builds a number of small assemblies including the axels, radiator, engine, front wheels, track driver wheels and track idler wheel.
The kit instructions are a bit off in two parts. The picture would lead you to believe the fan goes on the lower pulley, but it actually goes on the upper pulley. I learned that one the hard way. The brake shoes A8 & A9 are reversed from what the directions show….that was a freebie from Tim
After that everything assembled well
Here are all the wheel assemblies
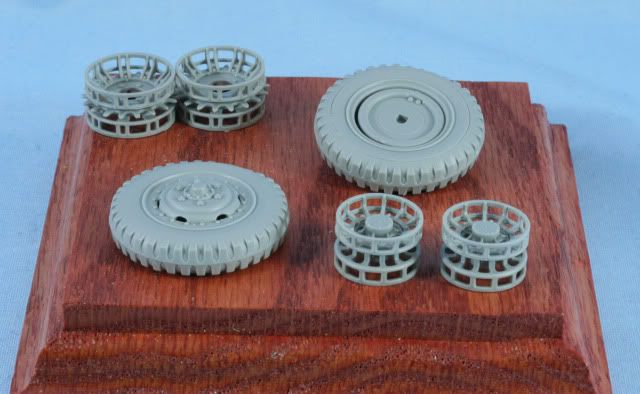
Step 2 & 3 assemble the track assemblies. I will skip those for now to do a little paint with the wheels. Some people prefer to totally assemble then paint. I am the sub assembly painted and then assembled modeler. I will try to work a method for the DML half track assembly
Step 4 takes the frame and begins mounting parts and assemblies. I mounted the transmission, front suspension, steering box and track drive axel mounts
The T19 was assembled early in the war, prior to the modification for a double coil spring idler on the track. To build what was typically fielded, we are lucky that the parts are in the kit. This is done by replacing parts C34 and C35 with parts C43 and C44 respectively. This allows you to now leave of part A22 and A21. Thanks again Tim. Design information can be found in Hunnicutt.
These parts (C34 & C35) will require a bit of seam work to the frame.
The remaining rear adjusting idler parts were left off until the tracks are mounted.
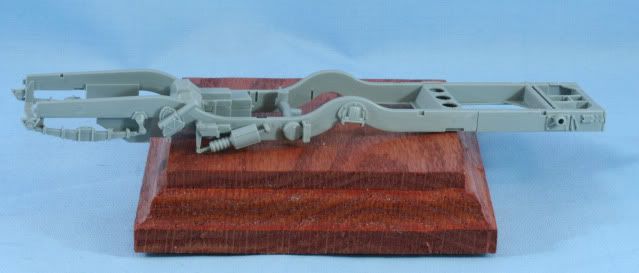
Step 5
This step adds the engine, radiator, exhaust system, front and rear axels, drive shaft and steering arm. The instructions don’t give the details but install the exhaust system before the engine or the rear axel. These all assembled nicely. The track wheel assembly is also to be put on in this step but as stated earlier, the will wait until later.
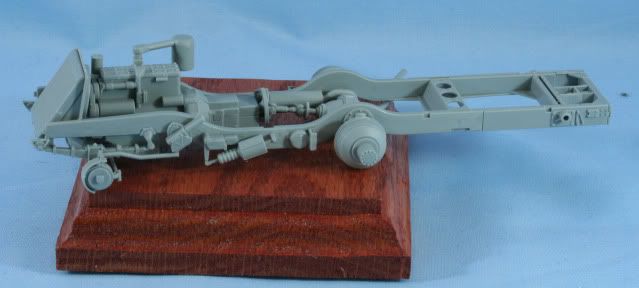
That’s it for now. I’m off and running.
As always thanks for stopping by. Your comments good or bad are always appreciated.
Rounds Complete!!