Like Bill, it has been a few weeks since the last update. Summer chores and holidays have slowed the bench time down.
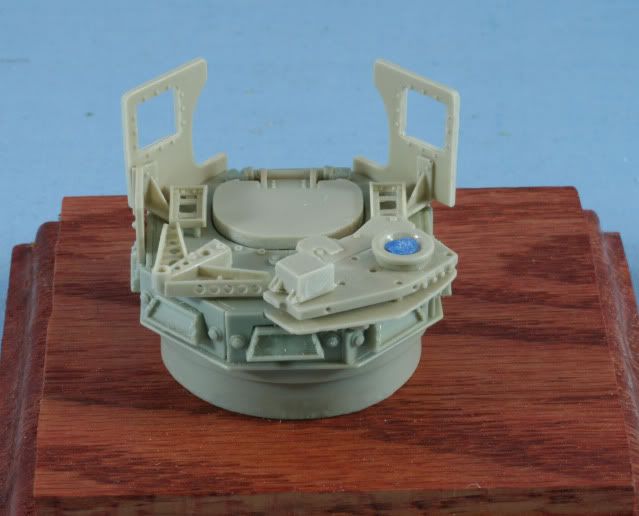
I began working on the Formations conversion set. After making the roof hole bigger in the vehicle, the next 9 steps involve assembly of the turret. Some of the parts are small but all are very well cast with no marks or voids. The parts are well marked and have little or no flash. In other words…..perfect! The instructions are outstanding as they are a Power Point photo presentation, again outstanding
Here is the main turret assembled. In step 3 the instructions call for the placement of the wiring cables. I will take care of those after painting.
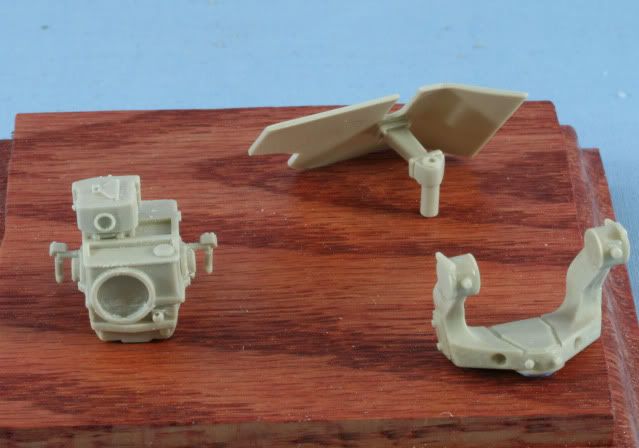
Along with the main turret is the assembly of the electronics package, the package yoke for mounting and the weapon shield. I have kept all of these separate to facilitate details and painting.
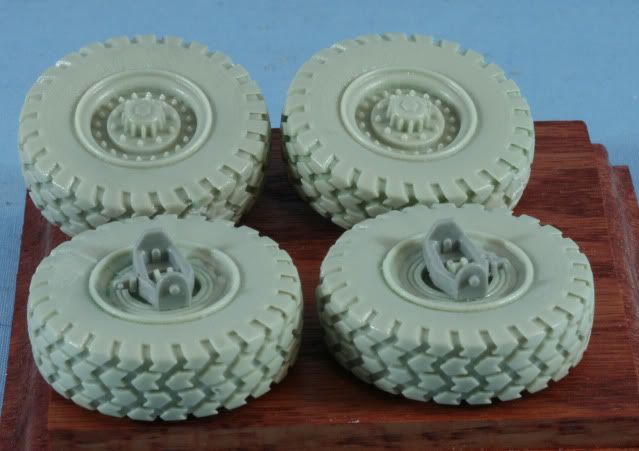
The tires are resin from New World Miniatures. Again the molding is excellent. Where the pour block is removed I used a pointed Dremel grinding bit to restore the tire tread pattern. The tires are cast with notches to match the kit parts for the attachment to the axels. Here is the tires cleaned up and ready for painting.
The main vehicle had the last few resin and kit details added with now just a few left off for ease of painting. The windows are prepared and it is ready for the paint hood.
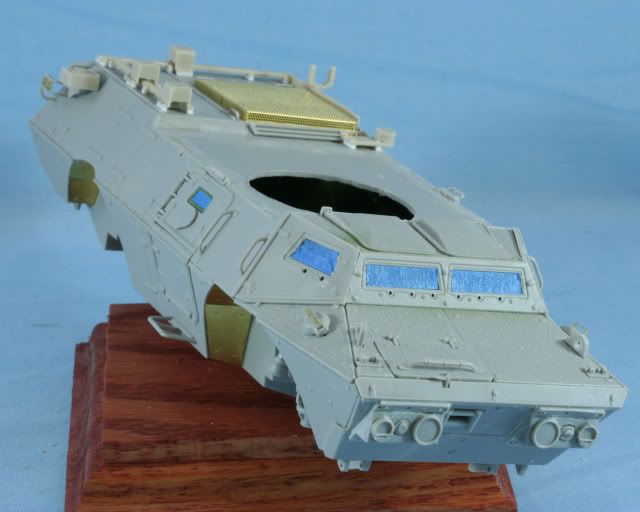
Here is the rear view
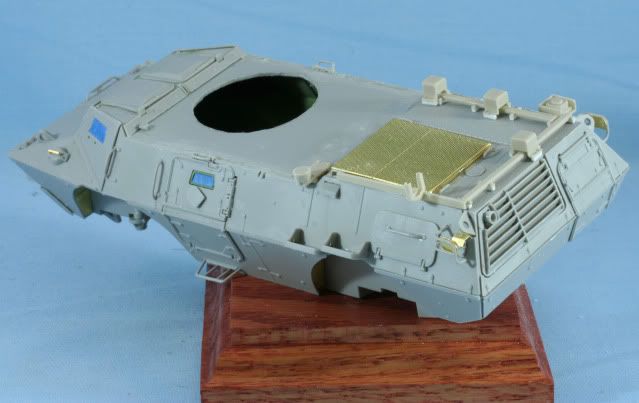
Here is a view of the vehicle with a prime coat of Poly Scale Tan. I used a tan color rather than a dark primer since the finish color is sand. I feel it is important to have a prime coat, especially with a mix of resin, PE, brass and grey styrene to get everything a uniform color.
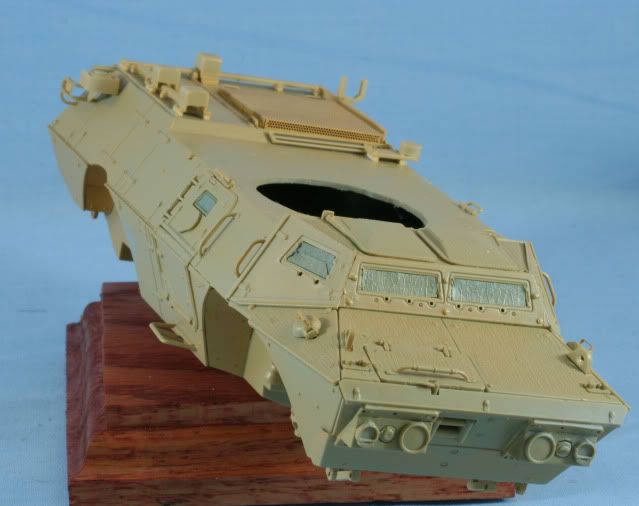
That’s it for now. Now with everything primed, it is time to move on to finish coat and details.
As always thanks for stopping by. Your comments good or bad are always appreciated.
Rounds Complete!!