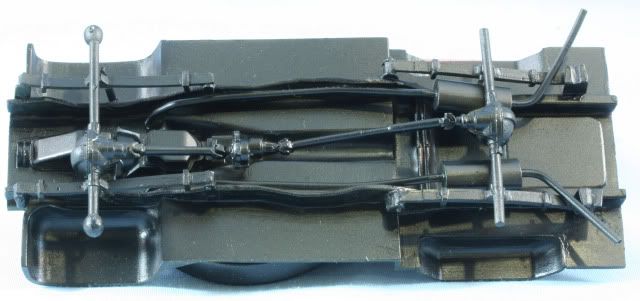
Having some time with the holiday allows me to keep moving on this build. First the undercarriage assembly was primed and then the bottom painted flat black.
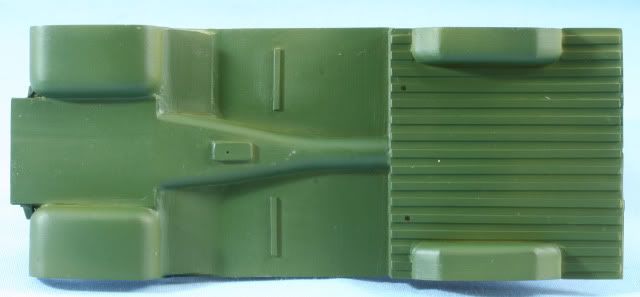
Once dry, the flip side which is the interior was painted NATO Green
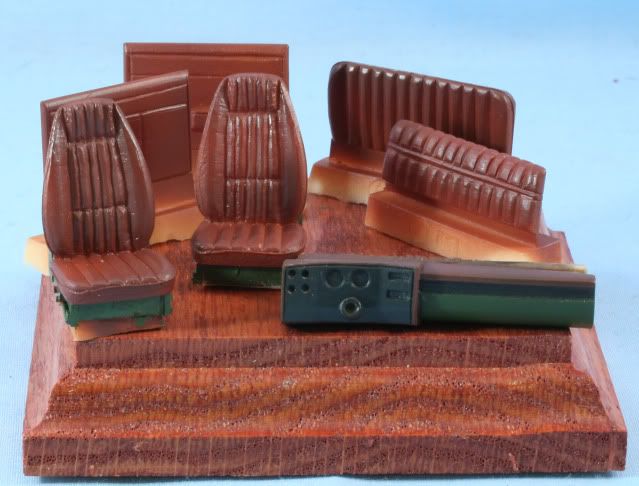
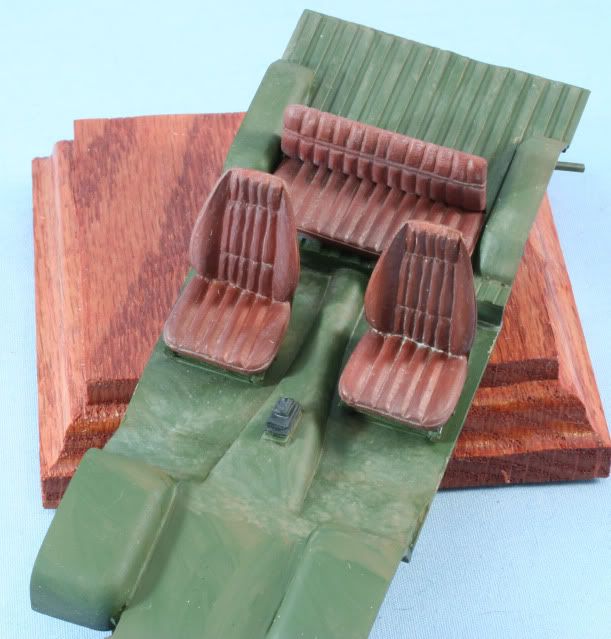
Next were the interior components including the seats door panels and the dashboard. The vinyl in the M1009 was a reddish brown to close to NATO Brown. The dash had vinyl in NATO Brown, plastic in Black and the metal underside in NATO Green. After painting the respective parts, I then used MM Acryl Semi Gloss Clear on the vinyl and plastic areas to give the proper sheen to the components.
With all the paint dry on the undercarriage, I did some basic underside weathering using AK Filter for NATO. Dabbing in spots to create the dirty stained effect.

Next I assembled the interior installing the front and rear seats and the floor transfer case shifter.
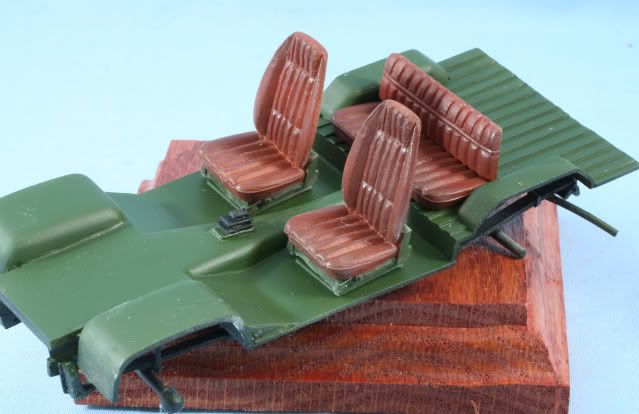
With that complete the interior was weathered with a light coat of AK Filter for NATO followed by AK Dust Effects.
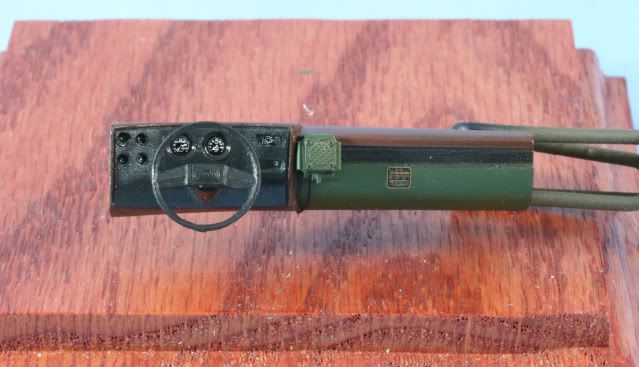
With the kit interior parts now assembled it is time to add a bunch of details. First I completed the dashboard. I used Archer transfer gauges and the put a drop of future over each gauge. When the future dries it simulates the gauge glass. The data plate is from Archer Data Plate set. I attached the PE dash bracket and then attached a Verlinden speaker. The speaker is painted with Tamiya Olive Green and the speaker wire, which goes from the speaker under the dash, is 26 gauge SS wire painted Flat Black. I then assembled the steering column and steering wheel to finish the dashboard assembly
Lastly I worked on the radio assembly. I started with a Verlinden RT-524 and R-442 radios with their mounts and painted them with Tamiya Olive Green. The details on the radio include the white area for grease pencils to write frequency, the black area for the frequency, the orange for the incoming call light, and dry brush on some of the knobs with white for indicator. I also dry bushed using Alclad Aluminum for the jacks and the paint wear on the edges of the radio.
Next I made the brackets to hold the radio assembly using .060 C channels styrene. After assembly, the channels were painted with Alclad Steel. Once everything was dried I assembled everything for installation into the M1009.

That is it for now. Lots more interior details coming.
As always feel free to leave a comment either positive or negative
Happy New Year!
Rounds Complete!!