OK, here's a big update:
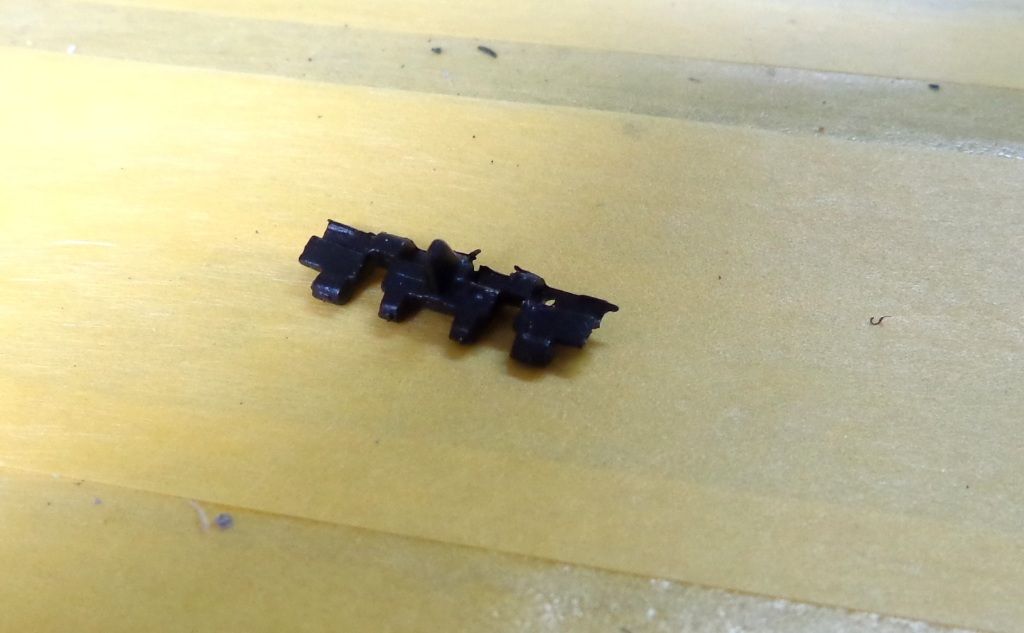
I had a devil of a time with the tracks. I'll tell ya---after struggling to find ANYTHING that would glue together the tracks of the 1/72 Sturmtiger kit that I did from Trumpeter, I have to say that Trumpeter really has to get its act together on their tracks issues. This new plastic that they use in the molded indy-link tracks is AWFUL. Lot of flash, and really a nightmare to put together as a result. Here's an example of one of the links---each of which had no less than SIX attachment points on the sprue! Look at all that flash! It makes it a bugger to try to dry-fit the links on the masking tape strips.
For what it's worth, here's the length you need for a run---it's 57 double links, not 55 as the directions say. They wrap around nicely once finished. I had to glue the links together every 20 or so links instead of waiting until finishing a full run, as they wouldn't stay linked on the tape. It kinda screwed up my timetable for allowing the run to fuse, but in the end I just plain got lucky in the timing.
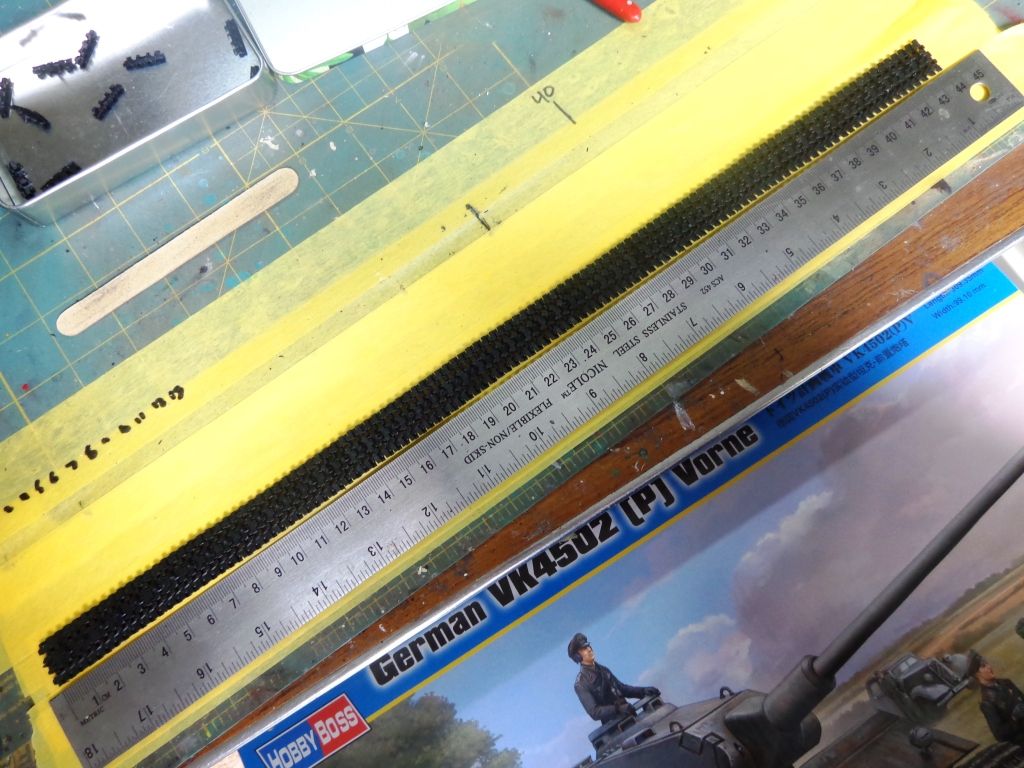
Done! Phew!
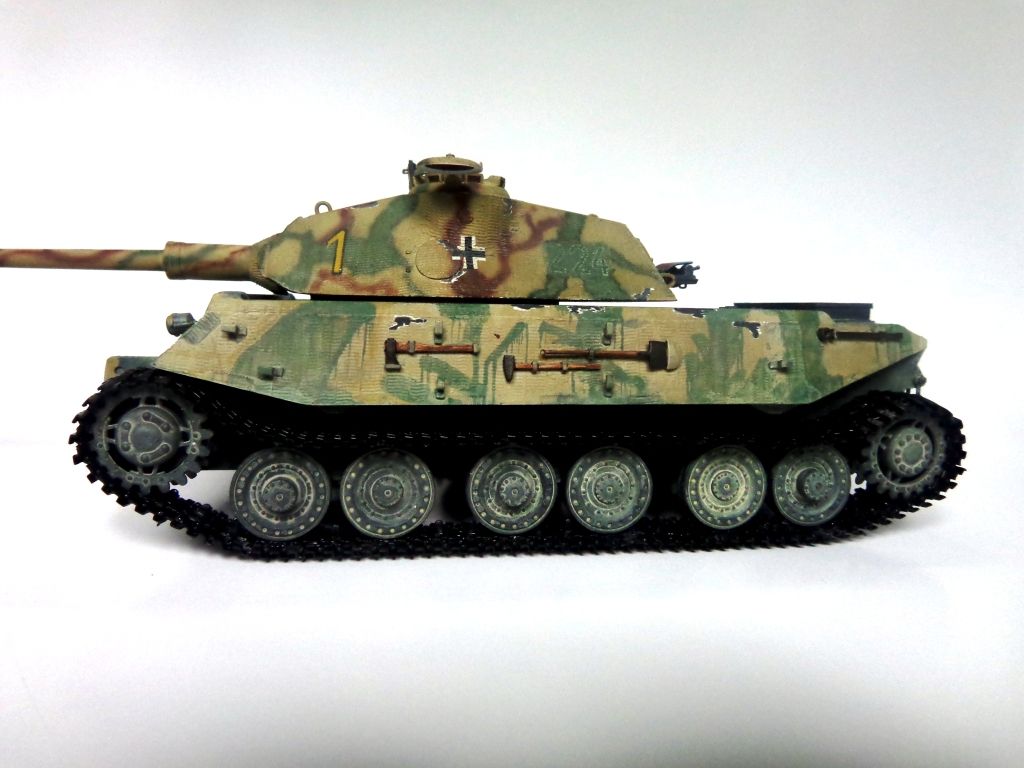
The tracks were first painted in a dirt-brown as a preparation for weathering.
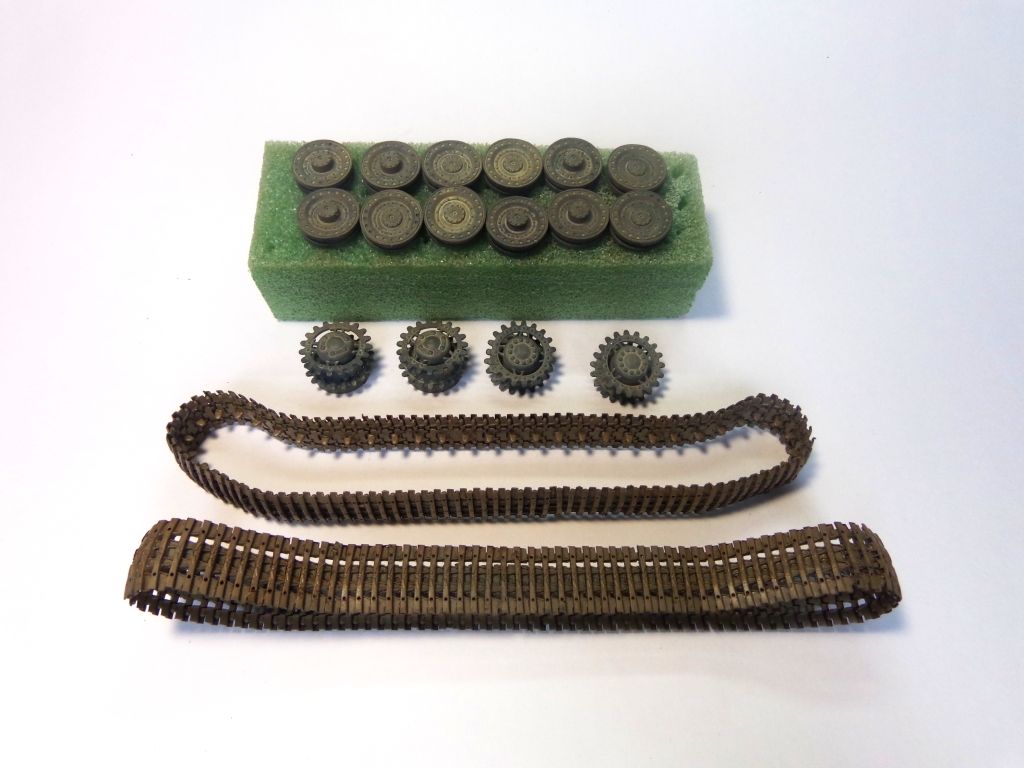
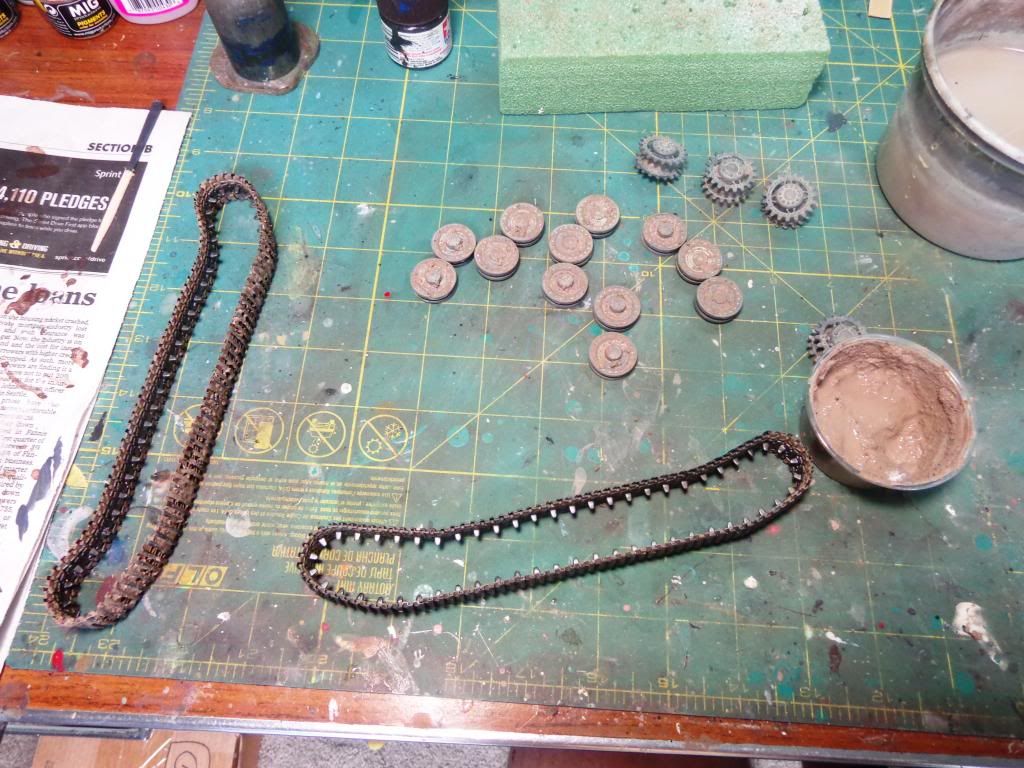
And now the nitty-gritty. I mixed up some paste of dirt, pigments, paint, glue, and acrylic resin. You can see one track already finished on the left. The tracks had also been weathering with metallic shades and silvering prior to this stage.
Next, I dip in a medium-width brush, and pick up some slop...
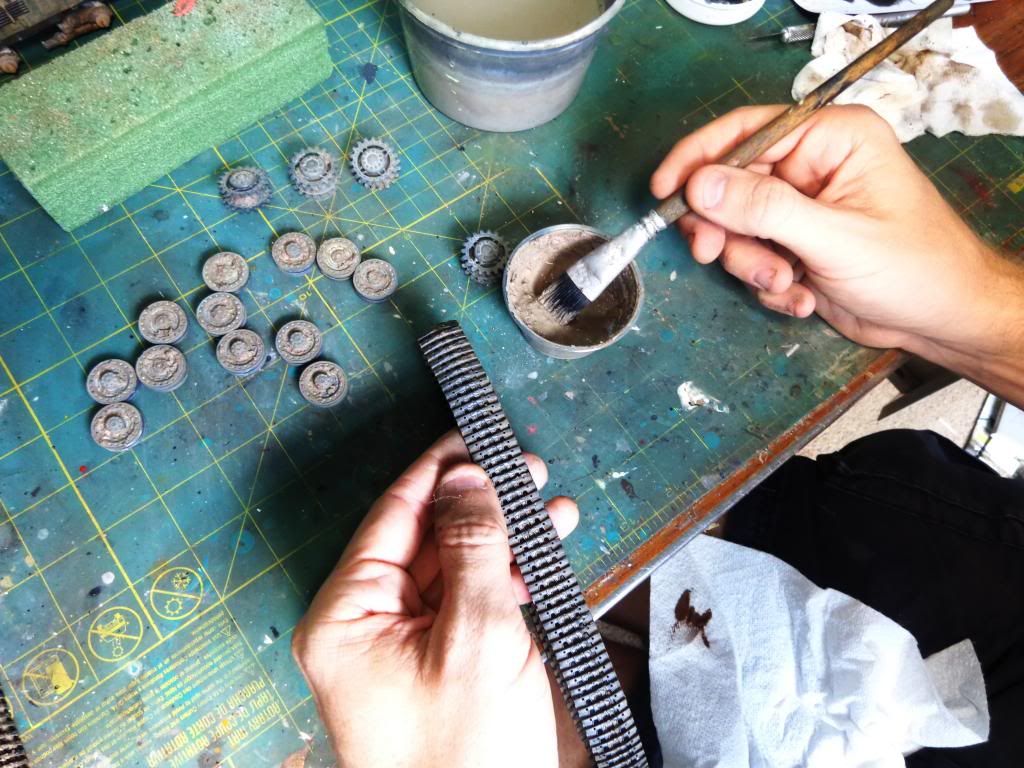
Apply it to the tracks:
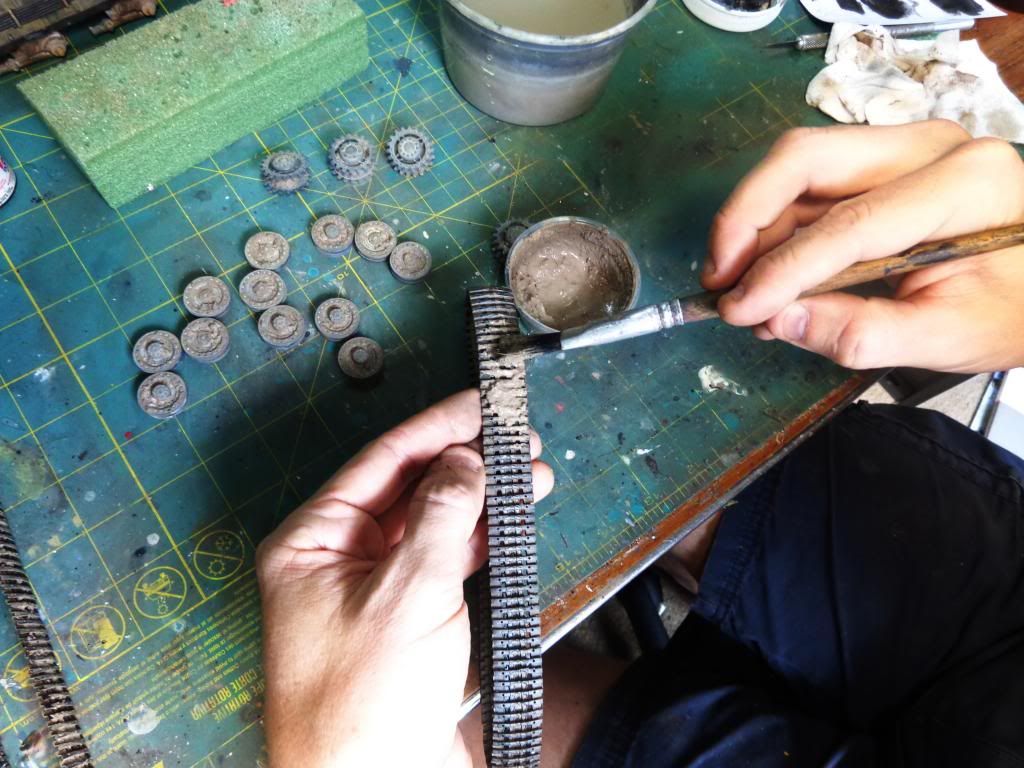
Next, grind it in between the links with your thumb:
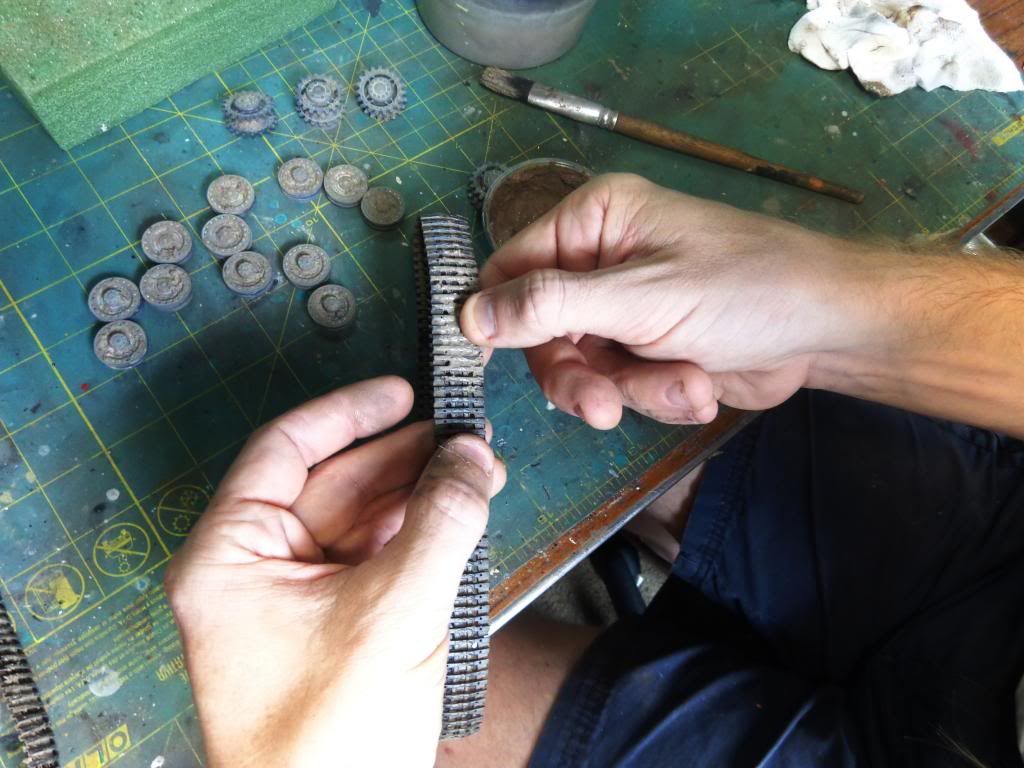
Rinse the slop off your fingers:
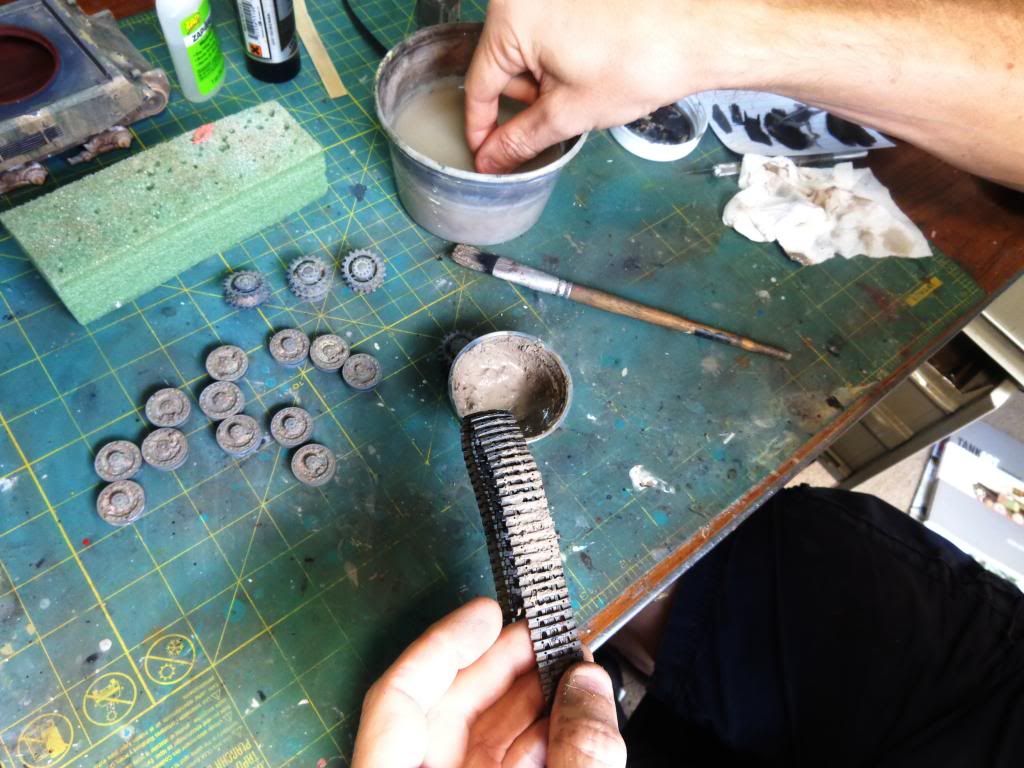
..and with a wet thumb, clean off the track faces;
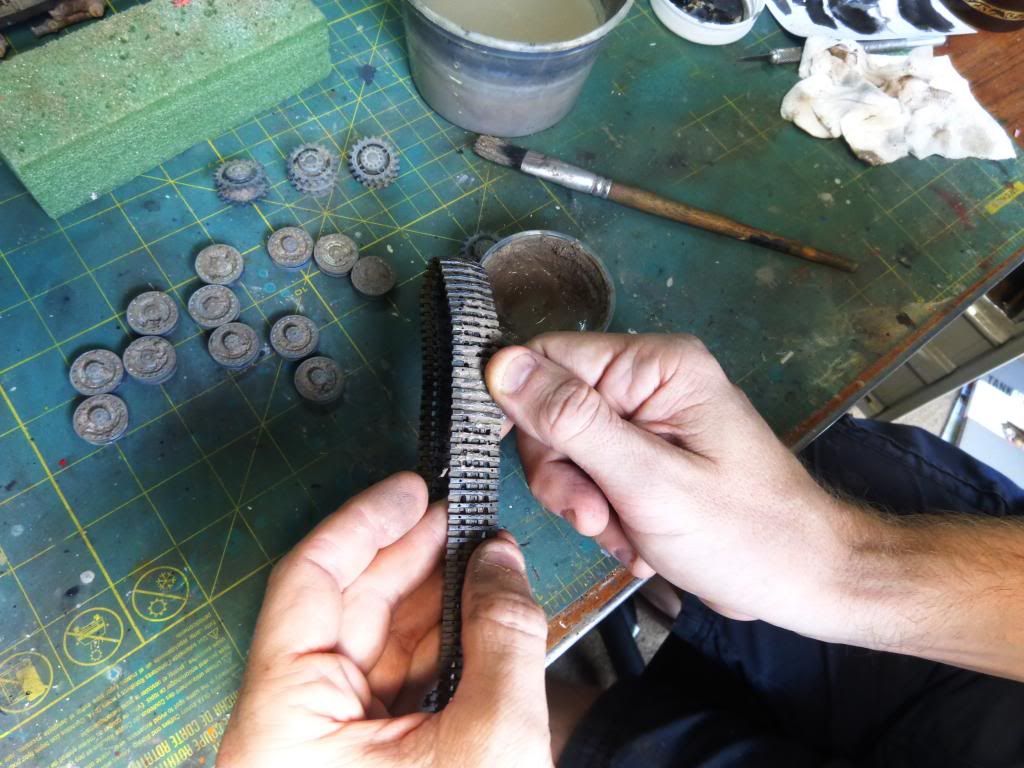
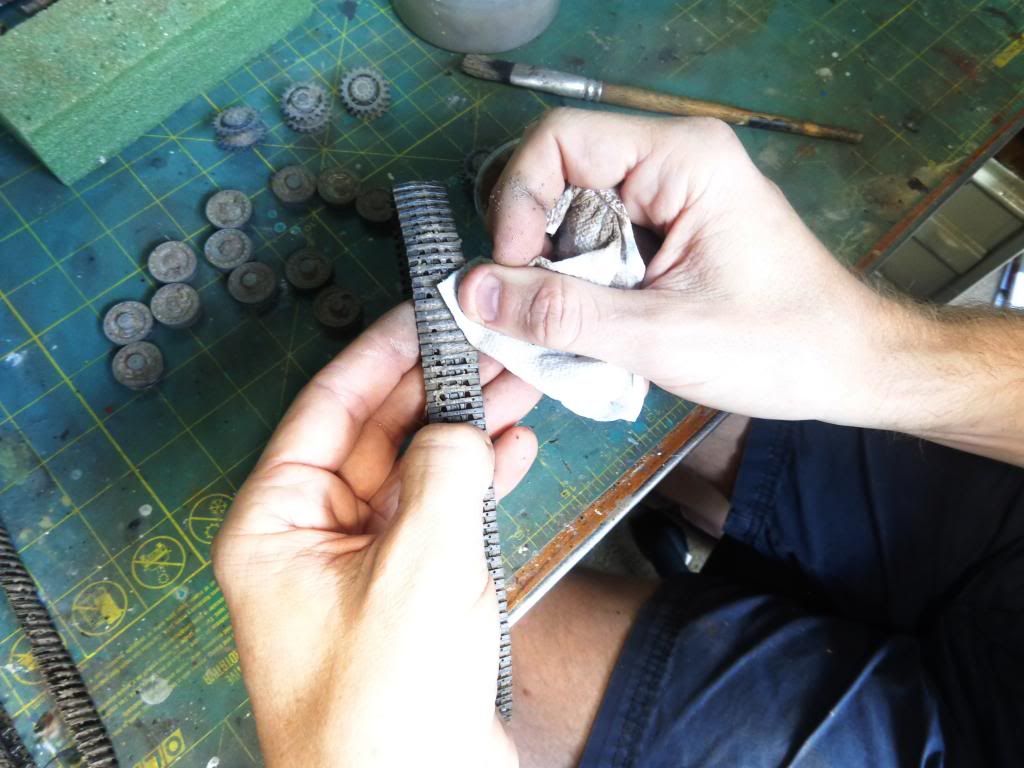
You can then use a paper towel to clean off the paint residue and restore the metallic sheen to the faces.
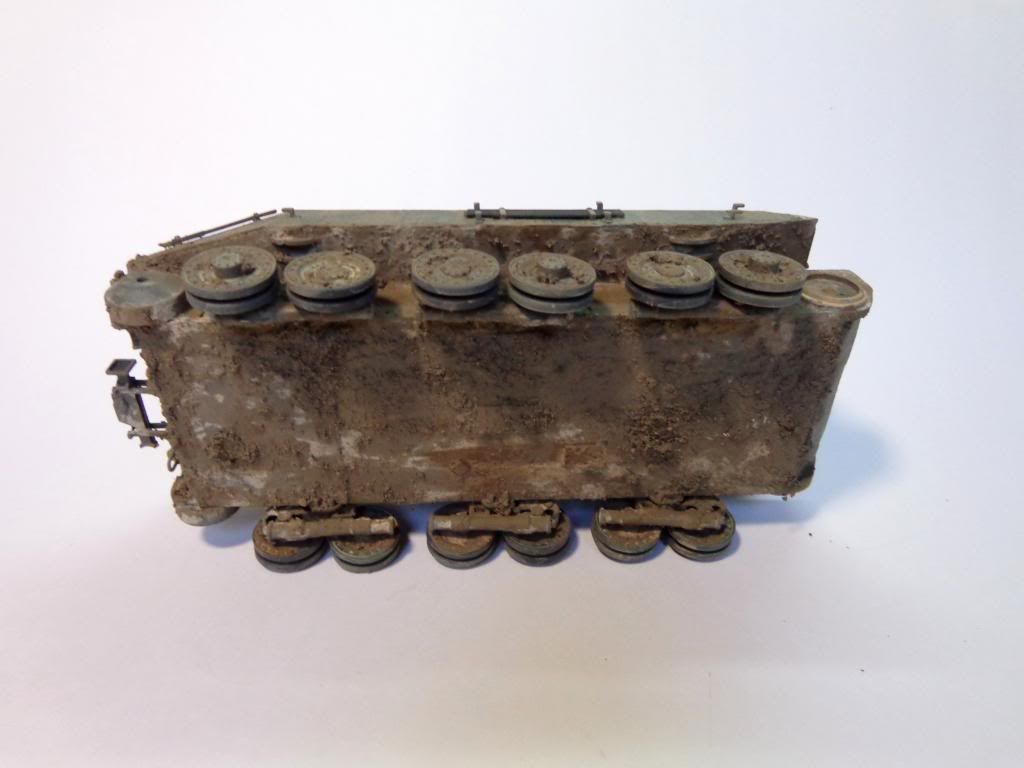
The bottom of the hull and suspension got the same treatment.
Next, I took Steve's advice and re-painted the hatch interiors grey. Not only did they probably be painted this color from before, but they actually provided more color harmony with the rest of the vehicle.
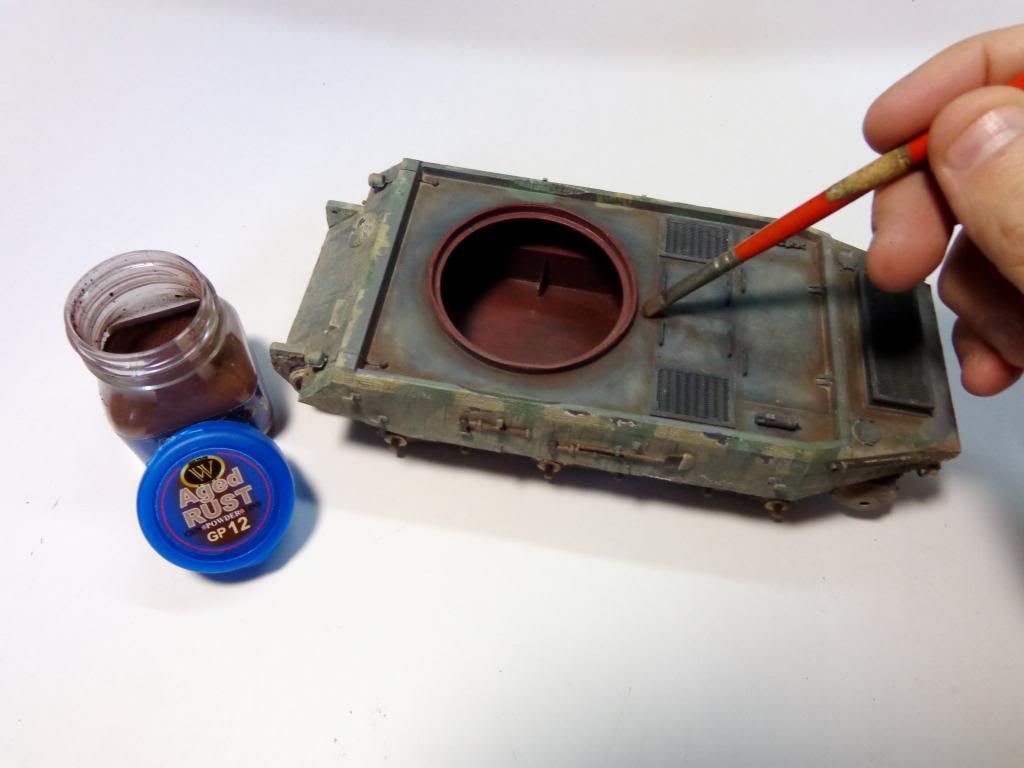
I wanted to start distressing the hull, so using Adam Wilder's new pigment line, I used "Aged Rust" an starting rubbing it in around the panel lines of the hull.
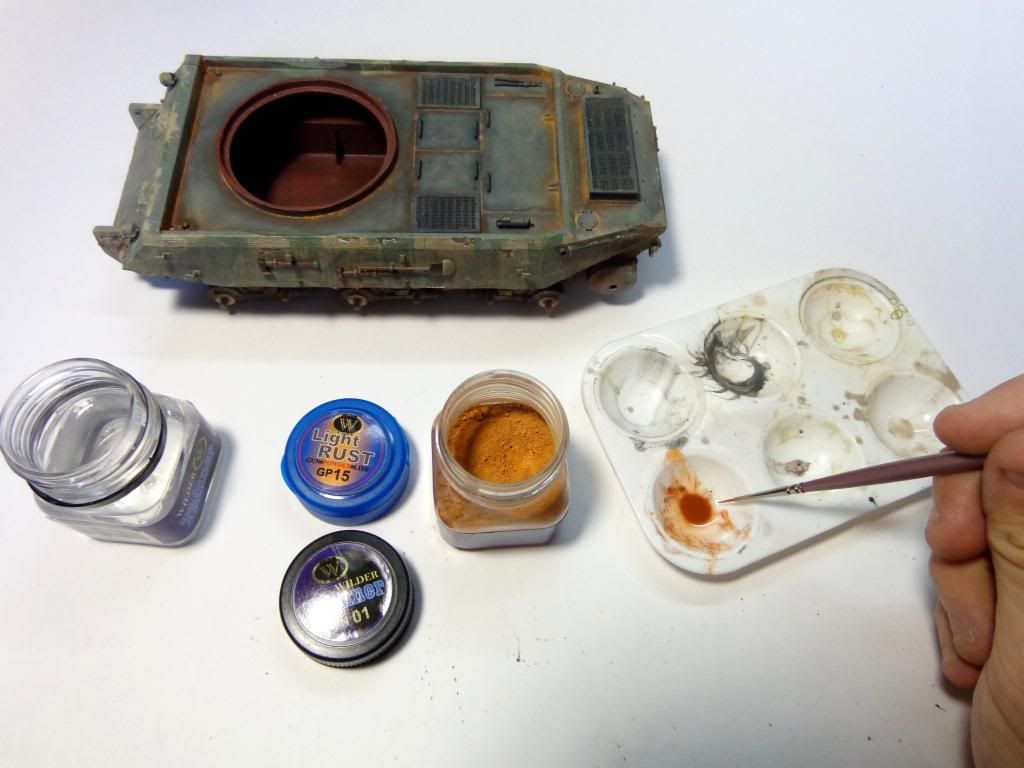
I then followed up with a light wash of "Light Rust" suspended in Wilder thinner, and massaged that into the corners and panel lines.
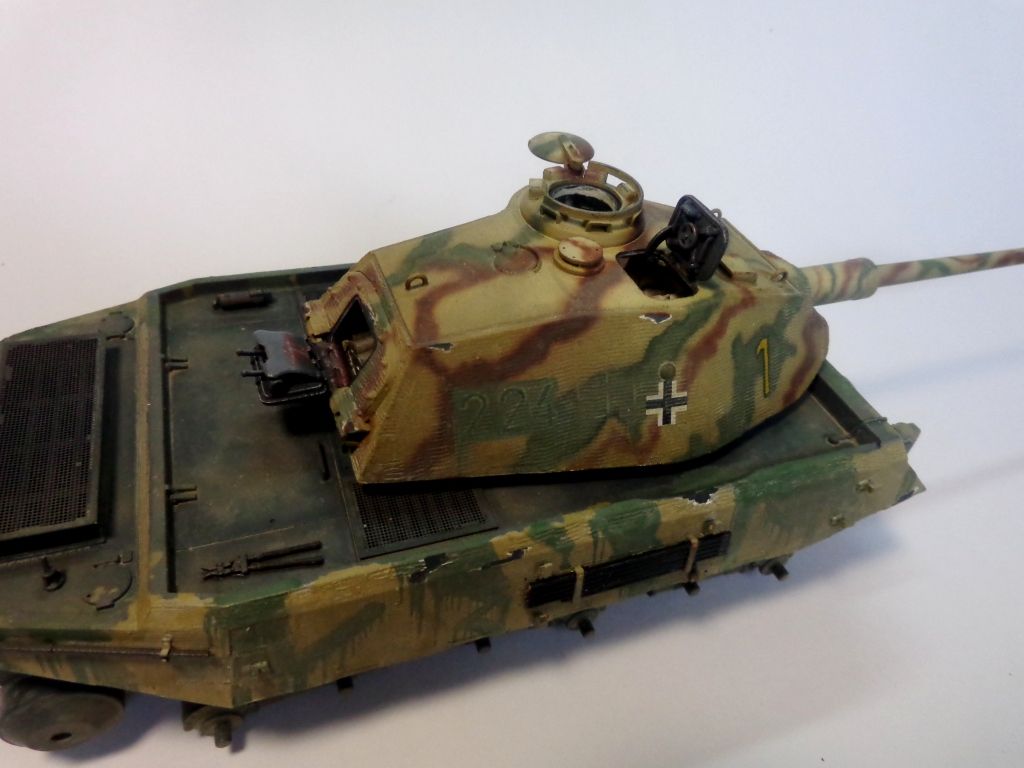
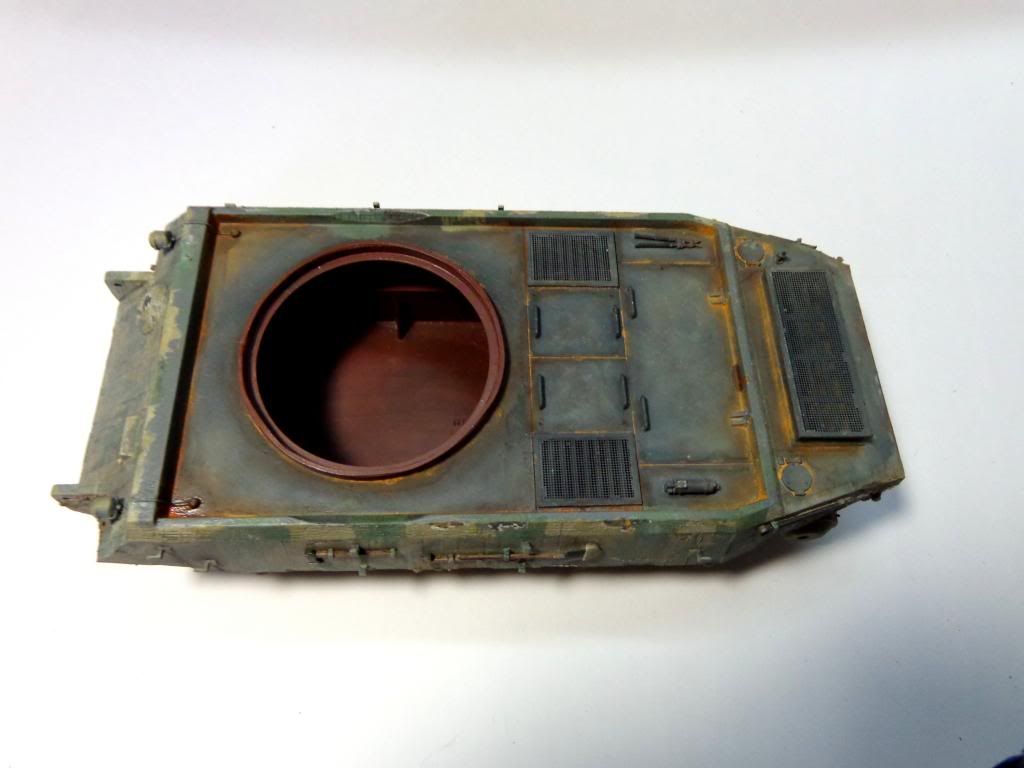
This is so far what I have....it look, in my mind, like a hull that sat for years, and was rushed out into service.....or so I hope....
The tracks were laboriously attached now--it took about an hour to get them on, as I had plugged up the sprocket holes with hardened "dirt" and had to clear all the holes--I"ll remember that next time. Now, the real character of the model in my vision is coming out just a little...
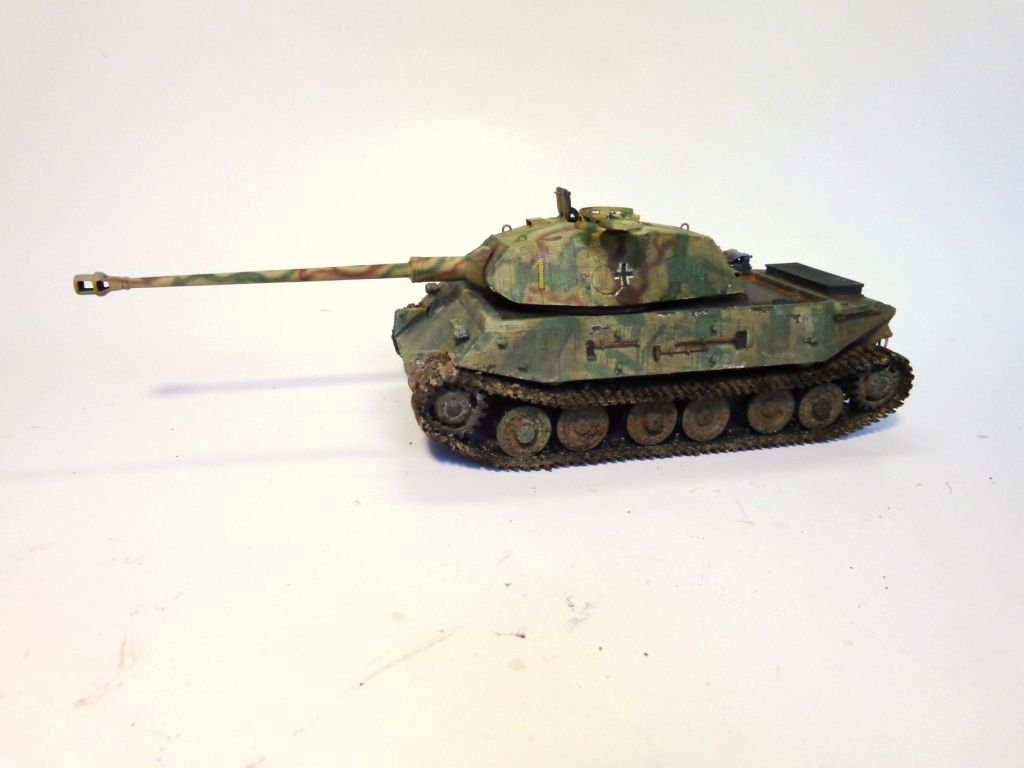
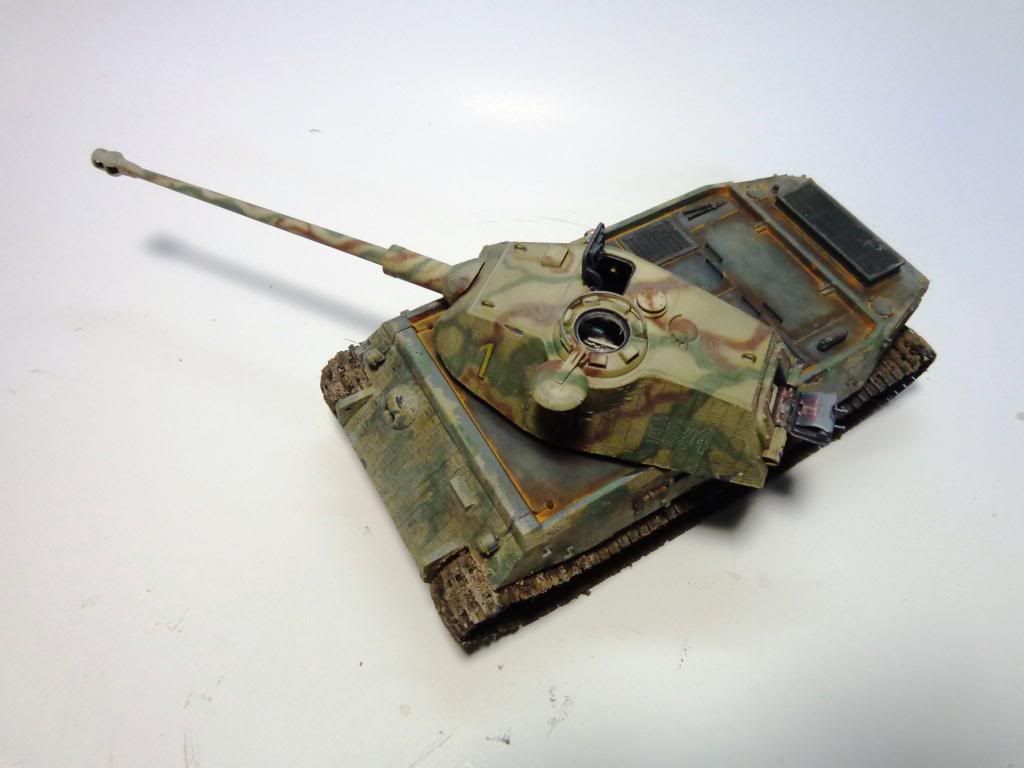
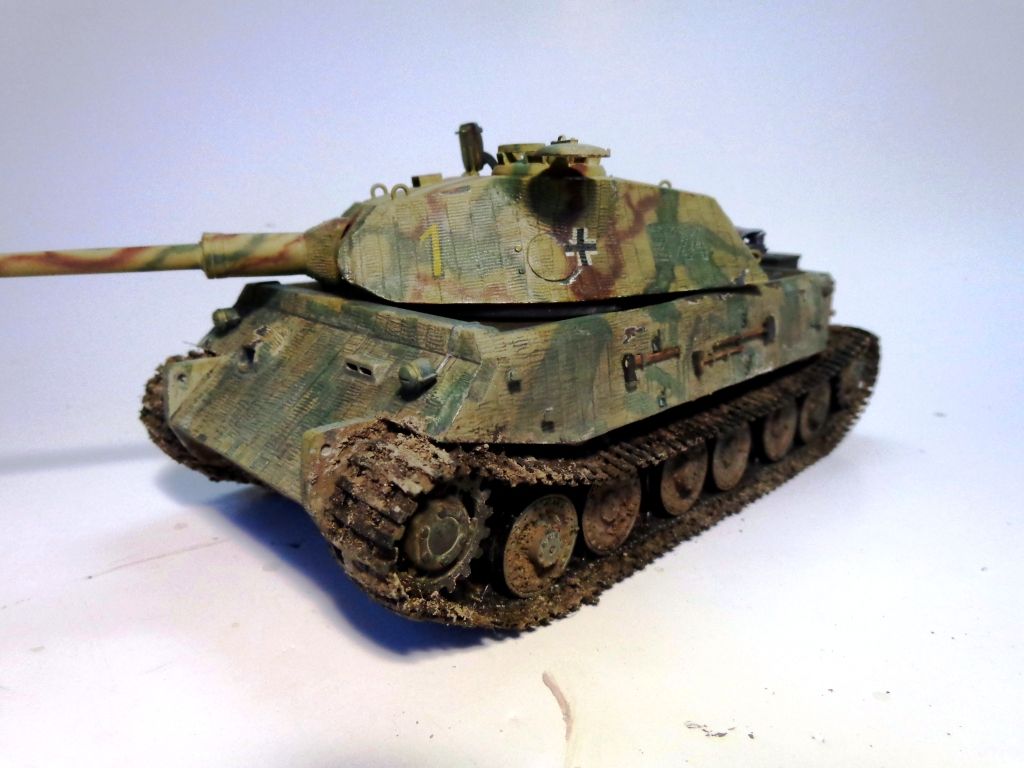
Still much to do yet. I've got to ad the spare tracks, the ropes, and stipple and spatter the hull and wheels/tracks. Gotta weather the DY parts.....hmmmm....much to think on.
Lemme know what you're feeling about it, guys?! Thanks for looking in!