Work moved on to the turret in the latest round with efforts focused on Steps 13 and 14 to build up the main gun and mantlet. The kit includes a metal spring to allow for 'recoil' but it's not essential and I left it out deliberately. I opted for the kit-included turned aluminum barrel. The small locking piece that secures the base of the barrel into the breech and recoil housing, part A9, is shown in the instructions installing upside down. The 'open' end installs down and not up, otherwise you can't get the recoil housing halves together.
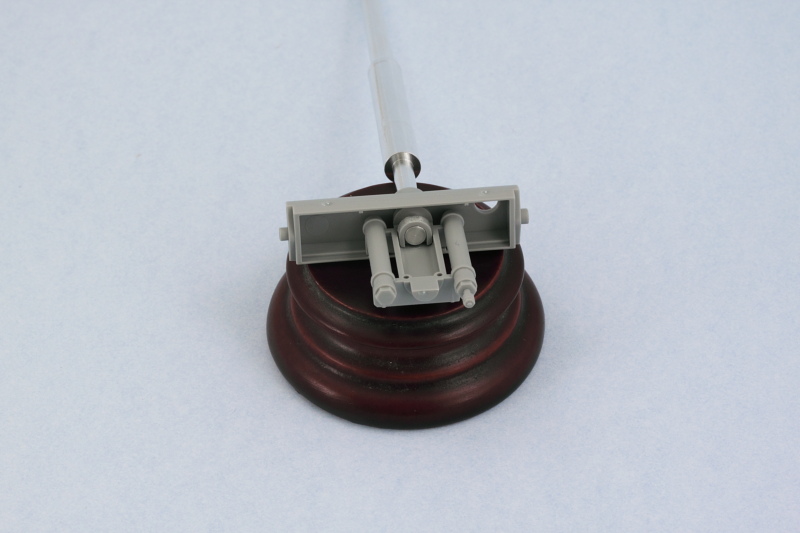
The Atak set includes two different resin replacement mantlets that have the zim pattern, The 'monocular' sight version was introduced in April '44 so I went with that one. I replaced the kit coaxial MG34 barrel with a turned brass item from JB Models. I used a small amount of ApoxieSculpt putty to provide something for the brass barrel to hold onto and also blank off the open port since the JB barrel's base diameter was smaller than that of the kit part.
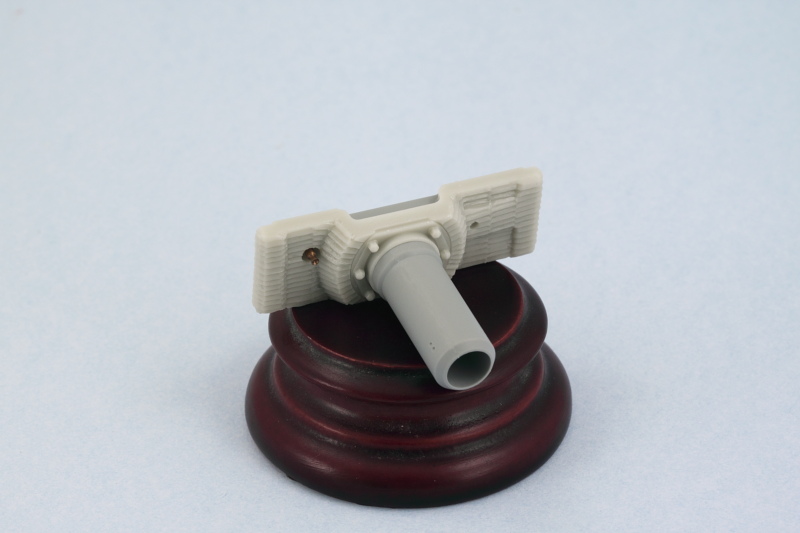
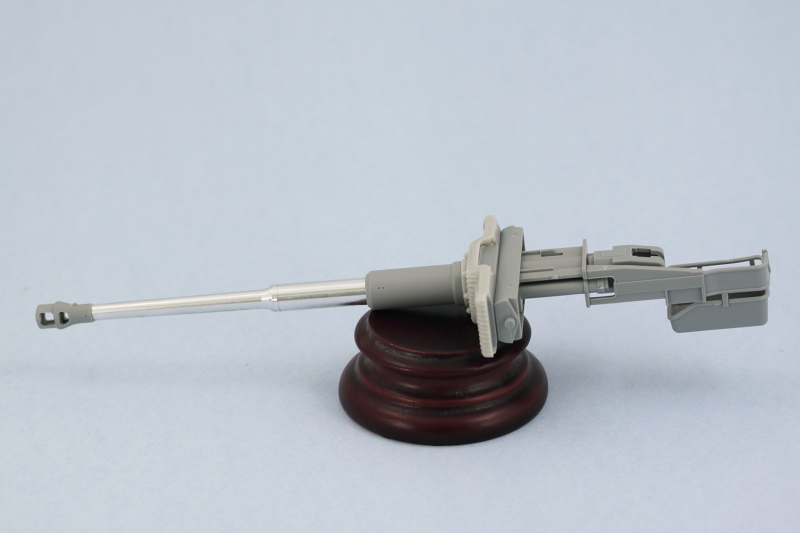
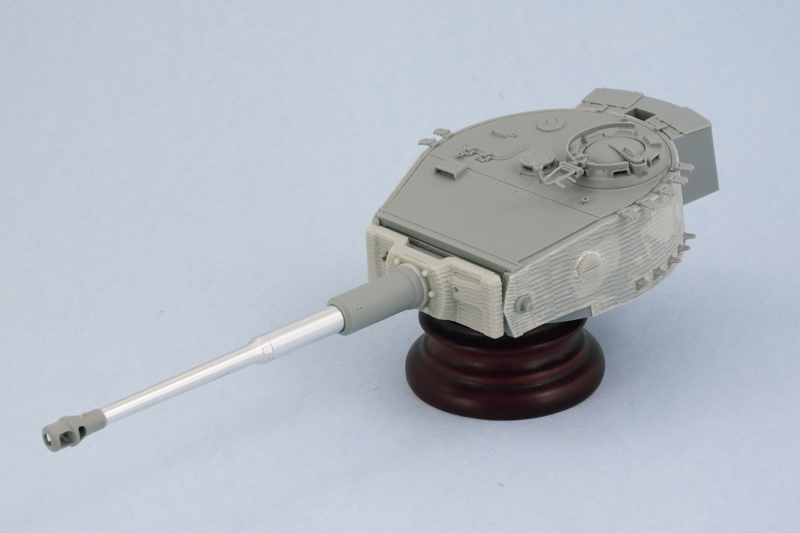
The rest of the gun was assembled per the instructions. The kit provides a choice of muzzle brakes but has the part numbers backward on the instruction diagrams. Parts A11-A17-A18 construct the larger type brake used before April '44 while parts E7-E10-E11 construct the smaller type seen after that date. I used the smaller type to match with the mantlet type selected previously. The brake has a 'D' shaped opening that has to be opened up to a full round opening to mate up with the aluminum barrel, so that was carefully drilled out with a small drill pit and pin vise.
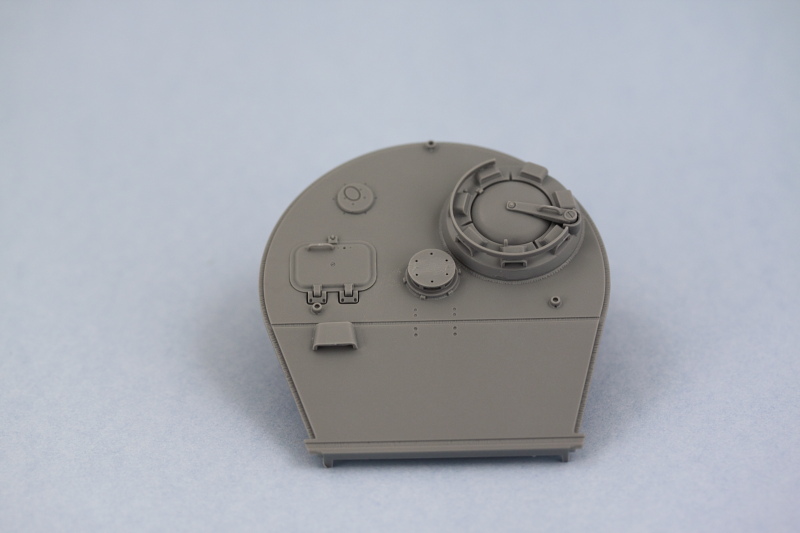
Step 15 adds interior details that I skipped since I'm not showing any of the turret hatches open. Step 16 addresses the turret roof, I chose the roof style used after June '44 and added the hatches and other details. The clear periscopes were left out for now since they can be installed into their spots from the turret underside later after painting.
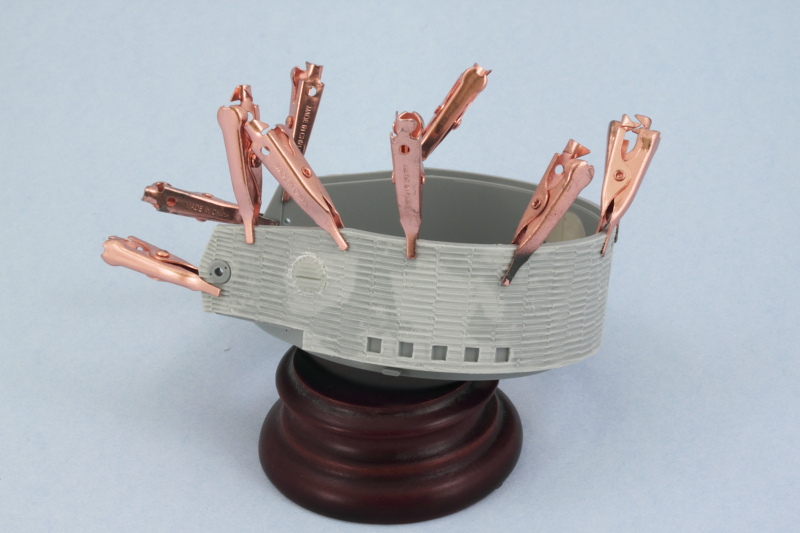
Step 17 assembles the turret but before I could do that, I needed to add the zim. The Atak set includes the choice of small or large ridge patterns panels and I opted for the larger patterns often seen on Tiger turrets vs. the smaller pattern used on the hull. Panels were added using a combination of CA gel and liquid glue since the curves of the turret put a little more stress on the panels in terms of the surfaces they needed to conform to. Strategic use of some smooth-jaw clips helped get everything to stay put until the glue set. The Atak set provides a replacement resin escape hatch as well as zimmed parts for the view ports on the turret sides. The view port parts aren't the same size as what is molded on the turret, so the turret ports were carefully sanded down until the resin parts sat flush with the zim panel. Then just a little bit of white putty to join everything up to round it out.
Turret roof was then installed in place and the rest of the details added in the form of the spare track holders, the rear turret bin, and the MG AA mount.
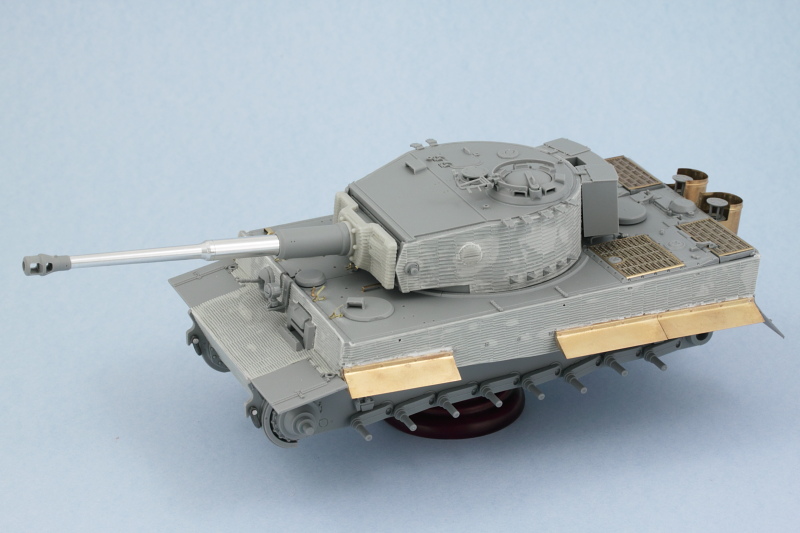
Test fit with the hull showed that I needed to adjust the placement of the shovel clamp installed earlier to allow it to clear the bottom of the mantlet. Otherwise everything else played nice.
Next up will be starting the paint work.