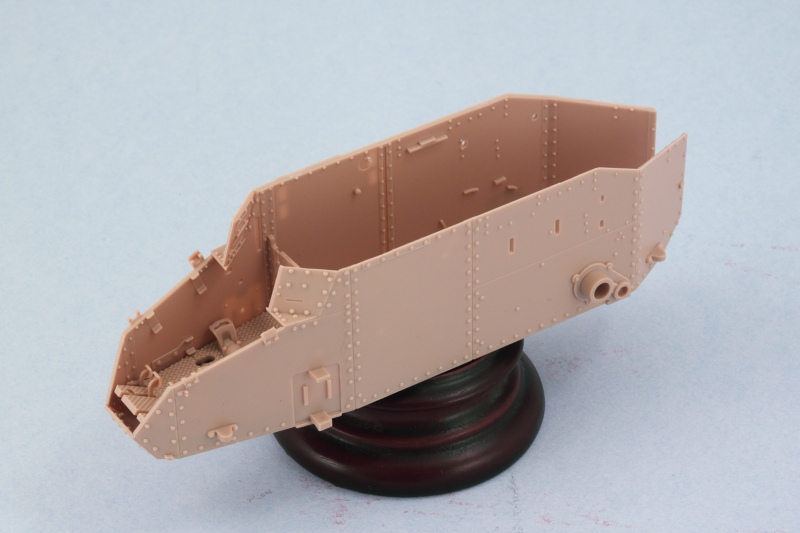
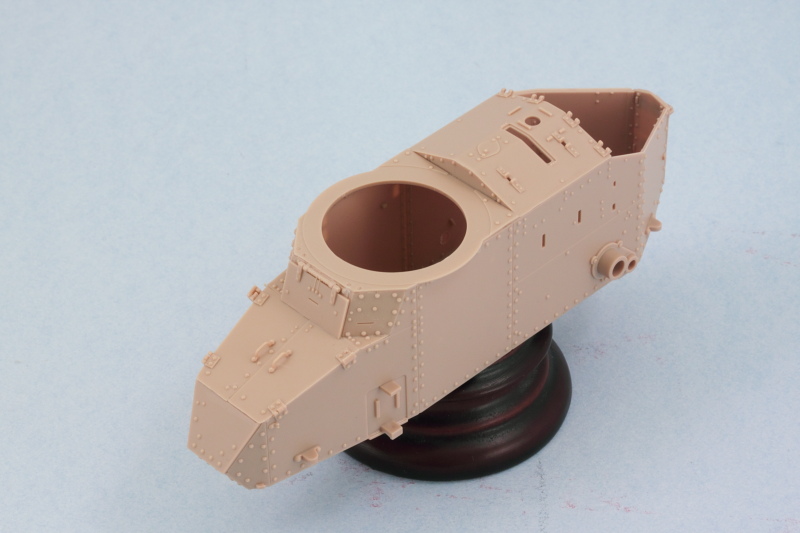
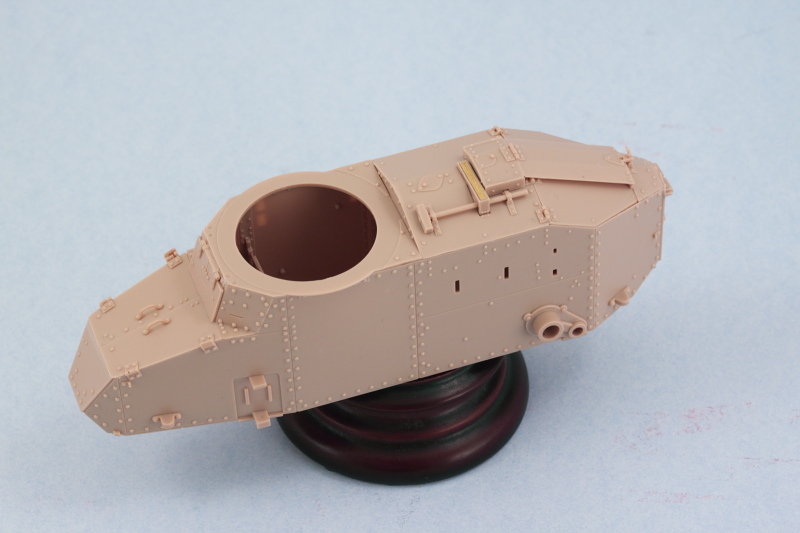
After some back and forth I decided ultimately to go ahead and button up this little guy and not display the driver's hatches open. So with that decided, I set about assembling the hull. Since it's all separate panels, I used regular glue on the hull sides so they could have some stability and then followed that up with careful applications of liquid glue where needed along the bottom edges.

Then I added the roof plate next so I could use it to get the hull sides lined up square and the small driver's area side plates lined up with the view port hatch hinge and the top edges of the roof plate. This all requires some careful use of finger pressure and glue as the areas involved are tiny and rubber bands or clamps can't do the job. Then I added the angled top plate for the nose and the driver's access hatches since all three need to line up just so with each other to avoid issues or gaps. Last but not least, I added the driver's visor in the closed position.

That got a chance to set up nice and solid overnight and attention turned to the engine deck area under Step 6. It's important to note (as the instructions do) that the sledgehammer is trapped in place by the little vent cover, B9, so that means it will have to be detailed in place later on. To help make that easier, I didn't glue the sledgehammer down, just placed it and am allowing B9 to hold it in place for now. In Step 7, the instructions would have you place part B11 and then add the engine bay hatches in Step 14. I found it easier to add them all together at the same time as B11 needs to be lined up very precisely in relation to the hatches for everything to play nice with each other here. This isn't a kit flaw or an engineering issue, quite the contrary...the engineering is very well done for these parts but since the vehicle itself is so small, fractions of a mm do matter in getting everything lined up correctly with all the plates/parts involved.

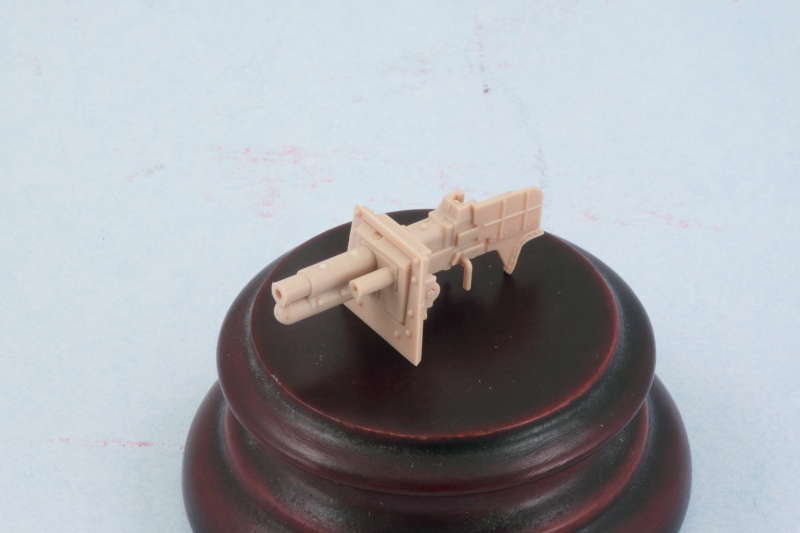
In preparation for working on the turret, I opted for the 37mm cannon version in Step 15. I assembled the gun as directed and used a drill bit to open up the cannon muzzle a bit more. The molding on the end of my barrel wasn't perfect, so some careful sanding and trimming was needed to get it into shape. I also installed it into the turret faceplate so that its all one module now and ready to go into the turret.

Since the turret assembles as a series of plates onto an octagonal base, that's going to require some careful attention to get all the plates together and lined up between the roof and base, so that will be what's on deck for the next round of effort