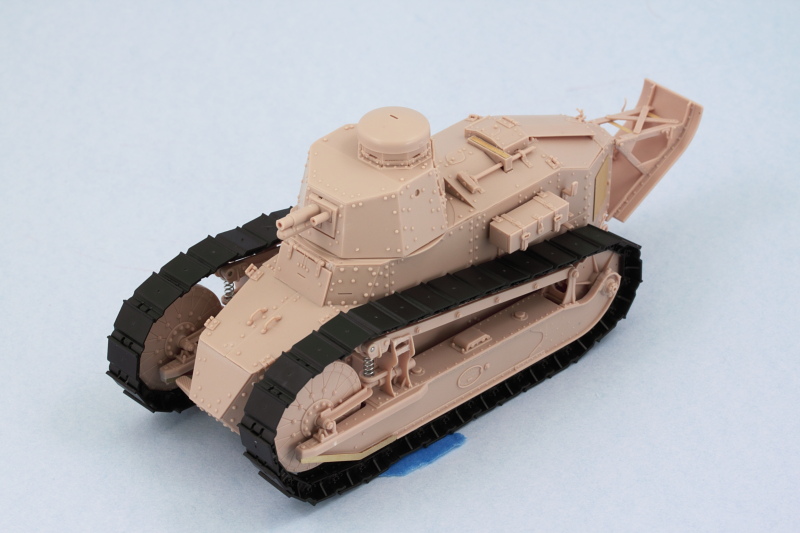
Returning to the hull details, I went all the way back to Step 3 and added the details required for the left side of the hull. The kit includes a metal strut and spring for the front part of the suspension and the key to getting this in at the right height is the spring itself and the 'cap' styrene part that sits on top, D11. D11 doesn't sit snugly on top of the strut, so I glued the strut and spring into the housing with CA first and then added D11 to the top after to ensure it lined up correctly with the suspension module and wouldn't cause any fit issues along the way. Tow hooks and large box and rack were also added to round things out.
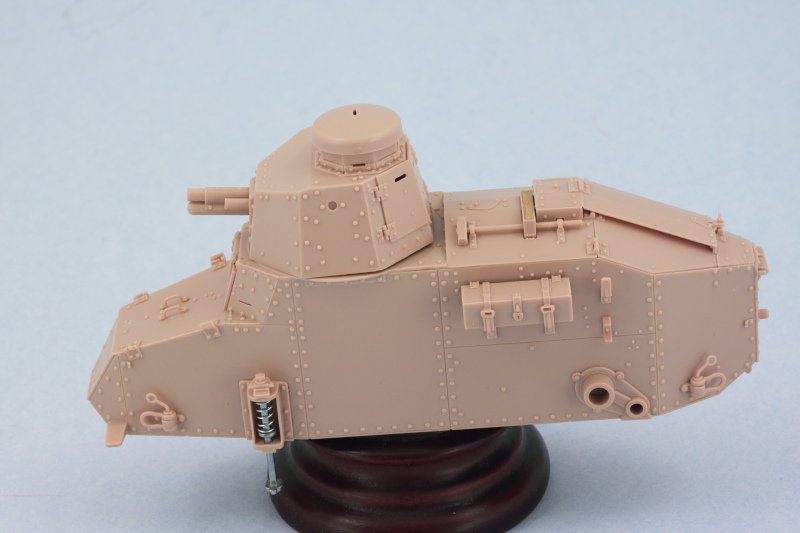
Process was repeated for the right side in Step 5 but I left off the exhaust muffler for the time being as that will be detailed and installed after painting.
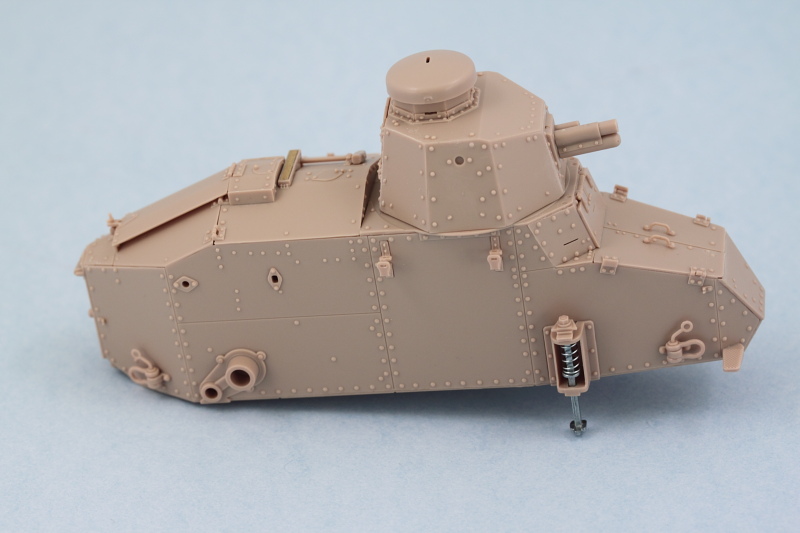
And just to be sure that 'stumpy' here would sit properly with the suspension modules in place, a dry-fit was in order! The test fit shows that when the time comes to glue the modules in place I'm going to have to be a little careful that they sit level as there's a slight tendency for the top to want to bow in slightly since there really isn't anything on the top side to prevent that by way of connection points.
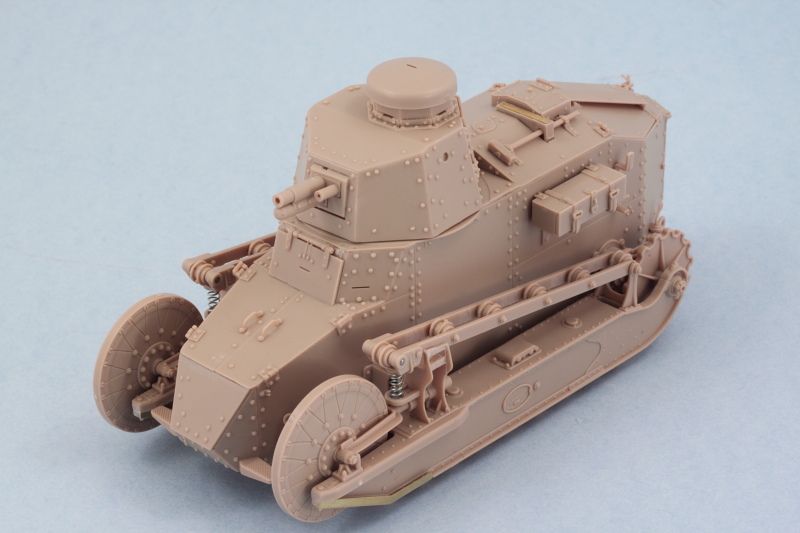
The next item of interest were the tracks which are dealt with in Step 12. The kit provides click-able individual tracks that will produce workable tracks of 32 links per side. I found in the assembly process though that I had to keep a sharp eye out for tiny amounts of flash around the hinge points as if those weren't caught the links would fit together almost rigidly or require too much force that could snap off the small pins. Fortunately the kit provides plenty of extra links so it wasn't a huge deal when a couple got sacrificed in this learning step.
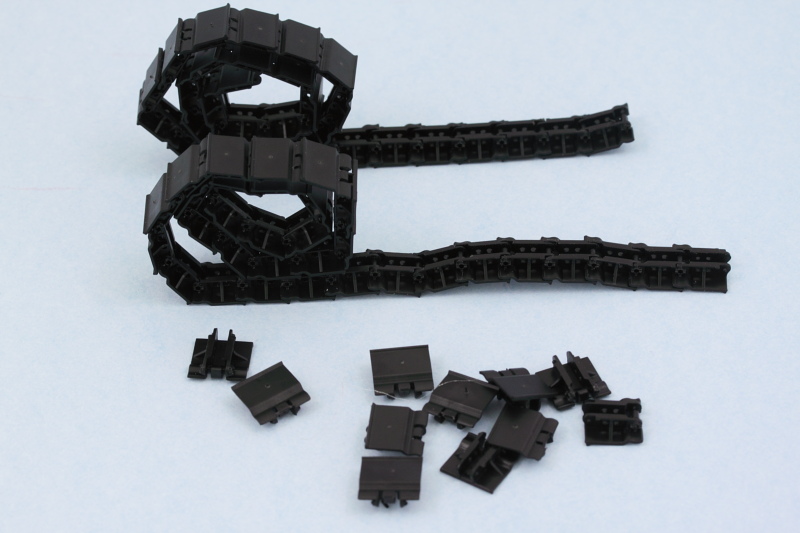
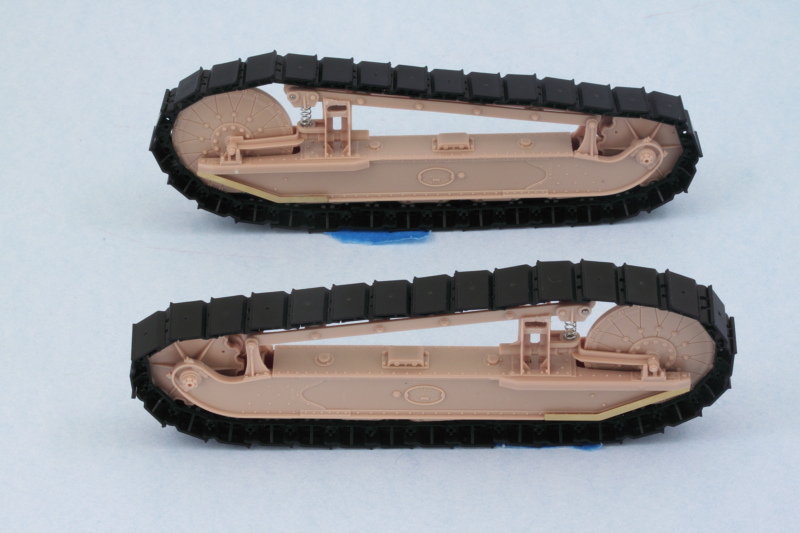
A quick test fit with the suspension modules showed everything playing nice and 32 links working out perfectly. Connecting up the ends of the runs once the tracks have been painted and weathered may be a little challenging...I may just remove one or both of the pins on those final links and just rely on gluing the links together to secure the runs, have to see when the time comes.
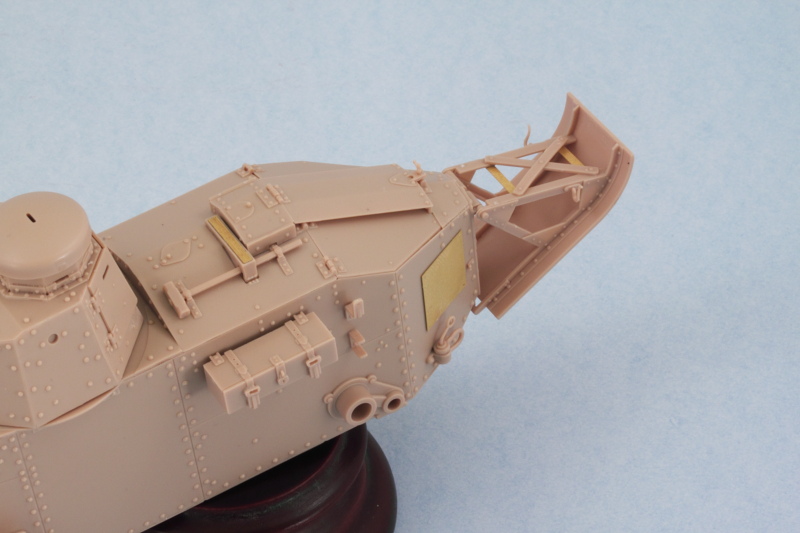
The last remaining area needing attention was the rear hull and the un-ditching tail covered in Step 11. I'm not 100% sure, but I think the PE placards (parts W5) should be placed only if you're doing the American WW1 version of this kit so be mindful of that as the instructions don't make any kind of distinction there. Since I am doing the American version, these were installed with Gator Grip glue so I could have some work time to get them properly positioned/straight relative to the areas they install into. The folded up tarp that installs over the X brace on the tail is left off for now and will be added after painting.
Just to satisfy my curiosity, I did a full mock-up with the suspension elements and tracks and I'm now 100% convinced that painting the suspension separately and installing after is the right way to go on this little guy.
