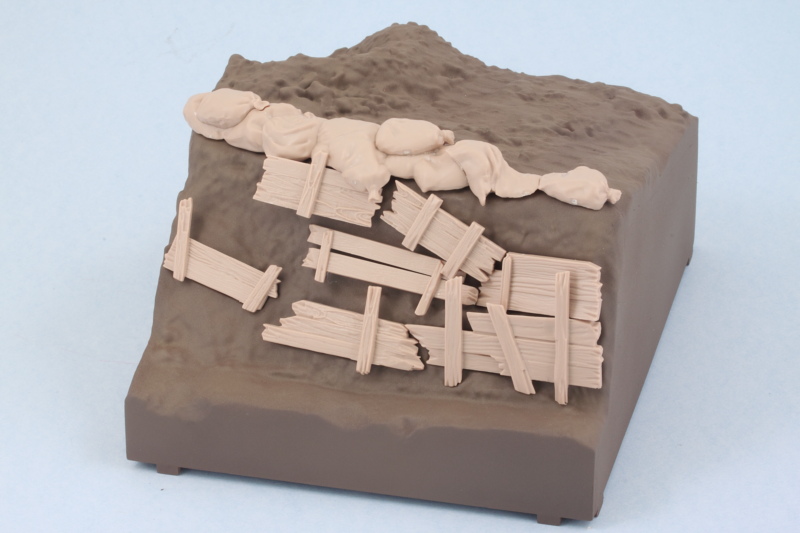
After giving it some thought I decided to go ahead and continue work on the base area first before I start weathering the vehicle. This way I can treat them all as elements of the same end result more or less instead of working on them independently. To that end, I turned to Step 21 which deals with the trench details (sandbags, wooden frames/braces, etc.)
The sandbags that go in along the top edge consist of 5 different pieces, 4 of which you can assemble together to create one large unit with the 5th piece, K4, needing to be dealt with separately. I had to enlarge a couple of the slot openings in this area to take the tabs on the underside of the sandbags but nothing major. I also cleaned up and test fit all of the L sprue parts that make up the frames/braces for the trench to see how they would all play together.

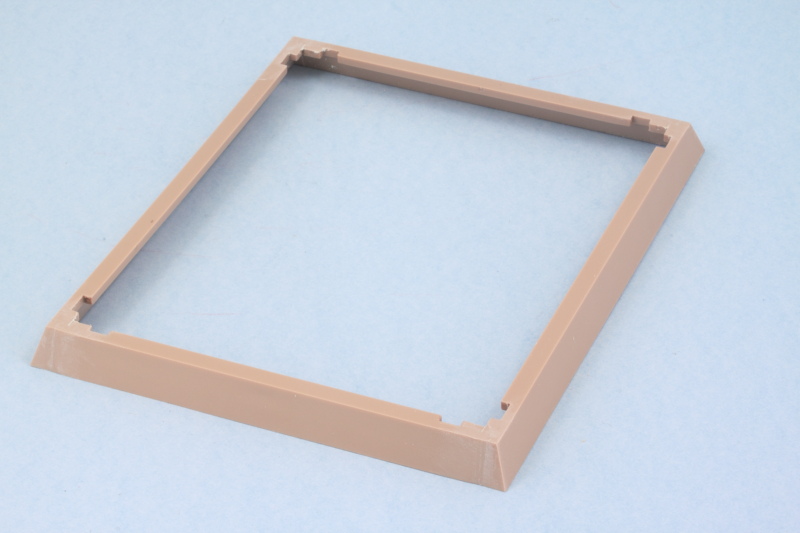
In Step 20, the instructions would have you add the angled frame plates of the base individually but I found it easier to attach them separately to create a single frame as some sanding/putty was needed at the joins to create a seamless result. I also had to sand down a couple of the tabs as they were slightly too wide to fit the slots in the base frames.

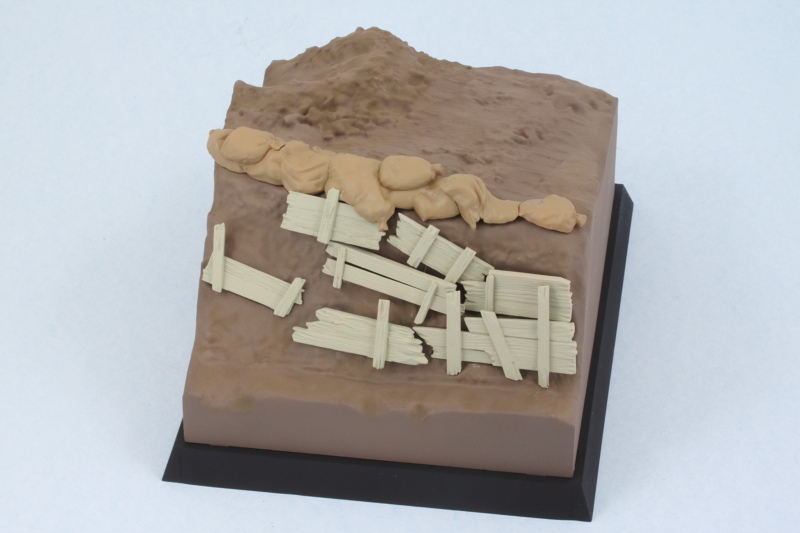
So with that done, it was time to give the airbrush a workout to 'block in' the colors I needed for the trench detail elements. I used Testors Model Master enamel Afrika Grunbraun for the canvas on the sand bags and used my 50/50 custom mix of Dunkelgelb/Light Gray for the wood frames/braces. That may seem like an odd choice but it's just a foundational color that's going to undergo some significant changes before its all said and done! While I was at it, I also applied some MM enamel Flat Black to the base frame.

This will all get a chance to cure before moving on to the next steps but it is moving ahead!