Ok guys,
Many apologies to you all for the failed pic presentation. I'm trying a new image hosting site (Postimage.org) because the old one- rhymes with Microcrap Dumbdrive- is simply too sophisticated for a noob like me to take advantage of it's functionality. Anyway....here's a rundown of what's been happening:
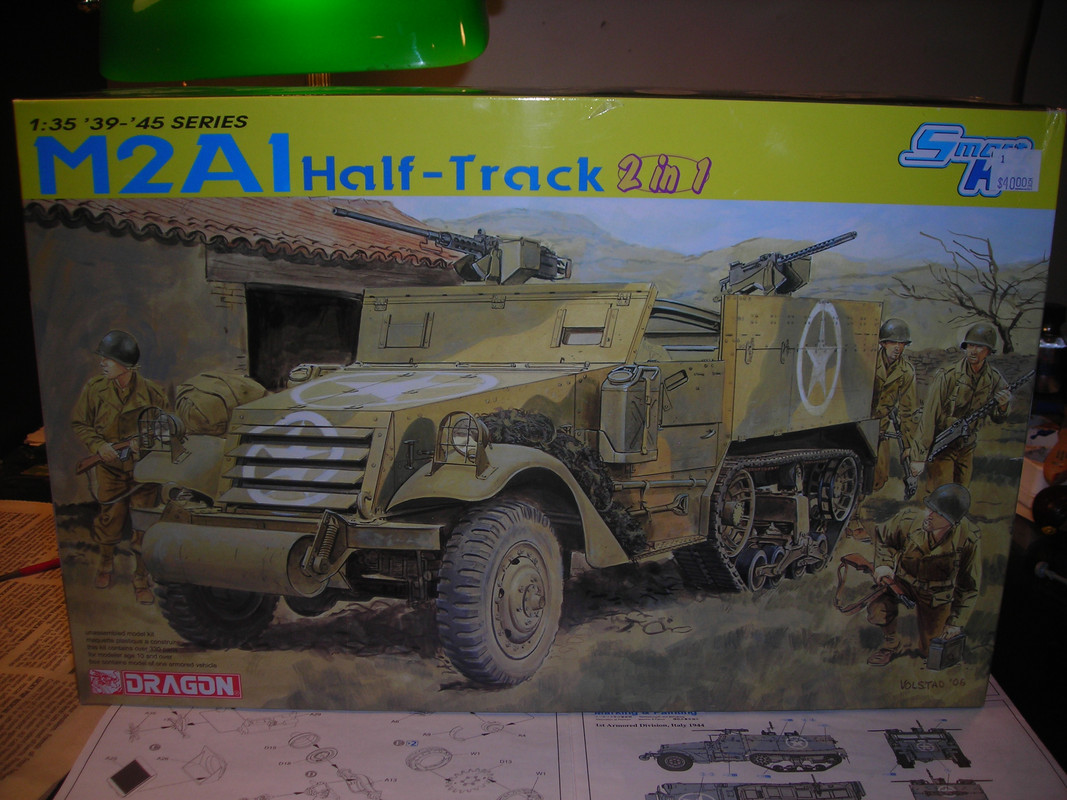
The kit:
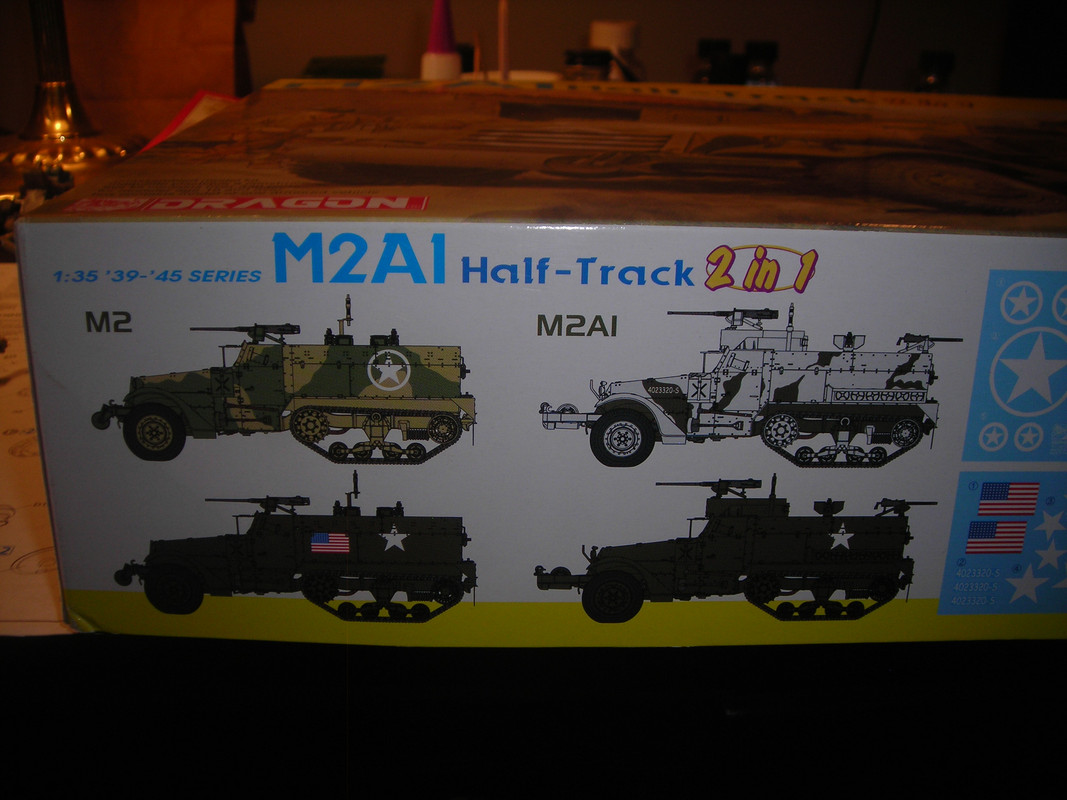
The paint scheme (upper right; XX Corps, Belgium, 1945):
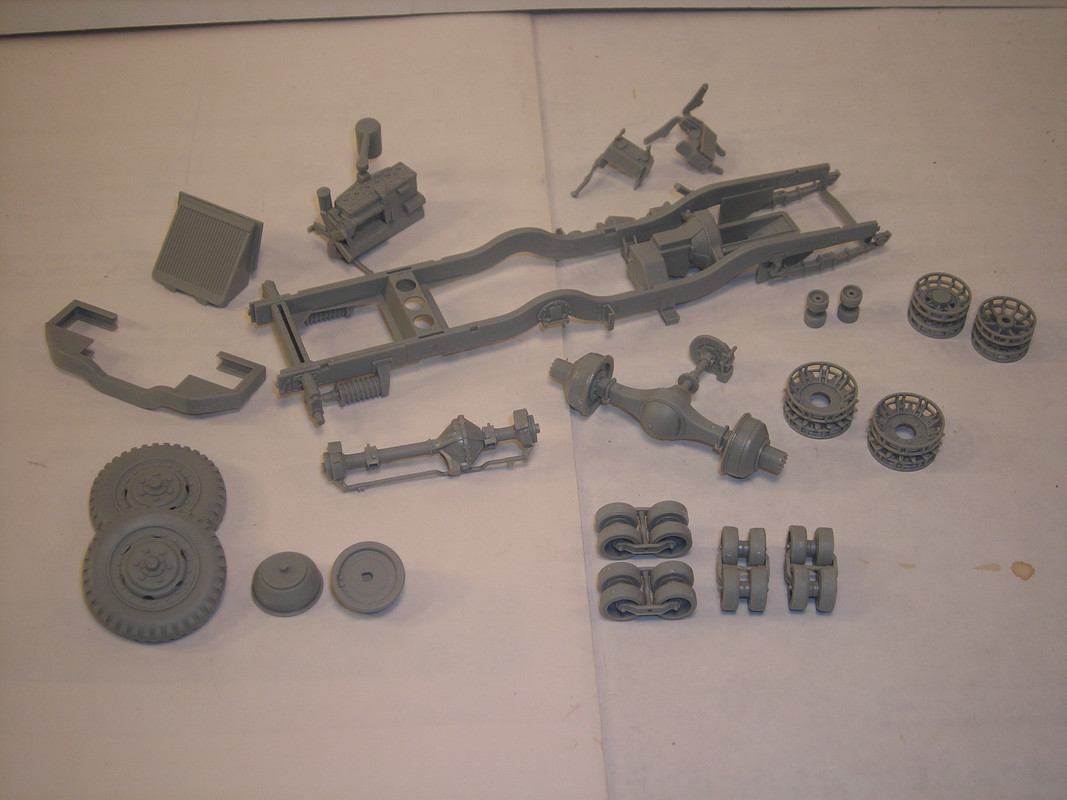
Early progress:
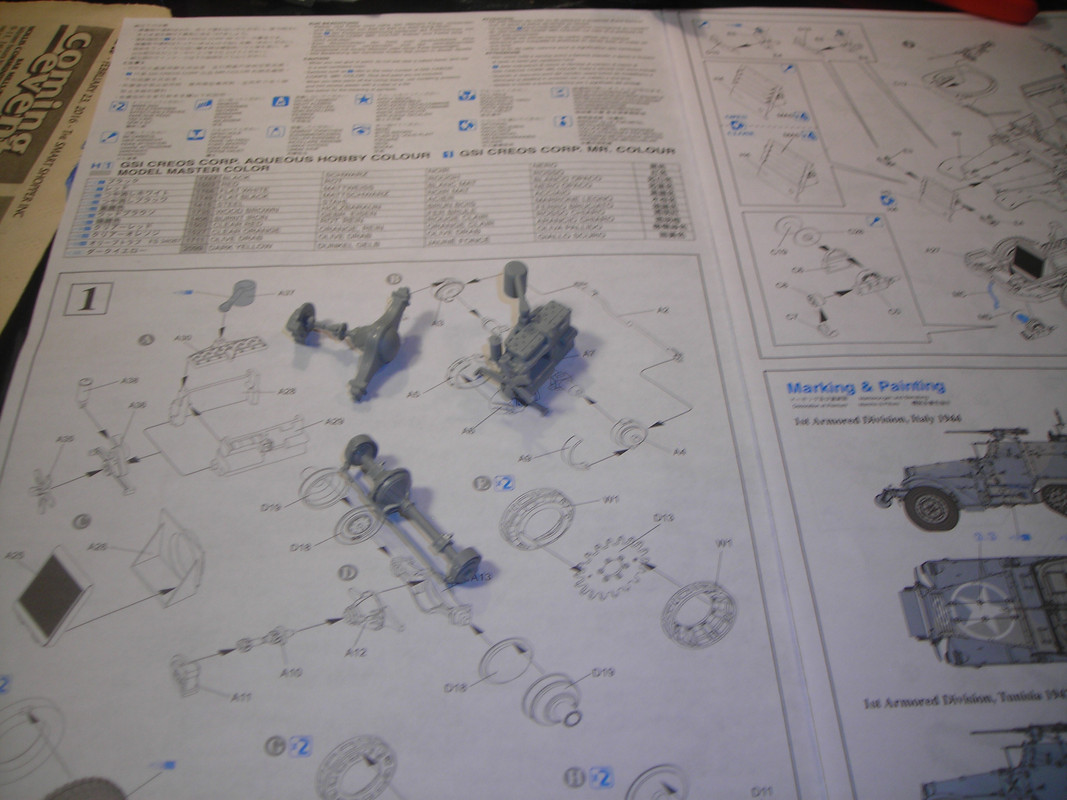
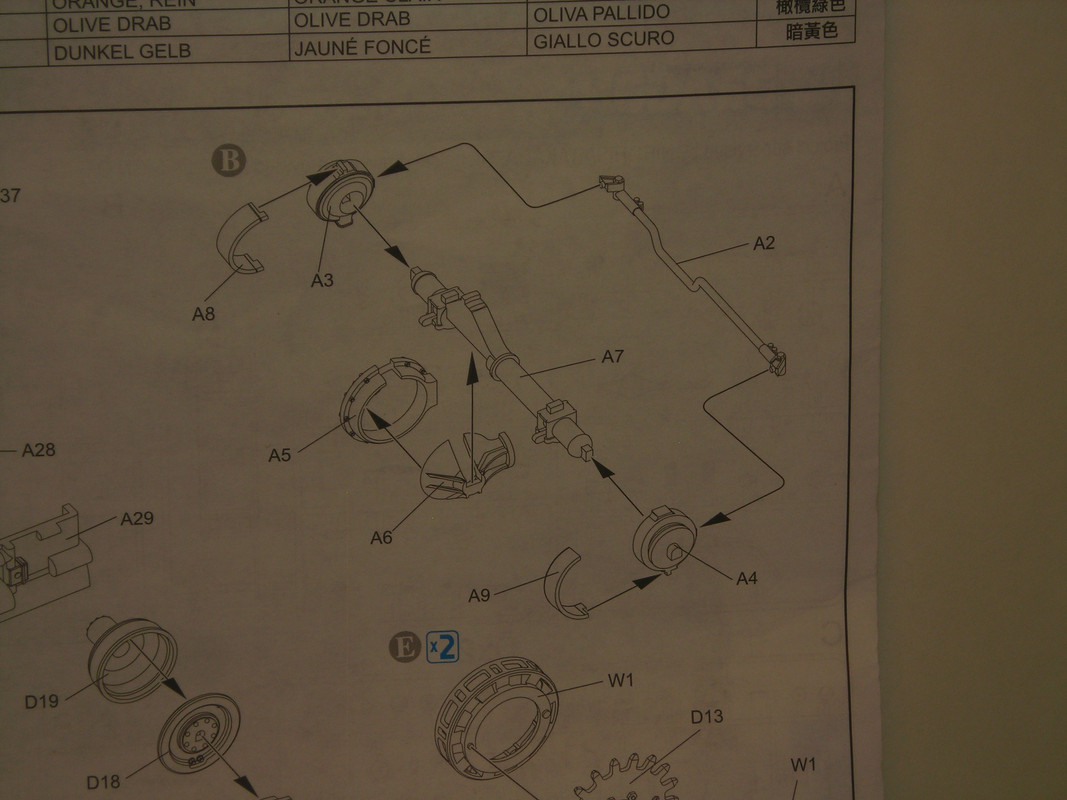
Swap the position of parts A3(A8) and A4(A9). Dragon instructions and all, you know. A more detailed explanation is above.
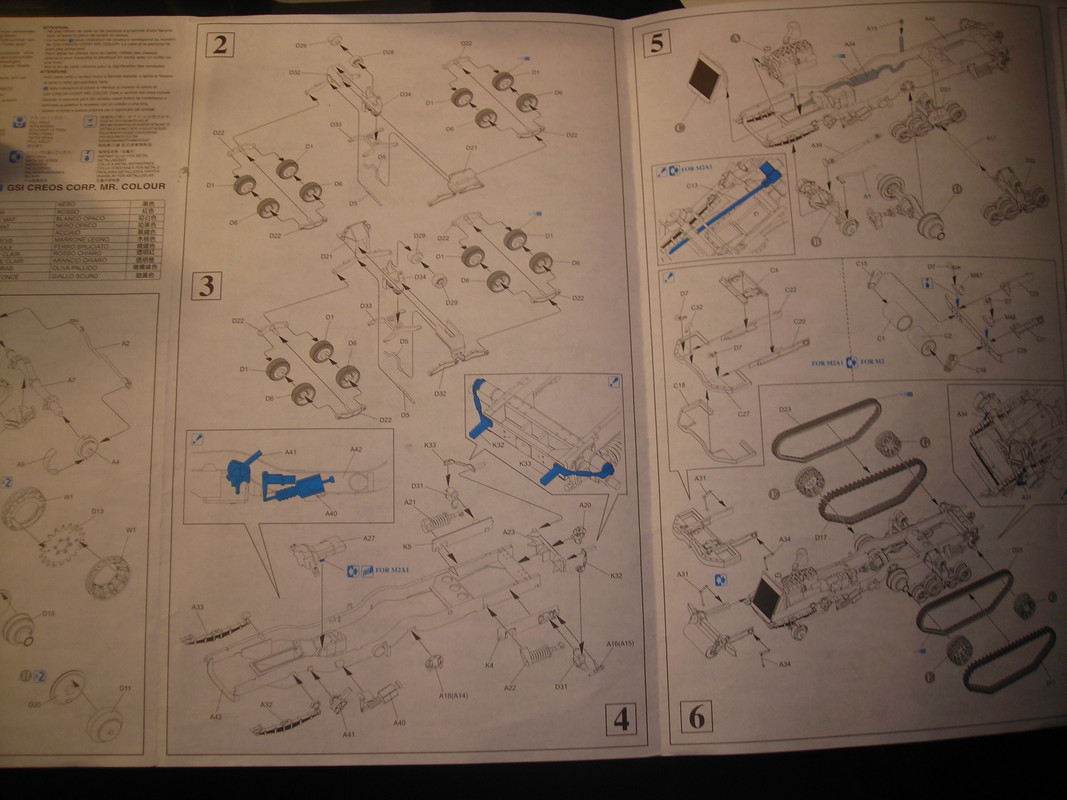
Dragon did revise it's instructions somewhat for this kit, however. This includes blue highlighted parts that may otherwise be difficult to tell their exact placement; this feature did not come in the original release:
And now, the latest. The chassis/running gear is mostly all together. I chose to leave the bogie wheels unglued to facilitate painting; the bogie arms can be pinched together gently and the wheels and their frames will click in.

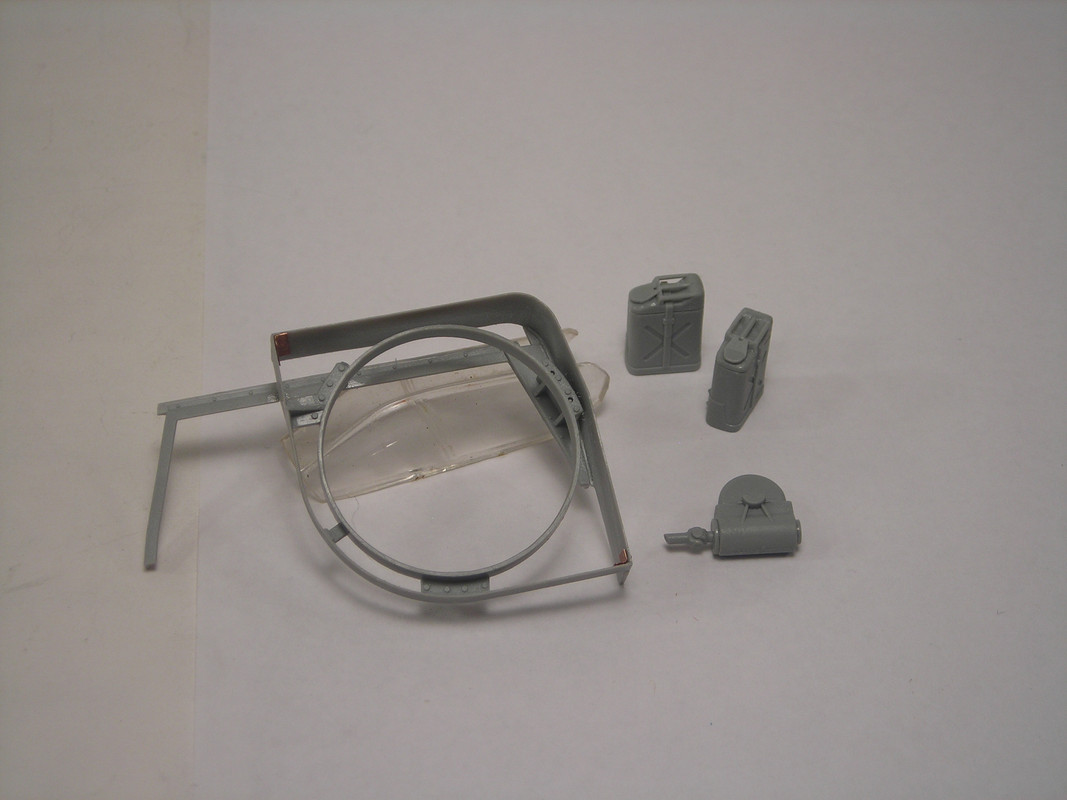
I thinned down the frame for the .50 mount over the front seat, and added two small copper sheet right-angle braces, as on the real thing. Also the gas cans and the winch:
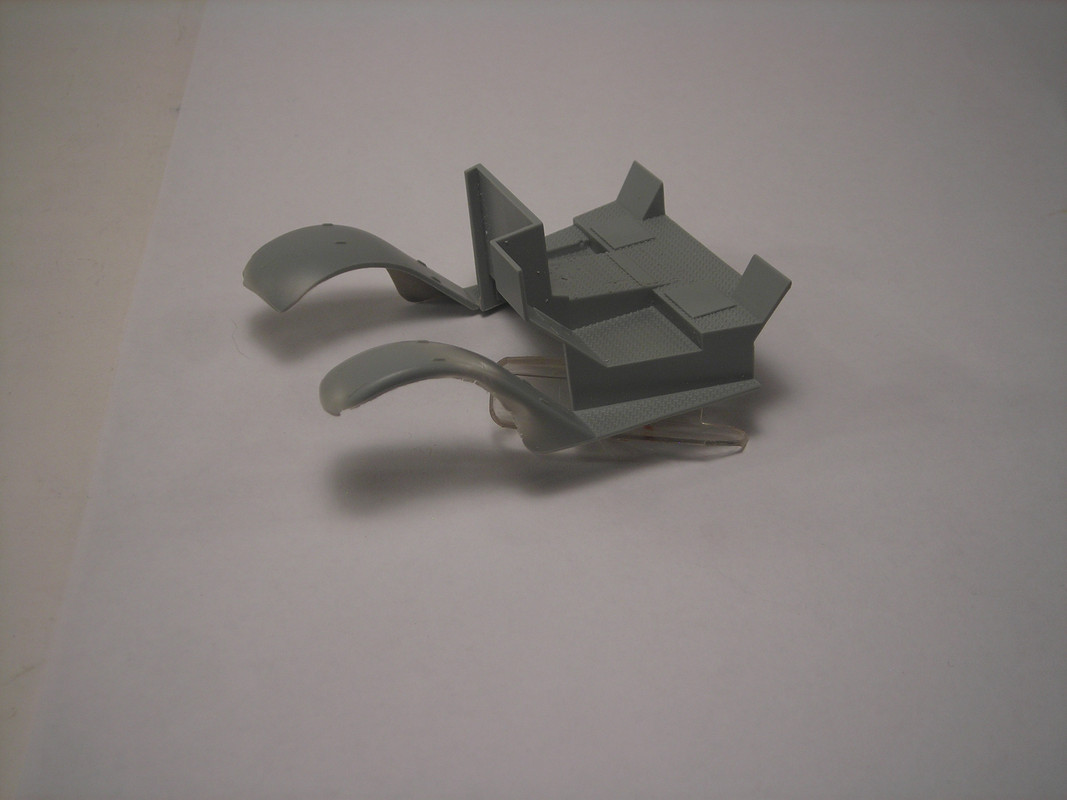
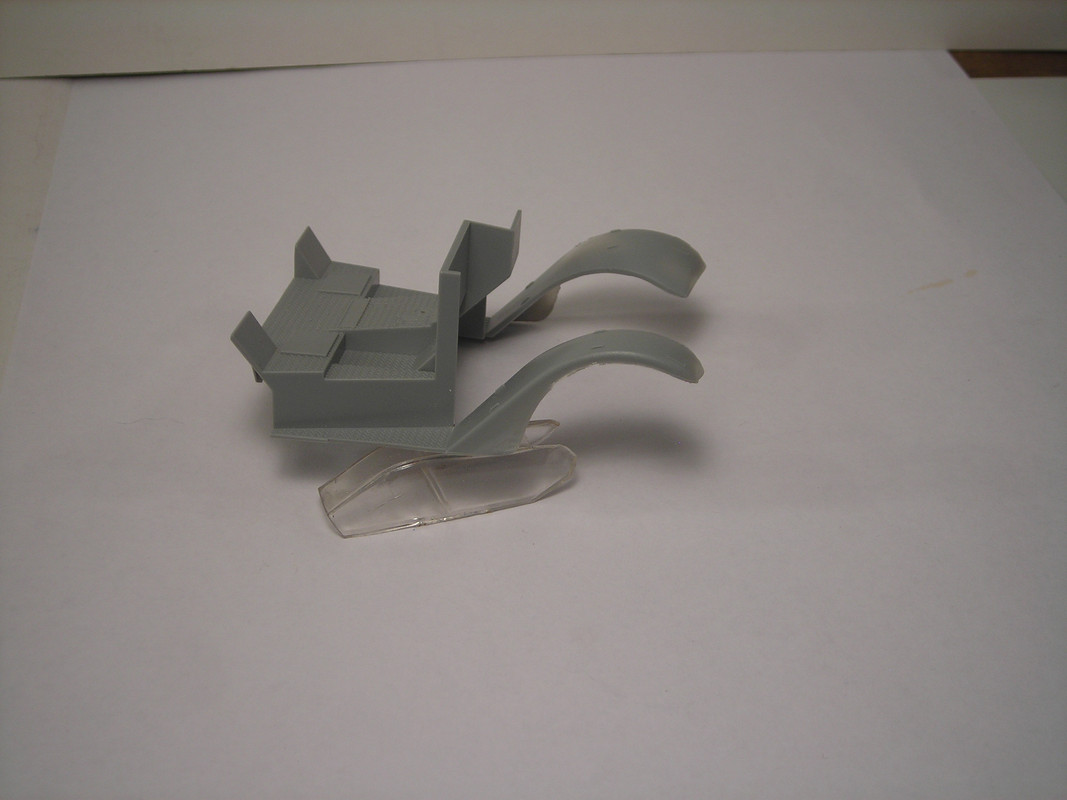
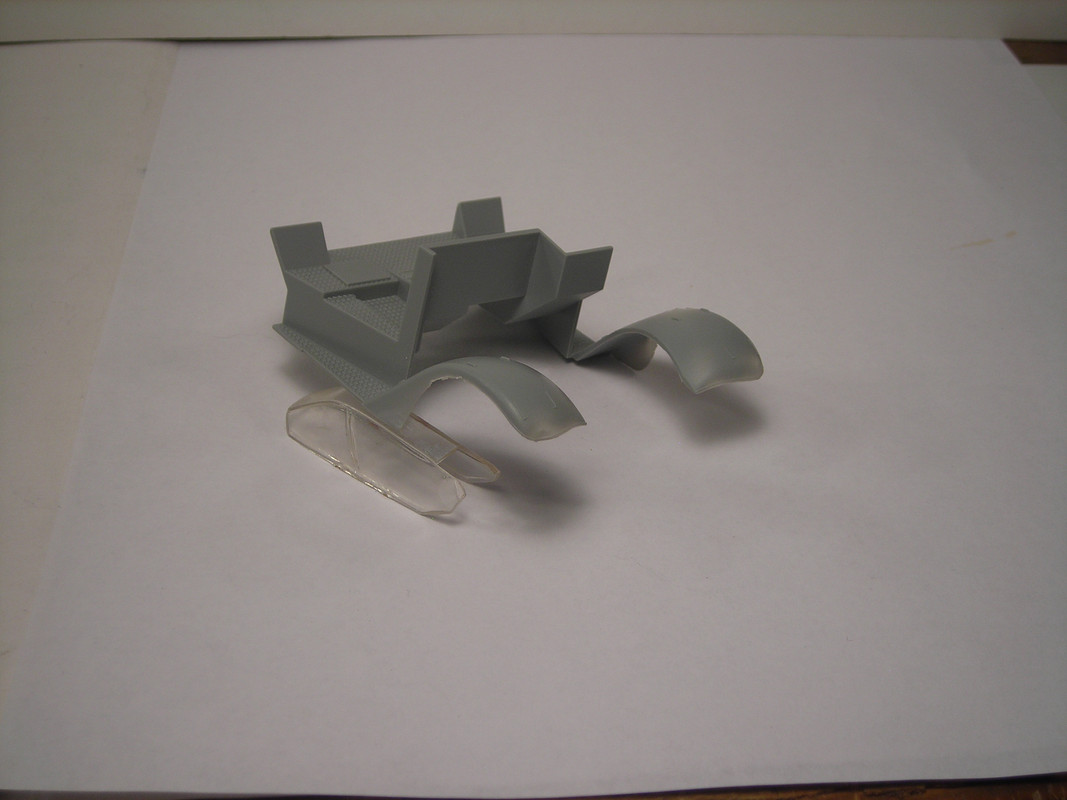
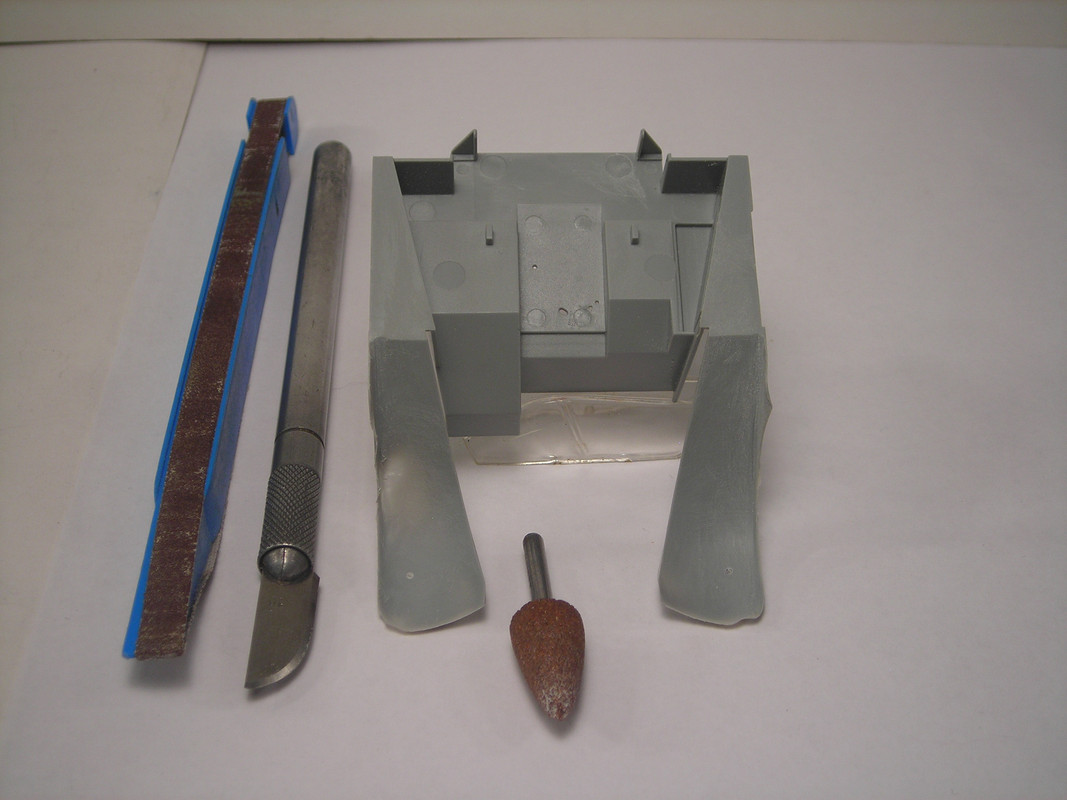
Finally I used an Xacto #10 blade, a grinding bit in my Dremel, a sanding stick, and various needle files to thin down the front fenders, to the point where light can be seen through the plastic so I could bend and otherwise rough up the material. There are two very small holes on top of the left front fender. Also, if you notice, the sanding belt is partially off the edge of the sanding stick. I found this technique useful to sand the inner edges of the compound curves.
And hopefully this works. Sorry again about the snafu, guys, and thanks for looking in!
Dave