First thing I did was fix that fire bottle. I drilled the broken stem and the regulator and added the 0.020" phos-bronze wire. I drilled down deep into the bottle to provide adequate depth. I did this after finding that the shallow hole was giving a very rocky so I took out the little piece and made it with a long piece.
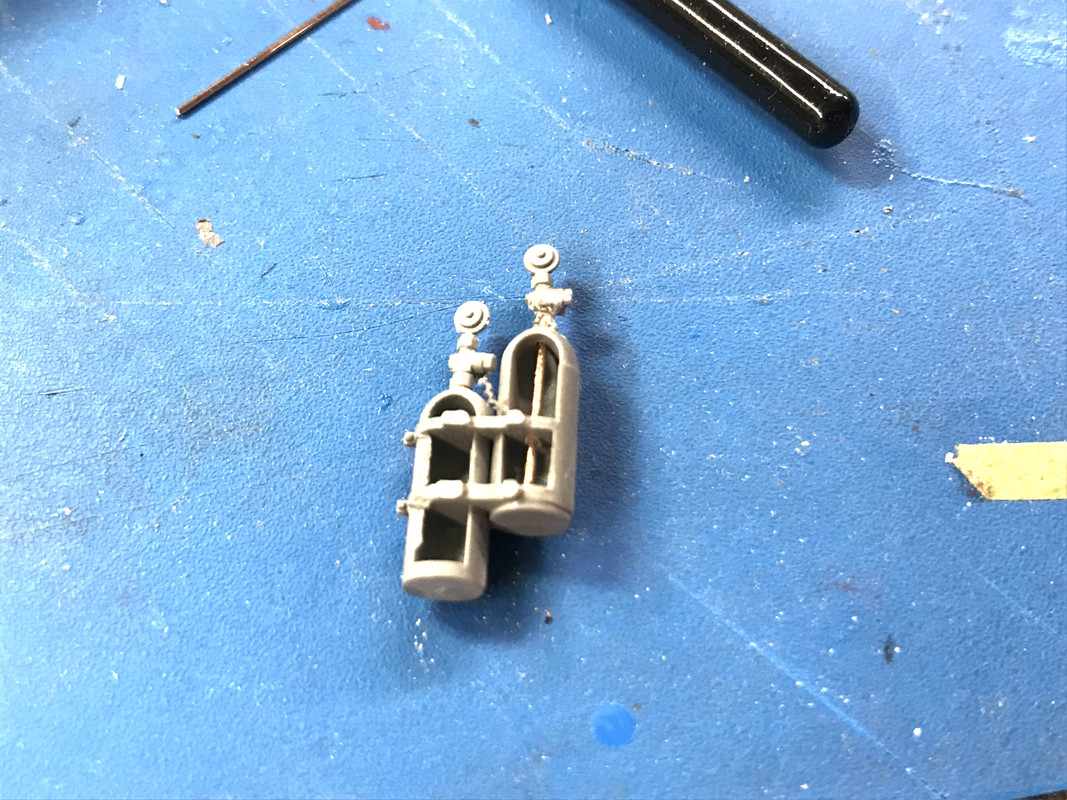
I then bent another piece of wire to replace the plastic piece. I CA'd this in place and then used some Bondic UV curing resin to add some bulk. I then primed it.
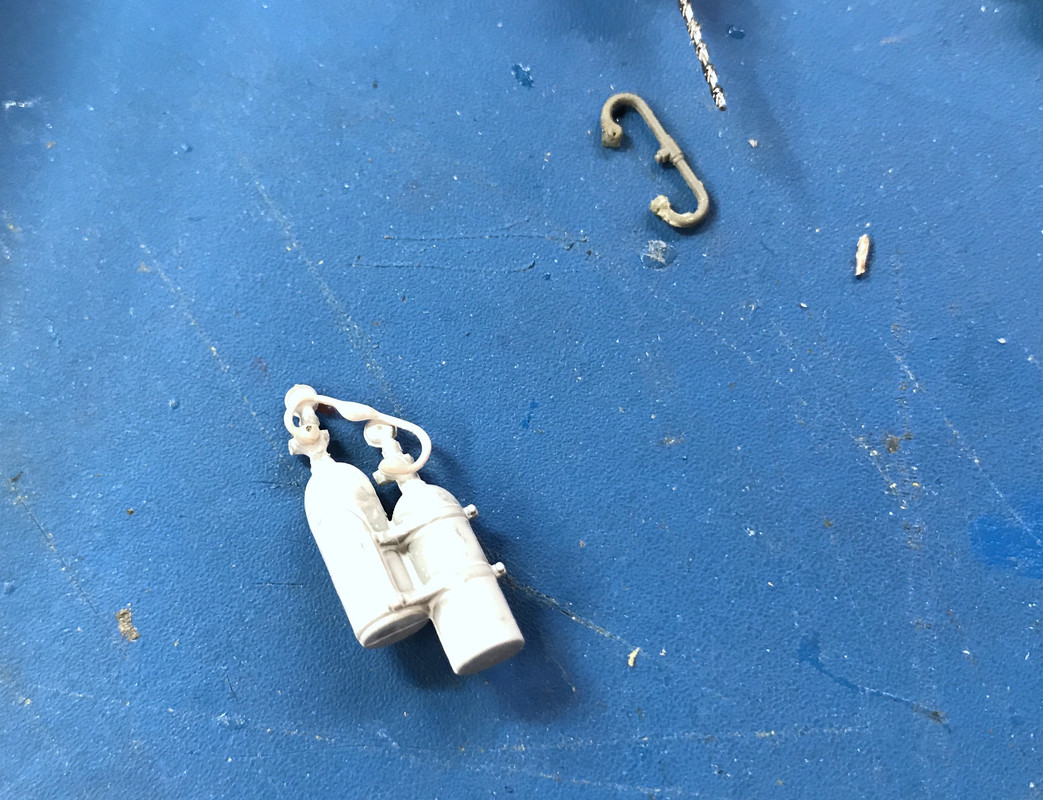
I painted the bottles red and then Dullcoated it in preparation for my artificial brass technique, which is Molotow Chrome Pen overlaid with Tamiya Clear Yellow and maybe a little Red. It's a remarkable metallic finish that doesn't have the grain that metallic paints do. This was drying at the end of the day. If you look up my USS Essex build on this website you can see how I used this technique on the props with reasonable success. I couldn't find brass aftermarket props so I did the next best thing.
Later, as you'll see I tried the fighting room floor in place since I suspected that it completely obscured the fire bottles over which I spent all this time.
I then weathered the engine compartment walls, floor, engine, etc. I initially used Tamiya Clear Smoke for the oil stains at the bottom. I then used AK wash thinned with alcohol and then went back and overpainted all the excessive areas with white. I just wanted it messy and messy it is. I erred in this. I should have sealed the white with a non-water-based clear coat. The AK quickly started dissolving the white making a mess. I recovered, but it wasn't the best way to approch this.
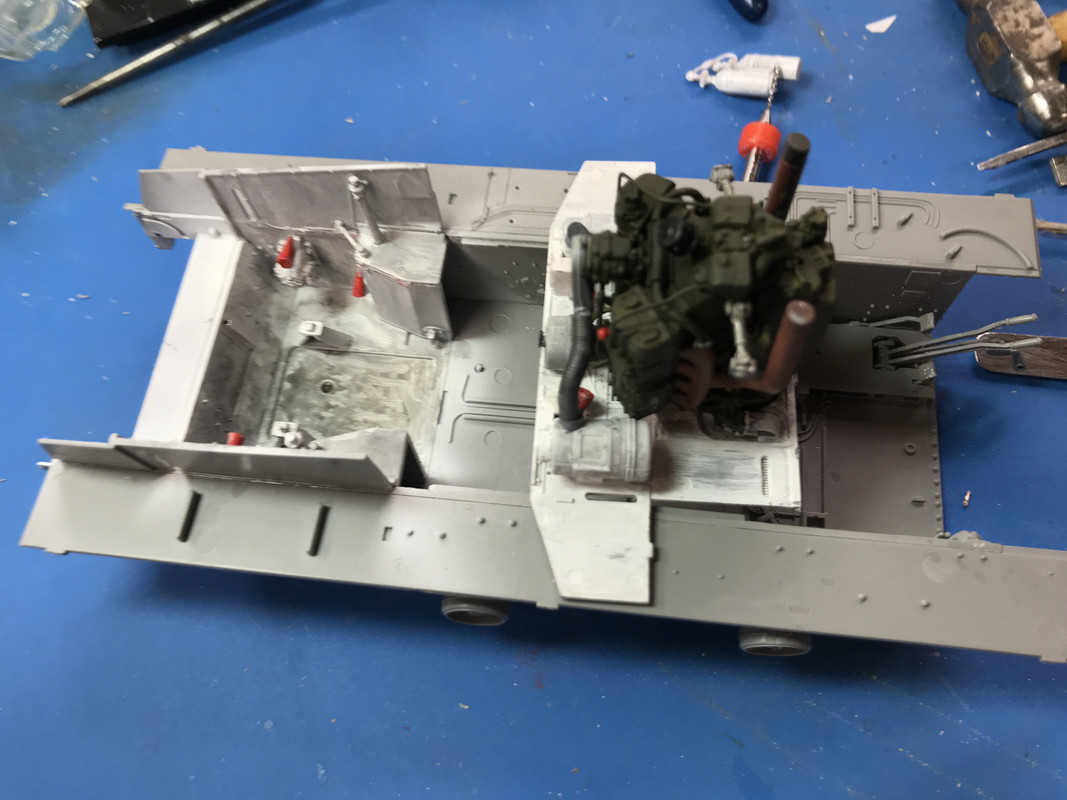
I had removed the fire bottles completely since they made putting the firewall in correctly very difficult. It should have been left until the engine bay was complete. I glued in the engine and ran into a problem getting the fan drive shafts aligned with their gear boxes. I ended up having one break and fly into the quantum rift.
Speaking of quantum rift... when I went looking for the tiny other universal joint end of the shaft I found the Magneto.
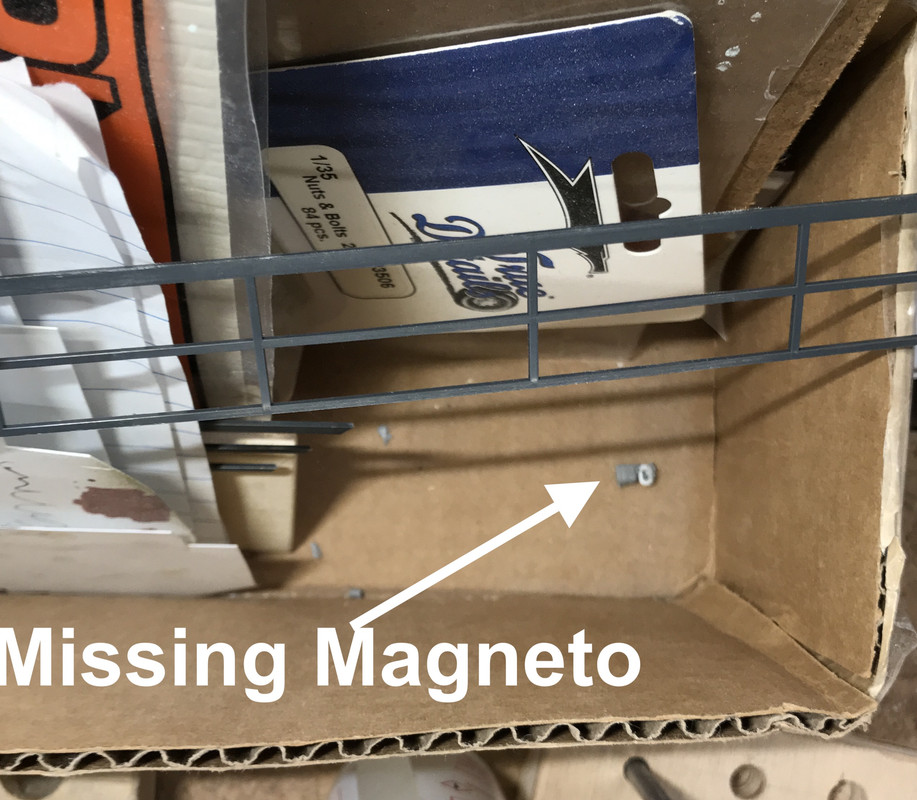
It was hiding in a box that sits on the back of my work table. That little piece cost me almost an hour of build time between the scratch-building and part search. Oh well...
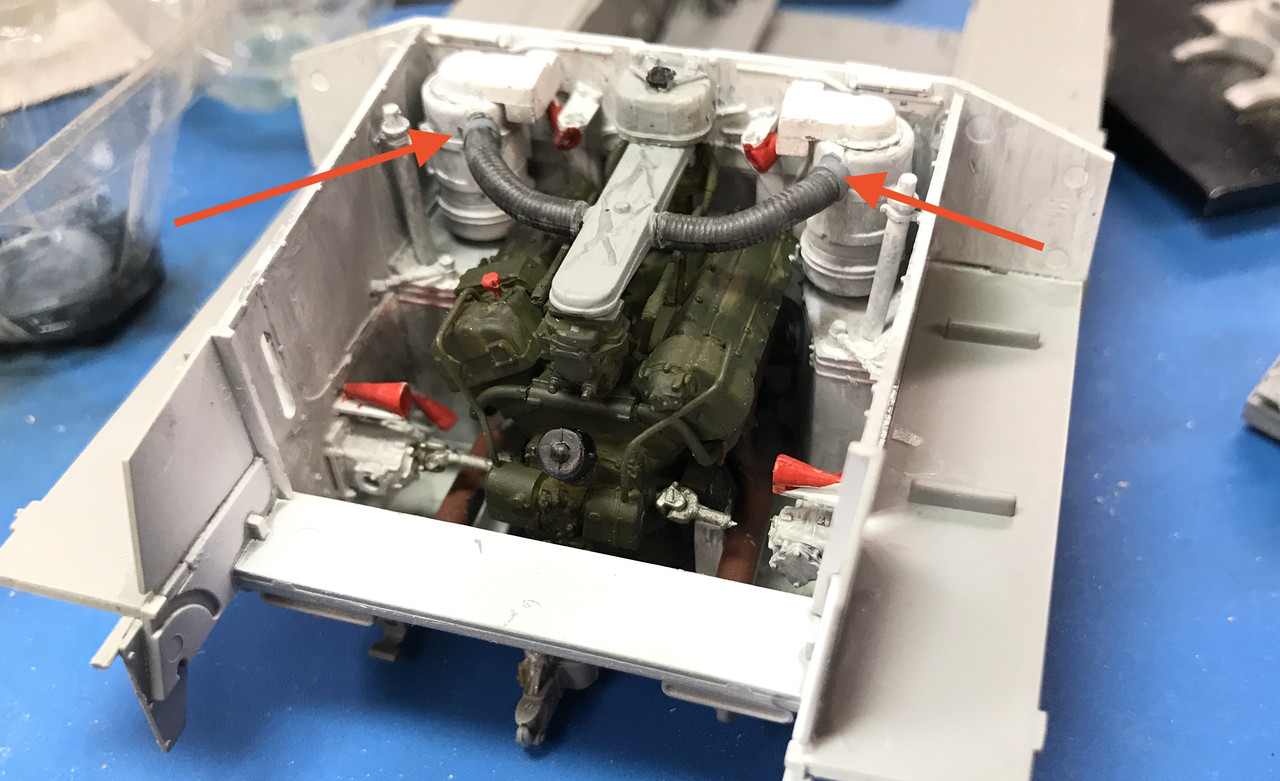
I was having trouble getting the intake ducts to couple with the air cleaners so I cut some 1/8" Plastruct rod, drilled a small hole for the nib on the duct and put them in. Makes a decent installation. I noted yesterday that you should also leave these tubes off the engine until it's installed in the engine bay so you won't be fighting fully cured glue joints. The arrows point out these spacers. You can see the broken fan shaft. I'll will keep looking for it and find it when it decides to come back to this dimension.
It was time to build the radiator. The radiator consists of the inner half with the fans and their shrouds, and the outer half that has a set of louvers to protect the fan from battle damage. The radiator surface is an example of fabulous mold making. There are tiny grooves simulating the core. Unfortunately, it's entirely hidden so don't waste your time trying to make it look right.
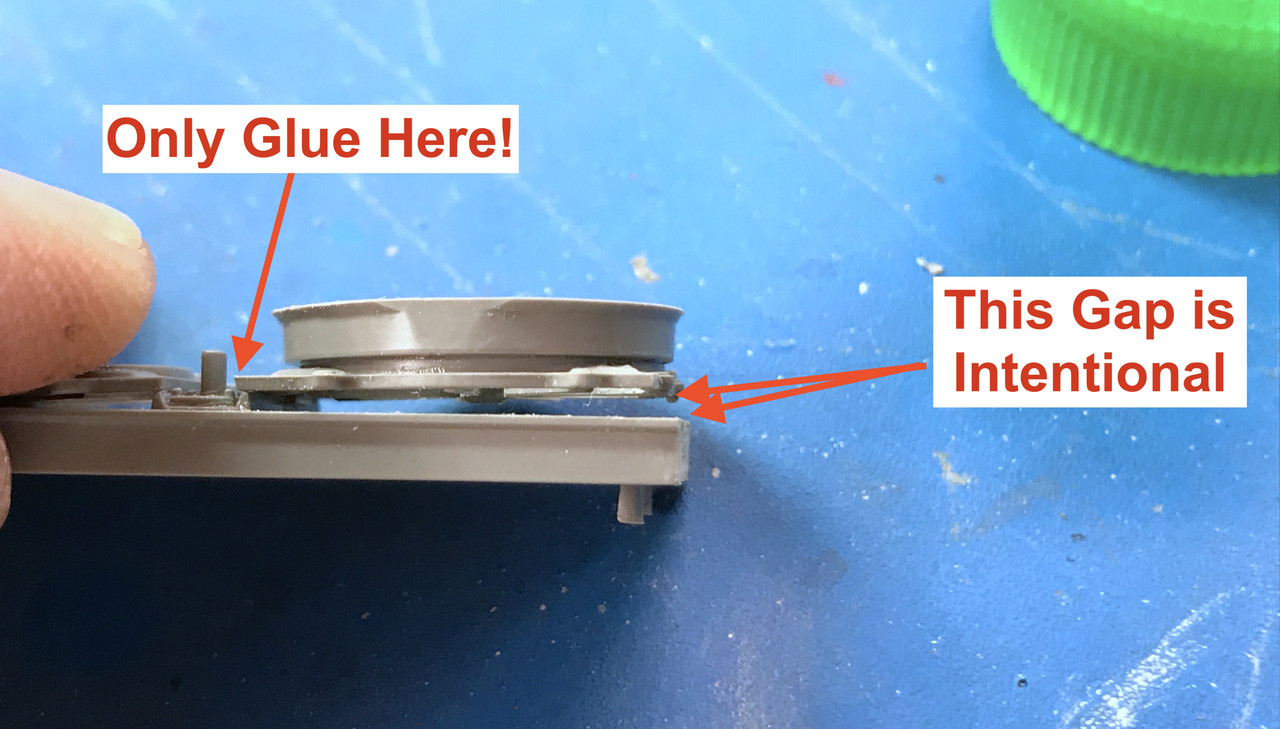
I spent probably 10 minutes trying to figure out how the fan frame glues to the radiator face. It turns out that it glues on one edge only. After I test fit it to the model did it become clear why this is. Obviously, gluing to one edge and having it stand proud all around didn't make sense and it took a lot of fiddling to get it right.
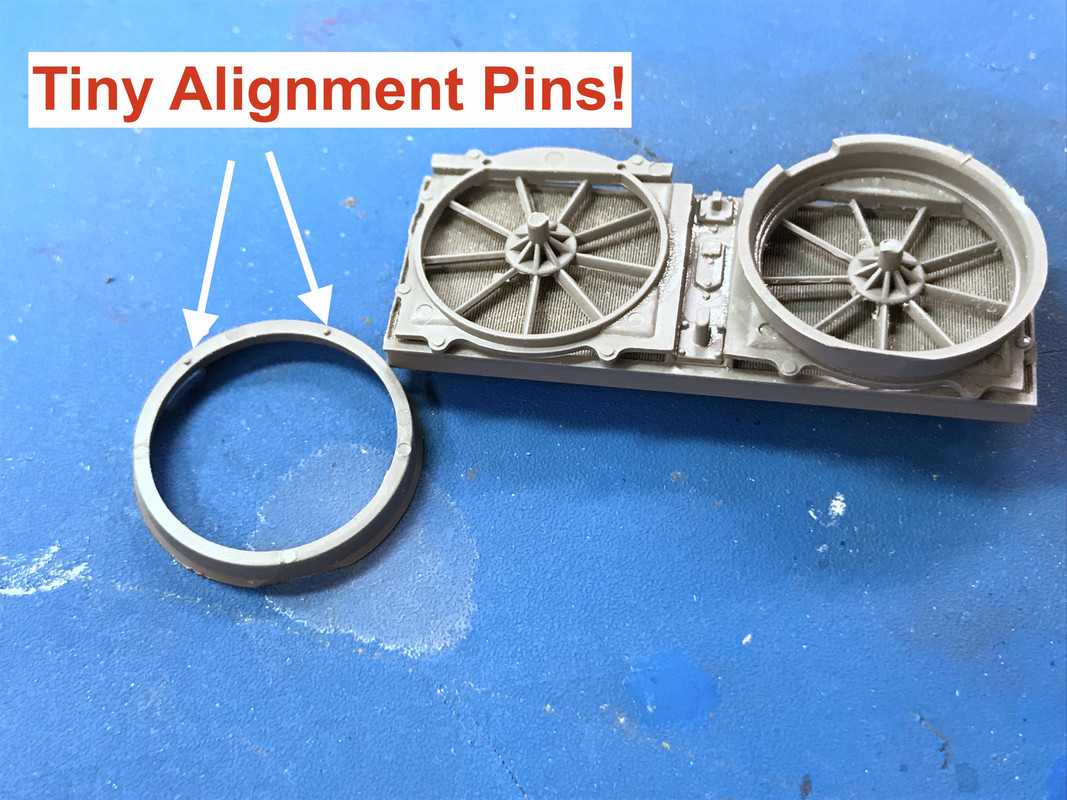
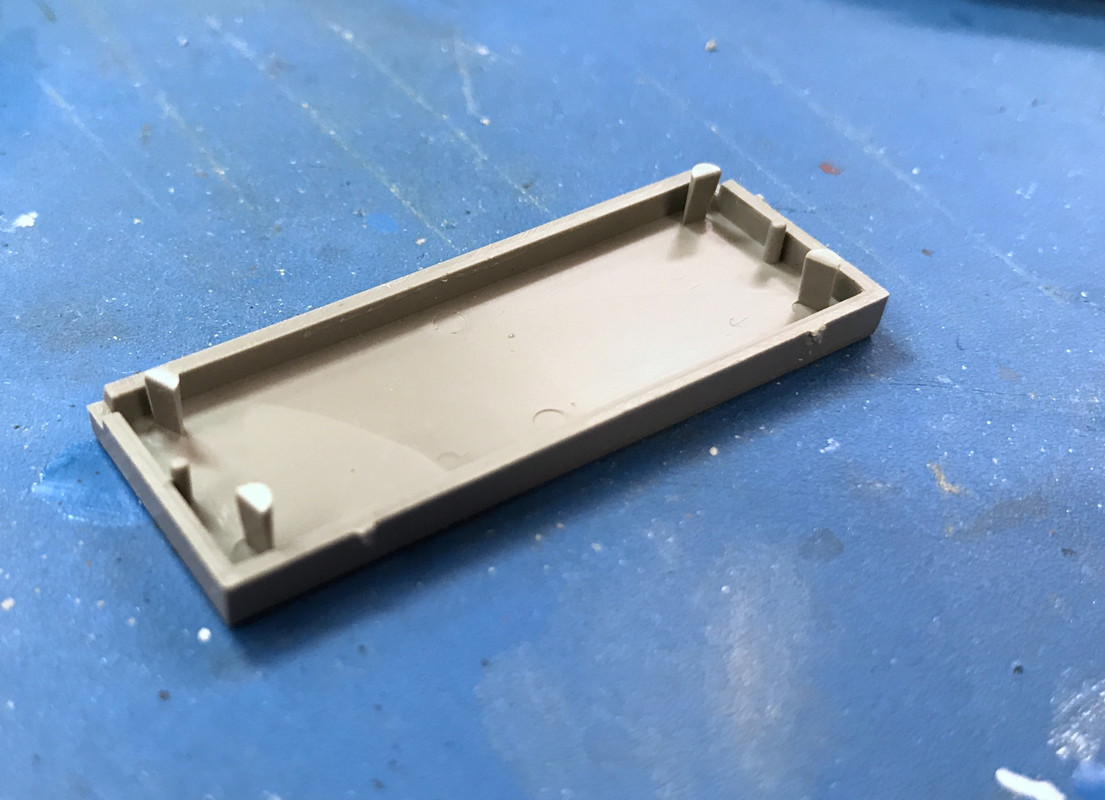
One of my pet peeves about Ryefield engineering is they are very stingy on the diameter and depth of their alignment pins. This picture shows what I mean. It took too much messing around to have those pins find their locations when glue was on the joint. The glue can almost melt the pins before you get them assembled. There's no reason why they couldn't have been more robust.
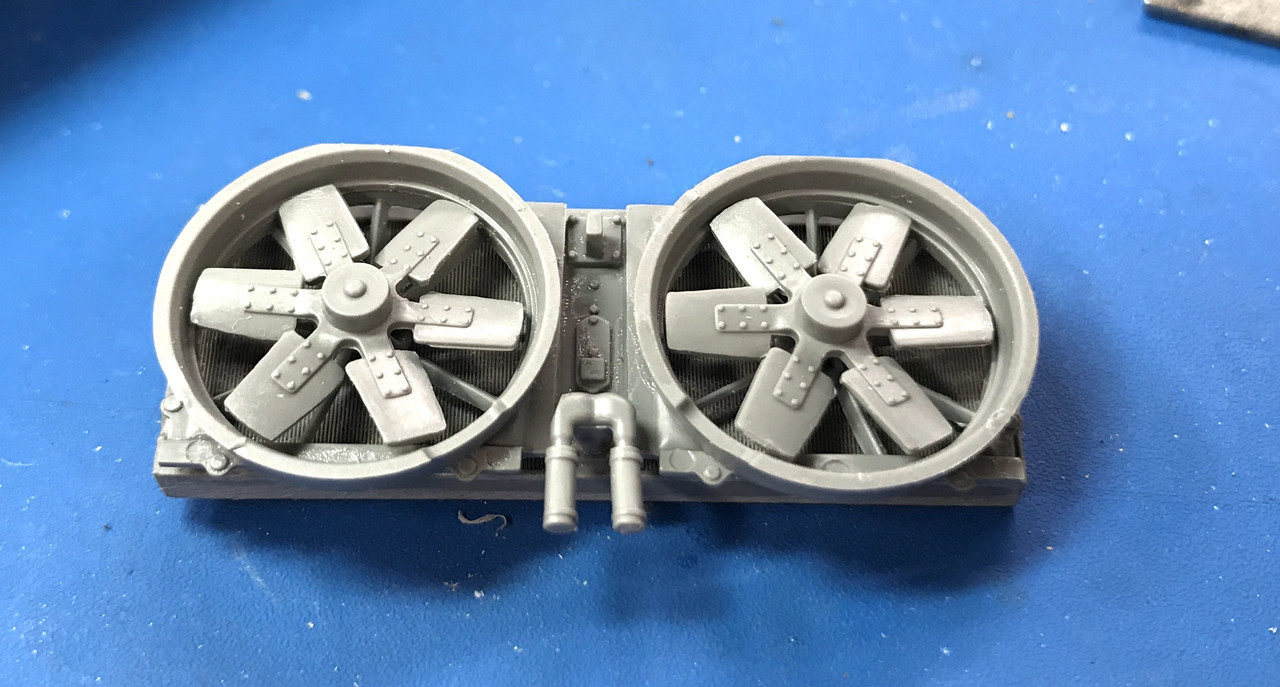
The fans themselves went on very easily with a huge lug. Additionally there was the coolant connecting pipe that aligns with the little "Y" stub on the water pmp on the block. You can't see this connection when it's all installed. It's at the bottom of the engine and obscured by the radiator assembly.
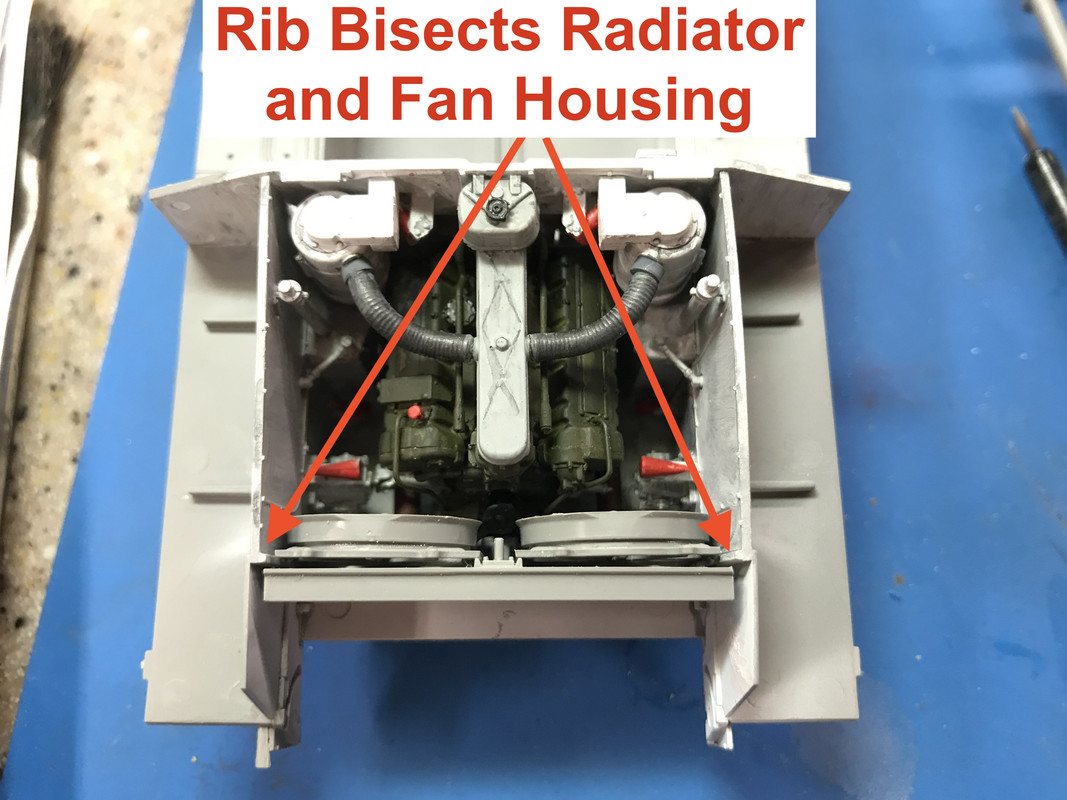
I test assembled this and then I saw why the gap exists. There is a rib on the hull side piece that lies between the radiator and the fan frame. The instructions don't show this very clearly and I can imagine people gluing the frame on solidly all the way around only to find out that it's wrong. What tipped me off was it wouldn't lie sqaure when the single rib was glued. And there was a tiny alignment lug on the frame that intersected a notch on the radiator, so you knew it went there.
Both the inner and other radiator parts had huge ejection pin debris. They're so big they looked like standoffs. They're not and they needed to come off.
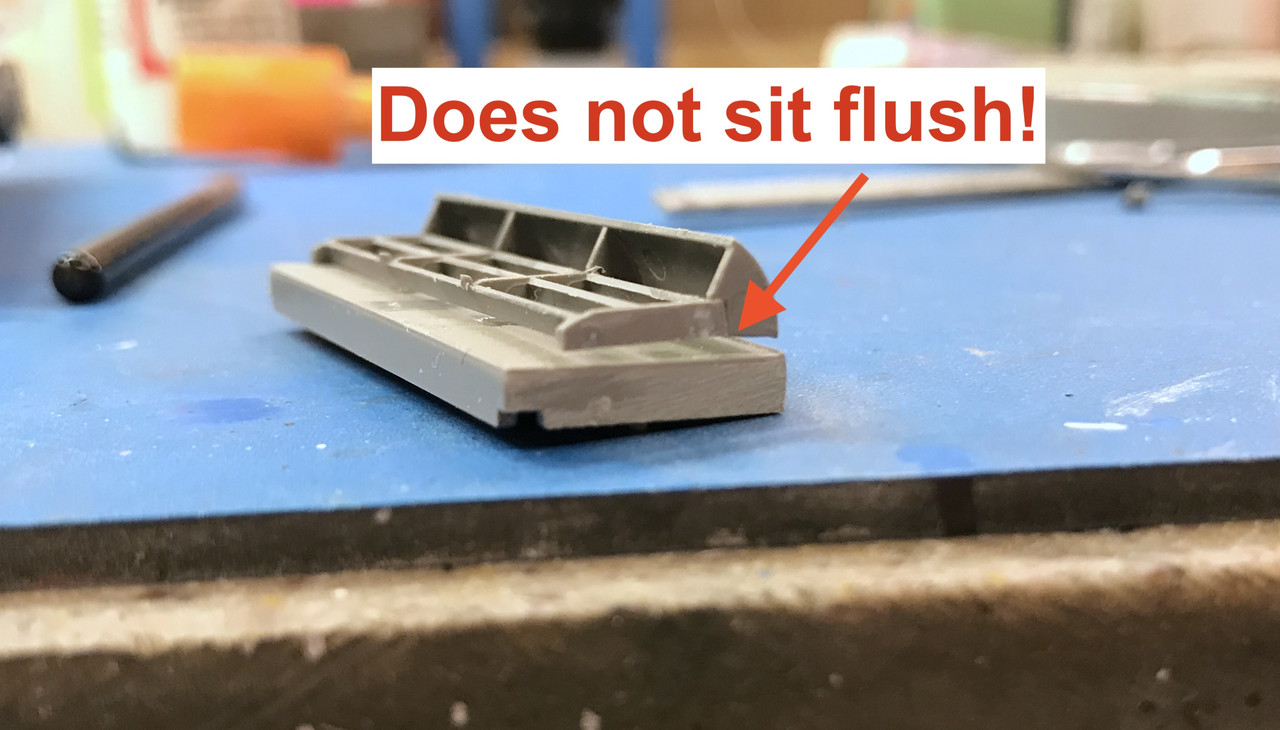
The outer radiator had another head scratcher. The louvers only glue by four tiny pins AND it rasises it off the radiator body. It's supposed to and it's very fragile. On top of this louver is another deflector that doesn't glue to the radiator. It only glues to the louver. Took a while to figure this out and get it right. This is curing over the weekend.
I'm going to airbrush the radiators before putting them on the model. Monday! So here's the fighting floor dropped in for a looksy. Notice, it not only covers where the fire bottles sit, but also covers the drive shaft, and the extra piping they want you to add from those heater coil tubes. I may add the piping just for fun, but it's not much of a value-added-activity. The floor doesn't actually sit flush like this. It sits on a frame that raises it up a bit.
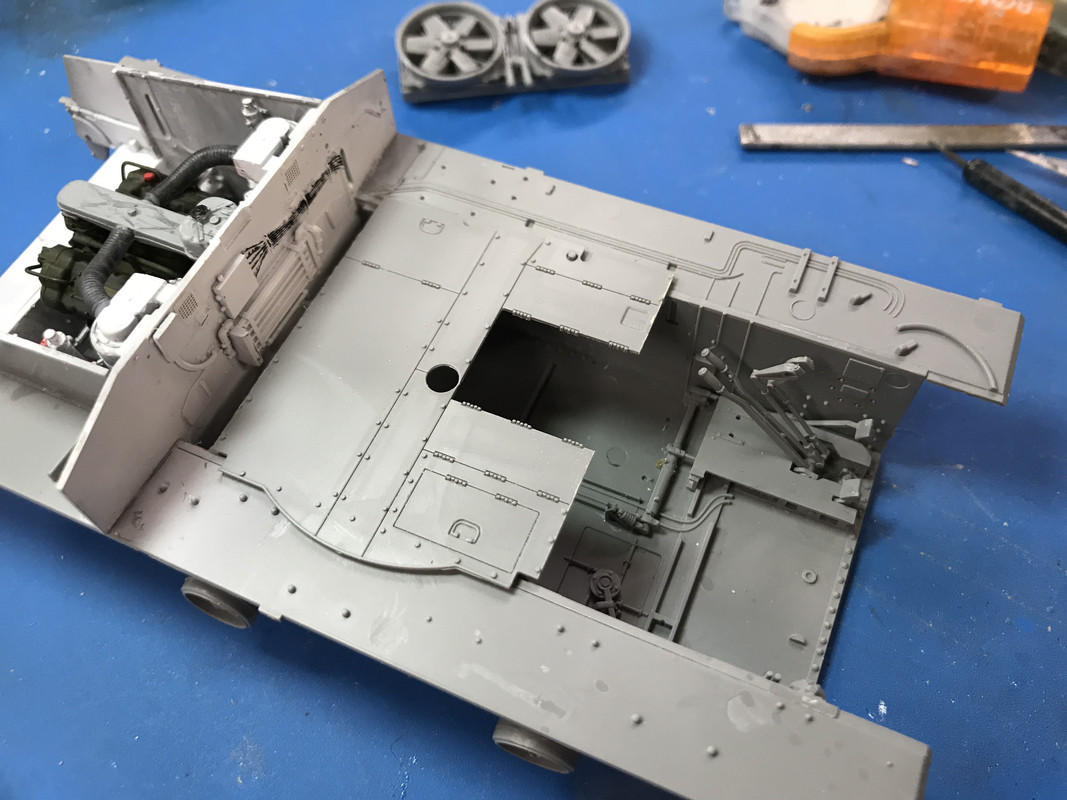
The rectangular opening in the floor will be to display one of the magazines with ammo in place. This was the "wet storage" version of the Sherman with had the shells immersed in anti-freeze to prevent cooking off in case of fire. (Thus the 76W designation). It was also interesting to note the fire suppression system in the engine compartment. The Sherman was well-engineered and was reasonably comfortable piece of armor to fight in. After this project, I'm really itching to do the Ryefield Abrams with interior just to fully understand the evolution of armor over the ensuing years.