It's 95 degrees outside but there is a blizzard on my work bench.
I had a lot of input (and I am thankful for all)....and there have been toots in the past (I know Doog), but like Frank Sinatra said..."I did it my way"...so here is the winter weathering.
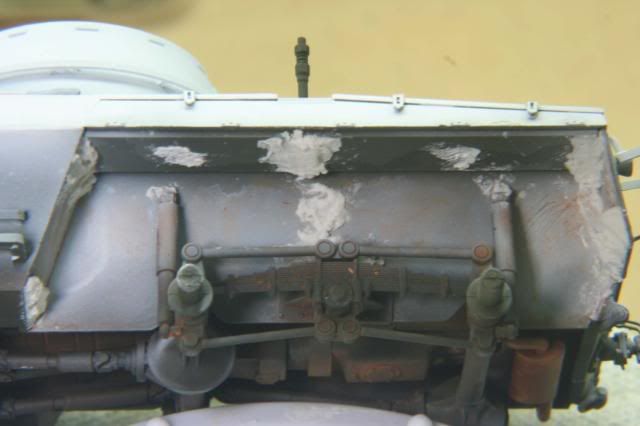
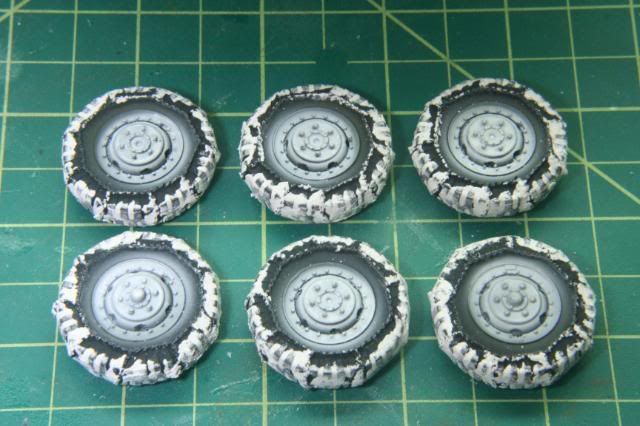
First in areas where snow would build or to fill in tire treads, I used some sheet rock spackle compound mixed with some white glue (90/10 mix).
This is the fender wells
These are the tires
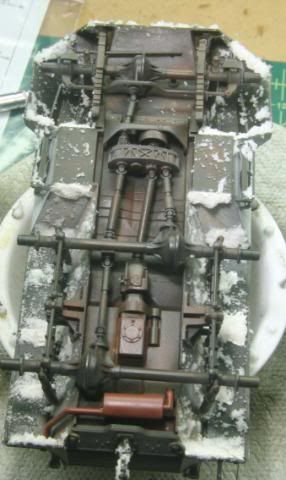
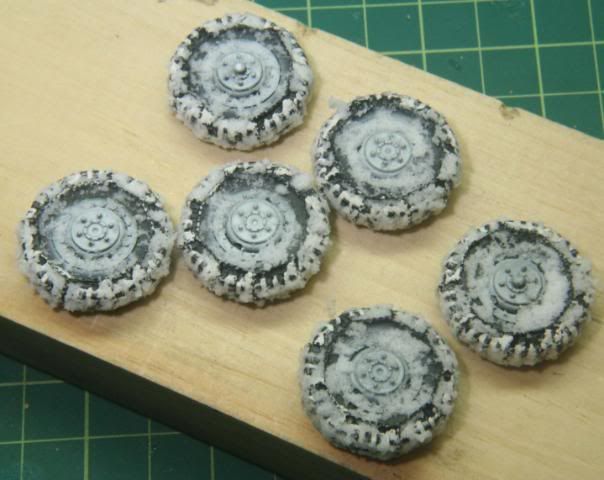
To seal the spackle and make the areas look wet, I coated the tires, model underside and fender wells with some Model Master Acryl Satin Finish. After drying I began the snow. To apply the snow in areas I wanted, I used a #5 brush, dip in landscape cement and then dip into a tray with some Woodland Scenics Snow. The brush would become covered with the snow and when it was applied moved with the consistency of "slush" (no pun). After applications in the wheel wells and tires: I also made a wash from the clear to give the wet effect to the lower half or the vehicle.
Wheel wells and underside
Tires
Once all the snow set up, it was time to mount the tires. I also mounted the antennas and the antenna tie downs.
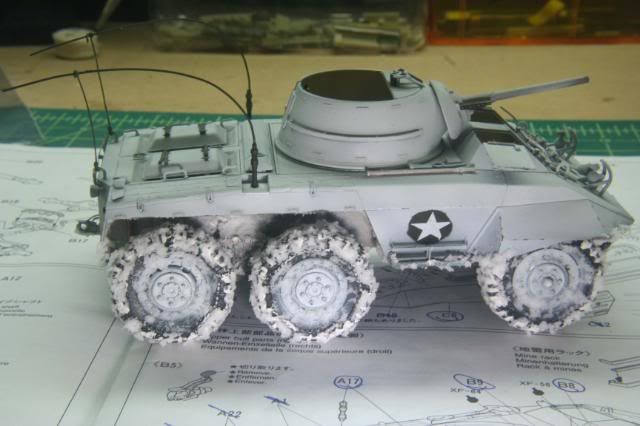
Here is a look with the original picture
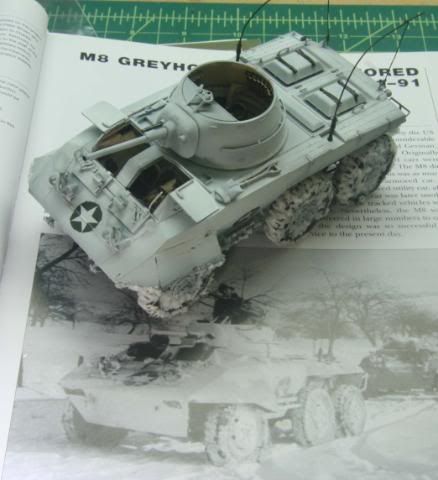
The only thing left to mount is the M2 which is just about ready, so I moved on to the base.
After cutting a piece of Oak, putting through the router table for a nice edge, one coat of stain, 2 coats of urethane and mask after completely dry. Then I cut some thin Styrofoam for depth and measured and cut tire ruts into it. The Styrofoam is mounted using Styrofoam spray contact cement.
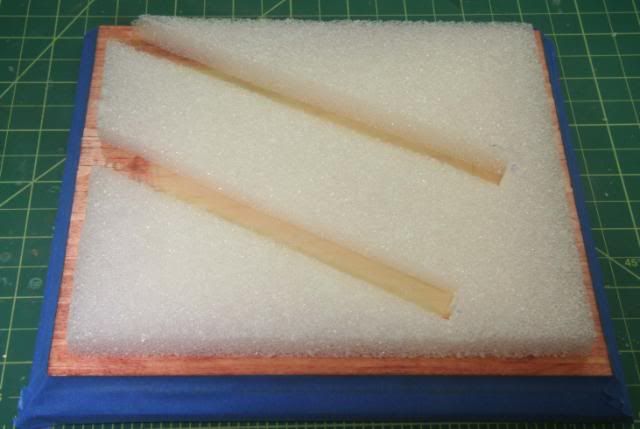
Once the contact cement set up, I mixed up a batch of Celluclay tinted white and applied over the Styrofoam.
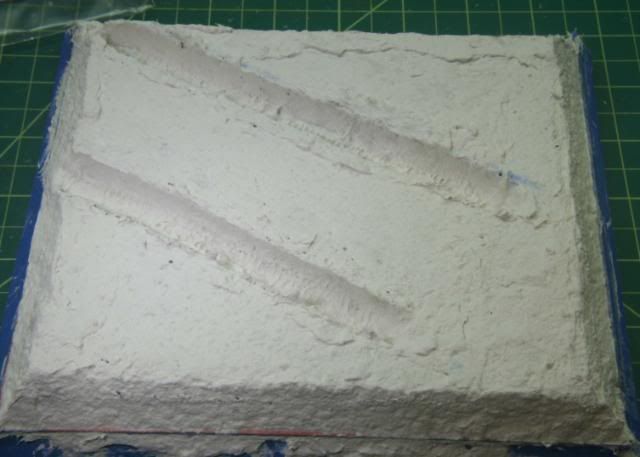
At this point I am waiting for the clay to dry, so I am going to take my parka off and head to the pool.
Next week should wrap it up except for figures. Manny, I'm still playing with that!!
Thanks for looking in. All comments welcome
Rounds Complete!!