I have a few suggestions. I have built att least 3 dozen of this kit over the years, and I have picked up a few tricks that really help to give it an authentic look.
First. I use a few different techniques for weathering. The trickiest, but most effective is lighter fluid. I will brush on a thin coat of lighter fluid on the engines, right behind that heavily detailed (open) area. I don't use much at all. Then I will (this is the tricky part) light it for about 5-10 seconds and douse it with a bit of water. he great thing about lighter fluid is that the heat seems to go straight up, so if you hold it so the flame is going straight up and the surface is pointing in that direction, it will not harm the plastic unless you leave it lit too long. Once you put it out, you will see some blackening. Use a soft DRY cloth and wipe it lightly backwards toward the engine exhaust. If you did it right, it will blend in and look like a somewhat streaky greyish smudge. After that, I usually dullcoat it and then do a regular wash with some super thinned acrylics over it. I use about three different shades of greay to give the smudging some detail and shadowing. If you weather the detail area in front of the scoopy with a super thinned black acrylic, the effect is very cool. You can do washes of all the exposed surfaces to get them to match and it's incredible looking once done. I wouldn't recommend any pre shading on panel lines. If you watch the show, the ships are actually kept in very good condition; Much better condition that the new BSG Vipers. The panel lines are barely visible and the overall weathering is not nearly as pronounced as the MK.II, and MK.VII. Another suggestion. Watch some close up shots of the original BSG and you will notice that the canopies on the Viper are framed panels and there are small rivets on the frames. Duplicating this detail is very tricky and you need super steady hands, great eyesight, and a bottle of super thick CA glue; The gap filling slow set kind. Using slow set gives you time to clean off any mistakes before they dry. This takes patience and is a slow process, but the end result is worth it.
First sand down the existing frame ridge on the canopy, so it is flush with where the glass will be. Next, scribe thin lines just a tad in from the edges, effectively delineating new canopy frame lines, thick enough to complete the next step.
Next. You need some of those super micro fine glue applicator tips you can get opn eBay for about $2 for 6. The plastic ones work best. What you want to do, is on each frame strip, make a row of small (and I mean really, really small.) glue drops to simulate the rivets. Watch an old episode and freeze frame it on netflix or something to see the proportional size and spacing. Like I said before, using the super slow set glue allows you to scrape any misshapen or misaligned ones off before they set up. Once this is done, just mask and paint.
I hope you can use these ideas. It's looking great so far! Good work.
Rich
(typographical errors included at no additional cost.)
MrSquid2U
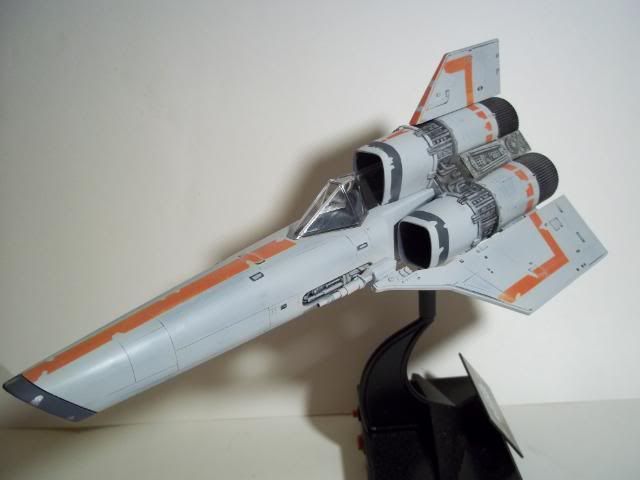
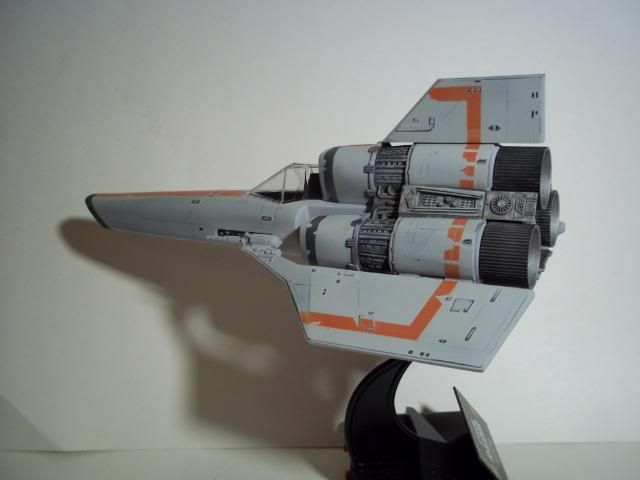
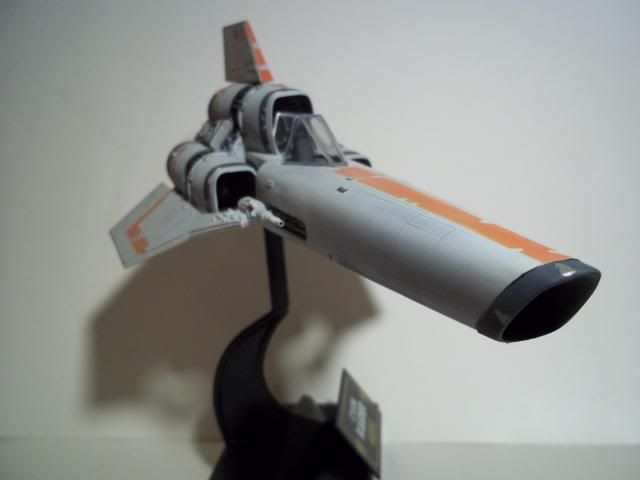
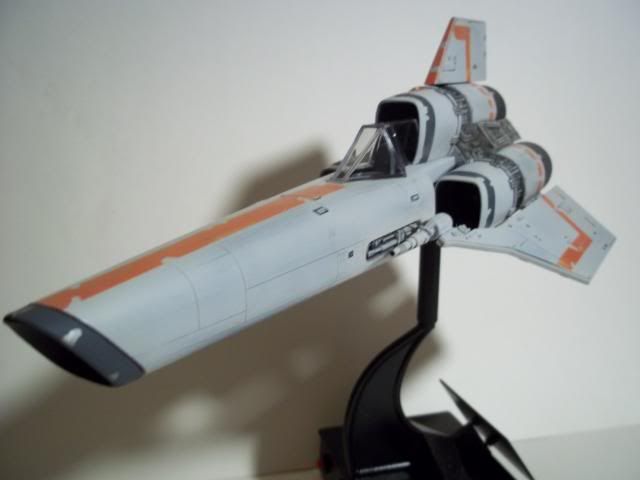
So the weathering begins. Brought out the panel lines and applied wash to areas.
In the Hangar: 1/48 Hobby Boss F/A-18D RAAF Hornet,
On the Tarmac: F4U-1D RNZAF Corsair 1/48 Scale.