Brace yourselves, this is going to be a rather lengthy post. :)
Did a test assembly of the legs and it confirmed my original plan for painting.
Lower leg and upper leg assmeblies are clam shells that go around the feet and the hip joint. The right leg's inward lean is due to the ankle axle. It provides a small degree of side to side motion.
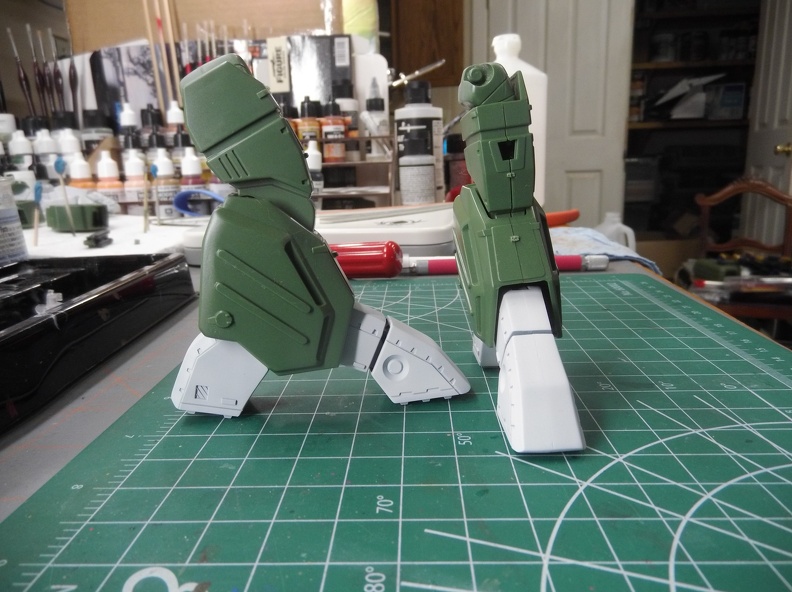
My biggest complaint about this model is the seams. Something about the mold makes every seam have a distinctive ridge that has to be sanded down. Other than that, the legs fit and align much better than the feet did. The joints are somewhat loose so I'll be doing the trick with the thin coat of CA stiffen them all up.
There isn't an easy way to paint this so I am going to complete the priming & pre-shading of the feet and hip connector before encasing them in the legs. I'll likely prime the inside with black before assembly to hide the remains of that gawdawful green.
For anyone who might be interested I counted 8 points of articulation on these legs. about half have a fairly limited range of motion but it does increase the posability of the model.
Onto the next problem with this model.
The chest cannon. The door can't close with it installed. So it's pose it open or closed. No in-between. You can change the tilt of the cannon, but if it's installed there is no way that panel is closing.
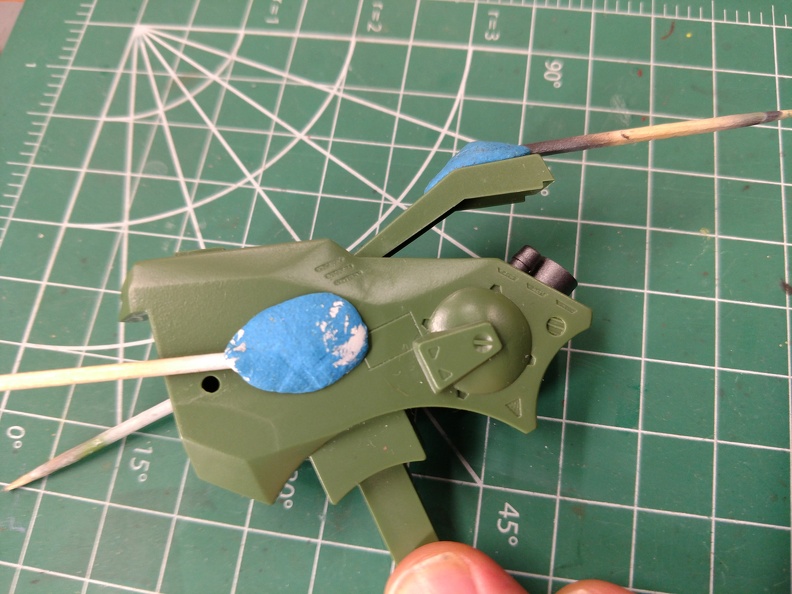
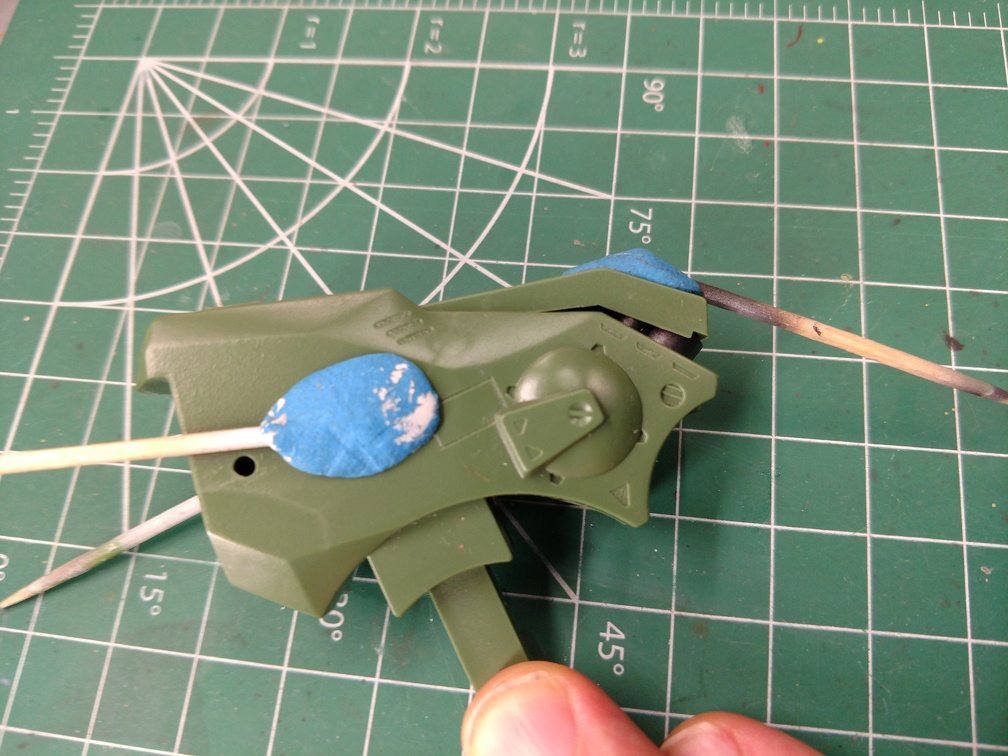
Tried moving the cannon's position but it just made it worse. The toothpicks are because the parts next step is to paint the inside black.
I could probably cut off the existing mounting points and use some tube styrene to change the location of the gun so the chest could close but doing so requires moving the cannon further back into the chest. Which would make it less prominent. I've already decided not to do any modification. Not really interested in making yet another change to this model. Open or closed is TBD. It may depend on whether I can make the shoulder missile bays work.
Speaking of the should missiles. Now that I have a printer again I was able to print off the template!
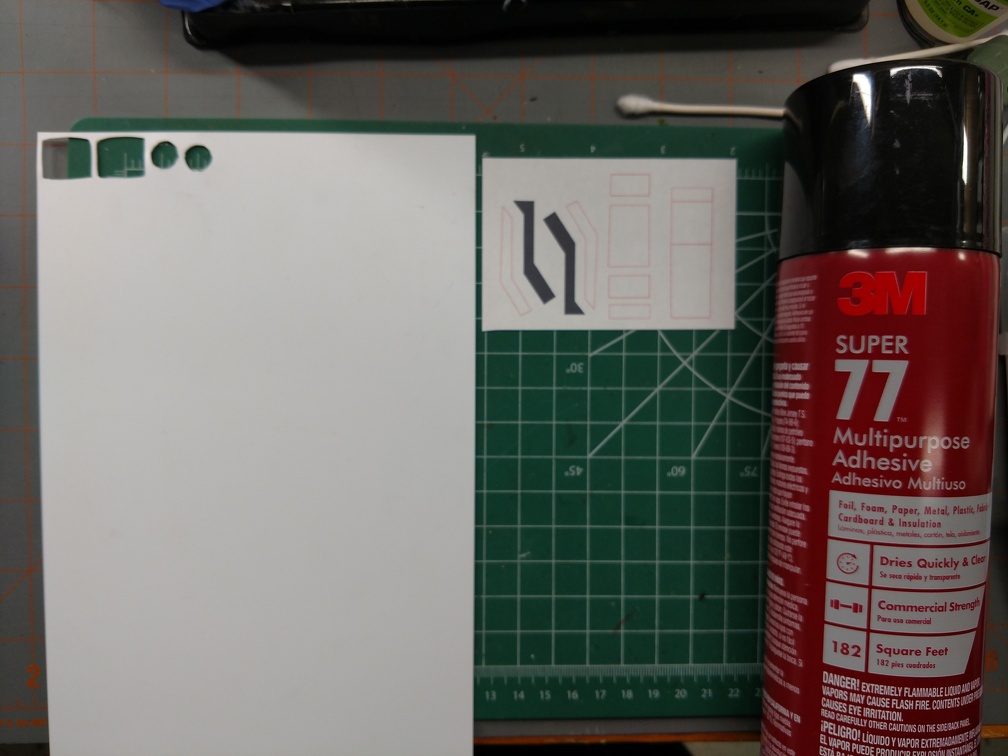
The can is a spray adhesive that I used to affix the template to the styrene. Use sparingly. It's messy but cleans up pretty easily with some acetone.
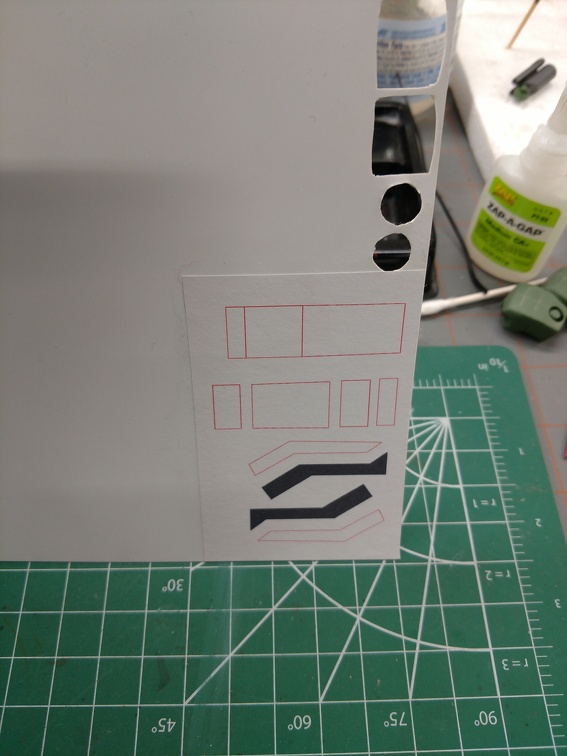
Lady luck was smiling upon me that night. The template went down flat and square on my first try. Murphy must have been preoccupied with making someone else miserable. ;)
Since it is all straight lines, using the good ol' chisel blade made short work of cutting these out and helped ensure the sides were relatively perpendicular.
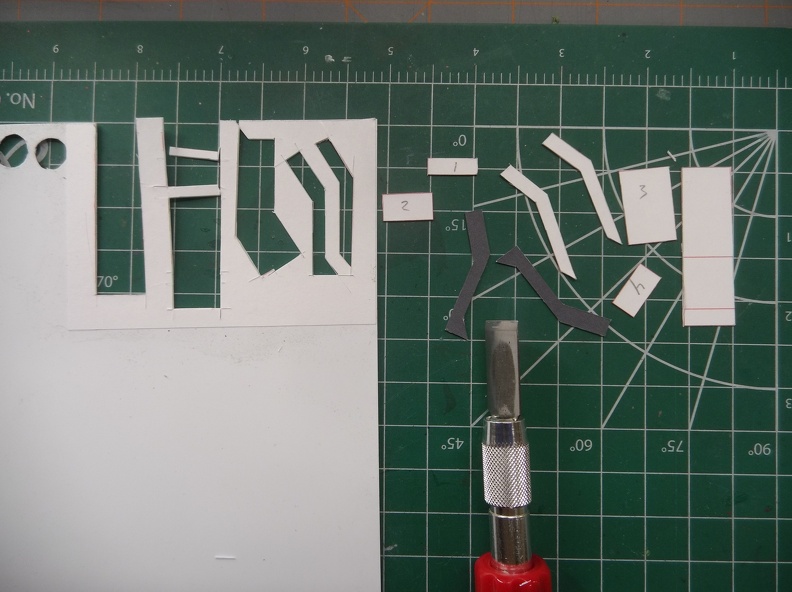
Next up:
Assembling the little pieces to make the lid and box. I've an idea of how to keep it reasonably square during assembly.