SEARCH FINESCALE.COM

Enter keywords or a search phrase below:

Heller 1/100 Victory

40627 views
103 replies
1 rating 2 rating 3 rating 4 rating 5 rating
  • Member since
    August 2010
  • From: Heart of the Ozarks, Mansfield, MO (AKA, the 3rd world)
Posted by Rich on Tuesday, August 17, 2010 10:05 AM

I can certainly go along with the "hideously expensive". That's what drove me willy nilly into scratch building!

Rich

Nautical Society of Oregon Model Shipwrights

Portland Model Power Boat Association

  • Member since
    March 2007
  • From: Carmel, CA
Posted by bondoman on Wednesday, August 18, 2010 11:38 AM

There's some progress to report.

I coppered the hull halves with a great product- copper foil tape for stained glass and "Tiffany" lamp craftspeople.

A short session with the calipers found 7/32" to be the minimum width that would still slightly overlap. This product is quite reasonable. One $ 7.50 roll just did the two main halves, with about a foot to spare. I bought two rolls however, and my plan is to glue the hull halves together next, and copper the stem and keel after finishing the seam. And quite a seam it will be; trial fit shows both halves are pretty warped and much clamping will be required.
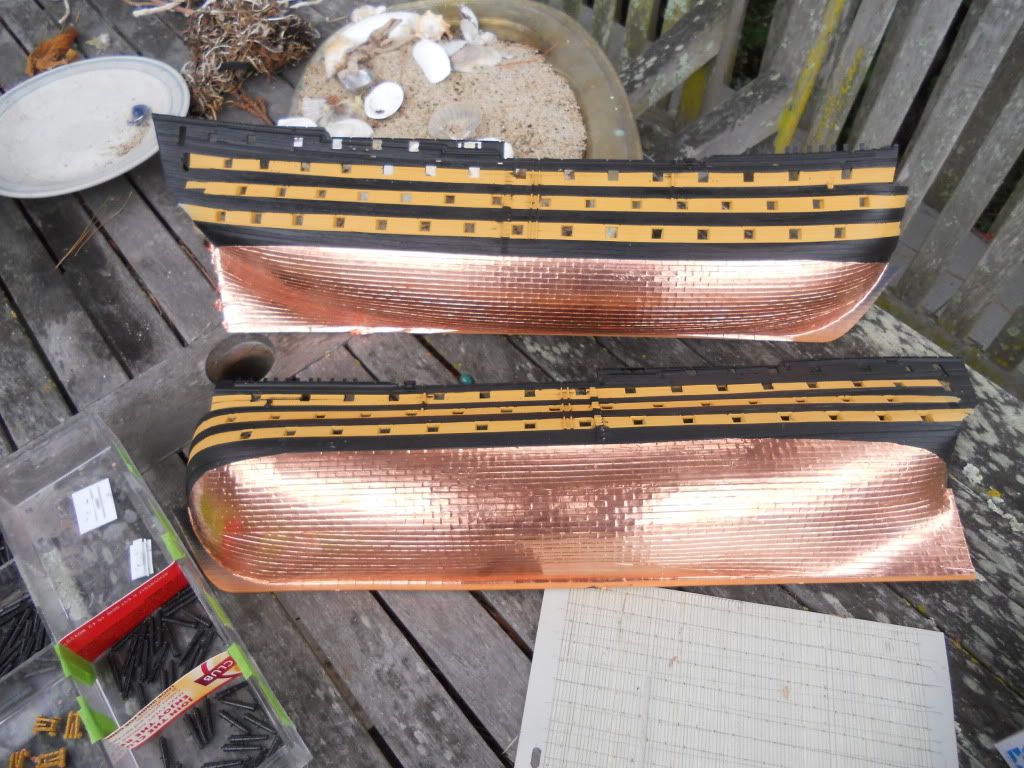
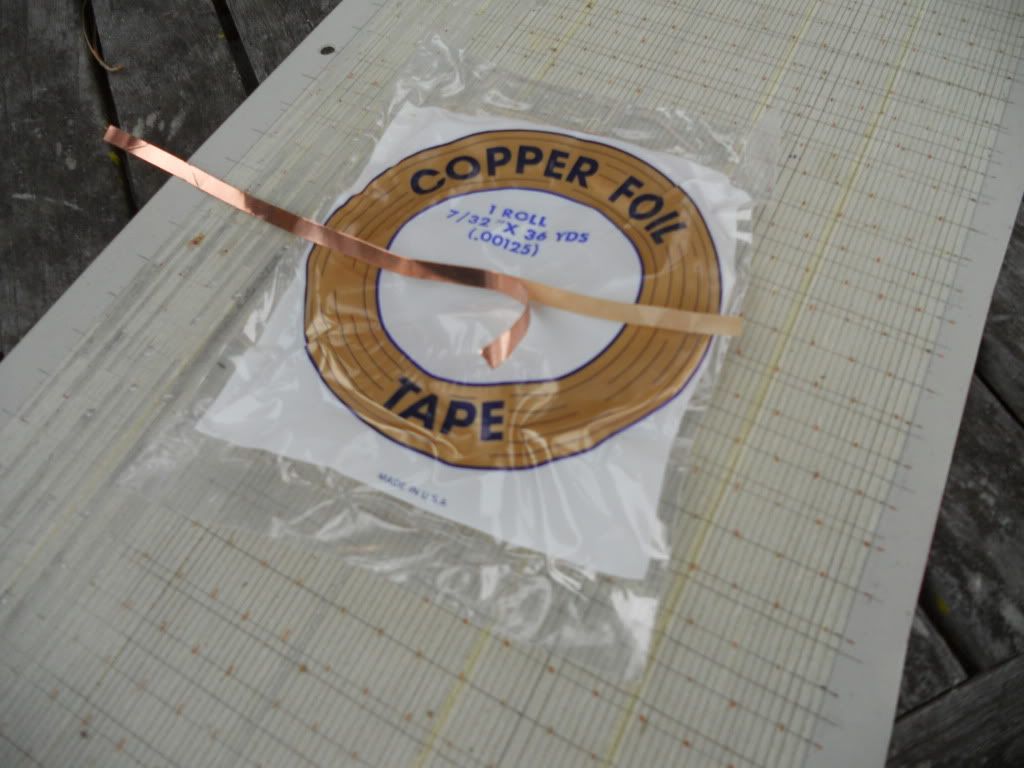
I love the copper look, and while I'll probably dull it with something, just now it's like a new penny! The tape seems to be coated with clear plastic; no fingerprints or oxidation seems to be happening. So I'll have to do some trials on scrap when I go to paint.

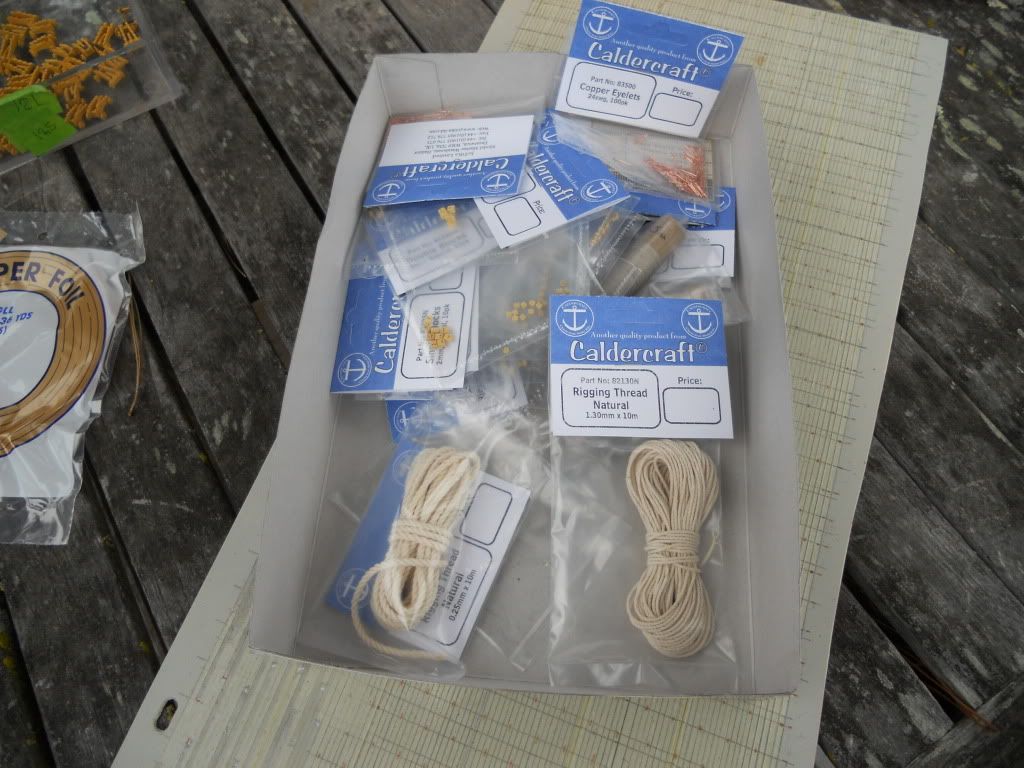
Taking the "investment" in goodies one step at a time, my first batch arrived from Jotika. All the cordage to rig the breeching lines on all of the guns, plus enough line and blocks for the tackle on the 20 or so guns that will be most visible. The two big ropes there of course are the cable and messenger. Just an example of the minutae builders get into- was the cable wormed or not at Trafalgar!? Longridge has a nifty setup to worm lines- I may play with it on some scrap for fun.
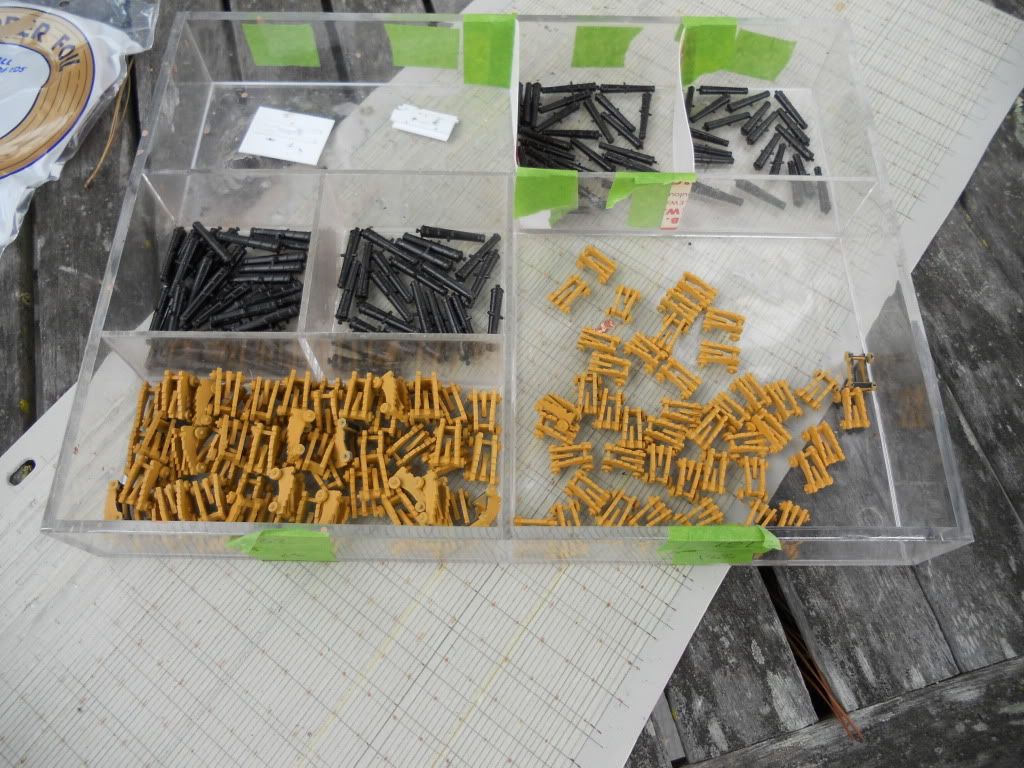
The gun project is about complete. I've scraped most of the barrels. next step is to fit on 102 breeching rings, paint the barrels, sort out the 20 best guns and detail paint their carriages. Believe me the middle and lowers are done!
You can see under the tray the (mis) results of the deck mask/ paint exercise. It was humming along fine until I started removing the tape and it left residue. I'm back to considering planking the upper in the waist, quarter etc. But the big problem will be that the guns will sit too high. Need to ponder that one, however I probably won't be fitting the upper deck for a few months yet. Any suggestions most welcome.

Bill

  • Member since
    March 2010
  • From: Brisbane
Posted by Julez72 on Thursday, August 19, 2010 5:34 AM

Wow that looks......well wow, i'm not much of a tall ship guy but i'm liking this blog very much....


  • Member since
    September 2005
  • From: Groton, CT
Posted by warshipguy on Thursday, August 19, 2010 7:54 AM

Bill,

It looks terrific so far!  I really like the way you made that "bald spot" on the lower hull go away.

Bill Morrison

  • Member since
    June 2010
  • From: Cocoa, Florida
Posted by GeoffWilkinson on Saturday, August 21, 2010 7:00 PM

Rich

They had to flicker Bill. Lantern mantles such as you find on modern camp lanterns didn;t appear until the 1880s, Before that all lanterns including whale oil lamps had an open flame. With my tutorial you can make those lights for about $4 each with a PIC circuit and LEDs (good for 100,000 hours or more), and they really finish the model. Let me know how to get a copy to you. It will be in PDF format.

Rich,

Please check your PM. I would love to see your tutorial.

Geoff

  • Member since
    March 2007
  • From: Carmel, CA
Posted by bondoman on Monday, August 23, 2010 9:09 AM

This weekend I fitted all of the breeching rings. I turned them into hooks on the carronades and 12's but left them as full rings on the 24's and 32's.

Every clamp from the shop!

Put in the beams. Imai has the order correct.

Starting to look like a ship!

  • Member since
    September 2005
  • From: Groton, CT
Posted by warshipguy on Monday, August 23, 2010 12:16 PM

Bondoman,

I really like your work so far!

Bill Morrison

  • Member since
    March 2007
  • From: Carmel, CA
Posted by bondoman on Monday, August 23, 2010 1:20 PM

Thanks, Bill- I'm churning along pretty well. This week my goal is to finish the lower deck. Guns are finished and just need mounting. I also will be adding the manger walls, riding bitts, cable and messenger and hatchway frames in very general detail. I bought a pair of little turned wood drawer pulls for the two capstans, but looking at them I think I can do better.

  • Member since
    March 2007
  • From: Carmel, CA
Posted by bondoman on Friday, August 27, 2010 2:33 AM

I fitted out the lower gun deck, bearing in mind it's only visible through the gun ports. The riding bitts are wood, the gratings are a black rectangle with painted mesh and frames and garlands just roughed in. Still to come are the cables and messenger and the guns. I thought is was important to add all of the removable columns, not usually modelled.

I built a simple little stand from pine, with a cloth cradle.

  • Member since
    March 2010
  • From: Brisbane
Posted by Julez72 on Wednesday, September 1, 2010 2:03 AM

Bondoman, excellent work, i'll be keeping an eye on this oneYes


  • Member since
    March 2007
  • From: Carmel, CA
Posted by bondoman on Thursday, September 2, 2010 10:18 AM

Lower deck finished on schedule!

The middle deck beams are not fitting, they seem to be about 1/16" too long. Of course the two deck halves match them, so the ship needs to be spread apart. I tried forcing the plastic beams in, but two of them broke. The only way to fix this is to replace them with brass tubing.

For lighting, I picked up a box of 3V amber LEDS. Using more of the hull coppering tape, I've wired the lower deck lanterns up on the underside of the middle deck. Burning in to see if it works at all.

  • Member since
    August 2010
  • From: Heart of the Ozarks, Mansfield, MO (AKA, the 3rd world)
Posted by Rich on Thursday, September 2, 2010 11:13 AM

Bill, Looking good!

In case you're unaware, you can get small sizes of square brass tubing online from Tower Hobbies or Micro-Mark.

Rich

Nautical Society of Oregon Model Shipwrights

Portland Model Power Boat Association

  • Member since
    March 2007
  • From: Carmel, CA
Posted by bondoman on Thursday, September 2, 2010 11:22 AM

Yep, thanks Rich!

Success!

  • Member since
    March 2007
  • From: Carmel, CA
Posted by bondoman on Friday, January 7, 2011 3:18 AM

I have a solution for the deck planking. Prescribed basswood from Micromark, 3/32" planking which is about 9"- 10" at scale. Now I can finish the upper gun deck and move on. Consulting Longridge, that'll be four step. If I run a sharp pencil down each reveal, and "cut" the ends on the pattern, it should look good.

I'm not going to make a king plank on the upper gun deck, and will try it on th e quarter deck.

Very excited about this and ready to move along.

JOIN OUR COMMUNITY!

Our community is FREE to join. To participate you must either login or register for an account.

SEARCH FORUMS
FREE NEWSLETTER
By signing up you may also receive reader surveys and occasional special offers. We do not sell, rent or trade our email lists. View our Privacy Policy.