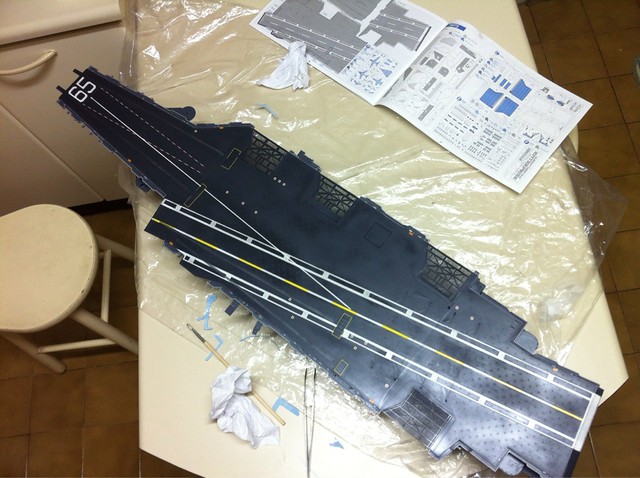
Now the fun really begins. Time to apply some decals on the flight deck.
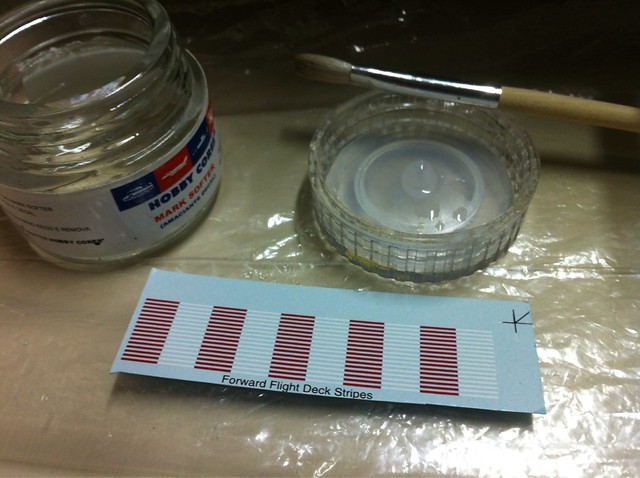
First, however, the checklist: decals shett, towel paper, tweezers, decal softener, a brush to apply the softener and position decals, a container with water for decals and s smooth surface in the model, made with gloss paint or a gloss cover.
The original decal with yellow and white markings and the GMM with red and yellow, just like the aircraft carrier.
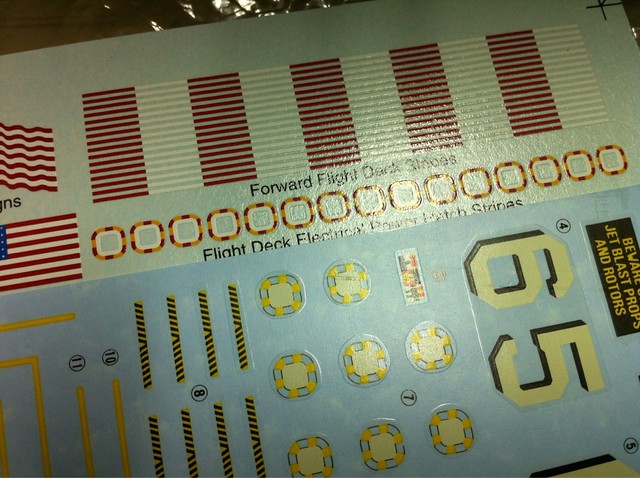
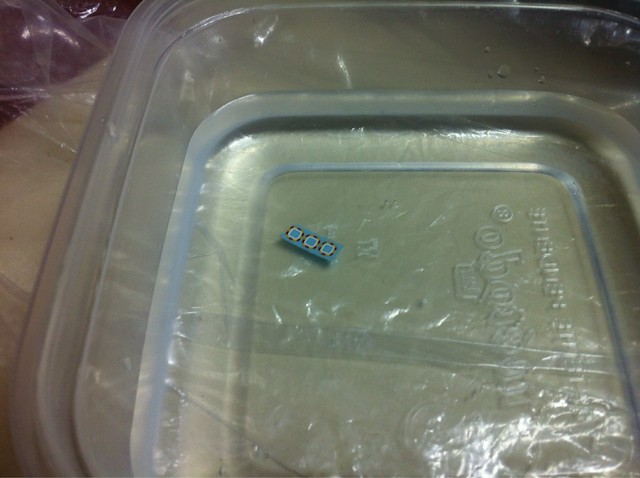
First I cut, then I put it in the water.
After I applied a bit of decal softener in the brush and applied on the surface. Put the decal on the surface arranged in position with the brush itself.
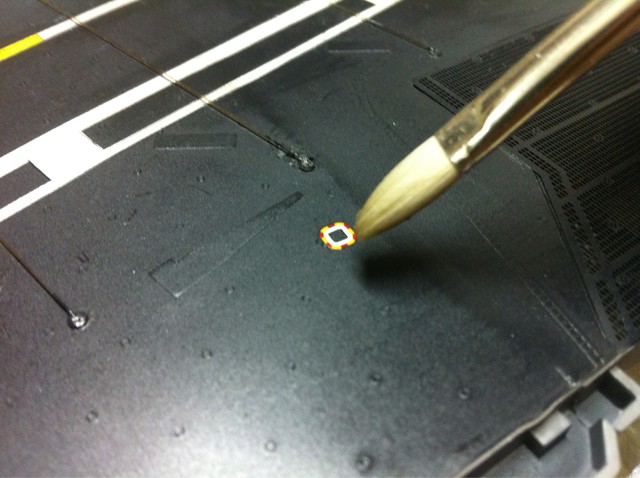
The GMM's decals are easier to handle compared to the original Tamyia, for me.
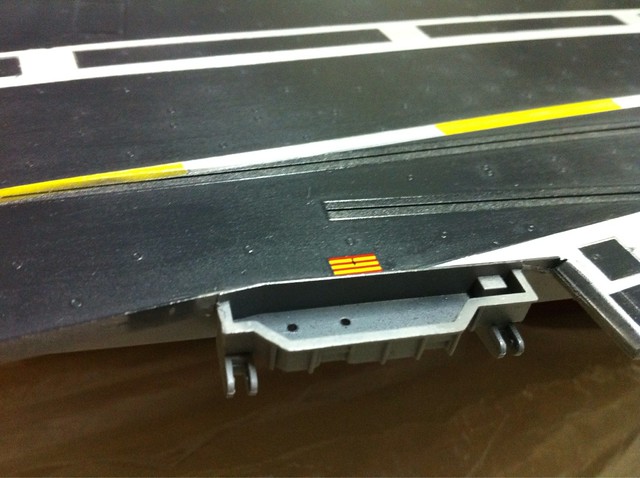
Found that these bands would be a problem, but with the marking of the deck was very fast and easy to apply. And they were very well aligned. From now on, between painting and applying decals, much easier, faster and has better results apply the decals.
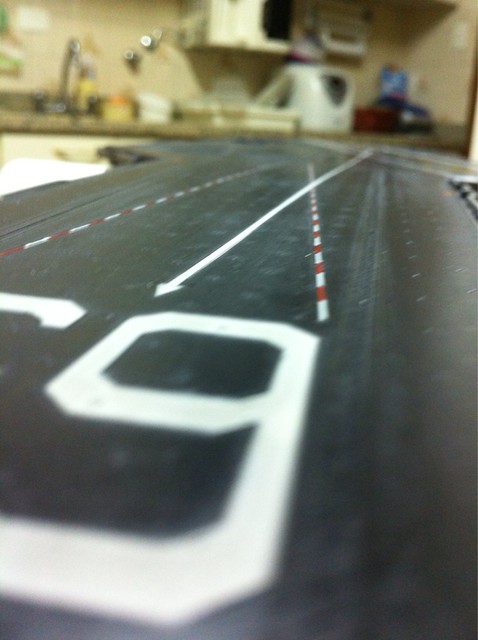
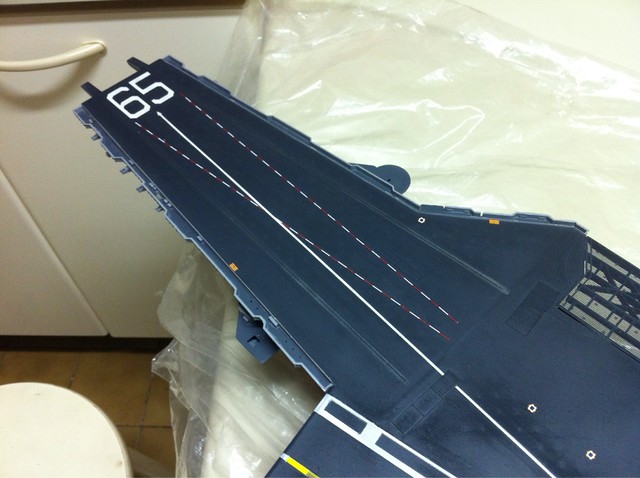
The yellow line of the original Tamiya decals were very difficult to put on the catapult and even comes with a wrong dimensions. End result of this first step:
