Greetings folks.... It's Thanksgiving here in America and I want to wish you all a happy one. In the spirit of the pilgrims that set the stage for this holiday, and the ship that brought them to our shores, here is a Thanksgiving update on my Mayflower build. I didn't plan it this way, it just worked out that way.
I should probably mention something here. Some of you may recall reading about the melted transom when I set the piece in clay. Well, as I waited for a replacement to come, I decided that I had better just go out and buy another kit. At the time it was questionable if Revell would send me a replacement transom. It is a good thing that I did buy a new kit because a replacement transom took over three months to receive. None the less, I am grateful that they sent one. Fortunately, this kit is pretty inexpensive. So I did not lose much by buying another one. In fact, I see a silver lining in all this because I now have a second kit to try new things on without worrying that I will destroy my original, and all the work that I have done thus far.
This brings us to the update. I have used some of the spare parts to practice paint and weathering techniques on. I thought I had better explain all this because it could be perplexing to see what I have done without knowing I had used what I consider scrap for testing.
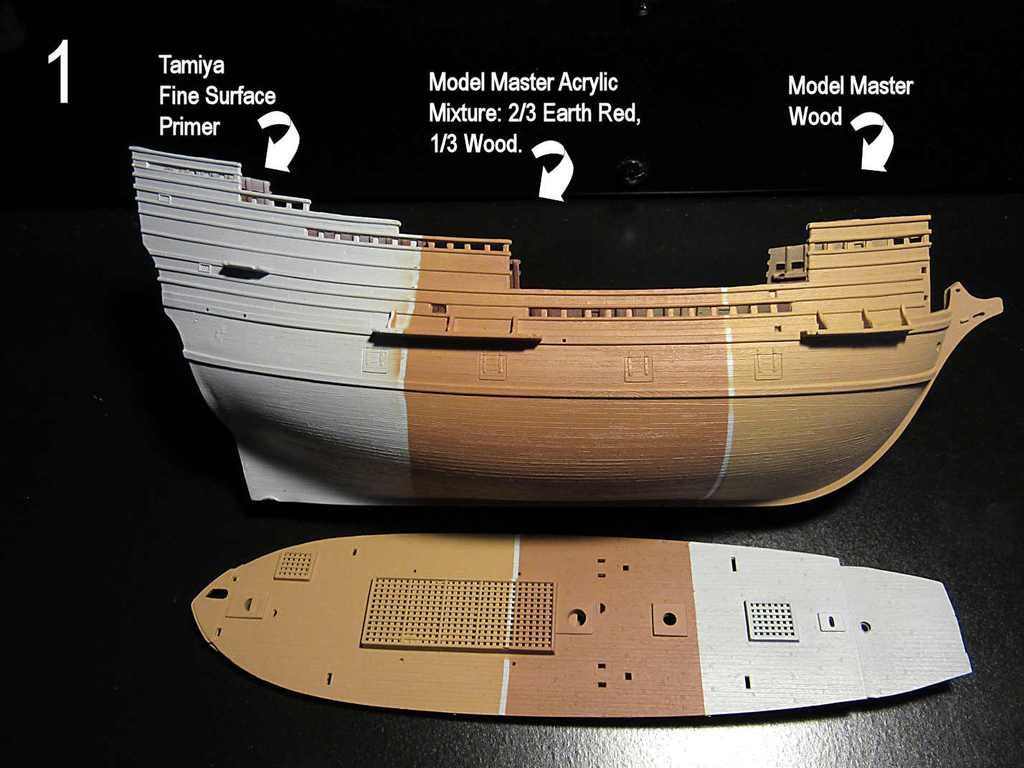
Below: First, I applied Tamiya Fine Surface Primer underneath it all. I have not used this primer before and I have to say that I really like it. It went on really well, and it provided a solid base to apply my acrylic paint. I decanted the primer and applied it via AB. Thanks Docidle Steve for the primer tip.
I applied two shades of wood for practicing purposes. I left one section with primer color for just in case I want to try another shade or technique later on.
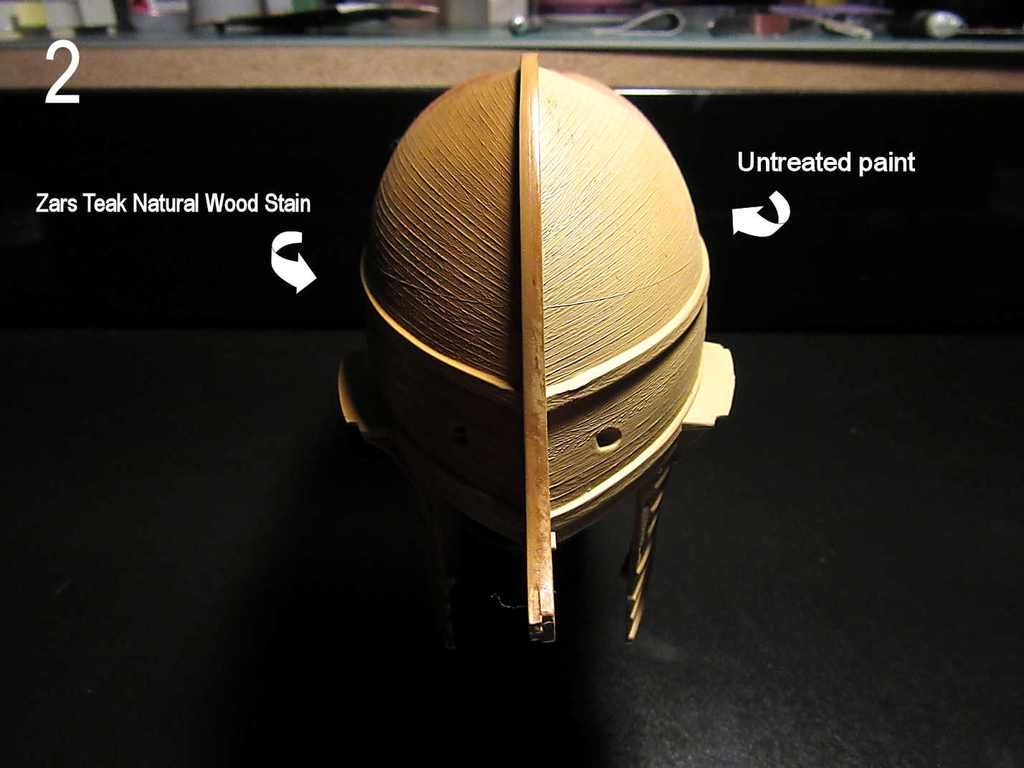
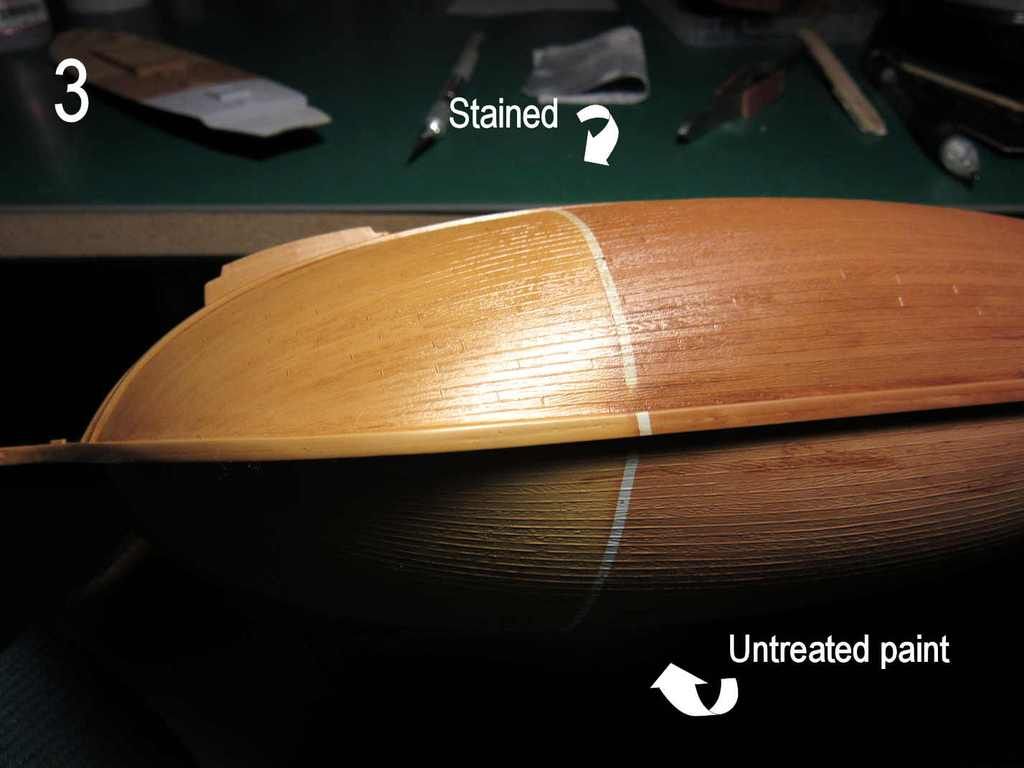
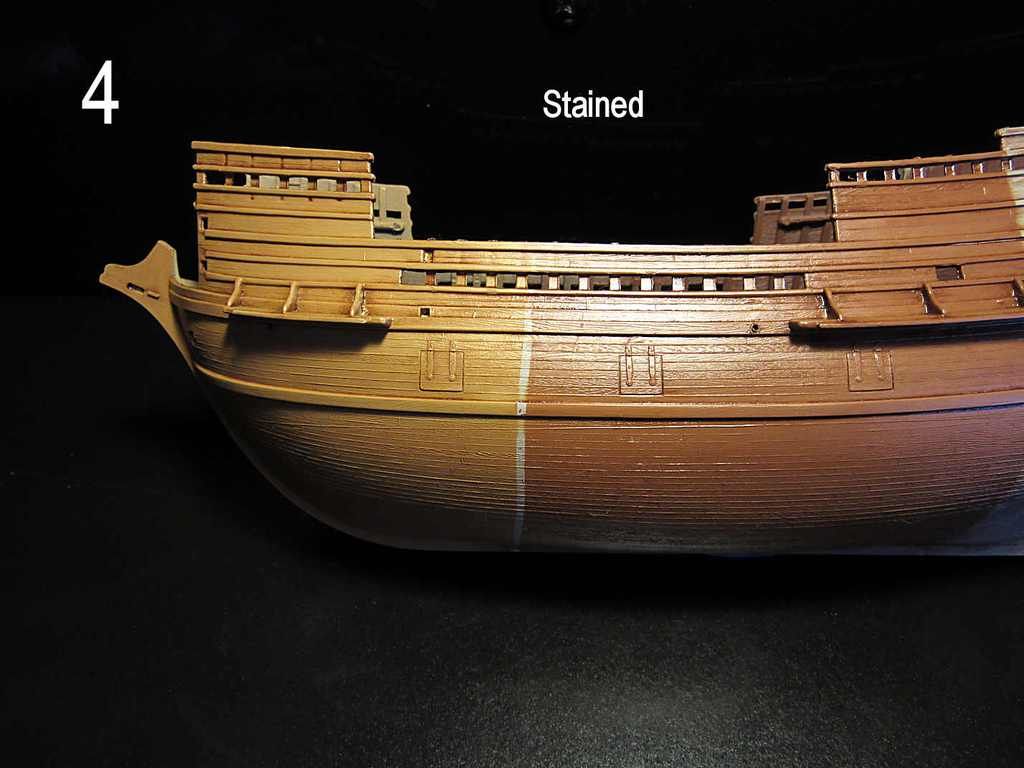
Below: As mentioned in another posting, I wanted to try working with wood stain. In the three images below you can see how this came out. I was pretty surprised in how easily the stain transforms the finish to appear like nice new wood. It deepens the color, adds some wood grain color variations, and it left a nice satin finish. Though I really like how this looks with this wood color example, it is not what I am looking for with this build.
Below: Here is how adding artist's oils turned out. To me it is slightly on the weak side. I would like a little more color variation. I am sure I can tweak that with practice.
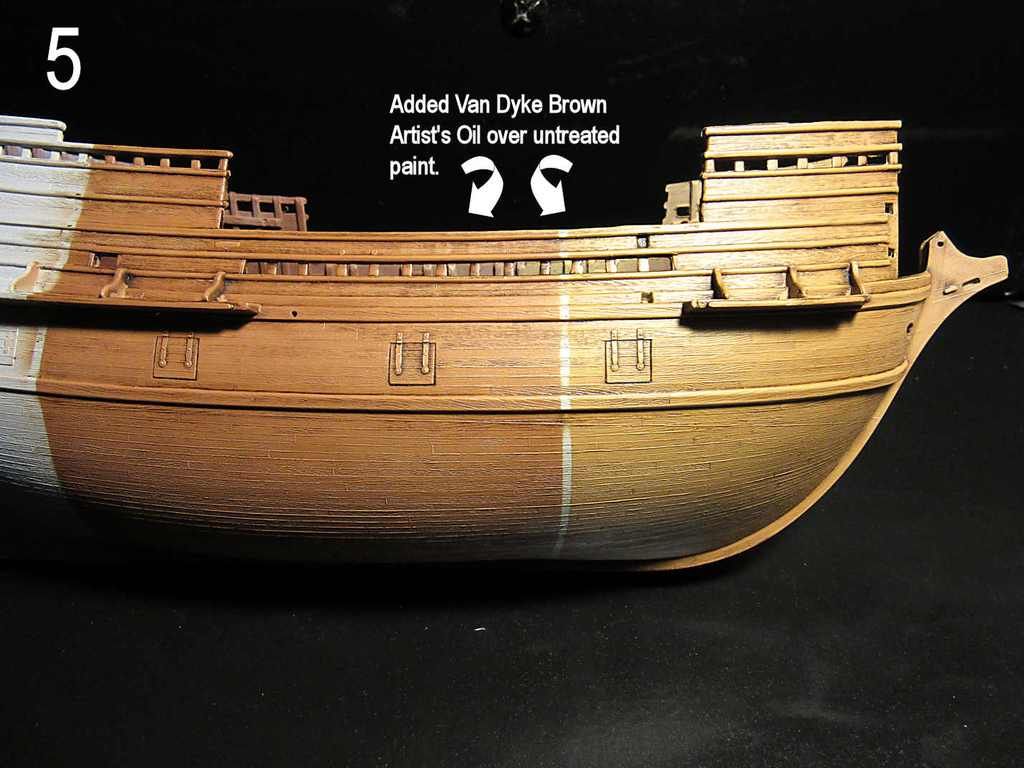
Below: One thing about the artist's oil is that it stands out. You may not notice it as much in this photo but it pretty much looked like someone applied paint to the paint layer below, which I did. I want it to look like they are one layer. I guess that might be called filtering? Not sure. It occurred to me that I should try applying stain over it. See the next slide.
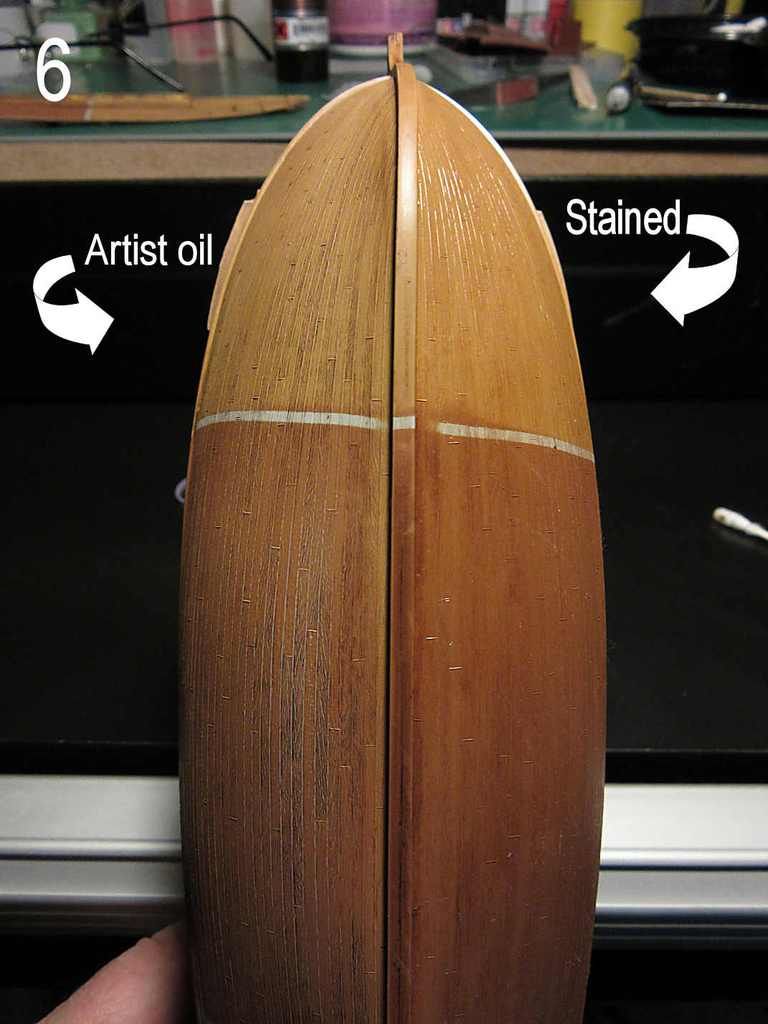
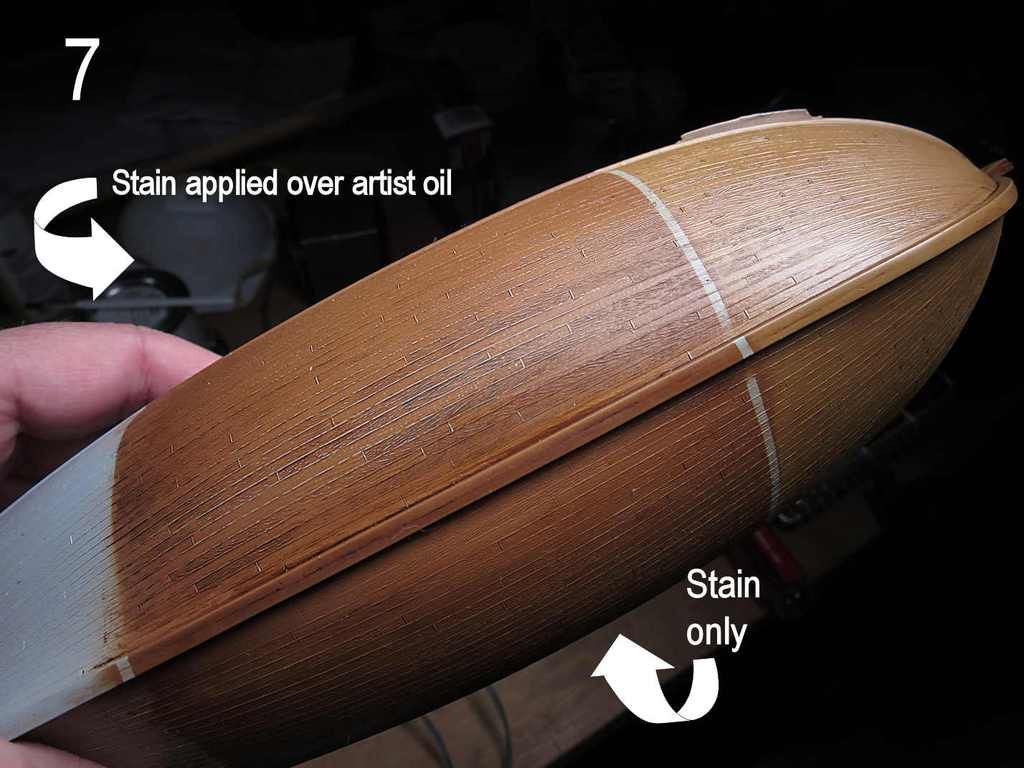
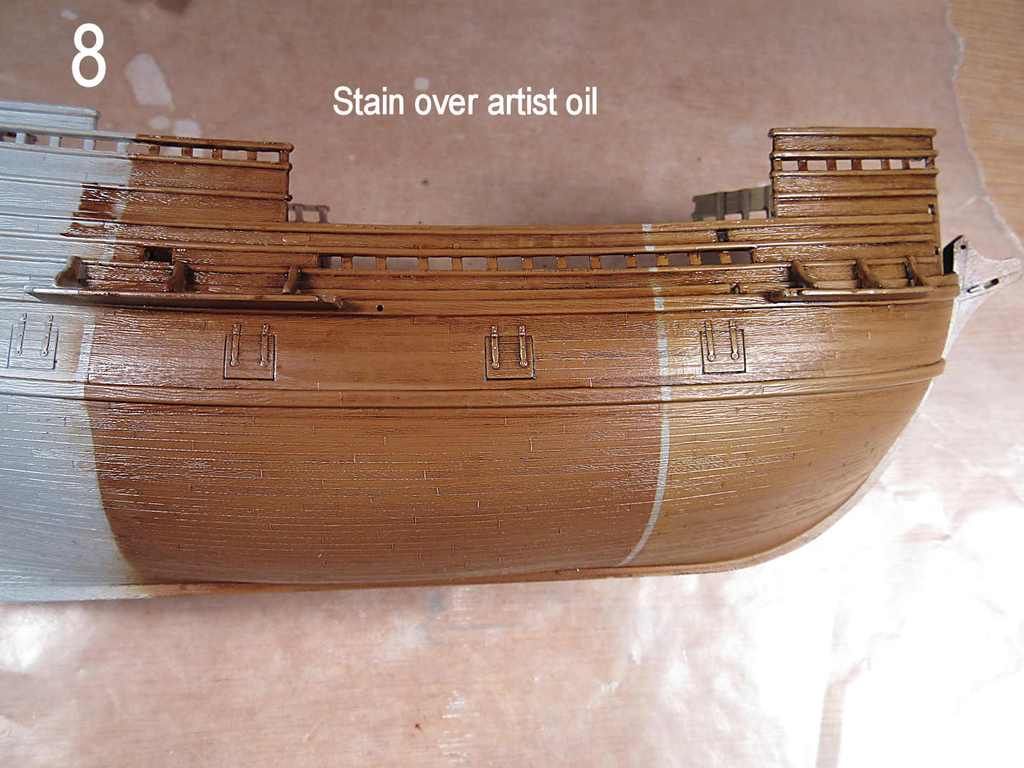
Below: Both images show how wood stain looks over the artist's oil. For the most part I like it. The stain did a nice job of merging the base paint layer with the oil paint layer. I am still on the fence though about the gloss that the stain provides. I would like to tone that down a bit without sacrificing the nice tonal range.
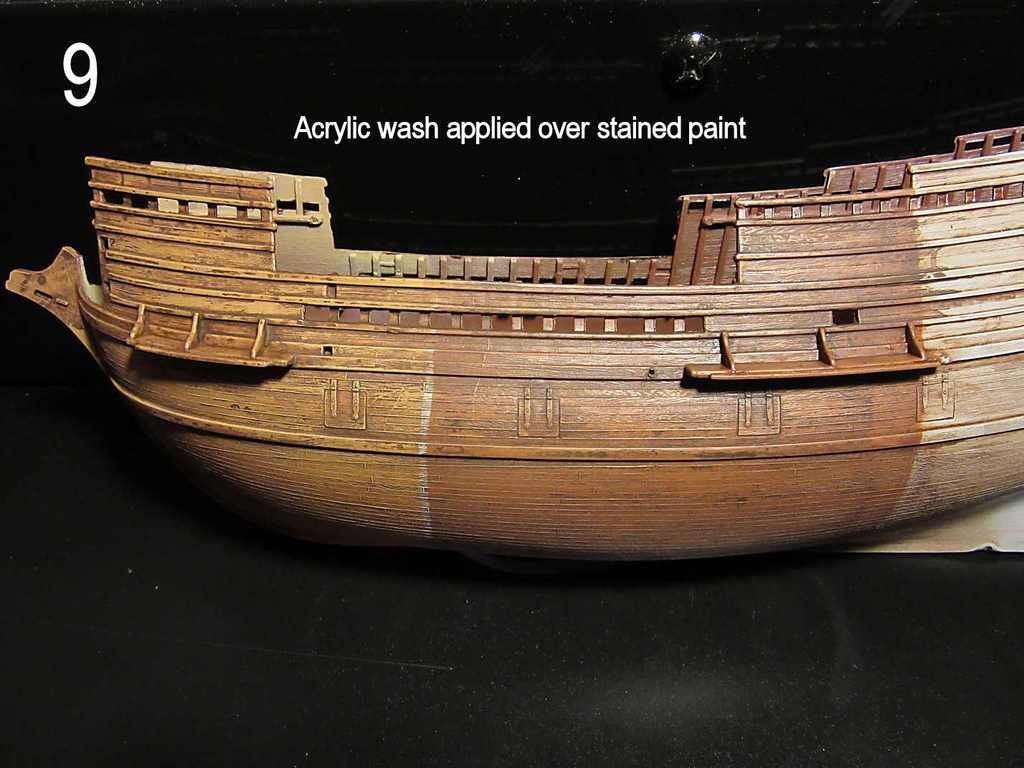
Below: I applied an acrylic wash over the stained only side. At this point I was a bit lazy. For the natural wood finish I probably should have mixed a wash that used the same color tone. I instead used the same brown that I used for the middle section.
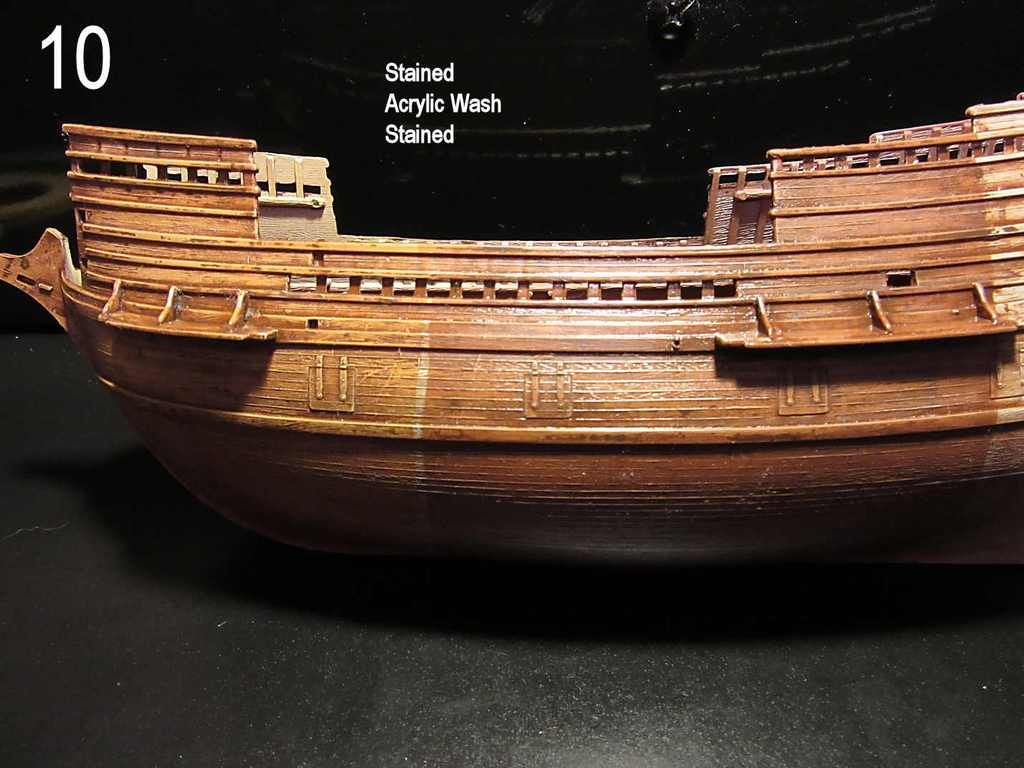
Below: For grins I applied stain over the acrylic wash to see how that would turn out. I am not sure that I like it because of the gloss, and I seemed to lose some tonal detail.
I welcome your opinions and tips. Feel free to speak openly because this is all about learning new things.
Steve