SEARCH FINESCALE.COM

Enter keywords or a search phrase below:

USS Arizona - FINISHED! 2/27

14544 views
55 replies
1 rating 2 rating 3 rating 4 rating 5 rating
  • Member since
    December 2006
  • From: N. Georgia
USS Arizona - FINISHED! 2/27
Posted by Jester75 on Monday, January 4, 2016 12:56 PM

It has been a long time since I have posted any work here or even actually done any work on a kit. I seem to have hit a drought when it came to motivation over the last year or so. A new Harley Sportster may or may not have contributed to it Whistling. I have vowed to get it in gear and finish this kit and and knock a few more unfinished kits that are in varying stages of construction. Now let me throw out this disclaimer, I am by no means a ship expert. I am sure I will use terms to reference parts of a ship that will make the sailors here cringe and for that I apologize in advance! Stick out tongue Feel free to edumacate me!

 I started this kit almost exactly on December 7, 2014. In the box it looks like a very nice kit. The premium edition comes with a full fret of etch for the railings and various bits as well as turned brass barrels for the main guns. I found the kit etch to be a tad thick for my likings so I decided to use Tom's Modelworks etch. This set is very fine and recreates most all of the details needed for sure. 

I had taken more pictures of the base building process but unfortunately they have been misplaced. It was a really interesting process that I will be glad to share if anyone is interested. It leaves the ship completely removable from the base at any time! Anywho, started out with what looks like some kind of kingswood, cut to size, edges routed and holes measured and drilled for the posts. This was a VERY hard wood!

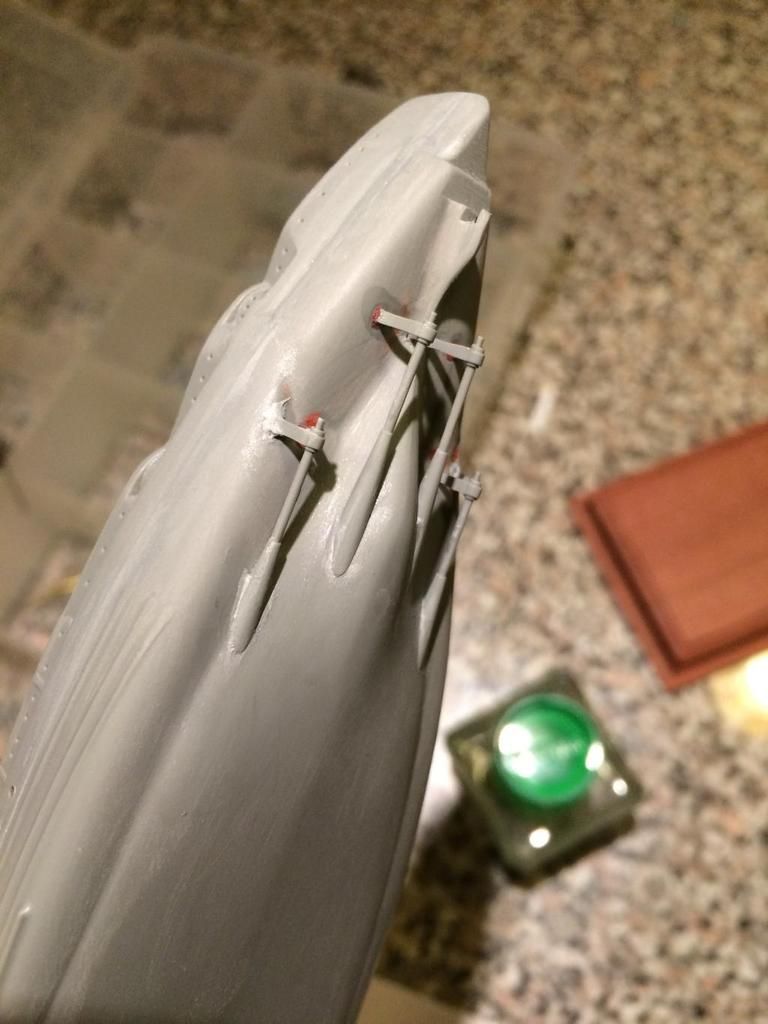
Work began on construction which focused on the hull and prop shafts. The hull is two part waterline hull. The prop shaft guides(?) had monstrous holes molded in the hull that waaaay oversized. These were filled and sanded smooth with the guides CA'd on top of the fill.
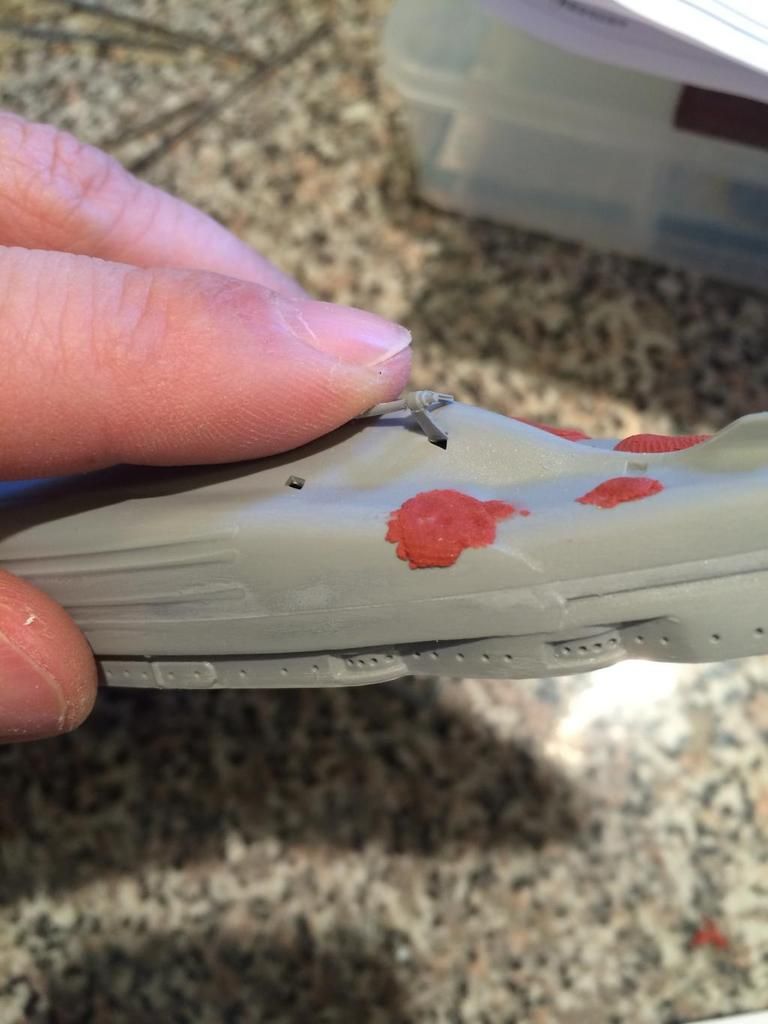
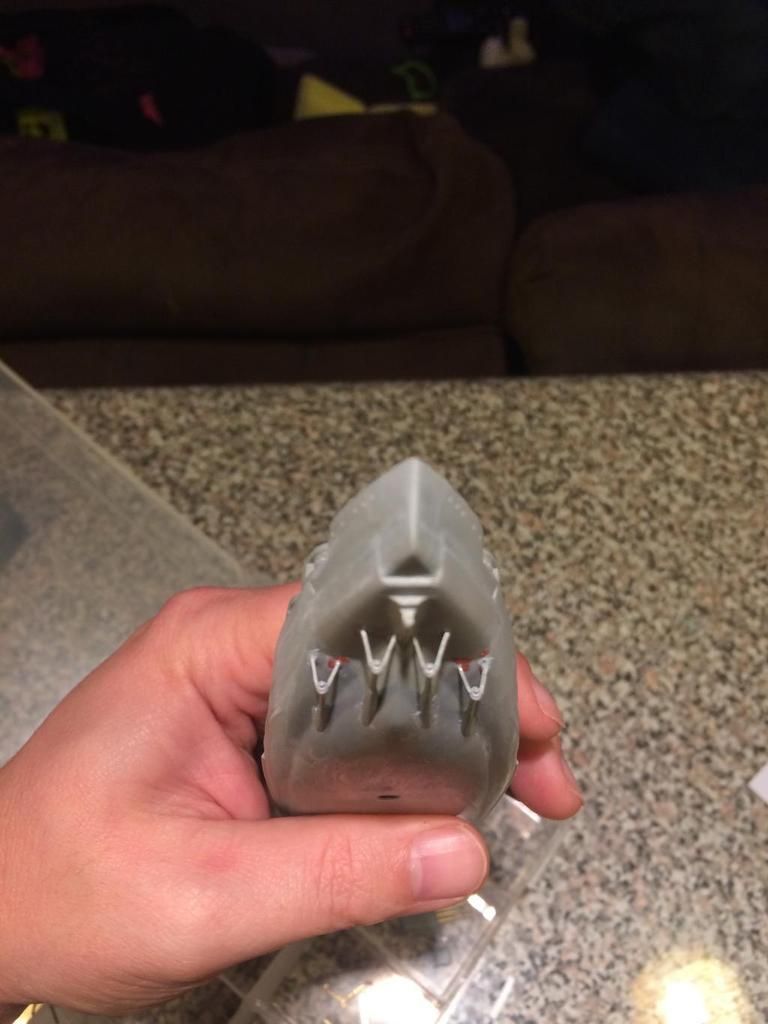
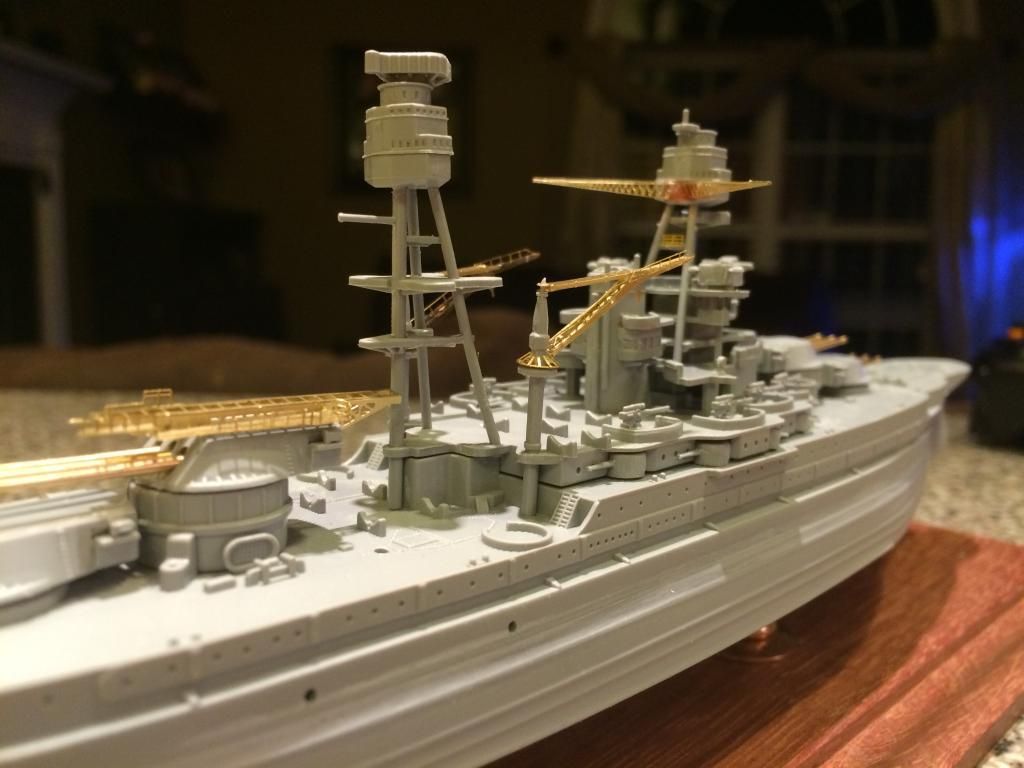
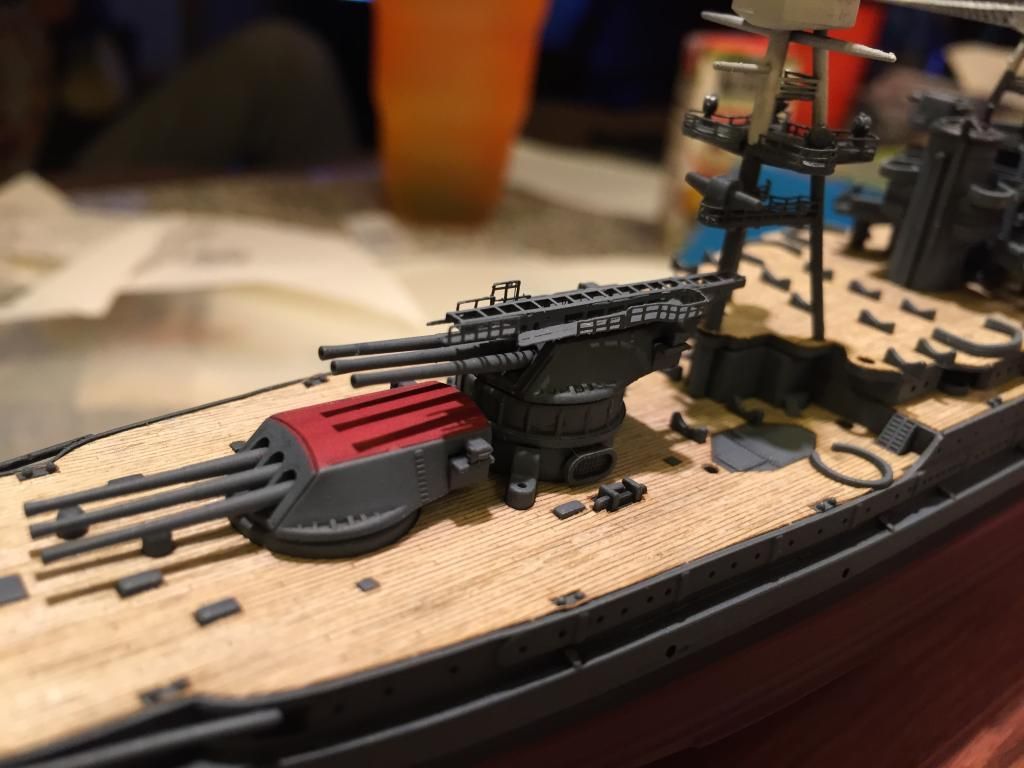
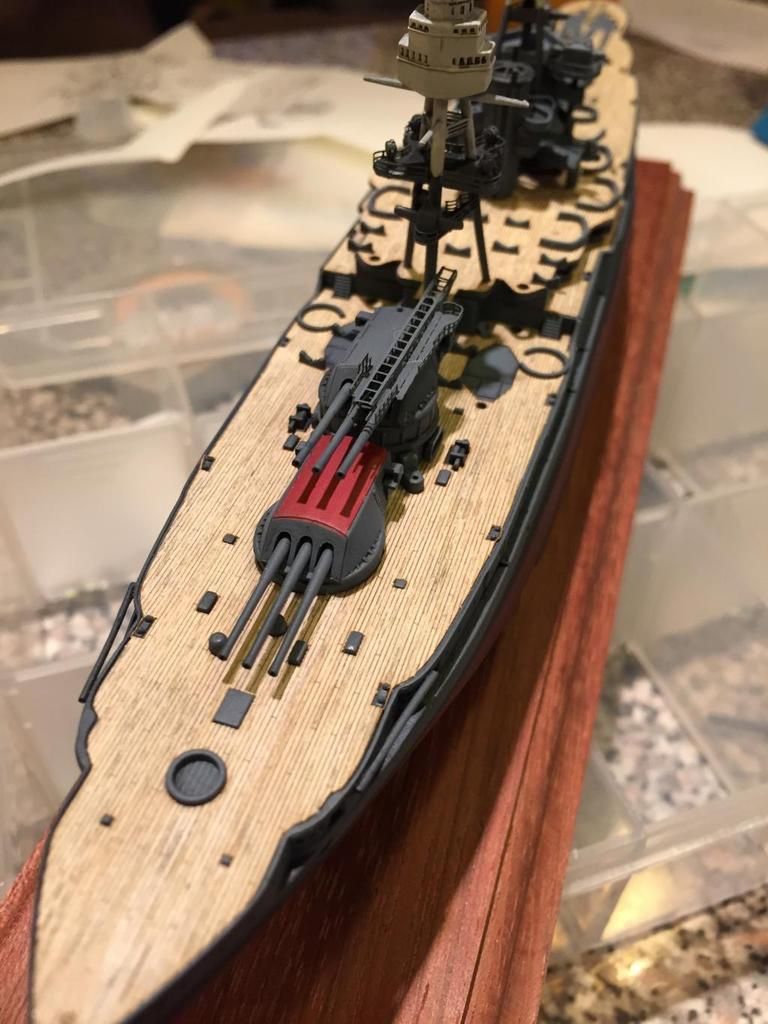
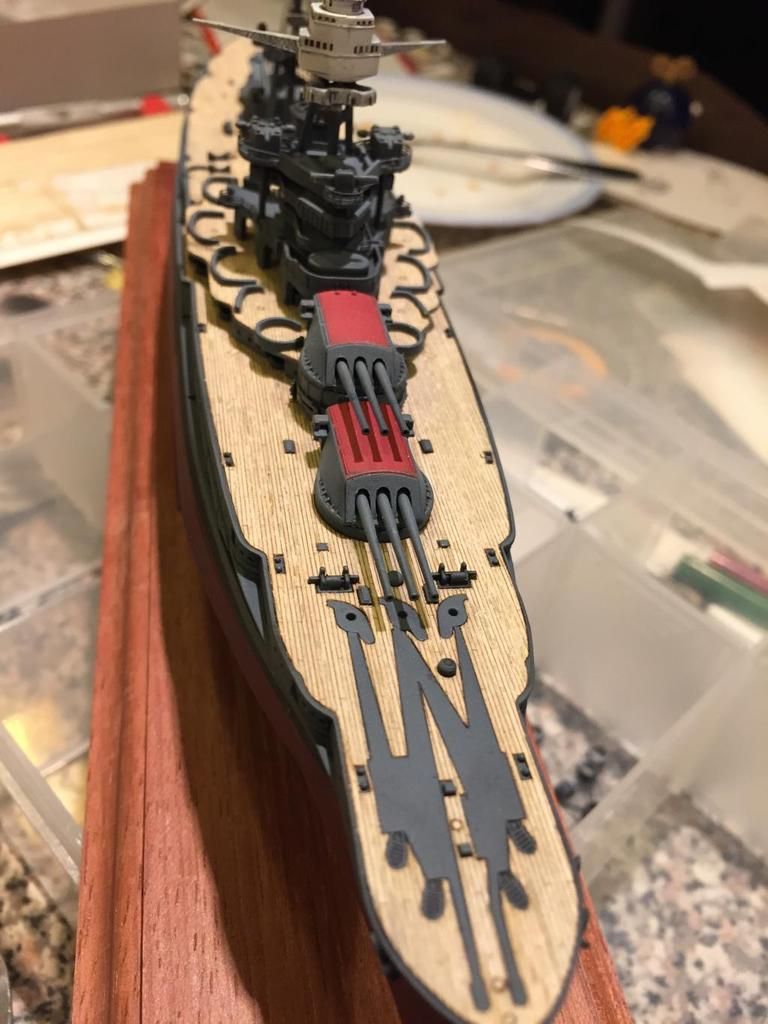
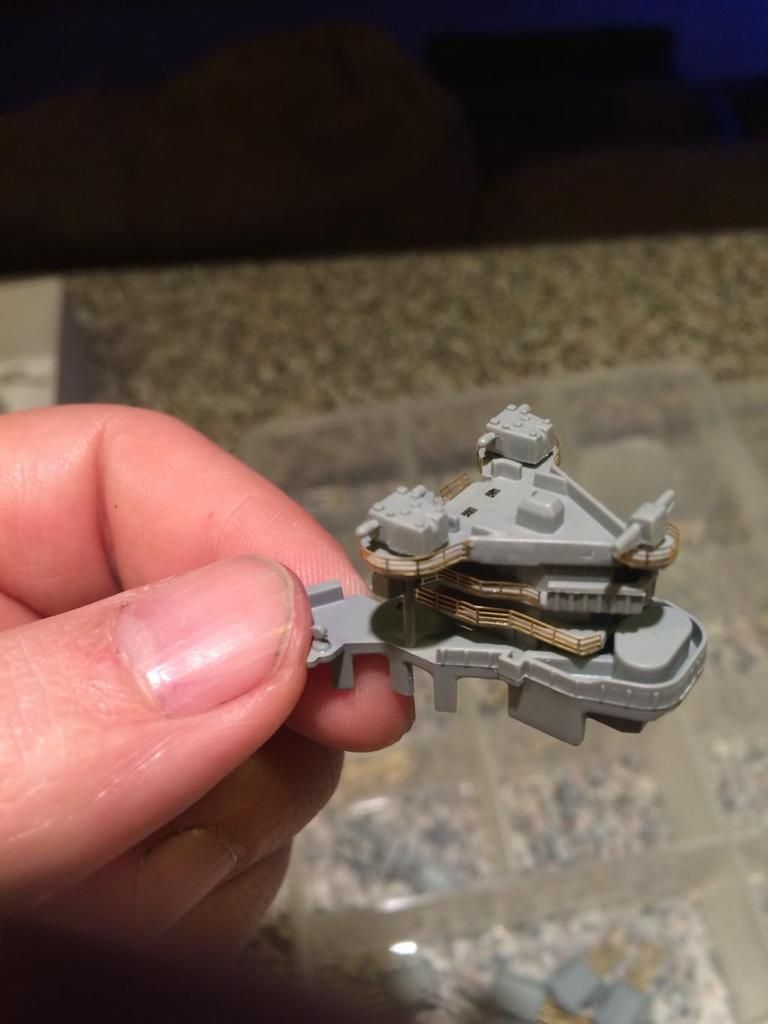
Then the deck, superstructure, turrets and the rest was built. Used the kit barrels which looked really good to my eyes. Also began applying the Tom's photoetch. A couple of things that I know are inaccurate but I couldn't be bothered to correct were the gun shields set back from the edge of the upper deck and the 5" guns that were molded with some type of turret. I think from the book I have that those are just exposed without any type of turret or cover?
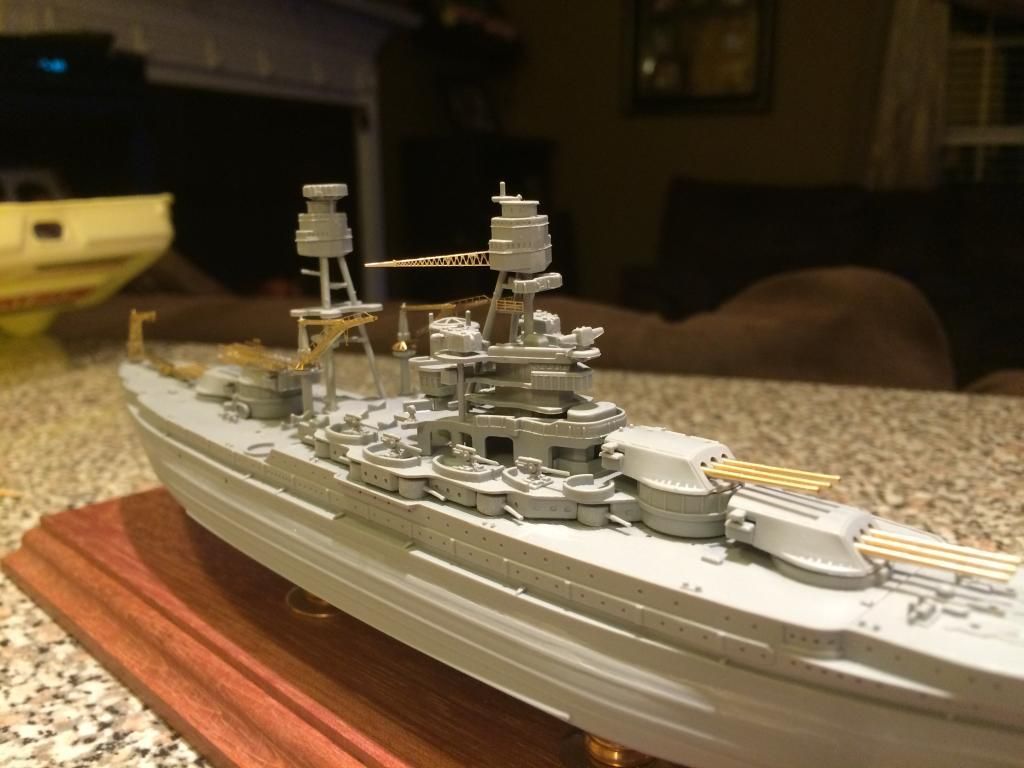
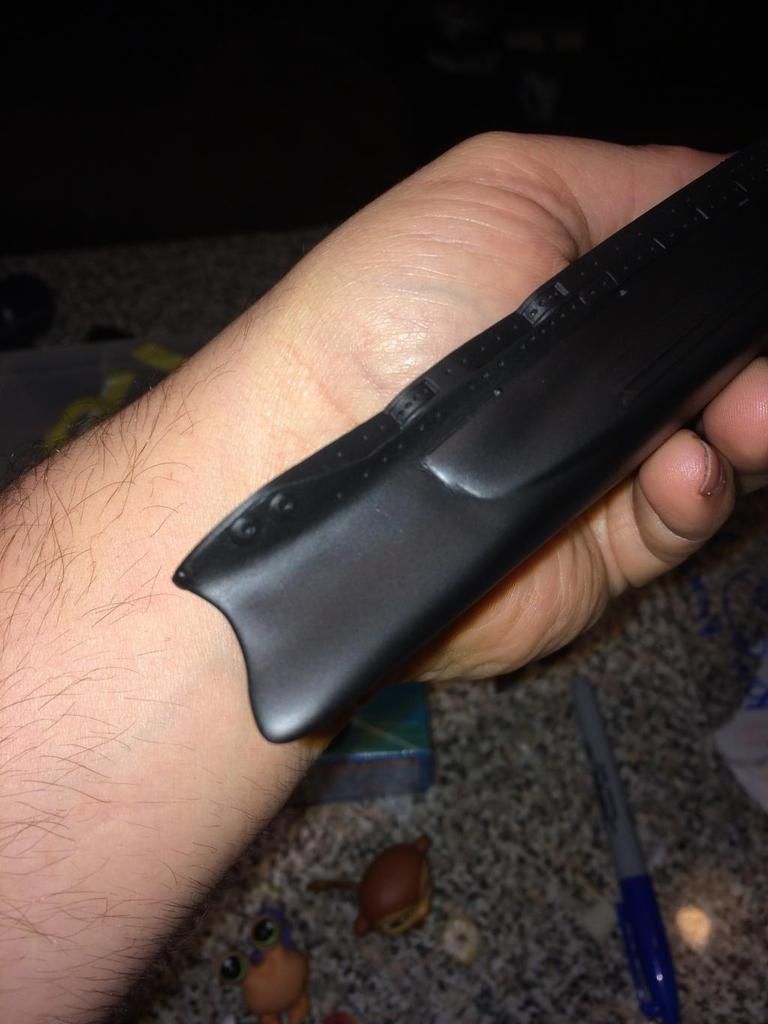
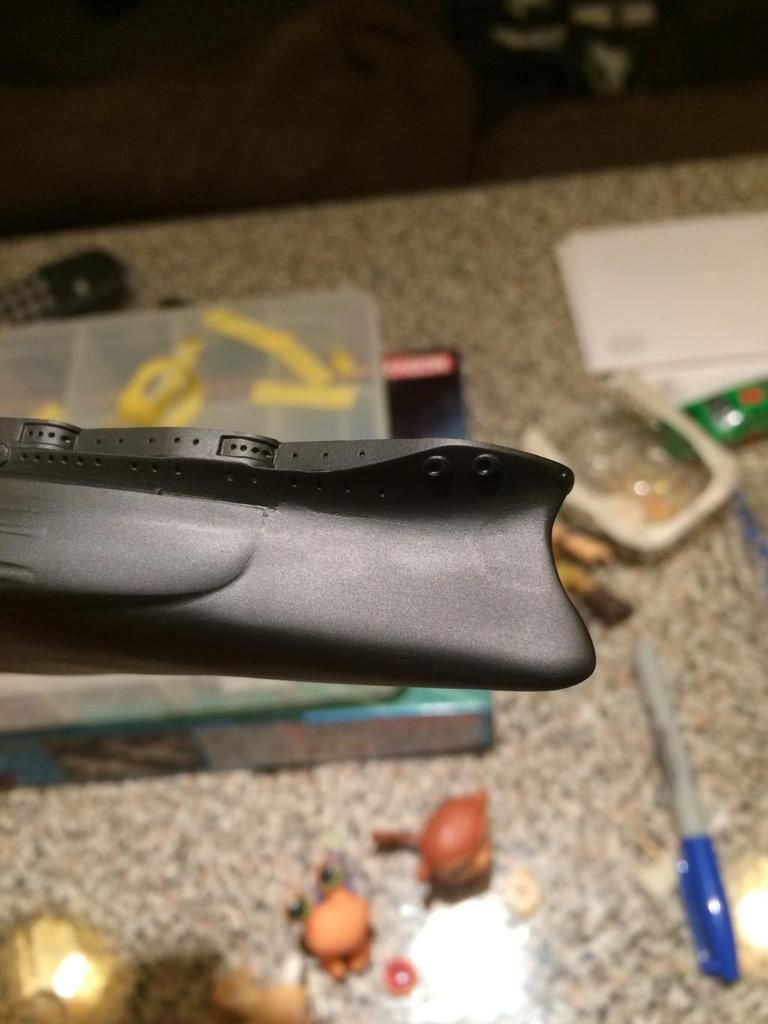
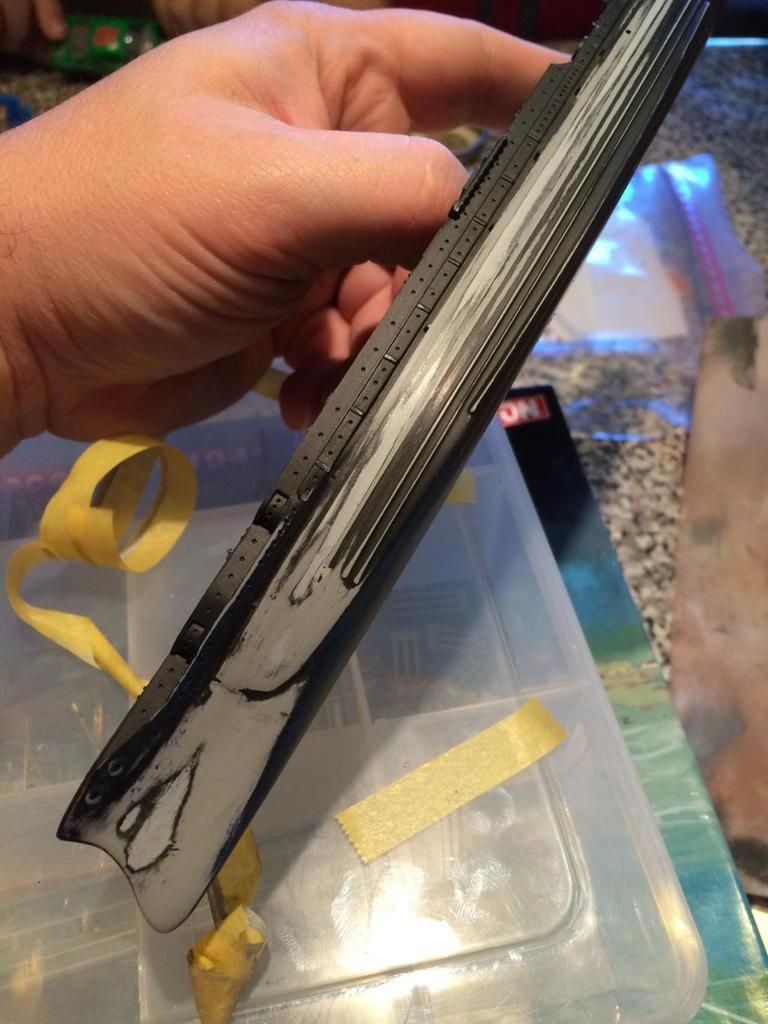
Afterwards she was primed and here is where the fun began. The seam between the upper hull and the lower hull was filled before primer but the contours where really hard to see. Once the primer went on, man was it bad!
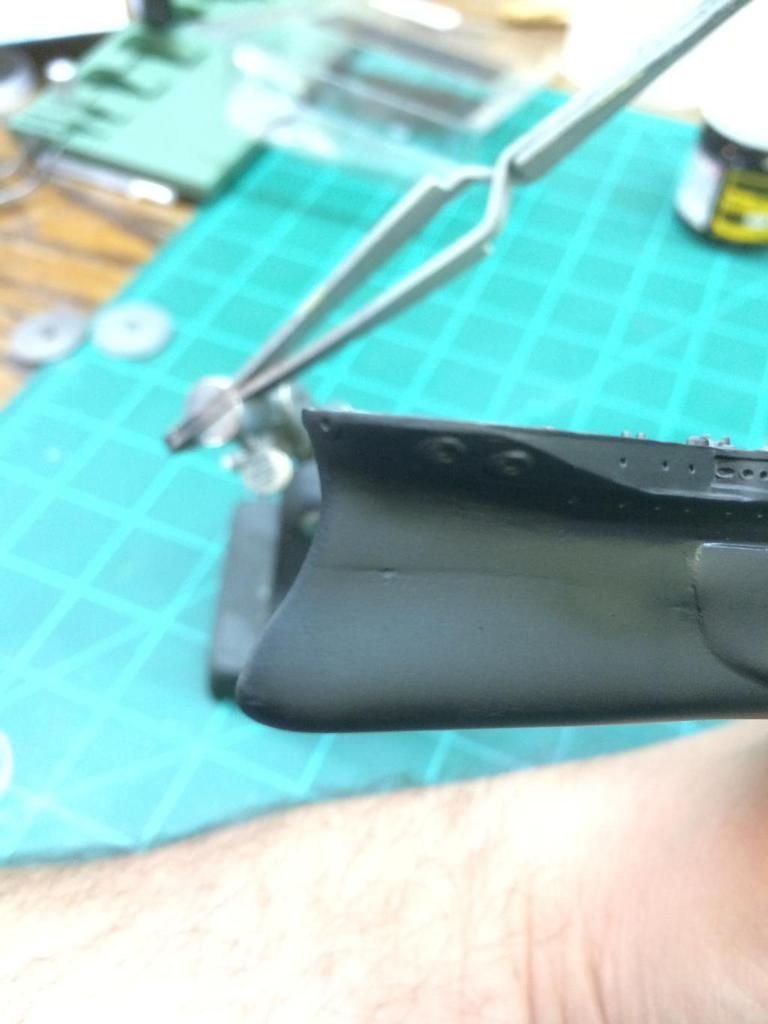
 

This resulted in much more sanding and much more filling. In the end, it turned out pretty good but not perfect. 
 

Next it was time to pop my proverbial cherry with a wooden deck. The deck I used was from the Wood Hunter series. These are very nice looking razor thin self adhesive wood decks that I think look great. It came with a small fret of etch for a couple of ladders and some very fine anchor chain. I was extremely nervous about applying the deck and getting it right on the first time. I have to say, there wasn't a single place where the laser cut deck did not match the molded on details on the kit deck. Perfect fit.
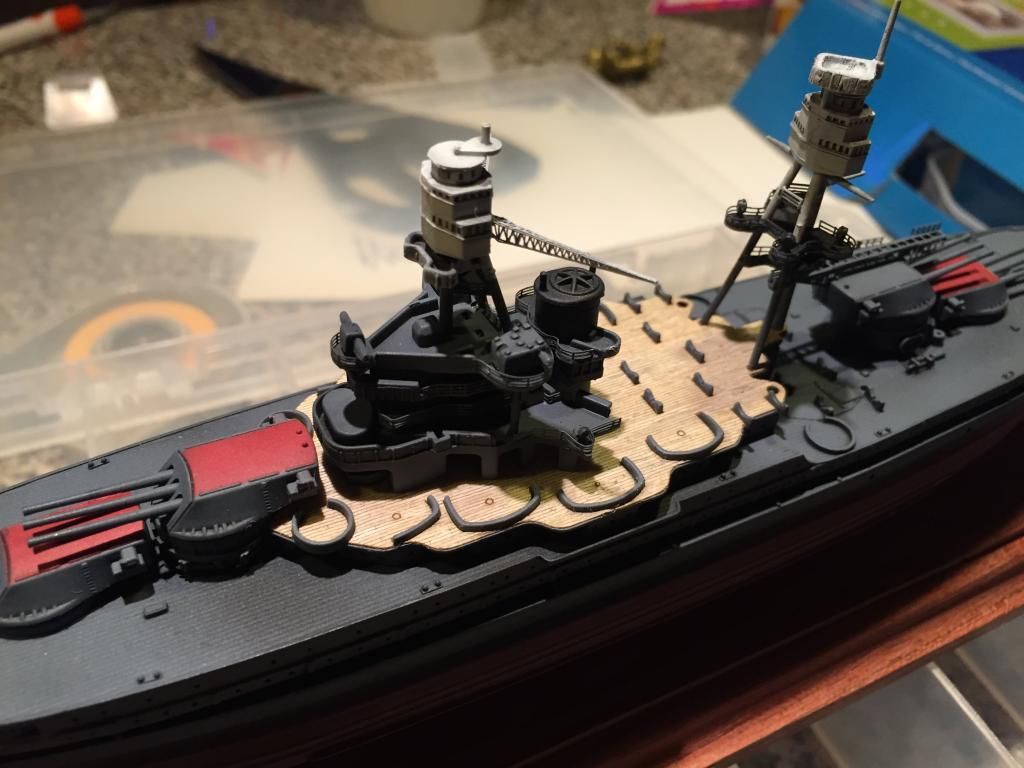
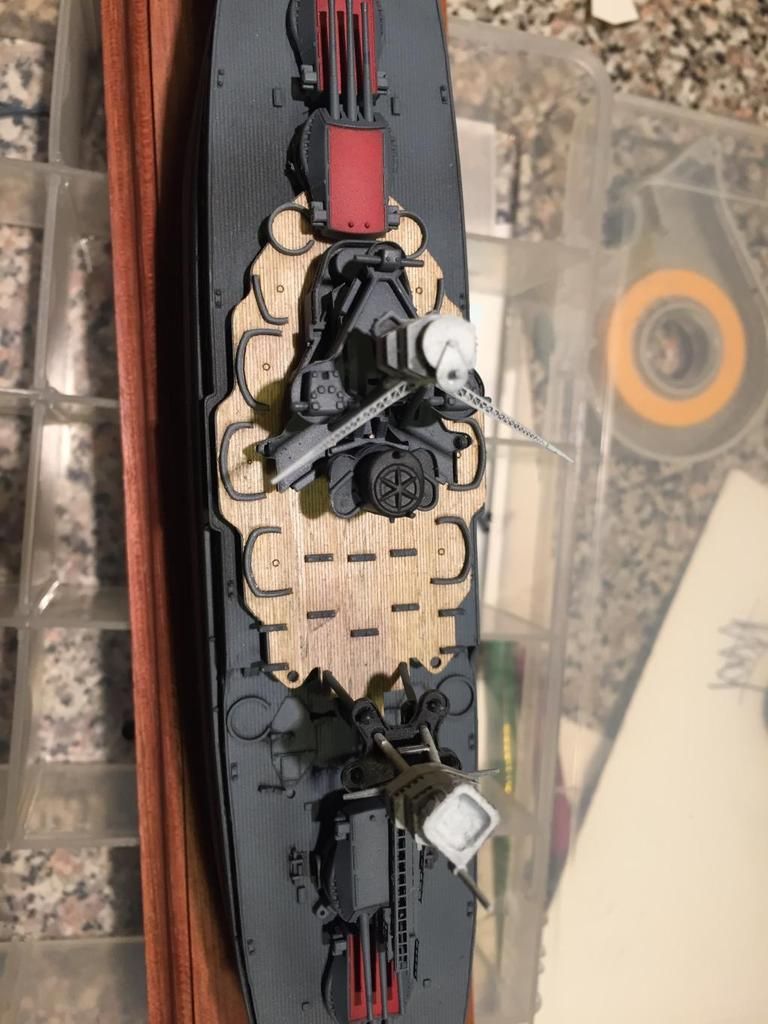
Which brings the kit to its current state. Apply the various railings in this scale has definitely been a test of my patience and probably the biggest reason this kit has sat unfinished in my display cabinet for the better part of this past year.
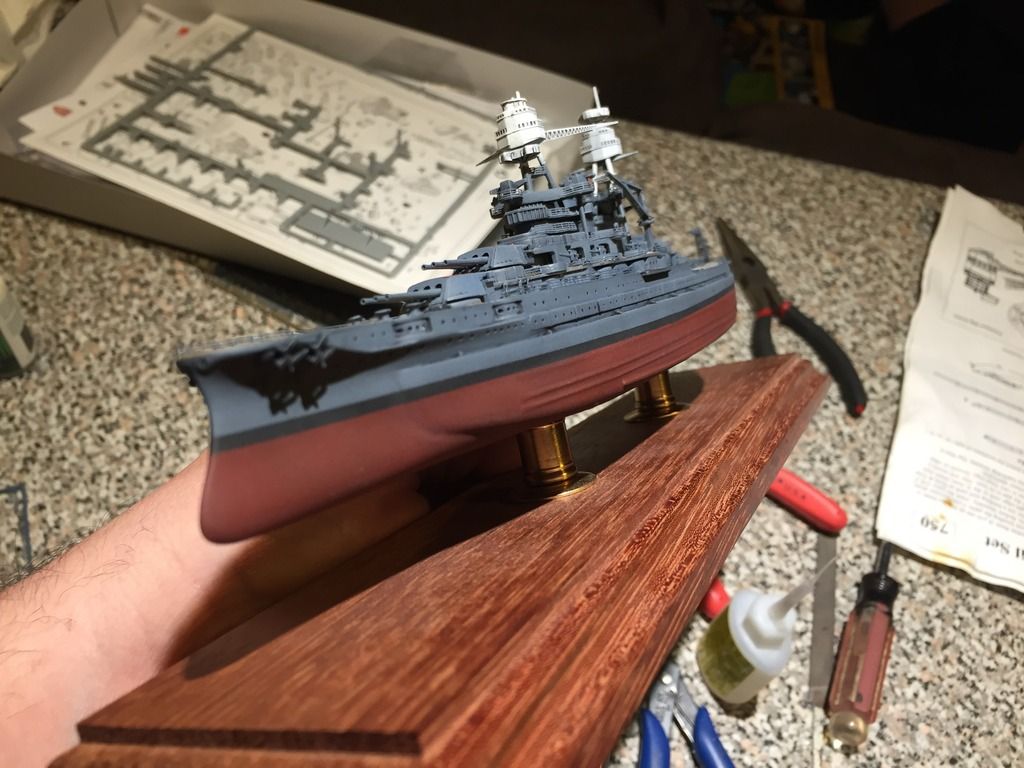
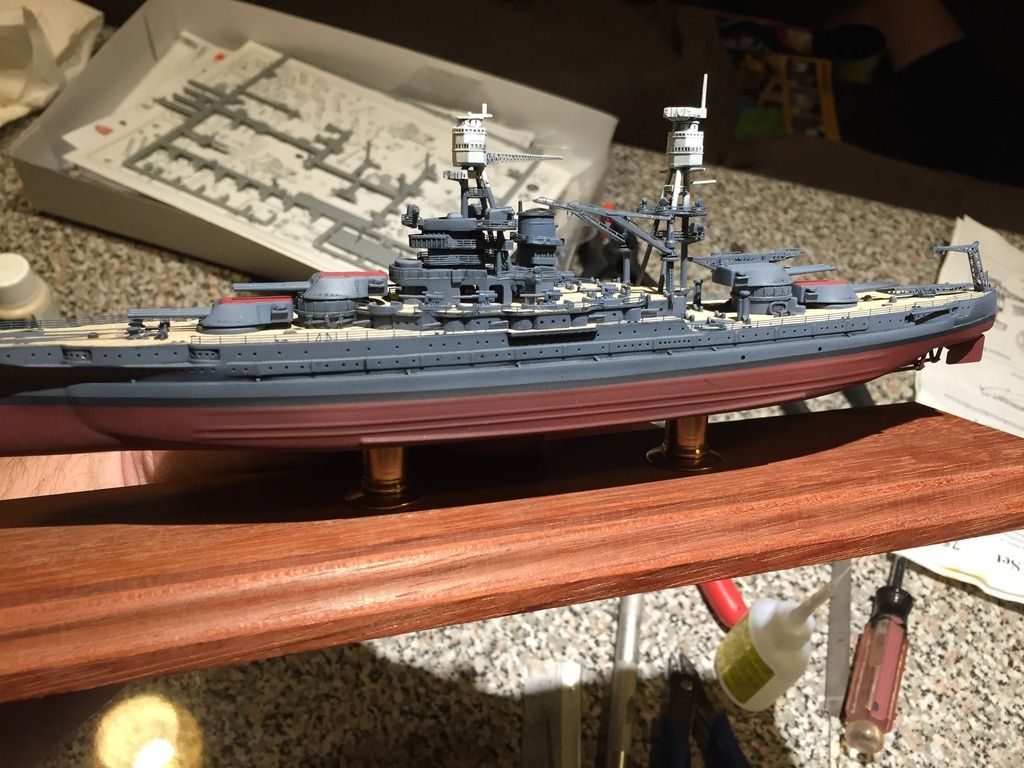
And so there it is. There is just a couple of more railings left to install as well as the life boats and the two aircraft on the catapults. I have bought some the finest EZ Line available and this will be my first time using it for rigging. I am hoping that its not too far out of scale for 1/700th, we will see. Any input or feedback will be greatly appreciated!!


Eric


  • Member since
    September 2012
Posted by GMorrison on Monday, January 4, 2016 1:00 PM

You've got some really high standards there. Great work, super clean.

AFA EZ Line, the only thing thinner I've ever used is Uni Caenis, which can't be seen. So your choice is good.

 Modeling is an excuse to buy books.


  • Member since
    December 2006
  • From: N. Georgia
Posted by Jester75 on Monday, January 4, 2016 2:18 PM
Thanks G! How does the Uni Caenis take to CA? I'll have to look into it more if this EZ Line doesn't look right to me.

Eric


  • Member since
    December 2006
  • From: N. Georgia
Posted by Jester75 on Wednesday, January 13, 2016 8:06 PM

A small update but an update none the less. I finished painting the insides of the motorboats with and the decks of the 12m boats with craft store acrylics. Wish I could get more detail on the decks of the 12m boats but they are so dang tiny. Gave them a pin wash with my custom mix and a very light drybrushing with a lighter color. It came out very subtle, so much so you may not pick up on it in the photos but its there in real life.

I actually made an attempt to represent the tie down straps on the stacked boats with Tamiya tape but it was hard to make it look to scale so I scraped that plan. You may pick out some shiny bits here and there that are most likely CA from pinning the railing or bits of paint that flaked off the railing while bending. Will touch those up and knock any CA shine down with some flat when its all said and done. 

Getting oh so close. Some tiny bits here and there  and then on to rigging....Tongue Tied

Eric


  • Member since
    March 2003
  • From: Rain USA, Vancouver WA
Posted by tigerman on Thursday, January 14, 2016 5:45 PM

That is fine work indeed. Love you ship builders and your patience. Maybe someday I'll pull the trigger on one.

   http://i7.photobucket.com/albums/y269/wing_nut_5o/PANZERJAGERGB.jpg

 Eric 

  • Member since
    July 2010
  • From: Tempe AZ
Posted by docidle on Thursday, January 14, 2016 9:28 PM

Man, that is some fine shipbuilding Jester! My hat is off to you sir.

Steve


  • Member since
    December 2006
  • From: N. Georgia
Posted by Jester75 on Friday, January 15, 2016 7:51 AM

Much appreciated gentlemen! 

Eric


  • Member since
    December 2010
  • From: Salem, Oregon
Posted by 1943Mike on Saturday, January 16, 2016 2:16 PM

Lovely work.

I can't fathom how you guys do 1/700 ships (and 1/72 aircraft). I have enough troubles working on 1/350 (and 1/48 respectively).

I honestly didn't try to include any nautical terminology in this reply Smile.

Mike

Mike

"Le temps est un grand maître, mais malheureusement, il tue tous ses élèves."

Hector Berlioz

  • Member since
    December 2006
  • From: N. Georgia
Posted by Jester75 on Thursday, January 21, 2016 7:25 AM

Thanks a lot Mike! I need to familiarize myself with the terminology to be honest. Watching Gmorrisons Viking boat build and just reading through David's entire Soleil thread, I really want to get my hands dirty in something with sails.

Eric


  • Member since
    March 2009
  • From: brisbane australia
Posted by surfsup on Friday, January 22, 2016 7:09 PM

I love what you have done so far. Looking great......Cheers mark

If i was your wife, i'd poison your tea! If Iwas your husband, I would drink it! WINSTON CHURCHILL

  • Member since
    December 2006
  • From: N. Georgia
Posted by Jester75 on Sunday, February 21, 2016 12:13 PM

Thanks for the kudos Mark!

I'm dragging this one out for sure but its approaching that finish line. All the railings have been attached with the exception of a single piece about 5mm long which should go on with ease.

I've been working on the Kingfishers, man are they tiny! They were primed with black and hand painted. Dragon molded them with some recessed panel lines for some reason. I have no intention of washing the panel lines on the wings or the fuselage however the lines that represent the frames on the canopies came in handy! I diluted some intermediate blue down with water and just a smidgen of dish soap so that it would flow and then washed them. I think it turned out pretty well considering they were just blobs of black before. Here they are decaled and mounted on the catapults. They are still glossy but will be flat when finished as I will give the whole thing a light coat when completed.

Next up came the metal anchor chain. It came with the Wood Hunter series decks and was a much better scale than what was included in the Dragon kit. It was orignally a brass color and I debated on how to paint it. I experimented with an open flame and I really liked the metallic look that it gave them. There are a few spots that I will touch up but overall I am happy with their scale appearance and how they look. I realize that they are supposed to wrap around the capstan(?) but as small as they were, it just didnt look right in this scale to me.

Also, as can be seen in the images above, I replaced the flag poles on the bow and stern with some straight pins. They were cut down to length and mounted in my Dremel to use as sort of a lathe.  I filed them down to a much thinner diameter, even thinner than the kit parts, and then mounted them into their holes that I drilled a little deeper in hopes of adding some stability to them. I know that they are still probably quite a bit out of scale but I am going to ride with it. I doubt these will bend when the rigging is applied although I can't imagine getting too much tension on this Caenis thread that I have.

So that's it for this update. On to the rigging!!!

Eric


  • Member since
    December 2010
  • From: Salem, Oregon
Posted by 1943Mike on Sunday, February 21, 2016 10:29 PM

I think you're doing a really nice job on this ship. Those 1/700 scale Kingfishers are so small I can't imagine working in that scale. (I have enough problems building 1/350 ships!!)

Looking forward to the final pictures.

Mike

Mike

"Le temps est un grand maître, mais malheureusement, il tue tous ses élèves."

Hector Berlioz

  • Member since
    December 2006
  • From: N. Georgia
Posted by Jester75 on Saturday, February 27, 2016 5:20 PM

Thanks once again Mike!

Well she is as complete as she is going to get. Rigging was done with Uni Caenis thread which worked really well and I think is as close to scale as you can get. In my opinon, rigging should definitely be there in 700th scale but one should almost have to look for it to see it. The CA held well with the help of accelerator. Don't think I could have pulled it off without the accelerator. Now to find out how to either A) buy it in bulk and keep it from evaporating or B) figure out a way to make it myself and not spend so much on it all the time. Anyways, there has been enough talk in this thread so on to the pics.

So there she is. On an unrelated note, Windows 10 has a fantastic image editor built into it! The pics above are not exactly the same on white balance and brightness on each one but man, compared to what they were they turned out pretty good. 

Eric


  • Member since
    December 2010
  • From: Salem, Oregon
Posted by 1943Mike on Saturday, February 27, 2016 11:24 PM

She really looks good Jester. Nice job on the rigging! I always end up with sagging rigging lines where there are other lines coming off of them - I just can't seem to get the tension right. Anyway, your ship ended up very nicely done.

Mike

Mike

"Le temps est un grand maître, mais malheureusement, il tue tous ses élèves."

Hector Berlioz

  • Member since
    January 2016
  • From: A Galaxy Far, Far Away
Posted by Hunter on Sunday, February 28, 2016 9:39 AM

Jester-

Absolutely Beautiful....Wonderful job and amazing detail. Thank you for sharing

Hunter 


  • Member since
    March 2006
Posted by TD4438 on Tuesday, March 1, 2016 10:06 AM

Awesome job on this one.You guys that build in 1/700 really amaze me.

  • Member since
    December 2006
  • From: N. Georgia
Posted by Jester75 on Tuesday, March 1, 2016 4:56 PM

Thank you gentlemen, your comments are greatly appreciated!

I am definitely happy with the performance of the Uni Caenis Mike.

Eric


  • Member since
    December 2006
  • From: N. Georgia
Posted by Jester75 on Saturday, April 30, 2016 9:36 AM

Thanks! I thought this thread had been relegated to the tumbleweed fields. It builds up quite well with the exception of everything below the water line but with a lower hull that looks like that, it had to be done full hull imo. I have the Pennsylvania boxing of the same kit that I'd love to do with cage masts like the pic below but am unsure as of yet what changes are needed or if its even possible using this boxing without extensive rework.

Eric


  • Member since
    May 2013
  • From: Indiana, USA
Posted by Greg on Saturday, April 30, 2016 11:19 AM

Sure glad this thread got bumped, I'd missed it.

If you are not a ship guy, you'd never know it, Eric. Very nice job.


  • Member since
    March 2003
  • From: Western North Carolina
Posted by Tojo72 on Saturday, April 30, 2016 11:32 AM

Very impressive build.

  • Member since
    March 2003
  • From: Rain USA, Vancouver WA
Posted by tigerman on Saturday, April 30, 2016 8:49 PM

Great work Eric. Just love all the PE and rigging. One to be proud of.

   http://i7.photobucket.com/albums/y269/wing_nut_5o/PANZERJAGERGB.jpg

 Eric 

  • Member since
    July 2013
Posted by steve5 on Saturday, April 30, 2016 10:27 PM

really lovely build , I'm with mike don't know how you do such detailed work , on so small a scale

steve5


  • Member since
    December 2006
  • From: N. Georgia
Posted by Jester75 on Sunday, May 1, 2016 11:45 AM

Really, thanks for the comments everyone. I'm stuck on ships since building this one!

Eric


  • Member since
    December 2006
  • From: N. Georgia
Posted by Jester75 on Monday, May 2, 2016 6:05 PM

Well, I'd say I'm about 2/3rds through the construction phase on the Academy Graf Spee at the moment. Who knows after that.

Eric


  • Member since
    April 2016
  • From: Russia, St.Peterburg
Posted by kirill4 on Wednesday, May 4, 2016 12:34 PM

My congratulations Eric,

such small ...and such precisely !!!

model looks very balanced , nice to see it!

(may be propellers blades need to be thinned a little bit... but ...due to their location...guess it is not big issue)

All the Best!

Kirill

  • Member since
    December 2015
  • From: providence ,r.i.
Posted by templar1099 on Wednesday, May 4, 2016 2:03 PM

Nice justice done to an icon. Couldn't imagine tackling the cage masts on the next one.

"le plaisir delicieux et toujours nouveau d'une occupation inutile"

  • Member since
    December 2006
  • From: N. Georgia
Posted by Jester75 on Wednesday, May 4, 2016 6:47 PM
Thanks Kirill! I agree about the props. I was a bit terrified of them to be honest as they were very fragile considering how thick they look. I actually broke a blade off of one of them just looking at it! We really need someone to step up to the plate especially with 3d printing growing as it is and market some more accurate props.

Eric


  • Member since
    April 2016
  • From: Russia, St.Peterburg
Posted by kirill4 on Thursday, May 5, 2016 2:46 AM

Good day,

Dear Eric,

I could imagine that! such small things...unfortunately I don't have saved links to those of us how produce appropriate scale propellers...just from time to time I watch those models of our  colleagues who work with "iron" fleet, mostly w/o comments, just in gradation of "like it" or "...." :)))

and ,as I could remember, such issues with propellers blades ,often discussed, and some solutions were found...made them from fotoetched parts,or from resin casting ,found somewhere on third side,or fabricated by themself...but  such info I've found on russian modellers forums...which is not convinient due to language barier...

but once again, I guess ,it is not big issue, those propellers, they are hidden under stern,and not so visiable...

but,just for the case, I could drop link to one of those very seldom (this case ,russian) "expert" in scratch building, building his models in small scale completely" scratch"...You coud try to contact him(meanwhile I ask him for another way for communication except option sending forum private message),if he is capable to communicate in english( I think -Yes), ....he could provade you wth ness-ry links or some information,which could be usefull for you...

his name is Алексей Лежнев(Aleksey Legnev) , here is his building report http://karopka.ru/forum/forum190/topic21935/

to see his works - click to his avatar 

or here http://karopka.ru/community/user/8199/

BRGDS

Kirill


  • Member since
    December 2006
  • From: N. Georgia
Posted by Jester75 on Thursday, May 5, 2016 7:11 AM
Wow, the level of scratch building that guy has is outstanding! Thank you for the link. Luckily for me, Google does a pretty decent job of translating the pages and makes them fairly easy to read.

Eric


  • Member since
    December 2006
  • From: N. Georgia
Posted by Jester75 on Thursday, May 5, 2016 7:29 AM

templar1099

Nice justice done to an icon. Couldn't imagine tackling the cage masts on the next one.


Missed this, thanks Templar! I believe that Blue Ridge Hobbies may actually sell some 3d printed cages that look pretty good I'm just not sure any does them for the Pennsylvania class ships much less if there are any plastic kits that can be backdated.

Eric


JOIN OUR COMMUNITY!

Our community is FREE to join. To participate you must either login or register for an account.

SEARCH FORUMS
FREE NEWSLETTER
By signing up you may also receive reader surveys and occasional special offers. We do not sell, rent or trade our email lists. View our Privacy Policy.