We're in the punchlist phase of the project; picking up the odds and ends that need addressing. One of these was filling in the armor barbette area with Milliputt so it looks as solid as it should. Milliputt says it's cured in 2 – 3 hours, but I find it really takes longer. I'm giving it 24 hours before I'm able to sand it. When applying, you wet the tool you're using and it goes down much smoother without grabbing. When set, I will sand and apply the red edging showing it's a cutaway. I bought a Testor's red paint pen to streamline the edging process.

I also bit the bullet and brought out the big guns... well in this case a little syringe. I bought a selection of syringes from Amazon to use in instances just like this one. I mixed some J-B epoxy and injected it into the errant joints. I then used rubber bands to pull the hemi-cylinder into position for it to cure. Before applying the adhesive I removed the excess CA from the area. The joint is not strong and shouldn't give me any more trouble. Once the shells are a) glued to the stack and b) screwed to the base, there won't be any stress on these joints. The only stresses have been when I'm handling it to do all the other stuff.
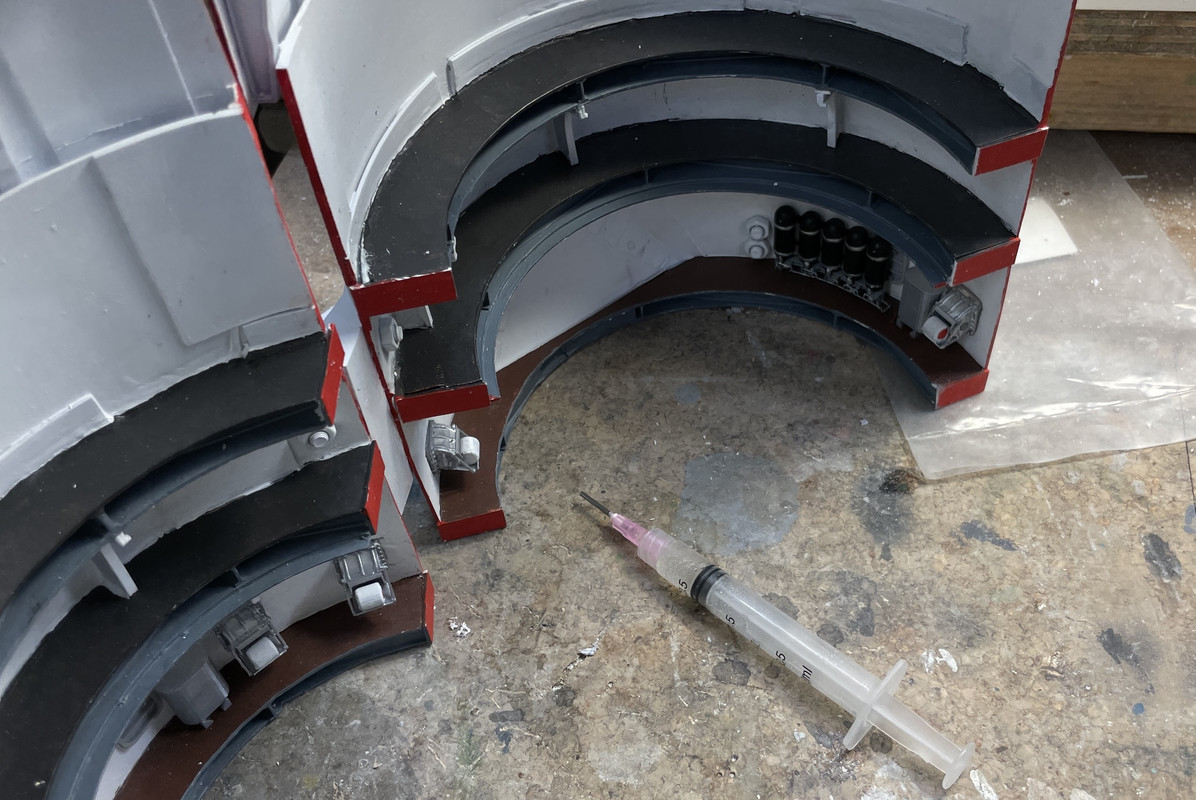
That syringe was tossed out, since it's no longer viable.
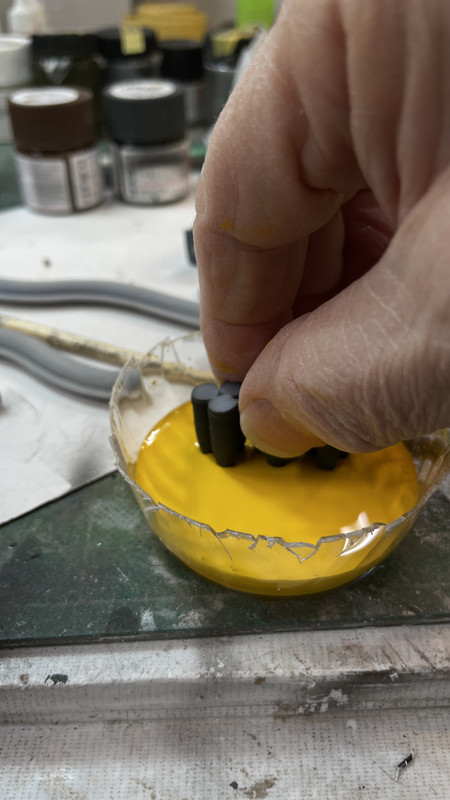
I then painted the yellow tips on all the non-training projectiles by filling a container with flat yellow to the depth that corresponded to the length of the yellow portion. I then dipped them to apply the paint. There was some surface tension problems where the painted didn't want to seek a level on the parts, but it worked out in the end.
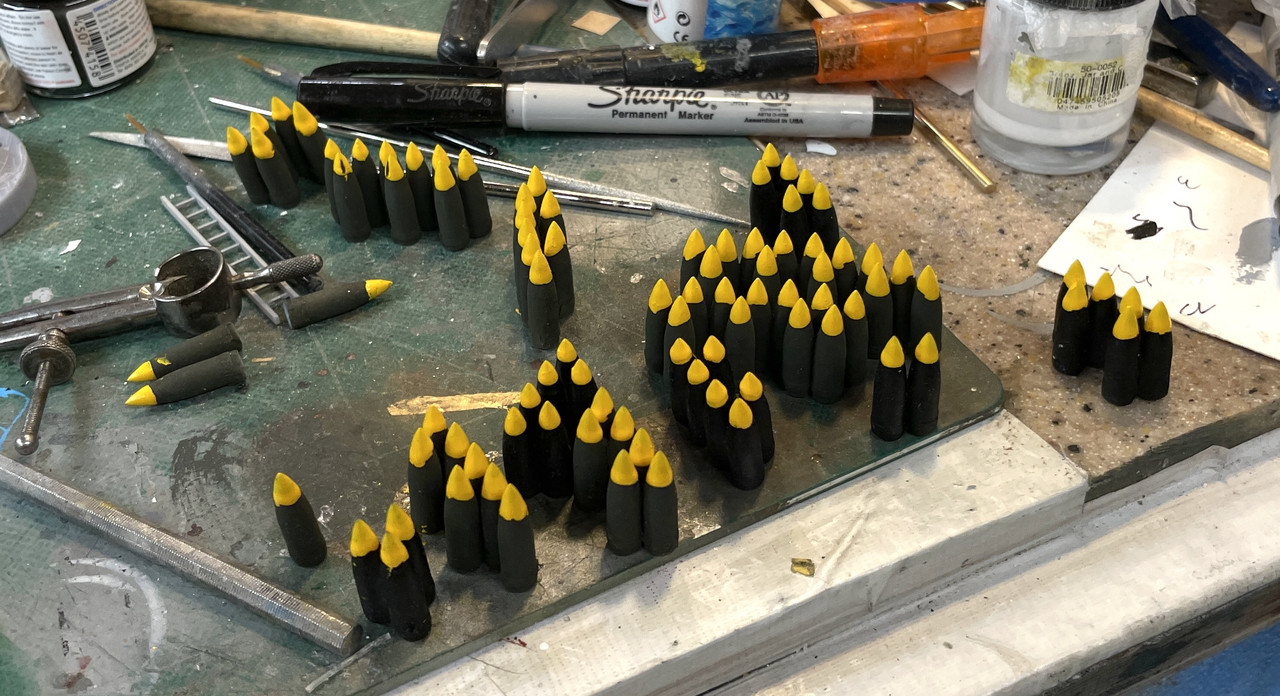
And here are all the outer projectile drying. Next I have to put the bright metal tip on them. Technically speaking, the black armor-piercing projectiles are longer than the O.D. high-explosive ones, but I didn't fuss and did them all the same. I only had one dimensioned drawing of the projectiles and that was the HE type. The Blue training projectiles do not have the yellow or silver bands.
And now for something totally different:
After noodling the power circuitry to power the nine LED circuits I came up with this. This was one of those ideate-stuff-when-waking-in-the-moring things. Being retired and waking when my body wants to gives me the splendid opportunity think about creative stuff. In the 40 odd working years and waking much earlier with an alarm, my creative thinking was usually done staring at my face in the mirror while shaving.
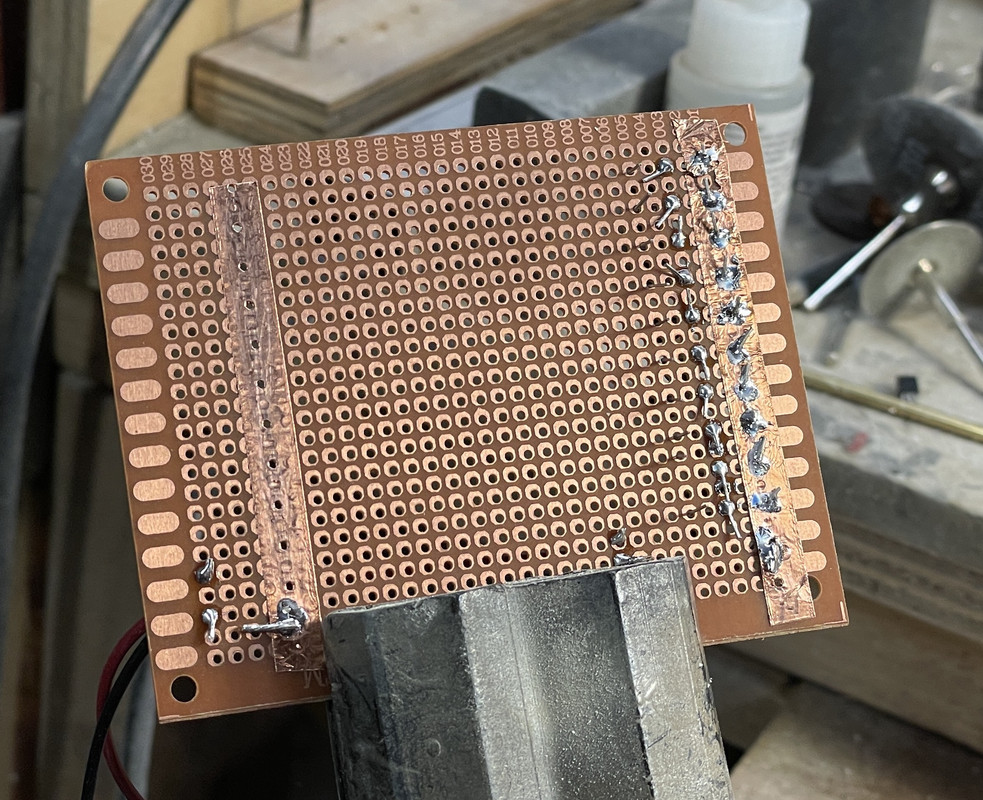
I bought a pack of blank circuit boards this summer when working with my grandson on his Tesla Coil. I was able to press one into service on this project. I need a separate parallel circuit for each set of three LEDs based on the 12VDC power supply. And the CL2N3 driver chips can't feed a parallel circuits. So each parallel circuit needed its own CL2N3 driver chip. They, in turn, can all be driven from the same power bus. So using the copper foil tape I created a circuit board bus bar and soldered each driver into it. The center lug on the driver is a dummy and is just used to hold them into circuit board. Now that I'm writing this, I realized that I probably soldered all the chips on backwards. Facing the flat surface, the hot side is to the left, and I have it backwards! Yup, just checked the MicroChip pin diagram and I have them all reveresed. One step forward and two back.
The flat side should be facing the camera!
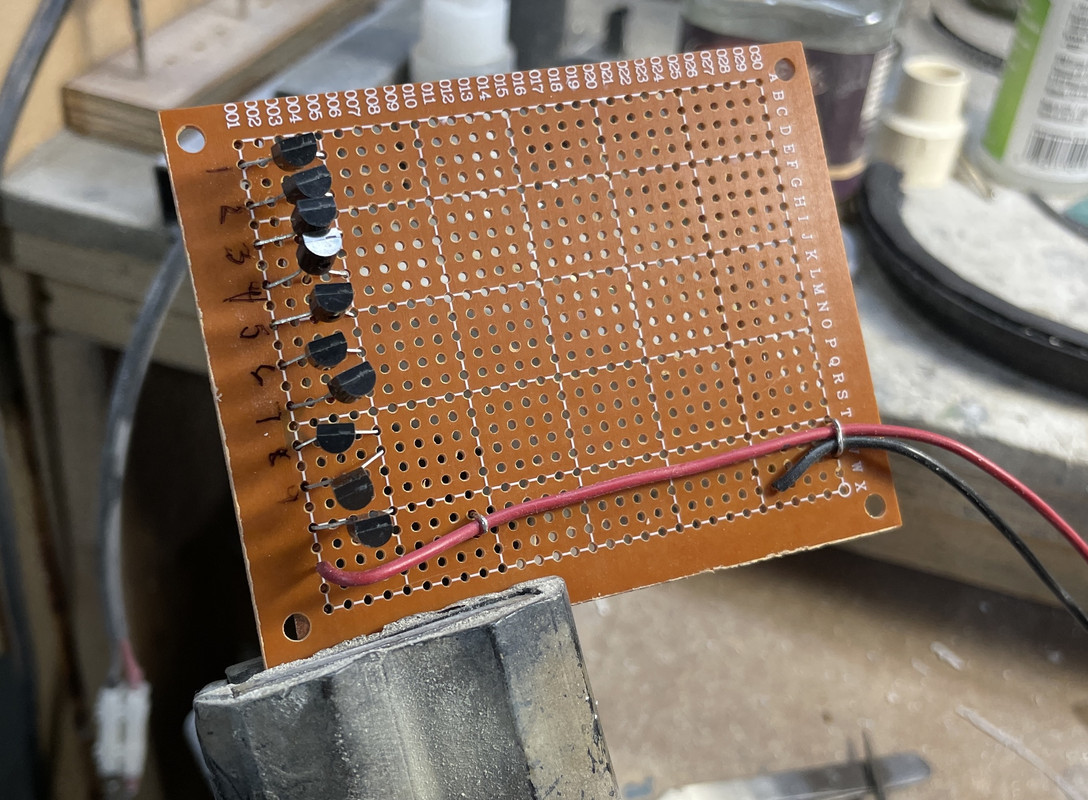
Unsoldering is a whole lot harder than soldering in the first place. I have another circuit board and it may be easier to just start over.
For what it's worth, here's the underside showing the foil buses for + and — power inputs. If I didn't write this blog, I would have soldered all the wires into the board and wondered why nothing was working. I just checked and I have more than enough drivers to redo the entire deal. That's how I'm going to proceed. My dad always said, "when the mind doesn't work, the feet suffer!" True, true!
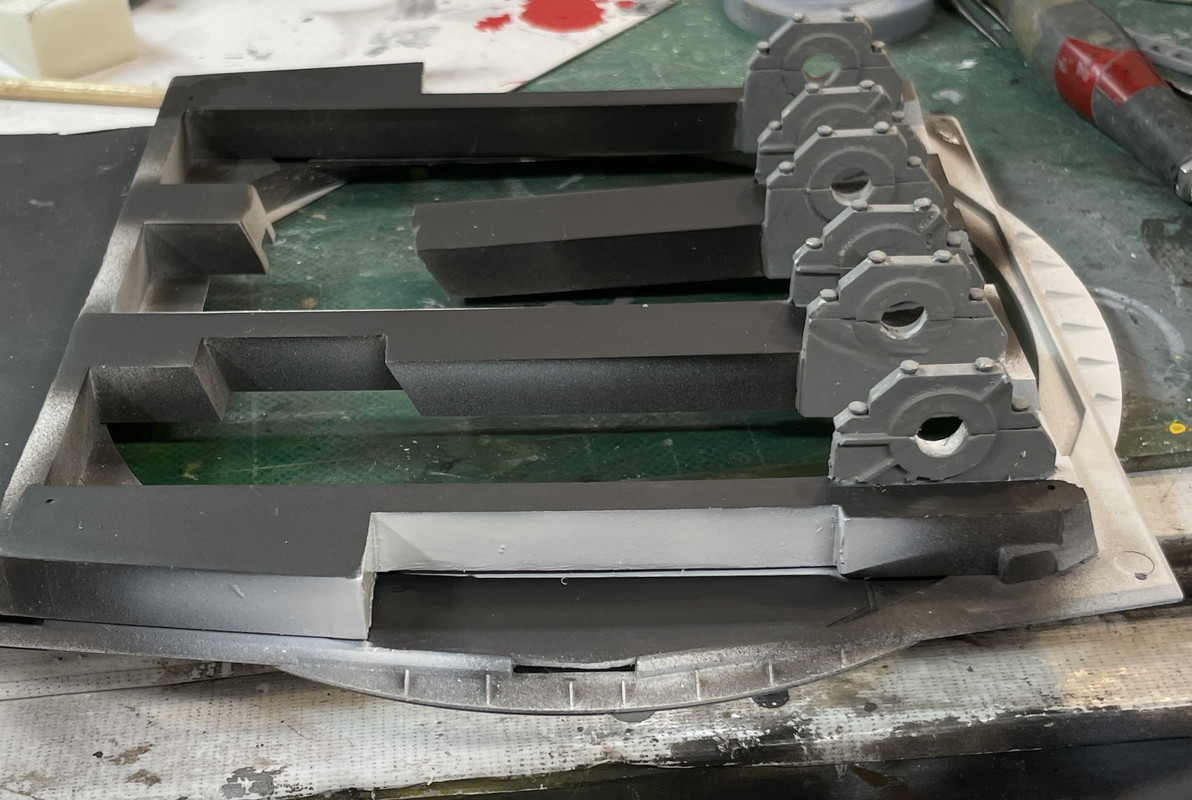
Some of the sides of the gun girders needed to be white, especially those areas that border the auxiliary sighting compartments and the area under the alcove in the center gun. I masked the dark iron upper surface and sprayed the white. One the edge facing foward in the side area, I have to install two ladder rungs. Also two rungs go into the side of the girder in the center compartment. I'm still not sure of either using transparent plastic for some of the gun house longitudinal buikheads or simply strategically cutting them away to show the flanks of the gun slides. Notice that when I cut the web on the girder between the left and center gun, the right hand component dropped down quite a bit due to internal stresses. When the powder trunk is installed, this will be realigned and should work out okay.
The last thing I did today was stare closely at the guns to decide just how I'm going to proceed with the painting. I think I'm going with Haze Gray as the gun color. The rear face is bare metal only where the actual gun barrel penetrates the yoke. Also the counter-recoil cylinders are natural metal as well. But there are protruding details that make applying masking tape difficult. In one of my rejects I experimented with using liquid mask and may still go that way. I'm thinking of airbrushing a good metallic paint and using gloss black as a base coat. I've left this as the last thing to paint as I wanted to make sure I knew what I was doing.