I know I've posted some methods I have used in some threads in the past. With this one, starting out, I'll show 2 ways...then I'll update whenever another method is required. Every model is a bit different and can require a different method to the madness!
I'll start with a 1/72 Hawkeye, with folded wings.
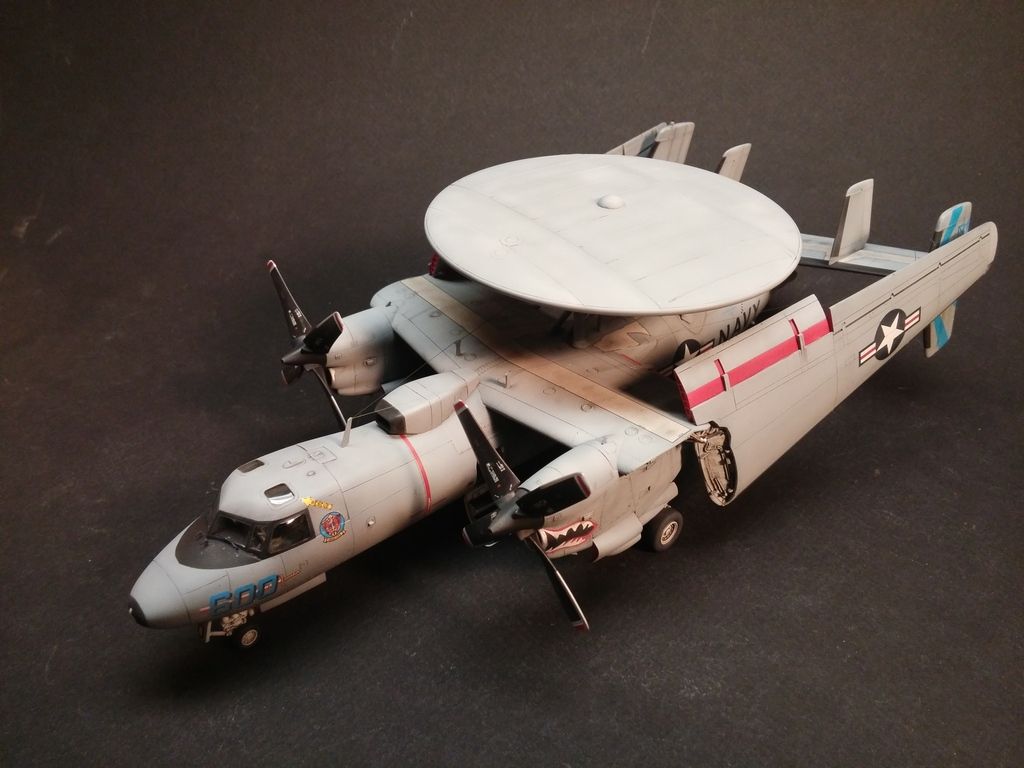
This one is quite unique in the way it must be packed. The disk is removable, which helps. There are so many antennas and things in the way, that my standard "craddle and tie down" method won't work....out to the garage!
Appologies...I didn't think to do a toot, until I already had some done...anyway...
I cut a base piece, just a tad shorter than the plane...
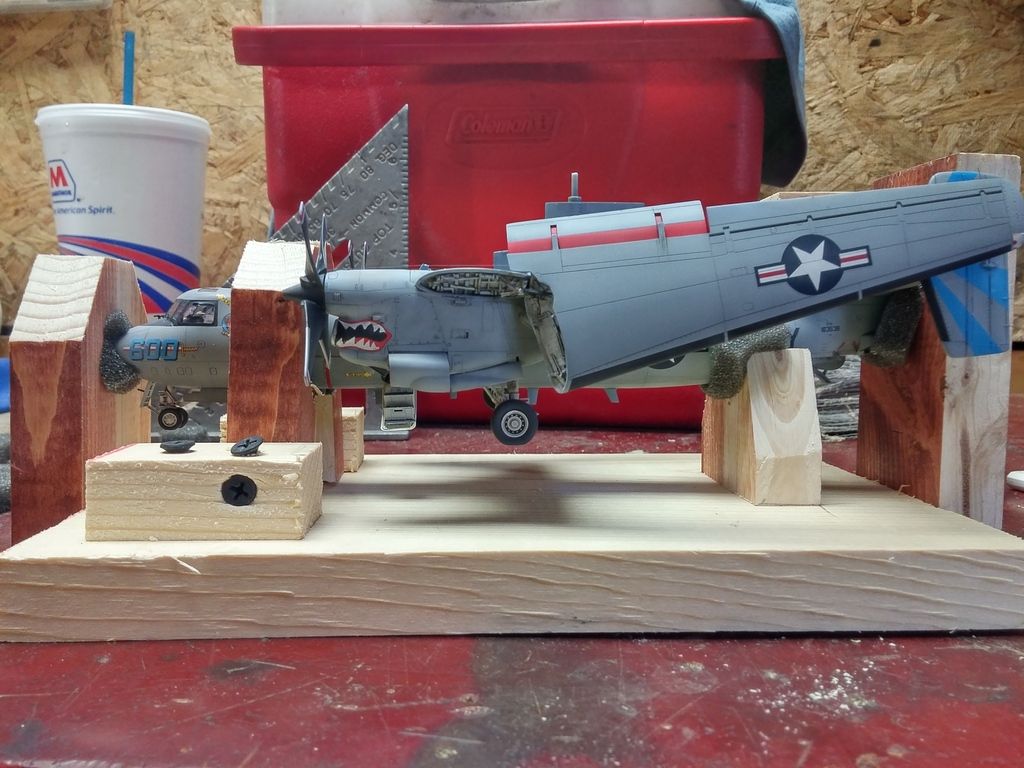
...as well as just a tad wider.
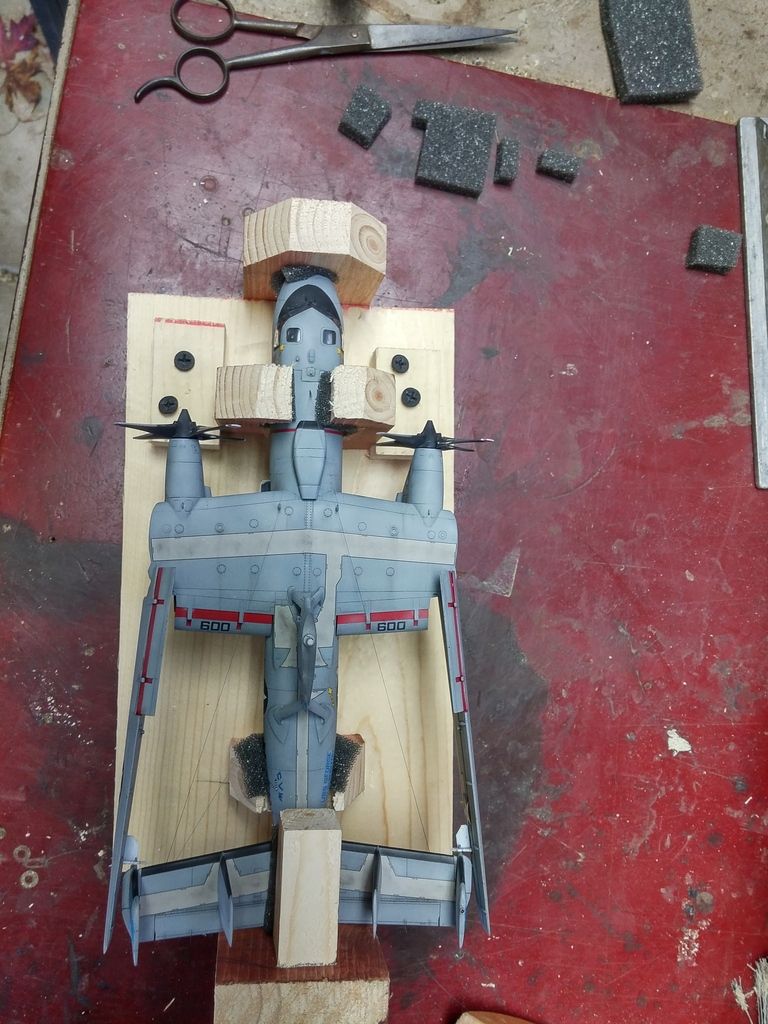
The first piece I added was for the nose. I used a 5/8th" paddle bit to drill a hole to hold the nose(foam padding is a MUST!). The blocks on the sides were added after the tail supports.
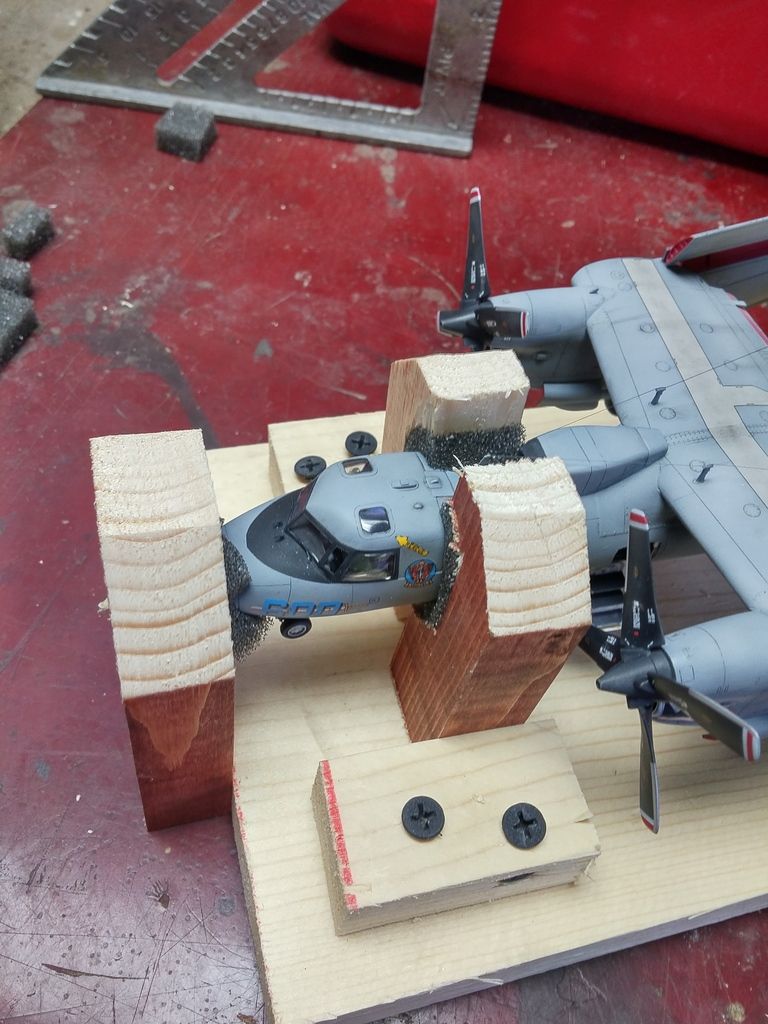
Next, I made the "craddle" for the tail to rest on...there was actually an area without any antennas! Then, the tail block...to "sammich" the model front to back...with another little block on top, to hold the tail down in the craddle...sammiching the tail up/down.
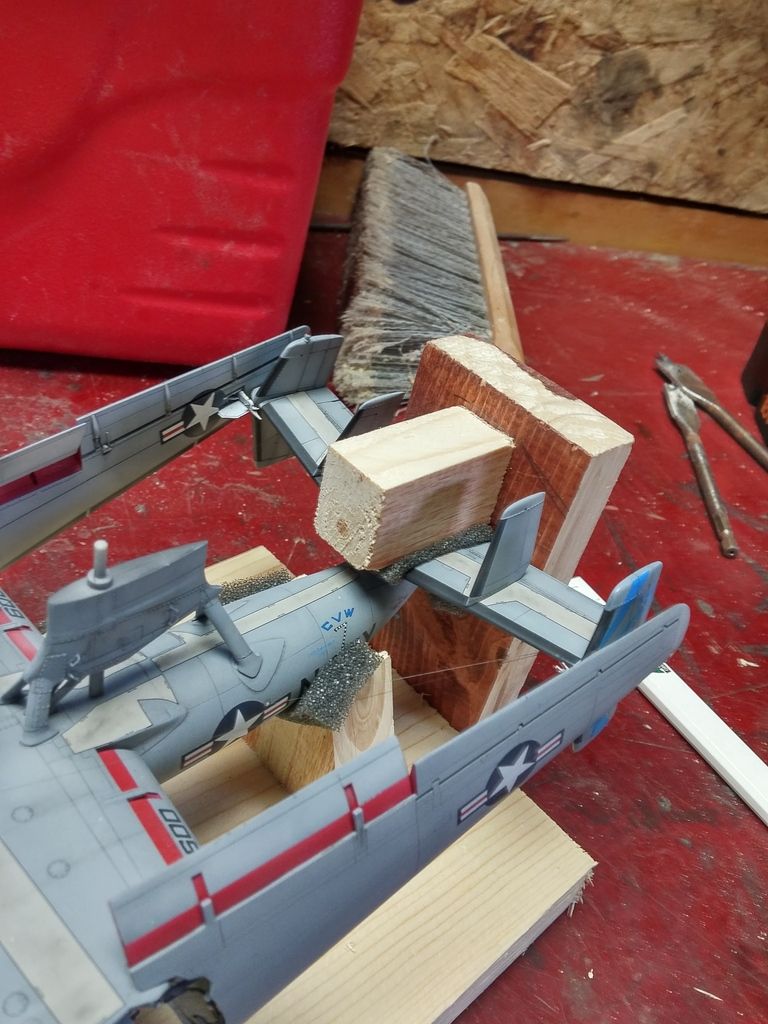
Keep in mind, when cutting the pieces, there needs to be a little room for the foam padding!
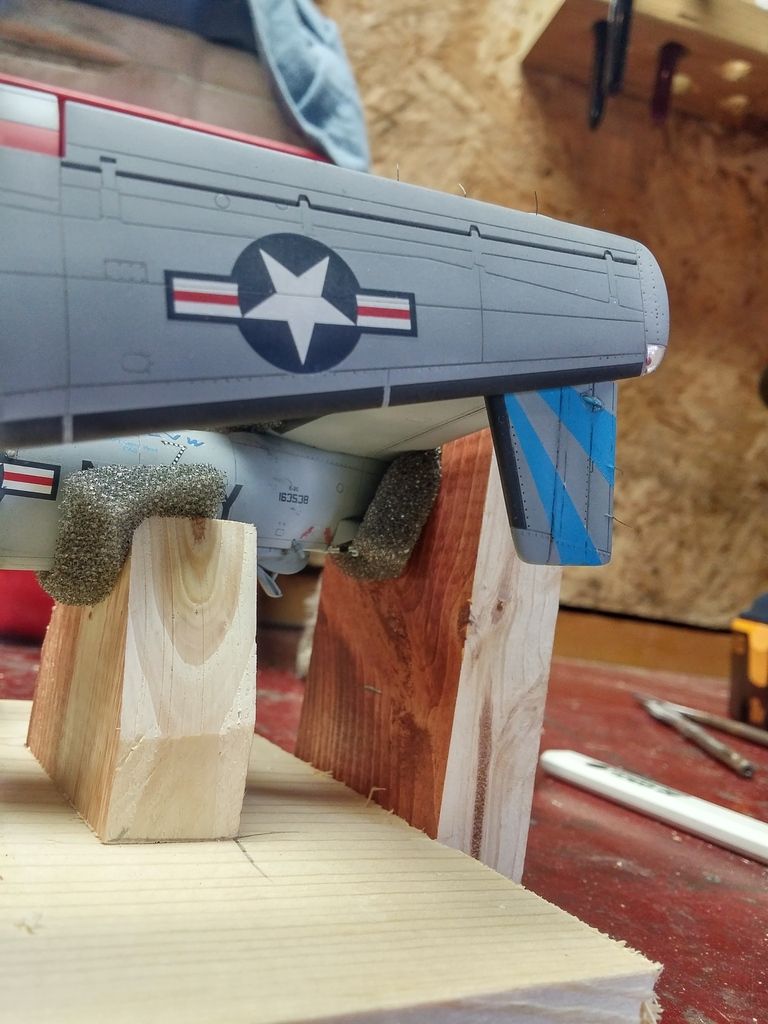
After that, I made the blocks for the "cheeks"...securing the nose up/down and side/side.
Again...

At this point, things are pretty secure...
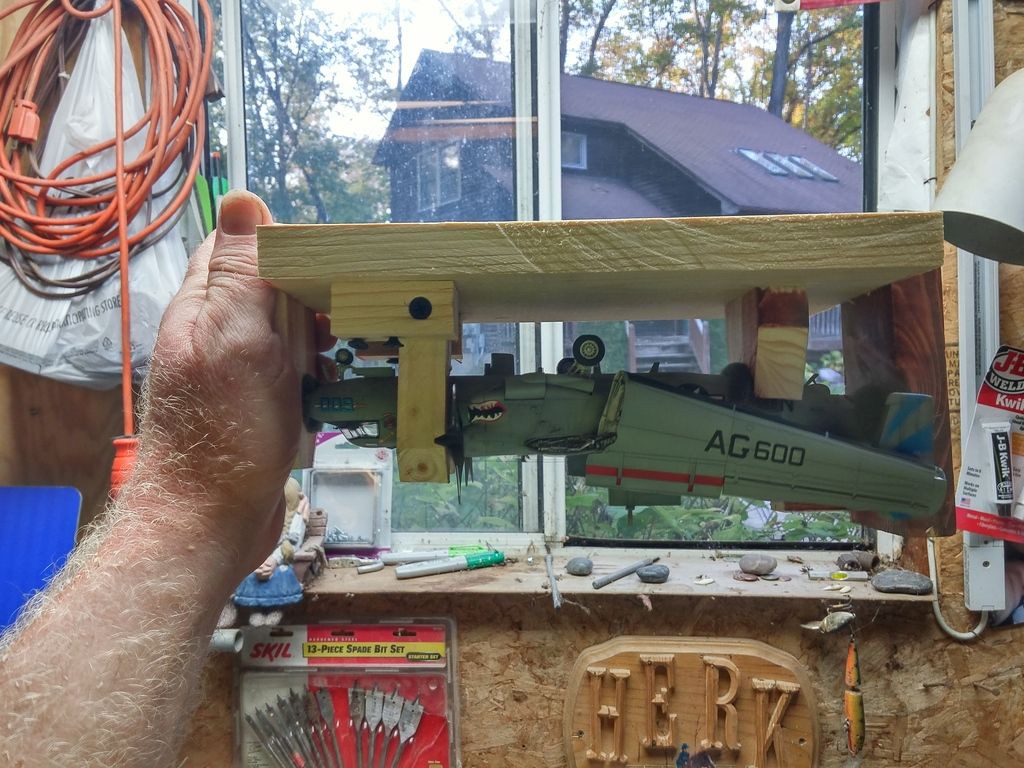
However...this beast is going away via USPS...those wings are solid resin and quite heavy. Even with having pins at the tail and wing, there needs to be a little more support.
I cut blocks for the sides, and added another block to each, that goes in under the wing. With the foam padding added, I gently slid each block in place and screwed em to the base. Leaving some extra padding up top, I added a block across the top...this secures the wings side/side and up/down.
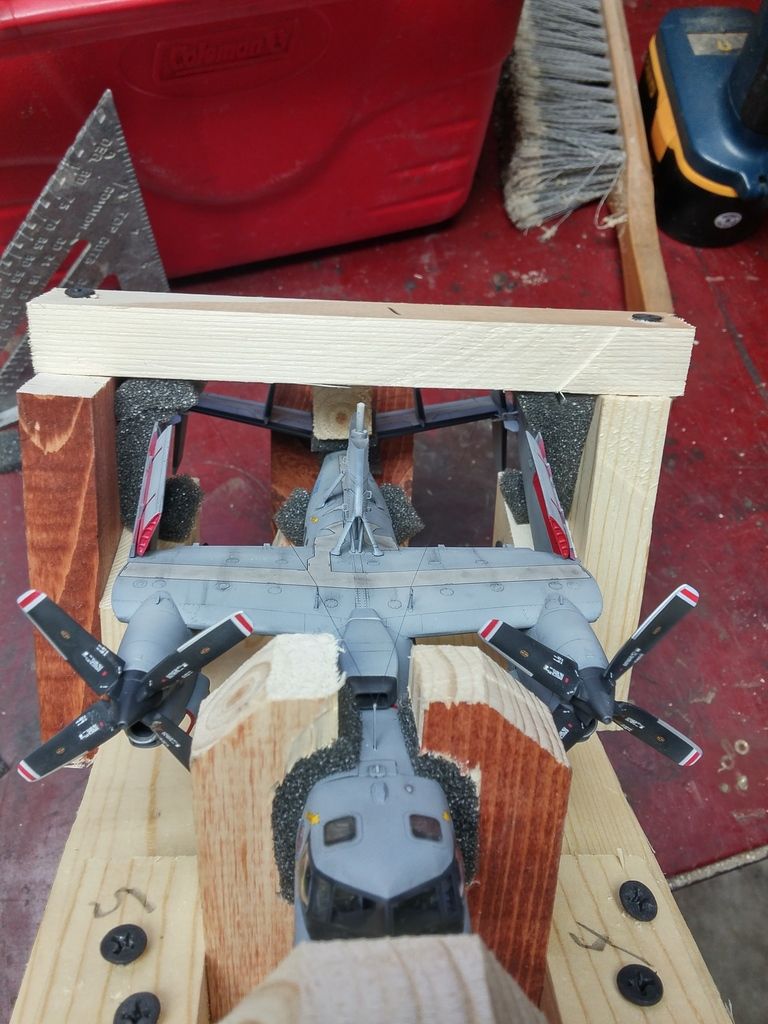
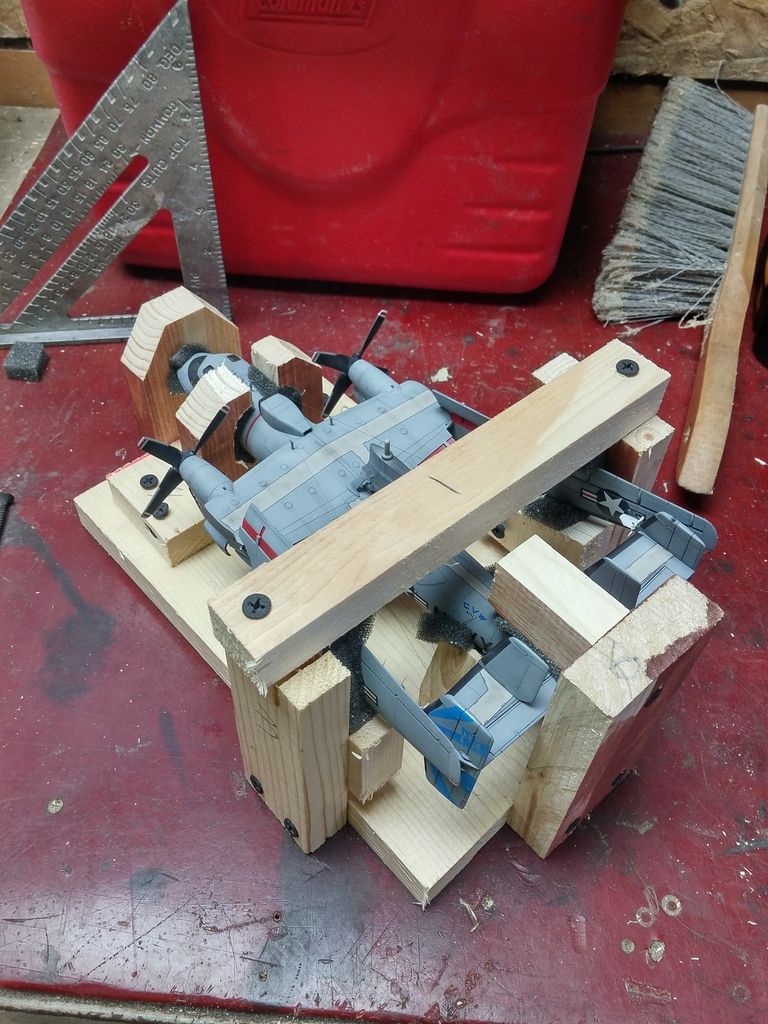
I pre-drilled 4 holes (each corner) so that I could secure it in the shipping crate.
More on that in a few minutes.