Thank you all for the encouragement on this bad boy. It's much appreciated .....especially when I have times at the bench like I've had for the last couple of days. I mean.........I pulled this next stunt off but it was a bit frustrating to me.
I finally opened up the Aires engine set because I'm at that point to where I want to work on the engine mounting for the starboard engine as that's the one I'll be displaying opened up. I was just getting over all the goodies in the kit (these engines look fabulous BTW) when I turned my attention to the instructions of how these beauties mount up to the wing. At first I wanted to put everything back in the box and move on. 
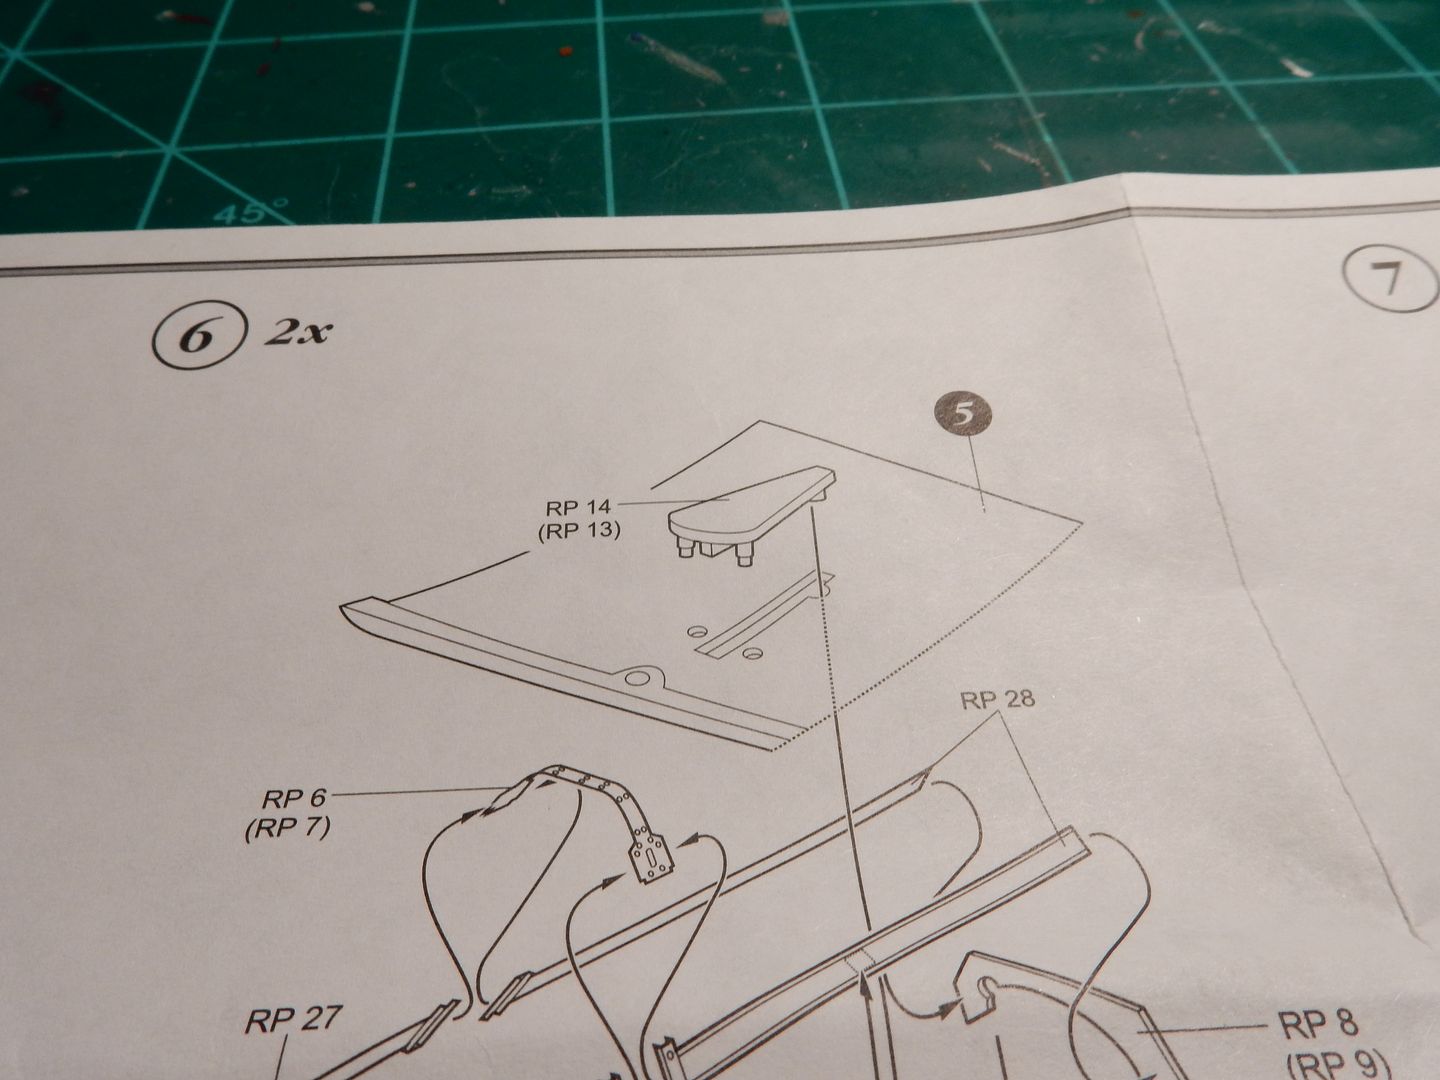
You guys know about where I'm at with the build right now so you can imagine how I felt when I saw this in the instructions:
Yeah. That's what I said too.
I did, however , think about it over a cup of coffee and came up with this plan:
I took this:

and cut the locating pins off of the base and sanded the back side down until I was left with the center strip and the offset mounting hole, made all the cuts and holes in the wing like I was supposed to and inserted everything into the openings and holes in the wing from the outside.
The results? Something I think I can live with:

Ok.....made it past that hump! Movin' right along now.................................