SEARCH FINESCALE.COM

Enter keywords or a search phrase below:

Armour in the West GB (D-Day to Berlin)

47480 views
560 replies
1 rating 2 rating 3 rating 4 rating 5 rating
  • Member since
    July 2014
Posted by modelcrazy on Saturday, August 16, 2014 6:56 PM

Jack,

I agree. In fact I woke up this morning, wasn't altogether happy with the results, sat down and painted the sandbags, hoping to improve them. There was much improvement, but something was missing. So back to the internet I went, Googled "Sherman sandbags" and studied again. Voila, the same thing you said was missing popped out at me. The tie at one end. So I thought of a little different method. Instead of putting the sand in prior to rolling the tube, Ill roll the tube first, then tie ends with thread.

Then I filled each bag with sand or dirt, I actually found dirt to be a better filler.

I then placed a dab of thin CA at the end and crimped it shut (The wetness of the bag accelerated the CA dry time).

Now I'll strategically place them to cover the original sandbags, which made a good base.

Eagle,

Yes I use regular tissue out of the box, the same thing I use for tarps, bed rolls, rags, etc. The glue didn't seal the ends as I had hoped, but the CA worked great. The white glue/water mix hardens the bags or tarps or whatever after it dries.

More to come.

Steve

Building a kit from your stash is like cutting a head off a Hydra, two more take it's place.


http://www.spamodeler.com/forum/

  • Member since
    November 2010
  • From: Florida-West Central
Posted by Eagle90 on Saturday, August 16, 2014 10:01 PM

Got it!  Great stuff MC!  Thanks for posting all this.  I know I'll be trying it out!

Eagle90


  • Member since
    July 2014
Posted by modelcrazy on Sunday, August 17, 2014 12:28 AM

Steve

Building a kit from your stash is like cutting a head off a Hydra, two more take it's place.


http://www.spamodeler.com/forum/

  • Member since
    April 2006
  • From: ON, Canada
Posted by jgeratic on Sunday, August 17, 2014 12:14 PM

That is a huge improvement, very noticeable difference from the first batch of sandbags.  Yes

regards,

Jack

  • Member since
    February 2014
  • From: Michigan
Posted by silentbob33 on Sunday, August 17, 2014 2:31 PM

Those sandbags look awesome!

On my bench: Academy 1/35 UH-60L Black Hawk

  • Member since
    November 2009
  • From: SW Virginia
Posted by Gamera on Sunday, August 17, 2014 5:38 PM

Yeah, those sandbags look terrific - better than the 'Chiclet' looking ones I've been making.  

"I dream in fire but work in clay." -Arthur Machen


  • Member since
    July 2014
Posted by modelcrazy on Sunday, August 17, 2014 7:47 PM

Thank you!, they took some time and patience to complete, but that's all part of the hobby. I'm happy with the results and won't hesitate to make them again.

Steve

Building a kit from your stash is like cutting a head off a Hydra, two more take it's place.


http://www.spamodeler.com/forum/

  • Member since
    November 2010
  • From: Florida-West Central
Posted by Eagle90 on Sunday, August 17, 2014 8:06 PM

I agree MC...those look great!  Thanks so much for posting the pics and passing on the technique!  

Eagle90


  • Member since
    April 2013
Posted by SchattenSpartan on Monday, August 18, 2014 2:19 PM

Lotsa great stuff in here!

Jack: Nice work on the Stuart turret and thanks for pointing out the fit issues caused by the hatches being too big!

BW: I think the chipping and weathering looks terrific! Some people might call it overdone, bit it's just right in my opinion!

Steve: Oh my, that's a great technique for maing sandbags! By far the best I've seen so far. Thanks for sharing!

  • Member since
    September 2006
  • From: Dripping Springs, TX, USA
Posted by RBaer on Tuesday, August 19, 2014 10:22 AM

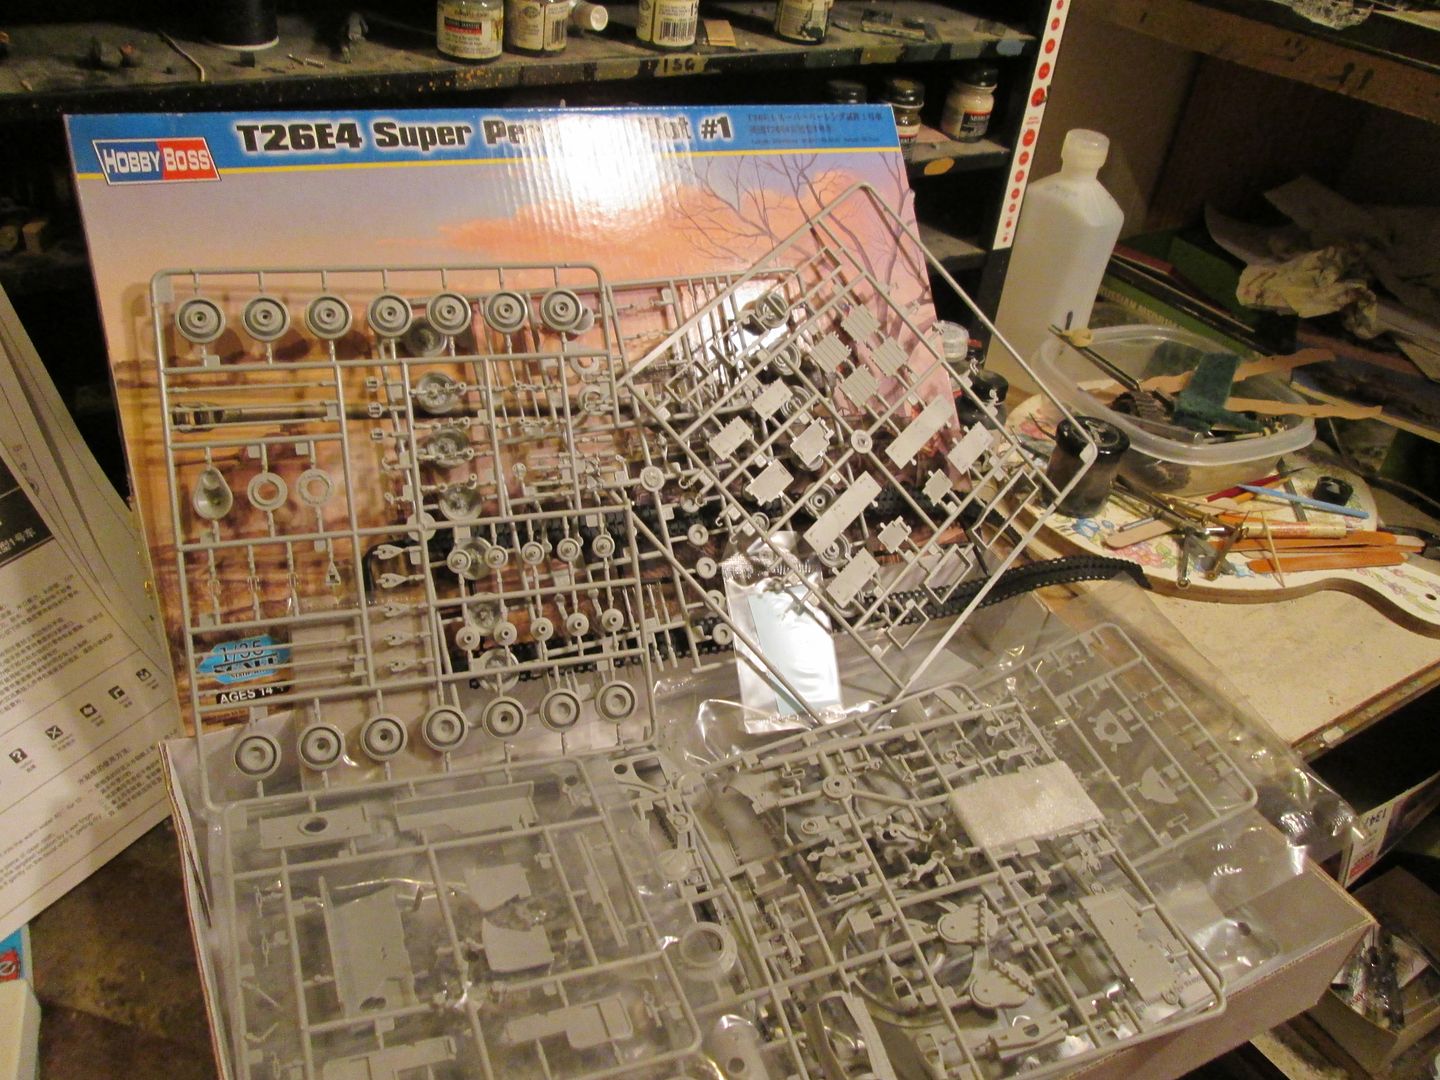
I took the plunge last night, seems like I'm at a short impasse with my Merkava, so out came the Super Pershing. I spent some time looking at pics I ahve and then looking at what HobbyBoss puts in the box, just to see what's what. I pretty quickly decided HB's road wheels were not as good as Tamiya's, so out came a spare Tamiya Pershing. Also determined the the actual Super had a drive sprocket that is not what either HB or MrT supply, but the Tamiya part is closer. I may noodle on this further, not sure. The HB sprocket is nice, but the fit is problematic, and it's a touch too wide to comfortably fit the Friuls.

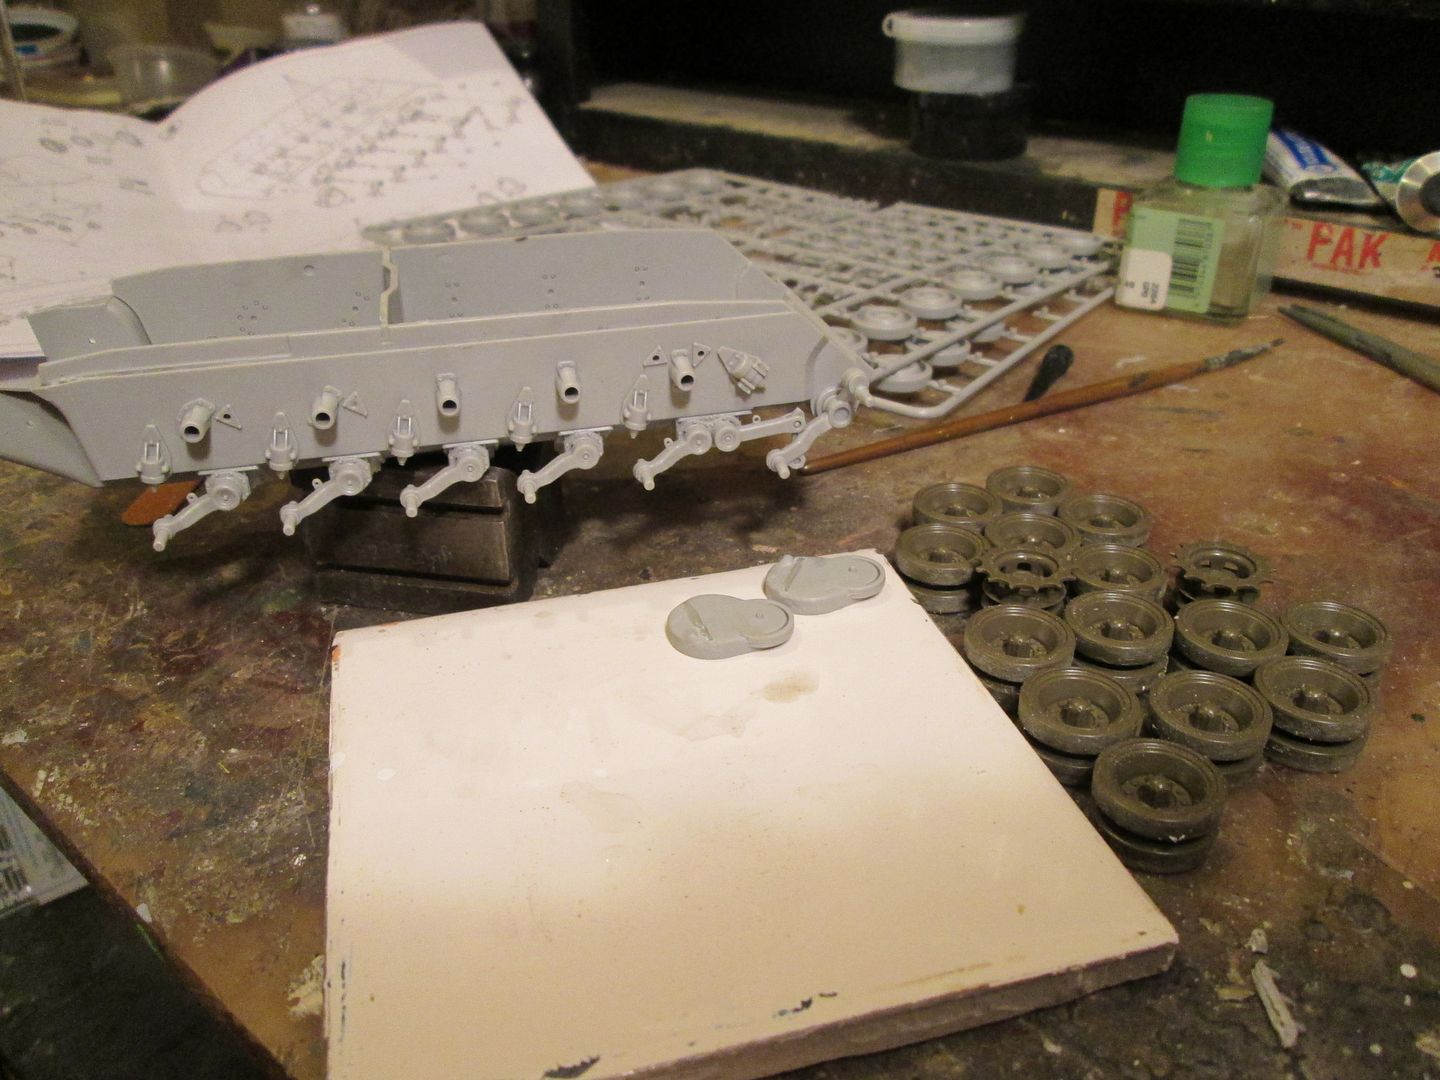
So off to the races. HB gives you an engine compartment, with engine, but I really don't want to go there, so I only installed the minimum interior parts necessary to allow fitting the working torsion bars. Good thing too, since the interior bulkheads and engine compartment floor are covered with ejection pin marks, something else I've had enough of for a while. I now have the swing arms and bump stops in, road wheels and sprockets together and took a peek at the working(!) shocks. My plan (I say that in all seriousness now) is to get the rest of the suspension built, assemble and mount the Friuls, and then set the nose-down ride height by gluing the semi-fragile swing arms in place. This all needs to be done before I mate the upper and lower hulls. I also started the final drives by whacking off the reinforcements only seen on later build Pershings. This is something necessary on HB and Tamiya M26 kits if you're building an earlier model, as the ribs were added to the back-side of the final drive housings  after quite a few had been built. The resulting holes are filled with Aves 2 part putty, and will be cleaned up and detailed later.

So, da pics:

First, my start pic, then the lower hull, which kind of looks like a caterpillar now.

BTW, I started a new p-bucket account for this build, and it's wonky. Awesome.

Apprentice rivet counter.

  • Member since
    November 2009
  • From: SW Virginia
Posted by Gamera on Tuesday, August 19, 2014 12:12 PM

Ohhhhhhhh, looking forward to this one! I've been thinking of building another Korean War M26 and interested in how the HobbyBoss kit works out.

"I dream in fire but work in clay." -Arthur Machen


  • Member since
    September 2006
  • From: Dripping Springs, TX, USA
Posted by RBaer on Tuesday, August 19, 2014 2:45 PM

So far I like the Tamiya kit.....  but the HB kit has it's points. I think I'd like to do a very early T26, as tested by Ordinance, and the "Super" kit has the right turret. The tracks might be tough..... they look like PzIV tracks.

Apprentice rivet counter.

  • Member since
    August 2012
  • From: Billings, Montana
Posted by Daddydan on Tuesday, August 19, 2014 9:04 PM

Well I ordered an M4A3 76mm, but what I (finally) recieved was the M4A1 76mm 'Operation Cobra' Sherman!  I'm not really complaining much at all...lol.  I can finally use the Cullen device and not be inaccurate!

  • Member since
    November 2009
  • From: SW Virginia
Posted by Gamera on Tuesday, August 19, 2014 10:37 PM

Thanks RBaer, I have the Tamiya M26 but I built it a couple years back, not too bad but I think I could do a better one today.

Dan: The M4A1 76mm sounds pretty cool too!

"I dream in fire but work in clay." -Arthur Machen


  • Member since
    September 2006
  • From: Dripping Springs, TX, USA
Posted by RBaer on Wednesday, August 20, 2014 10:08 AM

Dan: that's a nice kit, builds up well.

Gamera, I really like the Tamiya kit, very well engineered, and it can be built totally OOB and be accurate, just not for a WW2 tank. I have one built OOB, one almost, neither quite finished because I'm still working on the bases for both.

Okay, 'nuff talk. I have about 45 minutes most mornings after I send my wife off to work and before I go, so....

These are probably the best set of Friuls I've had the pleasure to work with: minimal flash and .020" steel wire goes right in. I put a teenie dab of white glue on each pin end and that's it. HB says 82 of their indie links per side, and I normally build Friuls in groups of 10 links before assembling on the vehicle, so I've got a baseline w/o having to count links on the built M26 in the case. Woopie.

Apprentice rivet counter.

  • Member since
    July 2014
Posted by modelcrazy on Wednesday, August 20, 2014 9:04 PM
I finally finished my M4A1, and here it is. I decided not to put the side armor on, it distracted from the subject and besides, there wasn't a lot of photo evidence to support them.

It depicts a Sherman slugging thru a muddy field in Germany, April 1945.

Please tell me what you think.

Steve

Steve

Building a kit from your stash is like cutting a head off a Hydra, two more take it's place.


http://www.spamodeler.com/forum/

  • Member since
    April 2006
  • From: ON, Canada
Posted by jgeratic on Thursday, August 21, 2014 12:33 AM

Steve - that looks great! Yes

It's a very gutsy build, as not too often do you see a vehicle covered up in both dirt and all kinds of other materials.  The ground setting also ties in very nicely with the subject.   It really has that war weary look.

regards,

Jack

  • Member since
    November 2009
  • From: SW Virginia
Posted by Gamera on Thursday, August 21, 2014 8:28 AM

Yes, very cool Steve- love how the sandbags turned out!

"I dream in fire but work in clay." -Arthur Machen


  • Member since
    September 2006
  • From: Dripping Springs, TX, USA
Posted by RBaer on Thursday, August 21, 2014 10:29 AM

Well done, Steve. Some of the pics I've seen taken right after the spring thaw show some very muddy conditions. You've got it.

Some "Super" progress:

I pretty quickly decided that the HB suspension was way too fragile to mess with trying to mount the tracks and set the ride height all at once, so I went ahead and glued the rear swing arms at their fully extended position and installed the fiddly two-piece shocks. I also textured, assembled and installed the final drives, only to realize that the Tamiya sprockets on the HB final drives weren't spaced correctly and didn't line up with the temporarily installed road wheels.....    so on went the Tamiya final drive outers, straight onto the HB inners. Hmmm.....

Tracks are assembled into segments of 10 links, so getting the lower hull together should be happening soon.

Pics:

^ HB final drives, and below, with the Tamiya outers installed:

Ready to set ride height. below:

And about two hours' work:

I have a feeling there may be a lot of Tamiya parts finding their way onto this build, time will tell.

Apprentice rivet counter.

  • Member since
    November 2009
  • From: SW Virginia
Posted by Gamera on Thursday, August 21, 2014 10:56 AM

Looks good to me!

"I dream in fire but work in clay." -Arthur Machen


  • Member since
    September 2006
  • From: Dripping Springs, TX, USA
Posted by RBaer on Thursday, August 21, 2014 11:19 AM

Thx!

Apprentice rivet counter.

  • Member since
    September 2006
  • From: Dripping Springs, TX, USA
Posted by RBaer on Friday, August 22, 2014 10:41 AM

Well, I got to thinking (bad) and decided I really liked the HB sprockets, so I thought that with a little strategically applied pressure I could get them to close up enough to fit the Friuls.  Nope, smashed one, but then got serious with the other and with a little sanding and shaving, had one "fixed". So then I got to thinking again (see a pattern here?) "why not display this tank in Europe, before the extra armor was added to the mantlet?"  I like the look of it better then anyway, and this would give me an opportunity to do a little dio, use up a couple of figs in the stash, and display a Sherman that I just finished that also needs a base. So, I have this now:

The plan (ha ha) is to have a couple of guys looking at this thing, tools and such around, and a couple of "fancy cast" sprocket rings close by, the same type that the Super was photographed with, which I have in the Sherman parts stash somewhere. Pershing and Sherman sprocket rings are so similar that they may have actually been interchangeable, not sure, but in 1/35th, it'll work.

Apprentice rivet counter.

  • Member since
    November 2009
  • From: SW Virginia
Posted by Gamera on Friday, August 22, 2014 11:56 AM

Sounds pretty cool to me!

"I dream in fire but work in clay." -Arthur Machen


  • Member since
    April 2013
Posted by SchattenSpartan on Friday, August 22, 2014 3:30 PM

Your Sherman and the base both look gorgeous, Steve! I really like the mud/sandbag combination!

RBaer: Lots of nice progress on your side! I really like the diorama idea!

  • Member since
    April 2006
  • From: ON, Canada
Posted by jgeratic on Friday, August 22, 2014 10:57 PM

RBaer - nice work so far on the 'super size me' Sherman.

--------------------------------------------------------------------

Main construction is complete, only tracks left to go.    Topside of both turret and deck look very interesting, in a busy sort of way, with all that detail.  You'll notice some seams were improved upon by using a two part green putty.

The running gear has been left off for painting purposes.  I always seem to run into problems of paint build up when trying to spray into every nook and cranny.  The drive sprockets are also removable, as they have the polymer cap inside.  The fit though is loosey goosey, and will have to be permanently glued once the tracks are ready.

Started up a few of the individual track links, which is going to take some time.   Really have to be sparing with the glue in order to maintain the 'workable' properties of these tiny things.

regards,

Jack

  • Member since
    April 2003
Posted by shivinigh on Saturday, August 23, 2014 11:27 AM

Great work being done by everyone, very impressive.

I decided to get off my lazy butt and get a bit of work done. Have my Fruil tracks together and gave them a soak in a burnishing solution.


  • Member since
    November 2009
  • From: SW Virginia
Posted by Gamera on Saturday, August 23, 2014 3:39 PM

Jack: Great progress there! Those tiny track links... AAAAAAARRRRRRRRRGGGGGGGGGG!!!!!!!!!

Shiv: At least your links there are larger and heavier! Good work!

"I dream in fire but work in clay." -Arthur Machen


  • Member since
    August 2012
  • From: Billings, Montana
Posted by Daddydan on Saturday, August 23, 2014 4:44 PM

Well, starting work on the Sherman today with The Simpsons on in the background!  I hope to have the running gear done and most of the lower hull.  But I guess it's all up to the 2 and 5 year old.....ugh.  lol

  • Member since
    September 2006
  • From: Australia
Posted by Blitzwing on Sunday, August 24, 2014 6:45 AM

Wow that is some nice work there guys. I've had some relatives from overseas for the last few weeks so no progress but looking forward to getting back to the bench this week.

URL=http://picasion.com/]

JOIN OUR COMMUNITY!

Our community is FREE to join. To participate you must either login or register for an account.

SEARCH FORUMS
FREE NEWSLETTER
By signing up you may also receive reader surveys and occasional special offers. We do not sell, rent or trade our email lists. View our Privacy Policy.