falconmod
falconmod
Ok, So I got the decals on and I started to do the chipping/flaking weathering which i've never done before like this on the Zero. So what do you think?  This was done with the hair spray method, 1st time for that too.
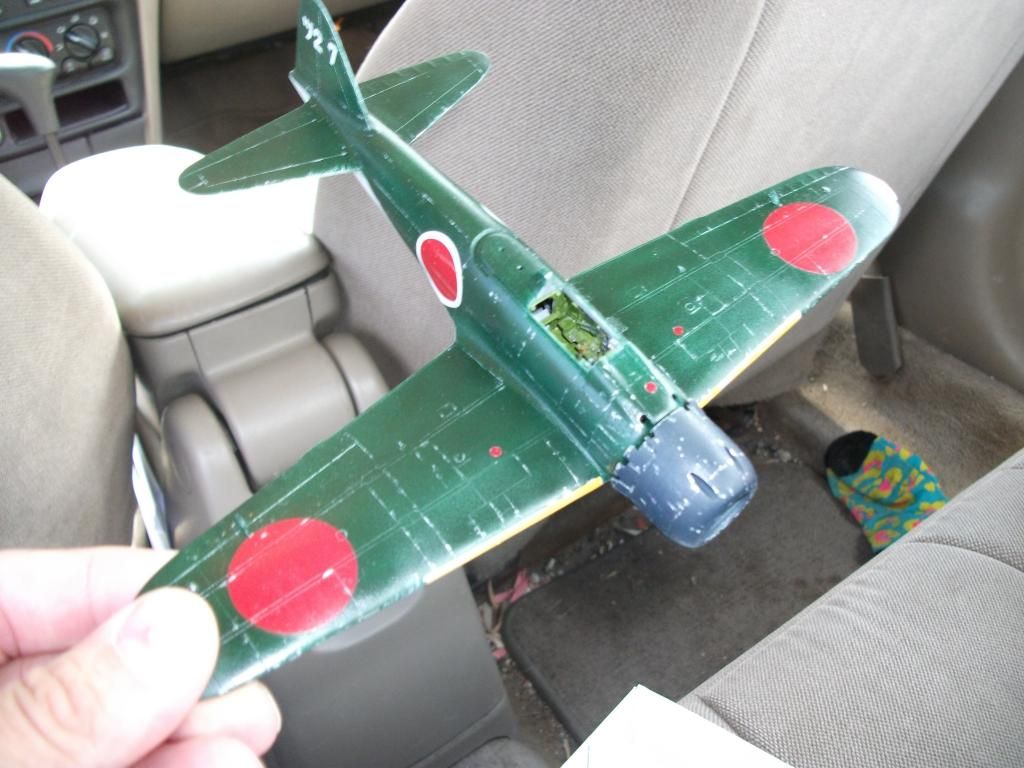
I haven't put any clear flat on it yet. That begs another question were Zero's flat or semi-flat paint?
John
I have another question, what color is the back deck on the zero? the portion behind the pilot seat that is under the canopy. is it the interior cockpit color?
John
Not 100% sure but on my japanese subjects i paint this part normally with interior cockpti color
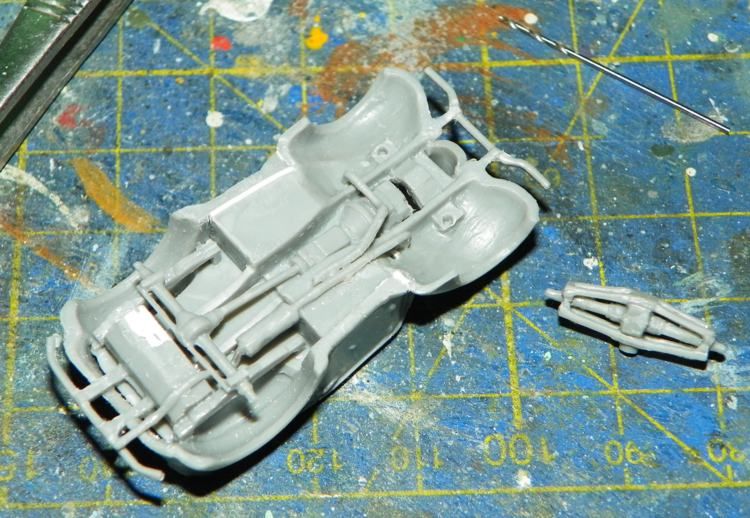
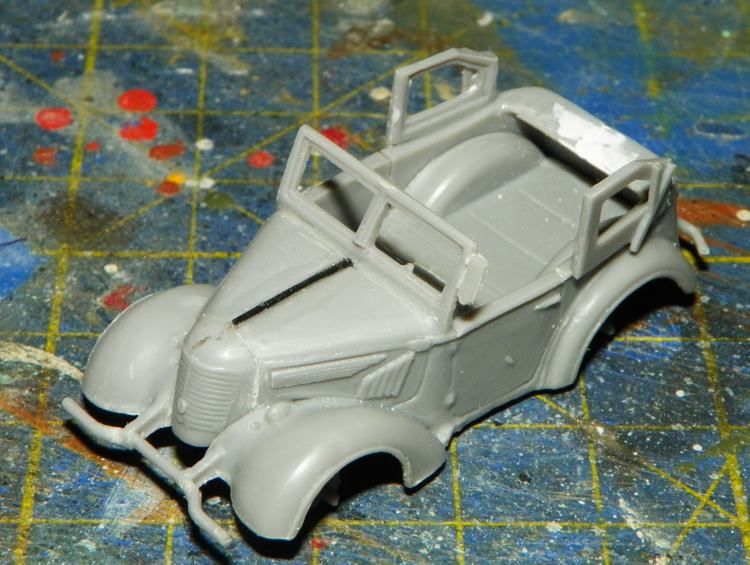
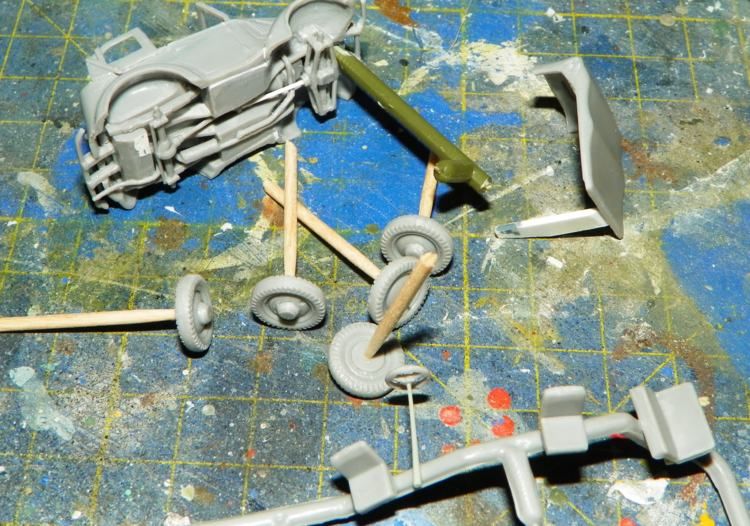
Finally few time to post updates, kurogane first:
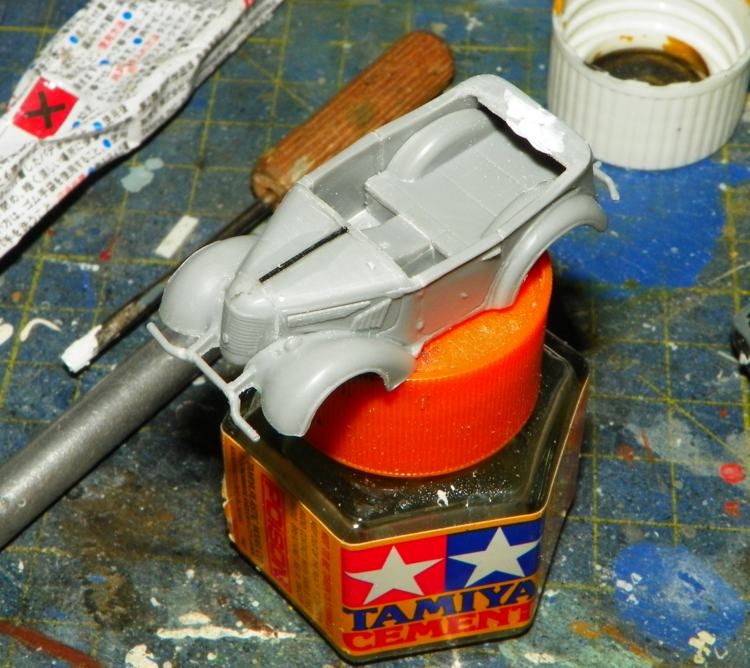
plastic surgery to fill some gap
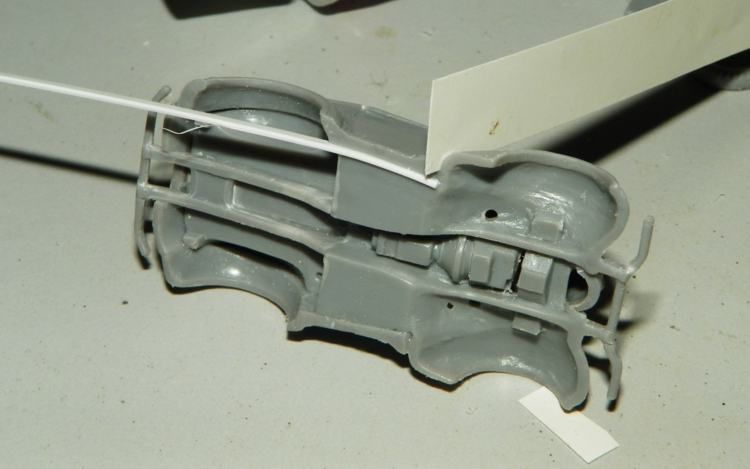
adding more pieces
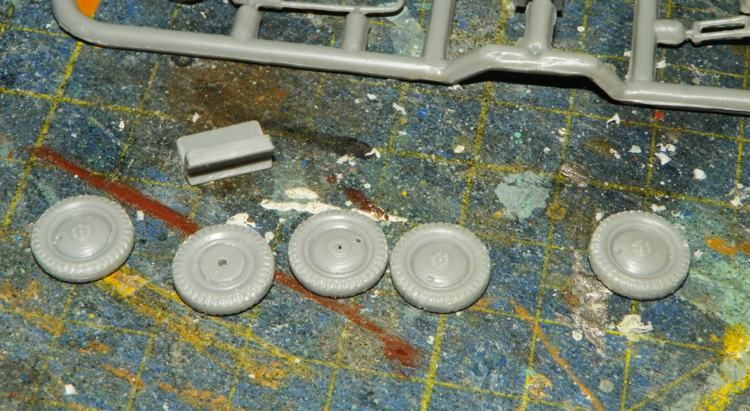
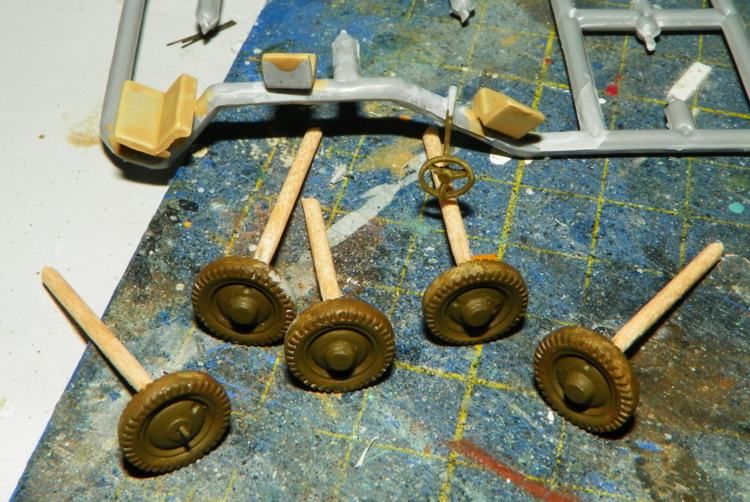
free wheels and seats from sprues
stretched sprue for the "cowling" top detail, original gone with sanding work
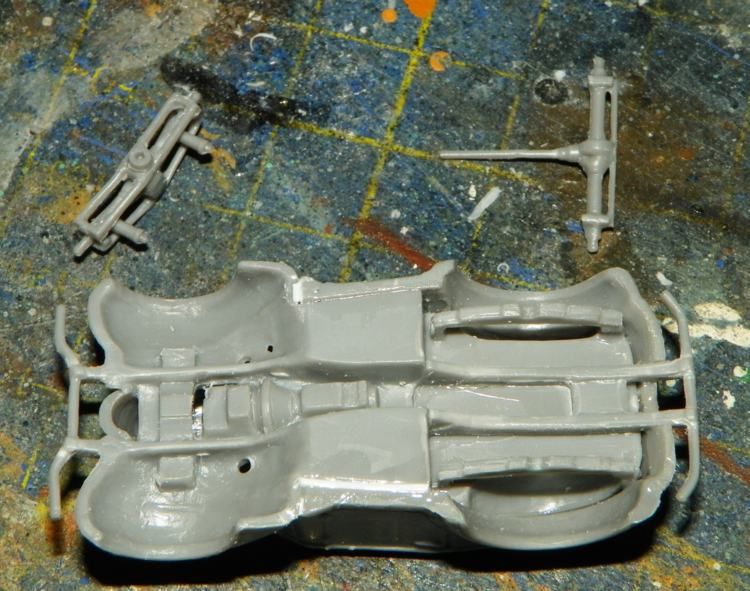
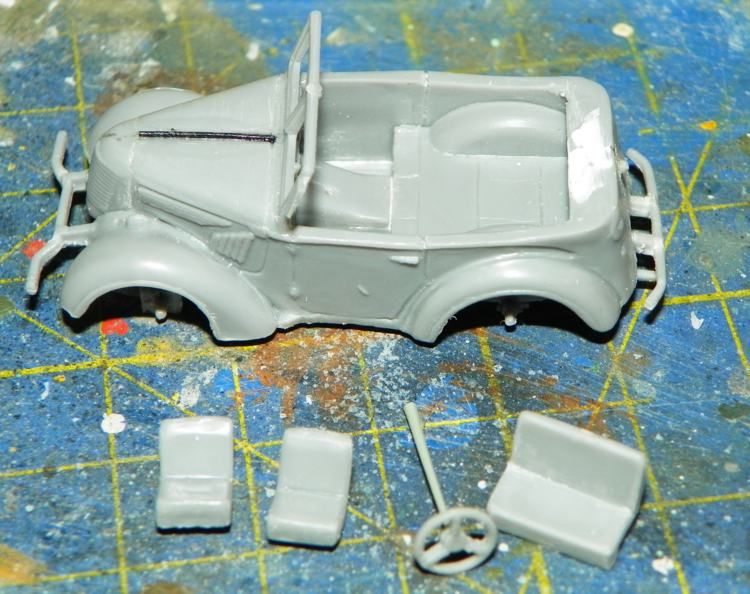
Added the ror at the steering wheel , no pieces provided in the box as the front transmission shaft
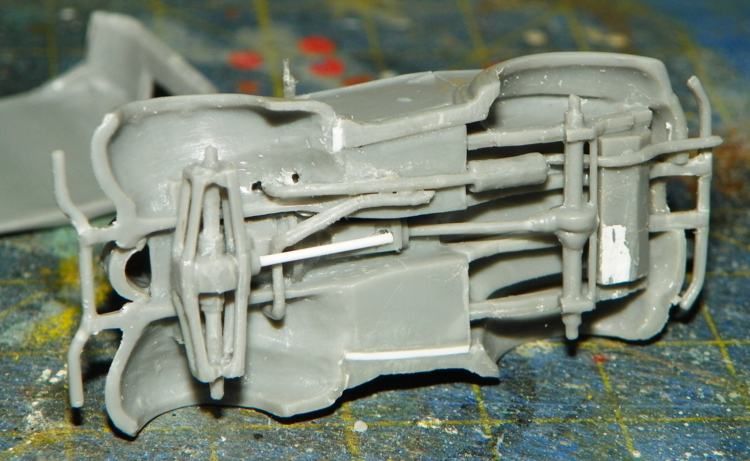
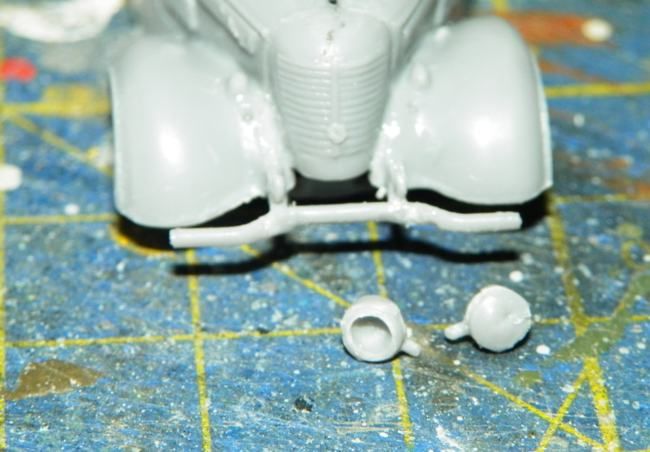
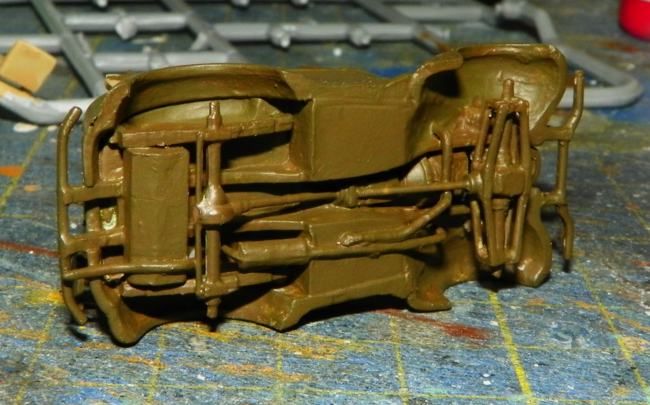
the front wheel gear , also a correction to the under fuel tank and the silencer, glued more backward than before
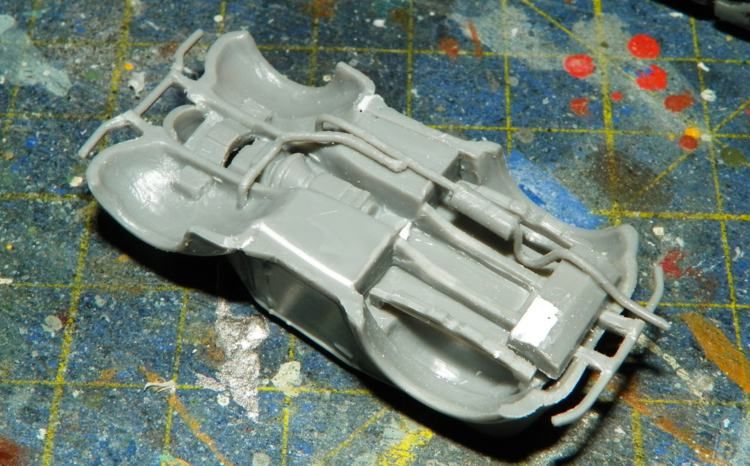
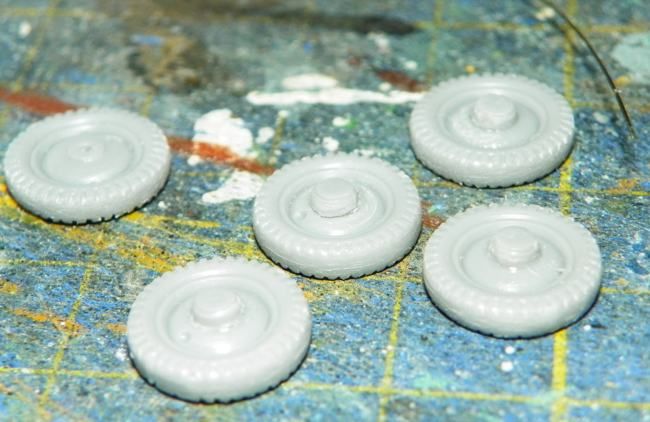
wheels test fitting
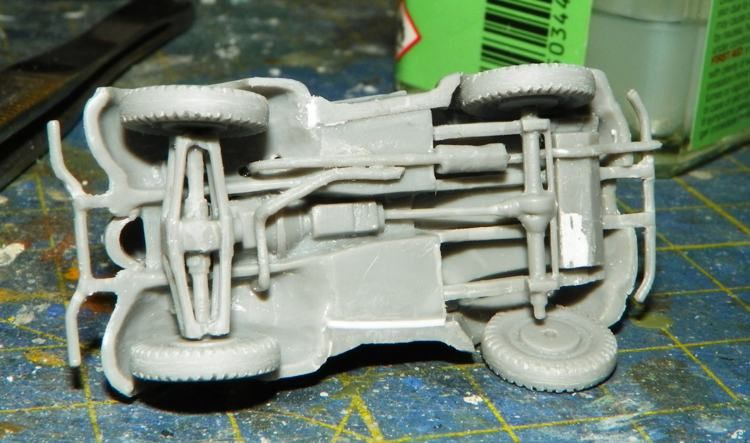
other pieces on the wheels, this version have bolts covered
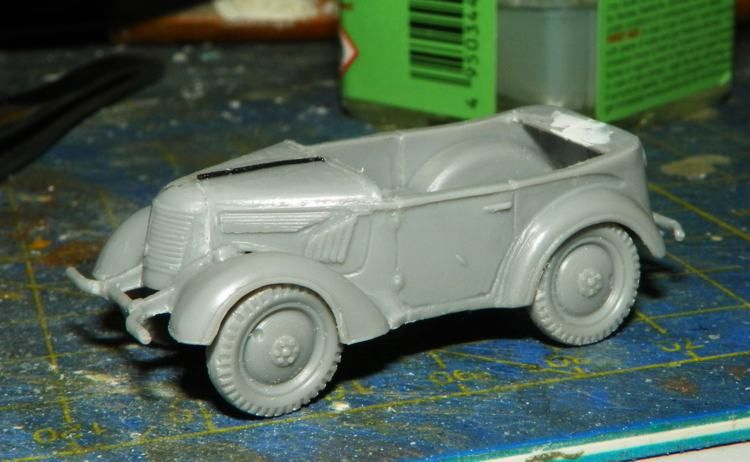
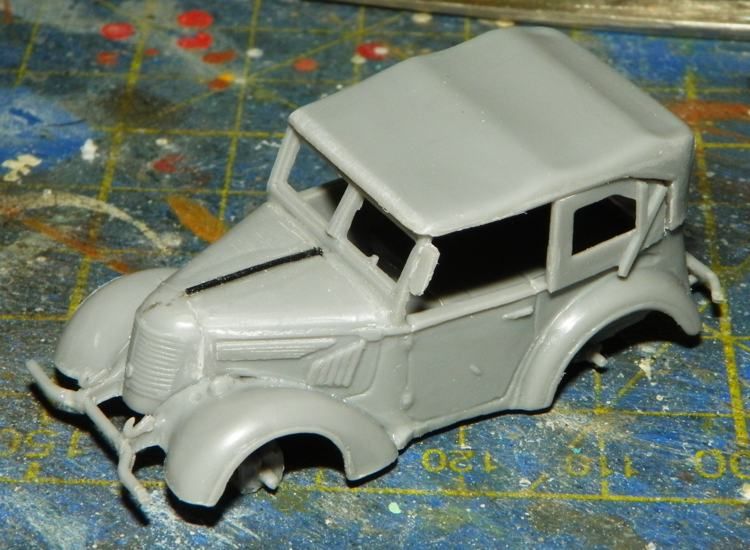
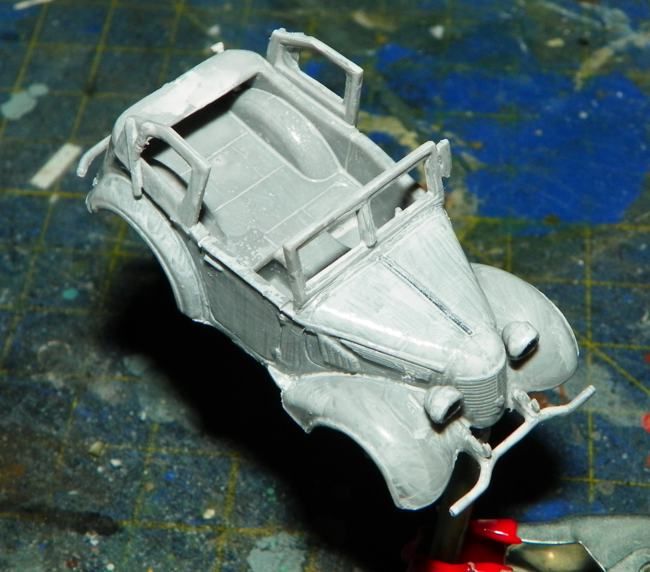
lateral back windows and windscreen glued
the top testing, after this one of side windows results in wrong place and a correction needed, theres no pins in the kit for right gluing position  and added front and back hooks
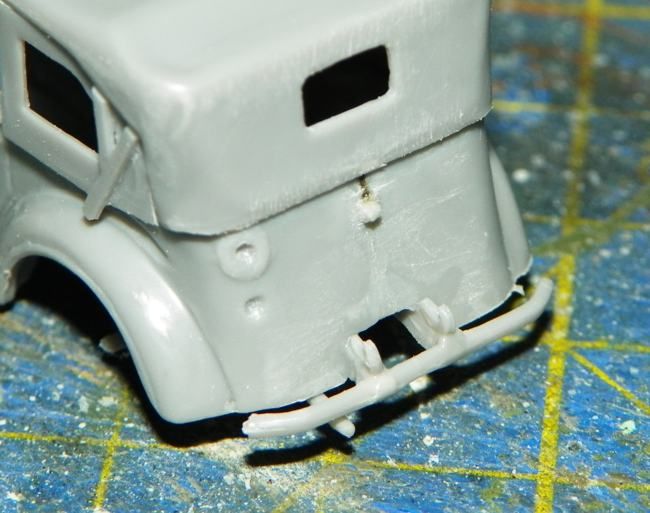
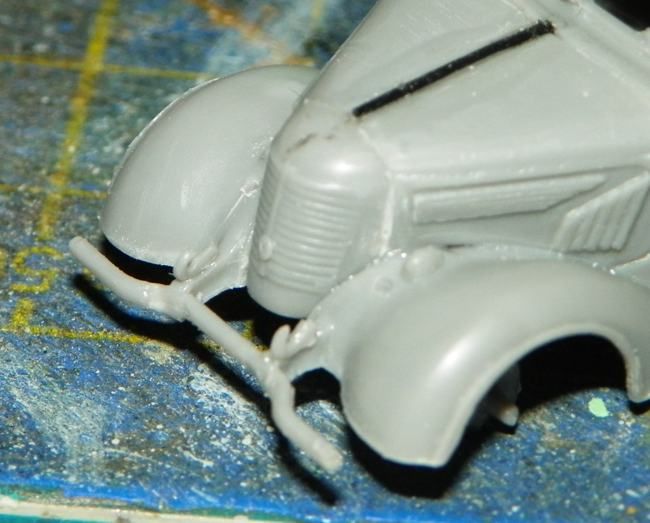
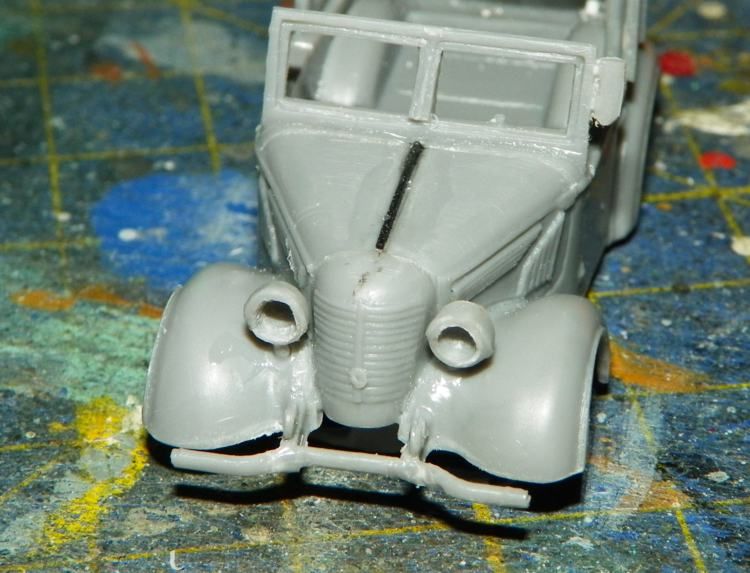
headlights drilling and gluing
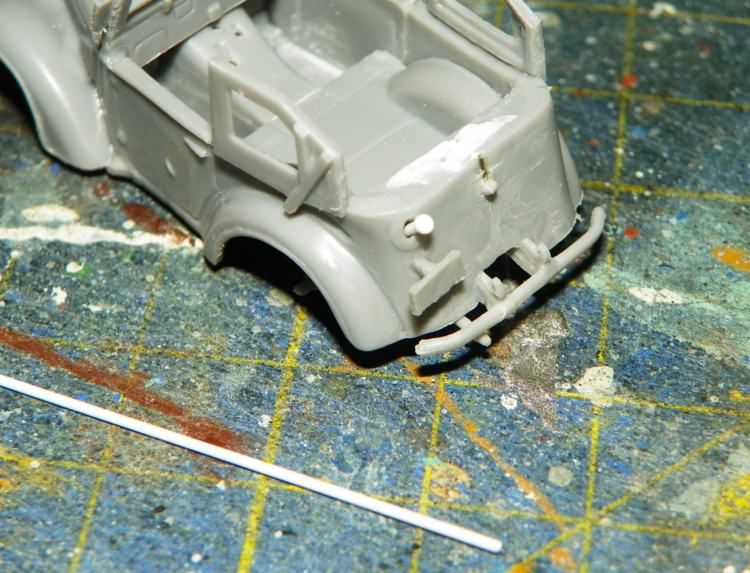
and refuelling probe.. missing in the kit, plastic ror with top flatten by heat and glued the ID plate
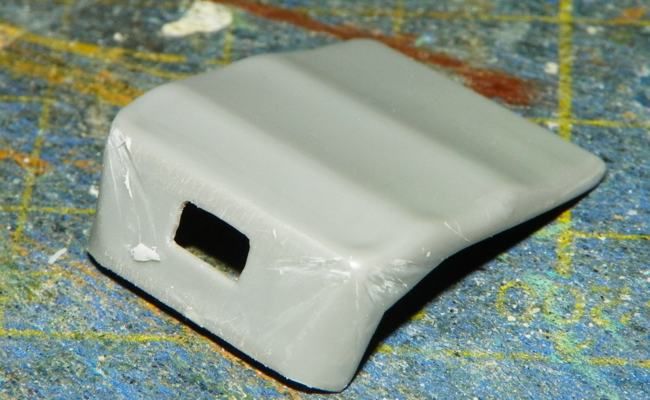
some diggin with cutter to improve the dope
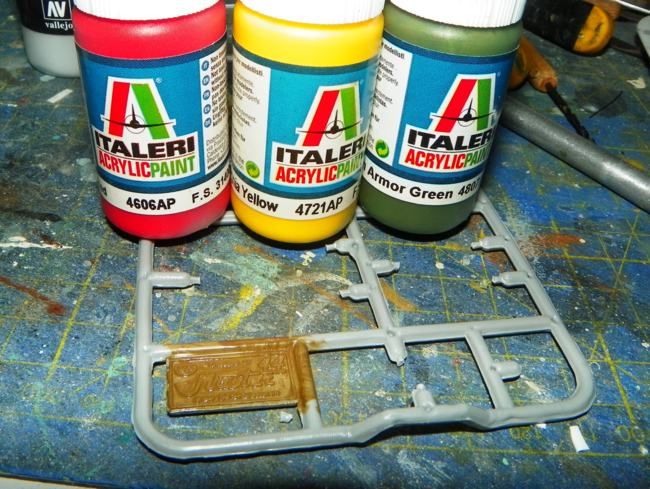
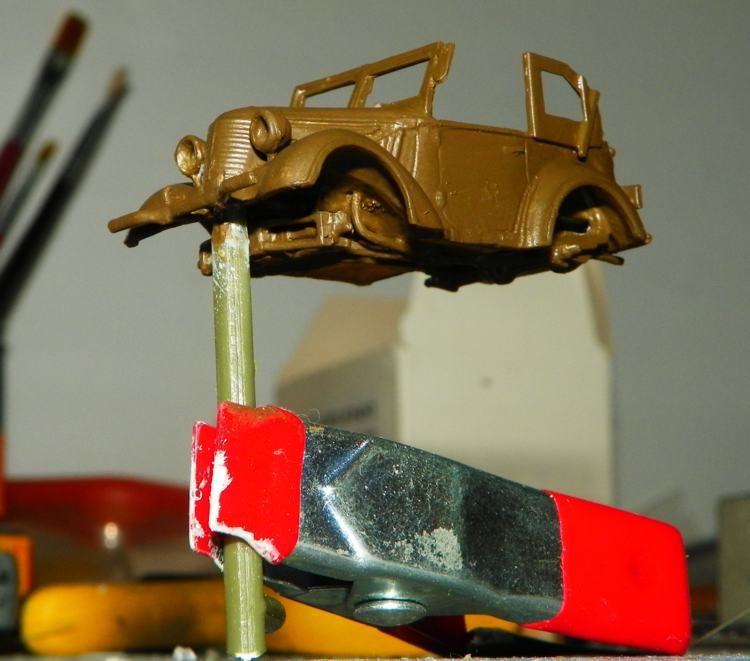
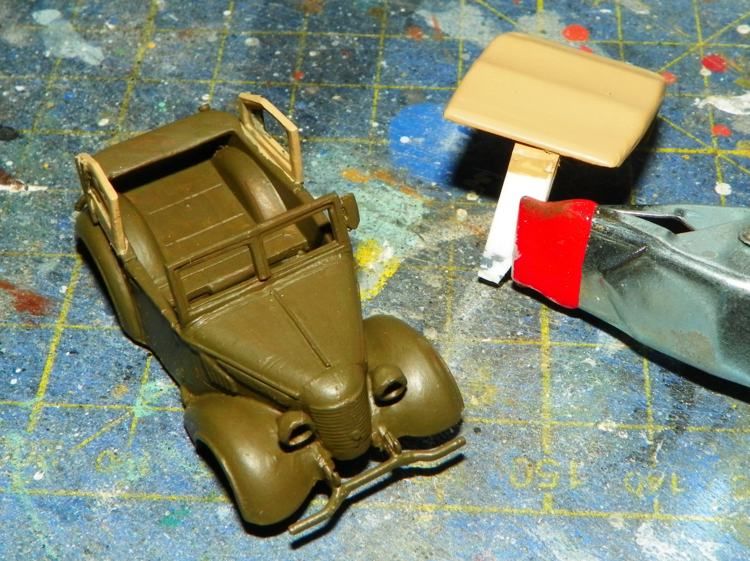
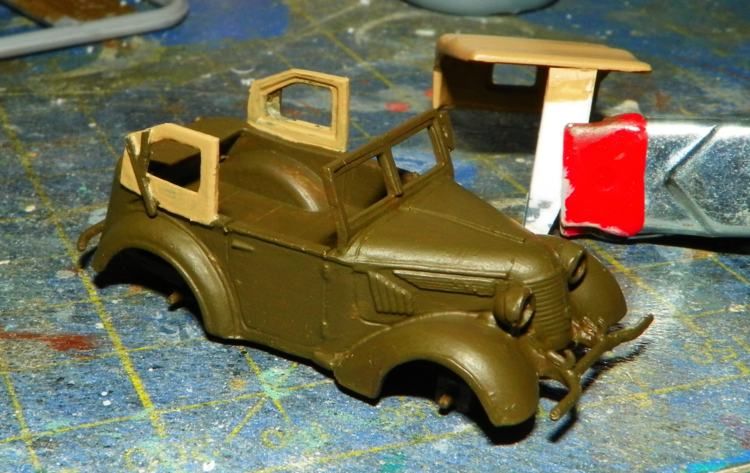
ready for paint:
homemade khaki color 
and go with brushes, at the end about 4 layer of khaki after the primer i did
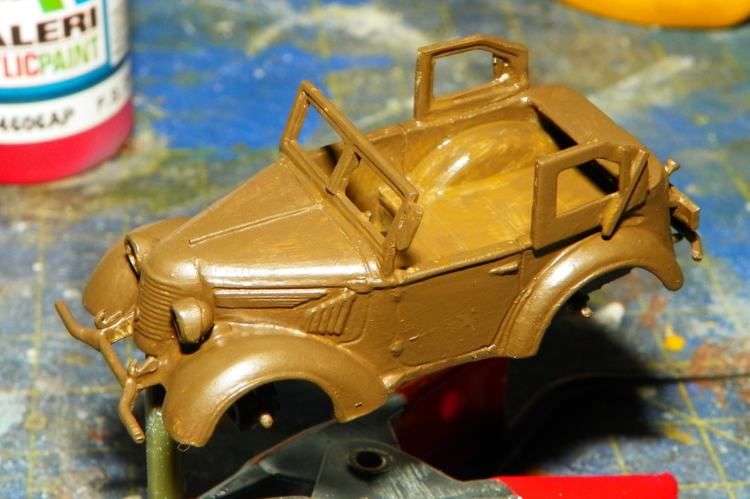
homemade dope color too
Asap the sonia too, right today i painted it with first glossy layer for decals :)
At the next!