Greetings guys. A little quiet on here, so I'll chime in. So last Sunday I had a dilemma on how to glue my turret canopy. I tried Micro Kristal Klear and I found that the bond strength was extremely weak. The two halves separated with minimal pressure. Joe thought I might try Testers Clear Cement. So I went out and bought some and I tried it. It definitely had a stronger hold because I carefully tested it.. (Thanks Joe). Things went well until I did some light polishing and when snap! The bond failed. Darn it.
I thought about it a long time and I decided to go for broke. I cleaned up the joins, taped the two halves into position, and pulled out the Tamiya Extra Thin Cement. Oh yes folks...the big gun. I took a deep breath, said a prayer, and flipped the turret over bottom side up. I dabbed the join end with cement and let gravity and capillary action do the rest. Well what do you know. The glue was for the most part staying within the join. Once I was sure the glue set enough, I flipped the canopy over and did the other end. This process was repeated on the other side. I did it. The canopy has pretty clean joins and a really nice bond. The next day I gave it the Future treatment. What a difference that makes too.
BTW Joe. You were right about the sprue marks too. I was able to sand and polish those out fairly easily. I did do one additional step though and that was to give it a final once over with plastic polish. In the end, I am really happy how this turned out. The next step is to mask it.
Once I get this turret canopy painted, I can glue the whole assembly into the fuselage. Then finally, I can move towards joining the fuselage halves.
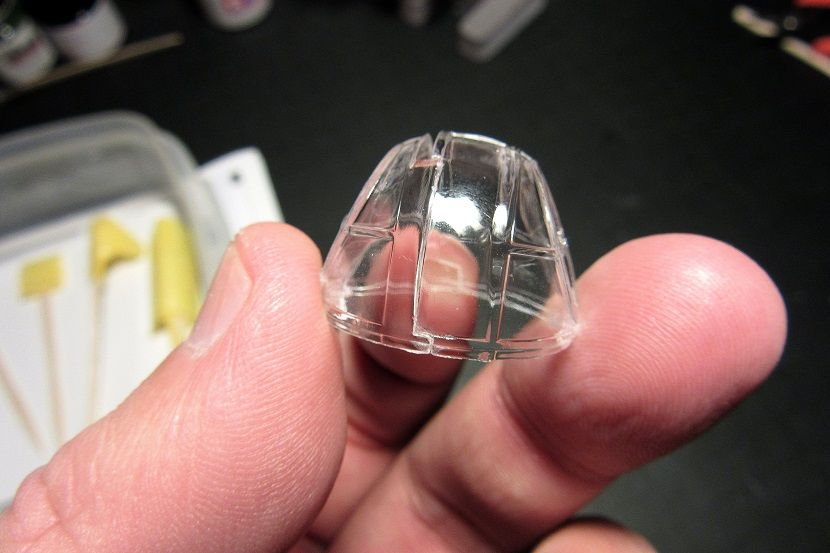
Before image below:
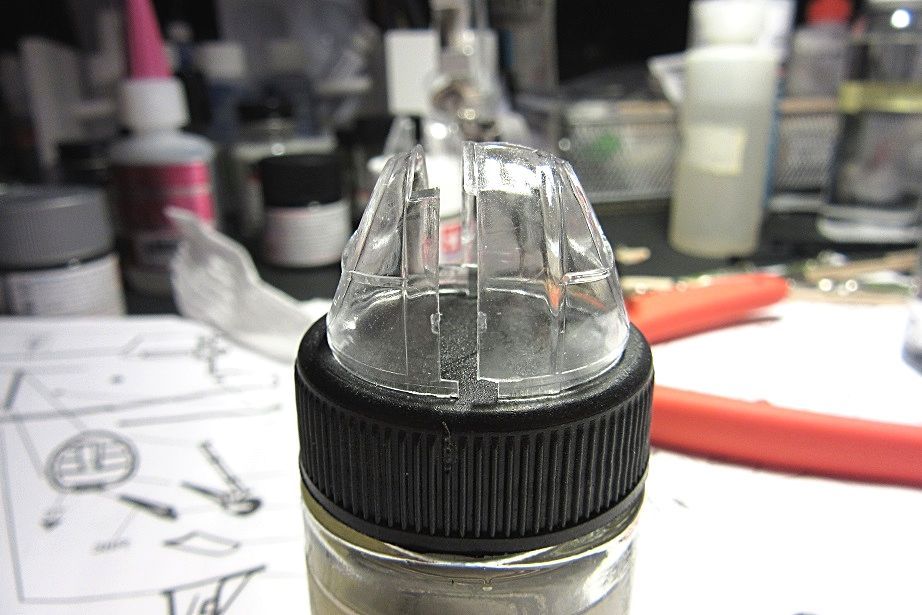
After image below: